Hey, creative friends! Today, we’re diving into a delightful mess of stickers, ephemera, and layers to jazz up an altered book project. If you’re ready to embrace chaos with a side of vintage charm, grab your scissors and glue because we’re about to make magic happen!

Step One: Gather Your Materials
First up, I’ve got goodies galore: ephemera packs, Christmas brads, and even some super-secret surprises. Whether it’s free printables or found treasures, it’s all fair game. Pro tip: Use glossy Mod Podge to stiffen cutouts, especially if you’re planning to punch them into dangly tags. Tiny interruptions from pets optional, but encouraged—they bring good vibes!
Adding Layers To Your Altered Book Video
Tabs, Tags, and Layers—Oh My!
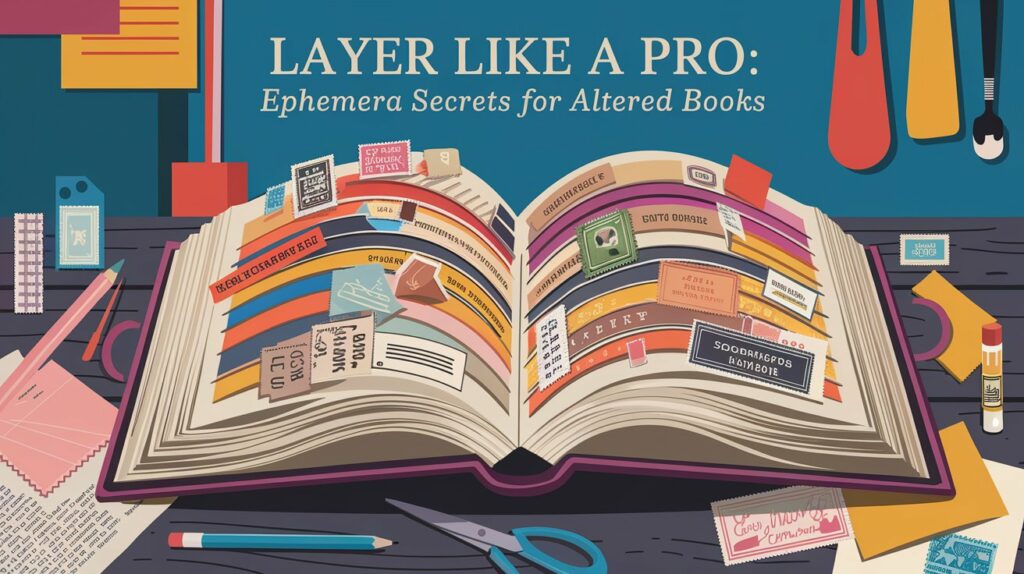
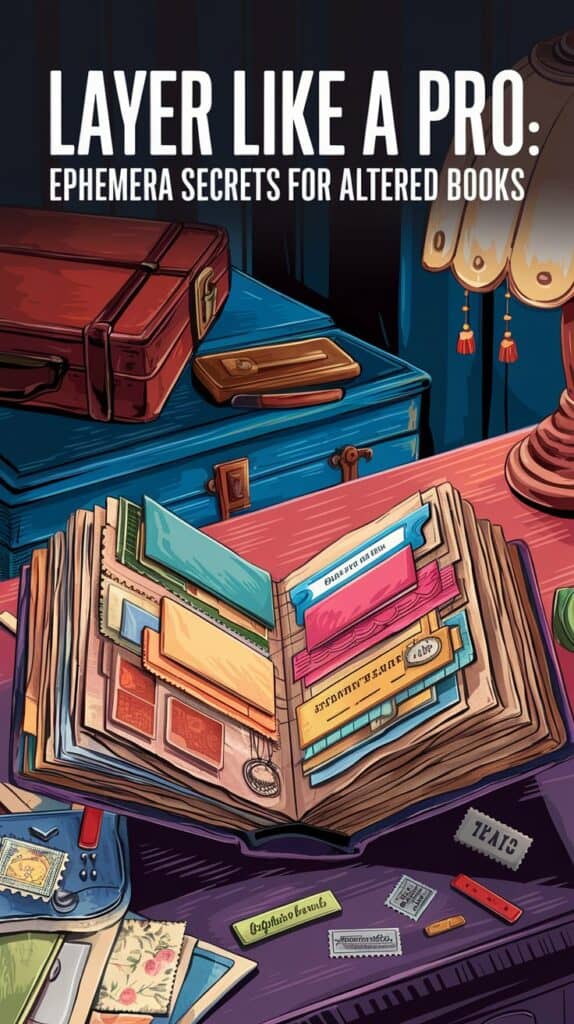
Tabs are the stars of this altered book. There’s one on nearly every page, ready to hold sayings, cutouts, or layered bits of ephemera. I glued down some pages to create pockets, leaving room to tuck in more treasures. The key is layering for a rich, textured look.
For example:
- I used a "Merry Christmas" background but added grungy details for character.
- Sayings like “Christmas isn’t a season; it’s a feeling” found their place amid the layers.
- A DIY ornament tag with a dull metal grommet? Why not!
Peek-Throughs and Pop-Outs
Adding cutouts brings a playful dimension. Using text as a guide, I carefully (okay, clumsily) created windows. These peek-throughs are layered with ephemera and framed with coordinating pieces for a cohesive look. The goal? A page so full of charm you’ll feel like you’re stepping into a Christmas wonderland.
Making the Magic Happen
Now, let’s talk about embellishments. I adore using Tim Holtz’s vintage-inspired ephemera to sprinkle in nostalgia. Here’s how I approached it:
- For a mid-century modern vibe, I chose pieces that evoke memories of childhood holidays.
- I alternated between red-and-green and blue-themed pages to keep things visually interesting.
- Layers, layers, layers! From washi tape to candy-cane stripes, it’s all about creating a sense of festive explosion.
Tuck Spots and Final Touches
Tuck spots are a lifesaver for hiding little surprises. I made Santa Claus a feature element by turning him into a tuck spot—functional and adorable! To balance the composition, I placed smaller pieces like stamps and holly in strategic corners.
Ribbons, Tabs, and Bling
Let’s not forget the frills! I’ve got eyelash ribbon and baby rickrack ready to adorn the edges. Each tab gets a coat of Nvo Crystal Glaze for durability, and I staple ribbons along the top for a playful finish. These details make the book feel alive, with textures that practically beg to be touched.
Pro Tips for Layered Perfection
- Use glue sparingly for washi tape—it’s decorative, not industrial!
- Layer ephemera to guide the viewer’s eye across the page.
- Alternate big and small elements to avoid visual clutter.
Patience is Key
In humid climates (looking at you, Florida), drying times can test your patience. But trust me, letting those layers set overnight is worth it for the final, sturdy result.
This altered book project is more than just a craft—it's an explosion of creativity and nostalgia. With a little patience and a lot of ephemera, you’ll have a piece that’s as fun to make as it is to share. Now go forth and let Christmas explode in your altered books!


