Today we are going to do a super fast and easy Christmas decor project using a cheap Michaels frame cutout, some ornaments and some paint! All my best tips and ideas for making a cute wooden wreath.

My Red and Turquoise Christmas Decor
This year I wanted to do a red and teal turquoise theme. I got a bunch of it done but though that I needed another little pop of color at the top of my mirror.

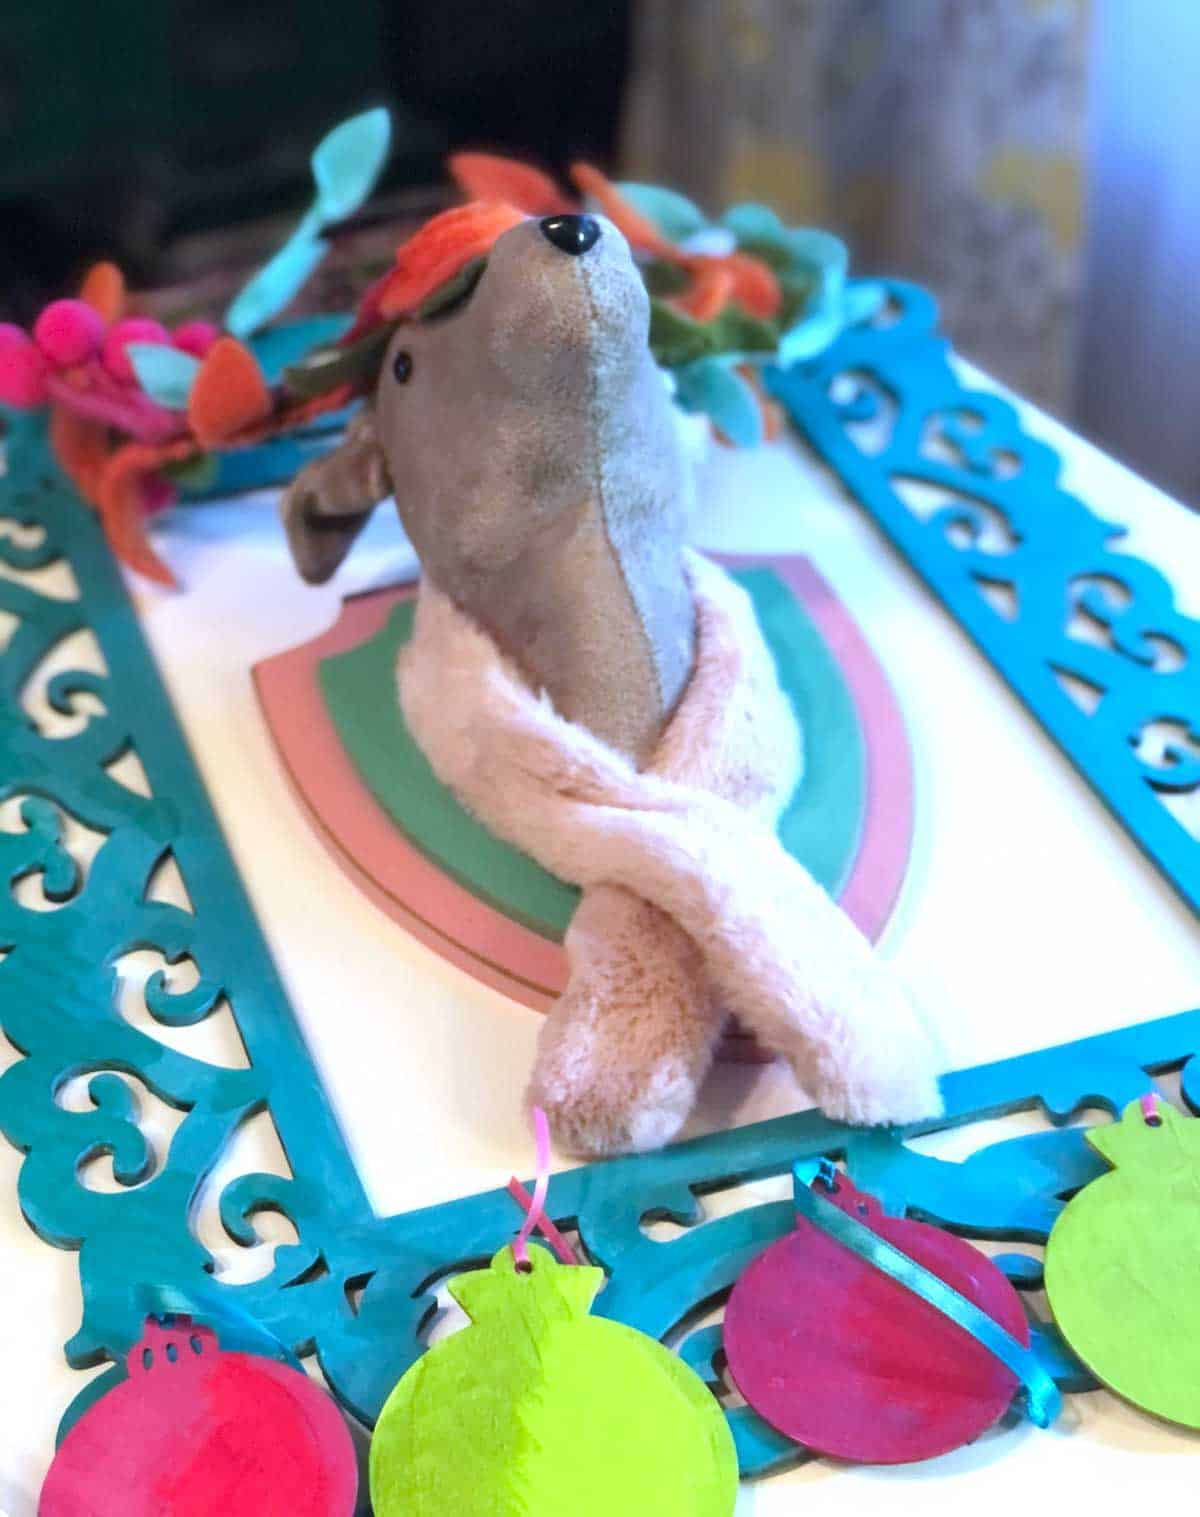
So I decided to make a super fast and easy wooden wreath using a Michaels frame and my fun faux reindeer head that I got a couple of years ago. She is super fun and whimsical!

That one "wreath" with the dangly ornaments really made a HUGE difference in my design. I LOVE how it turned out.
Here are the step by step directions on how to make a Wooden Frame Christmas Wreath!
Full Reindeer Wreath Tutorial Video
How To Paint and Decorate A Wooden Reindeer Wreath

All my best tips and ideas for how to make a wooden wreath for Christmas decorating. This is a super fast and easy project that you can make in a couple of hours!
Materials
- Wooden picture frame
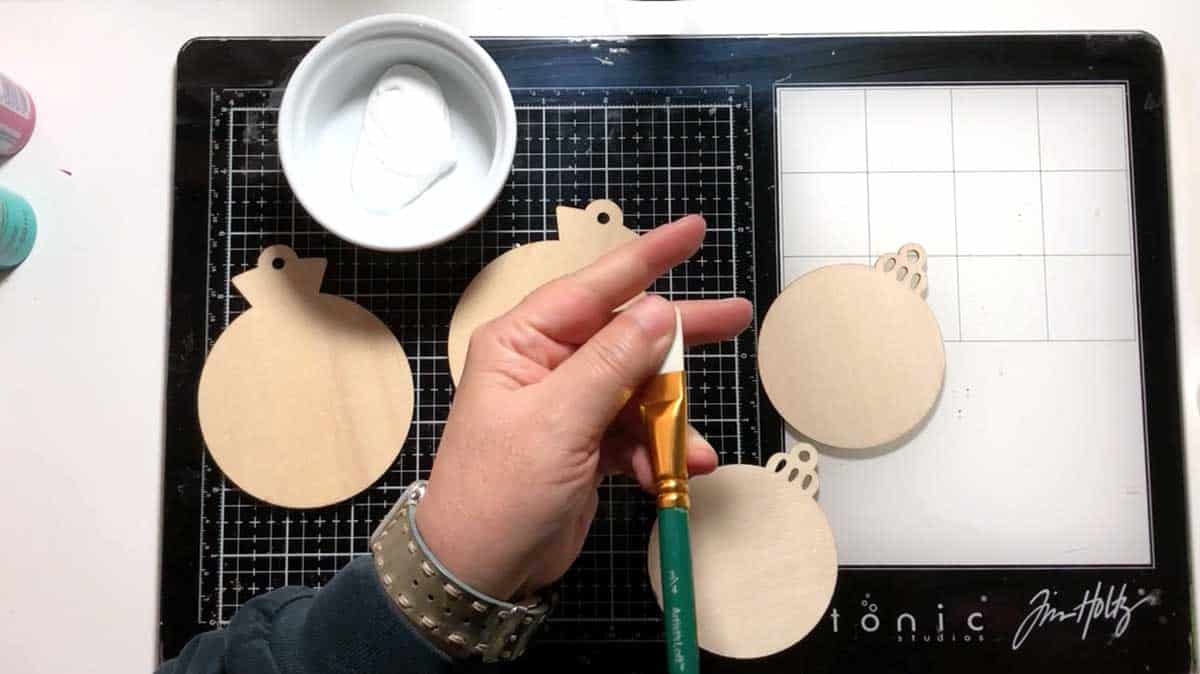
- Liquitex basic gesso
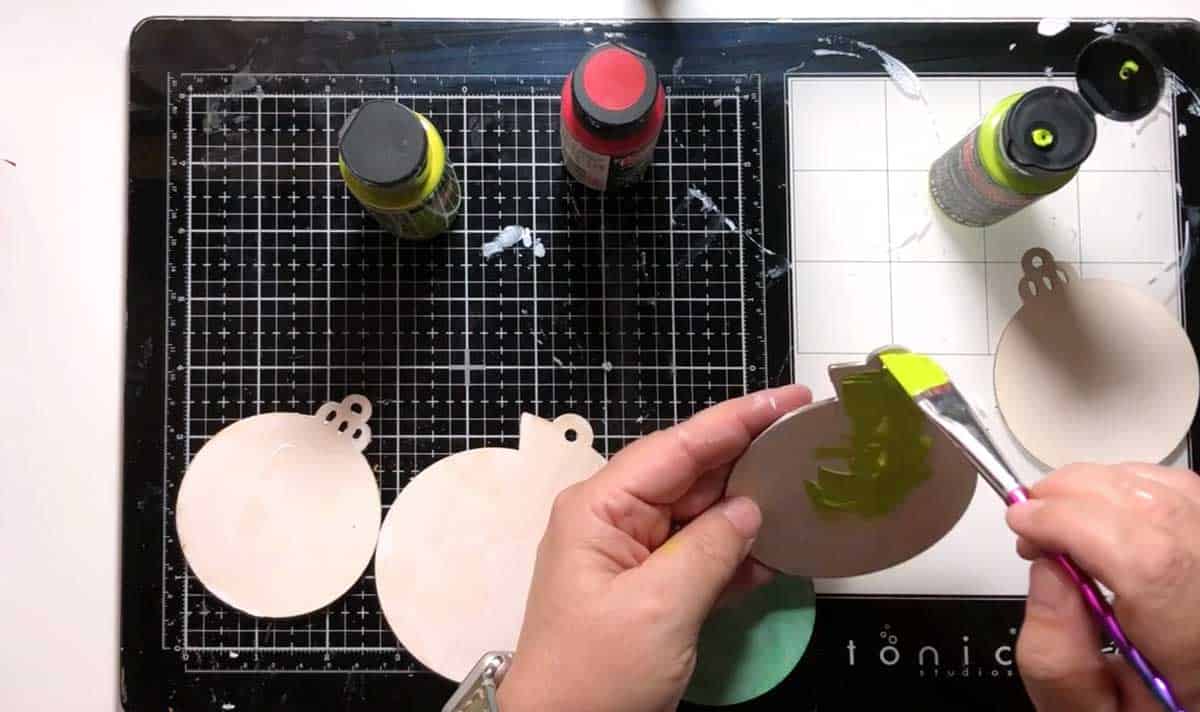
- Acrylic paint
- Colorful ribbons
Tools
- Tim Holtz Glass Media Mat
- Paintbrushes
Instructions
- Get a frame and dangles to use (you could use a vintage mirror and real Christmas ornaments if you want)
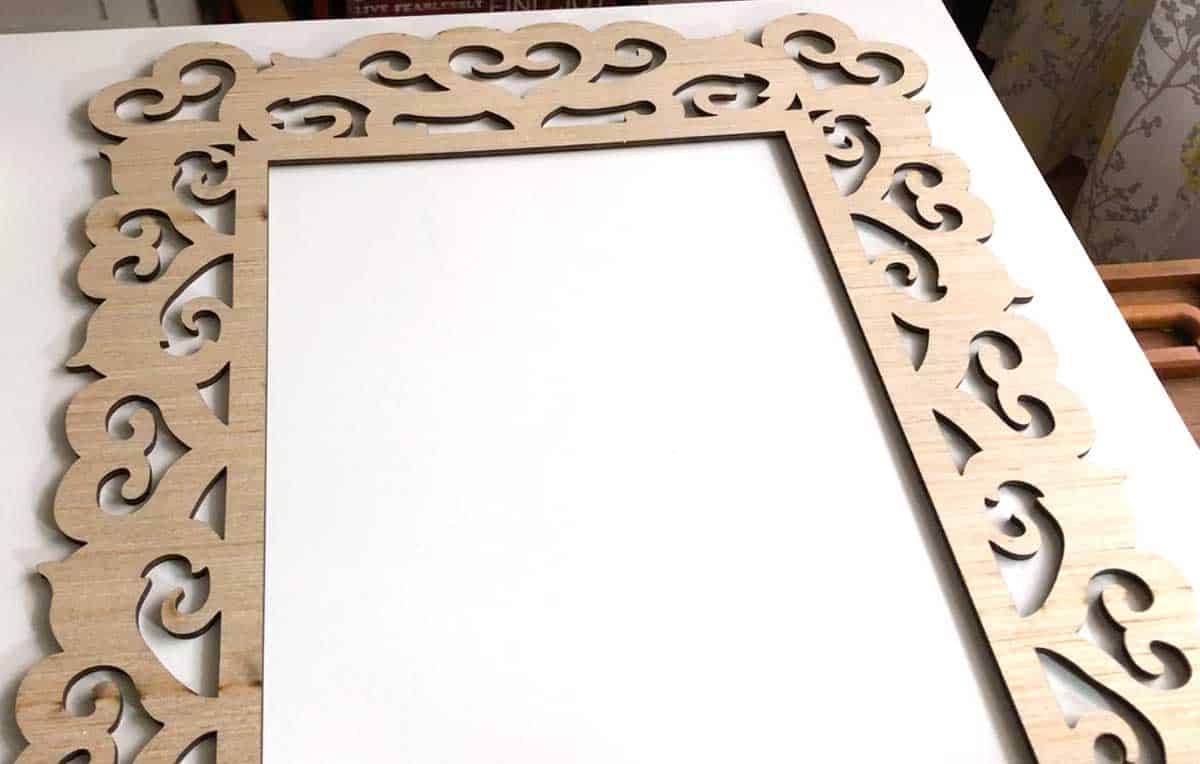
- Gesso your wooden wreath and any hanging elements
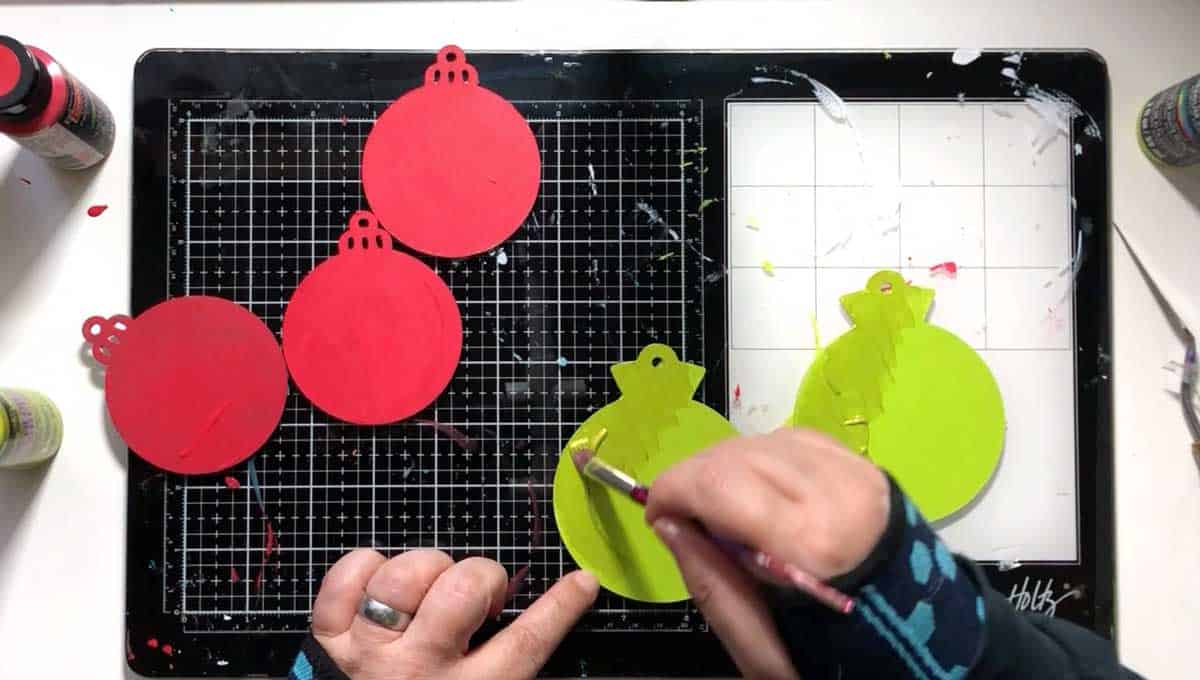
- Paint your wreath and ornaments with acrylic paint
- Add embellishments (I used shiny paint, you could use glitter or gold paint)
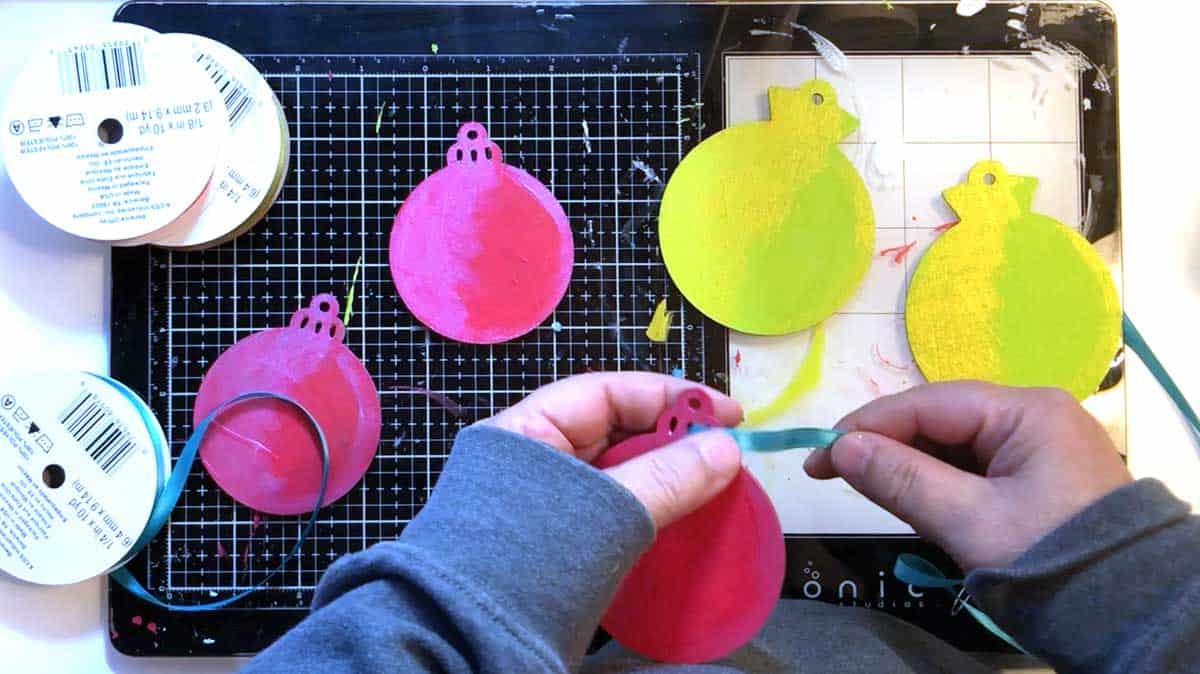
- Tie on dangly bits with ribbons
- Final Christmas wreath project!
Notes
This was about a $10 project for me! I had the deer head and paints so I all I had to buy was the frame (it was $7 and I had a coupon!) and the shiny paint. All the rest was something I already had. Use what you already have for this project!


