Old books hold a charm all their own, but what if you could breathe new life into them? Welcome to a step-by-step guide on transforming worn-out tomes into personalized works of art through the fascinating process of creating altered books.
Let’s dive into how you can stabilize, deconstruct, and prepare a book for artistic journaling or mixed-media projects.
Altered Book Tutorial Video
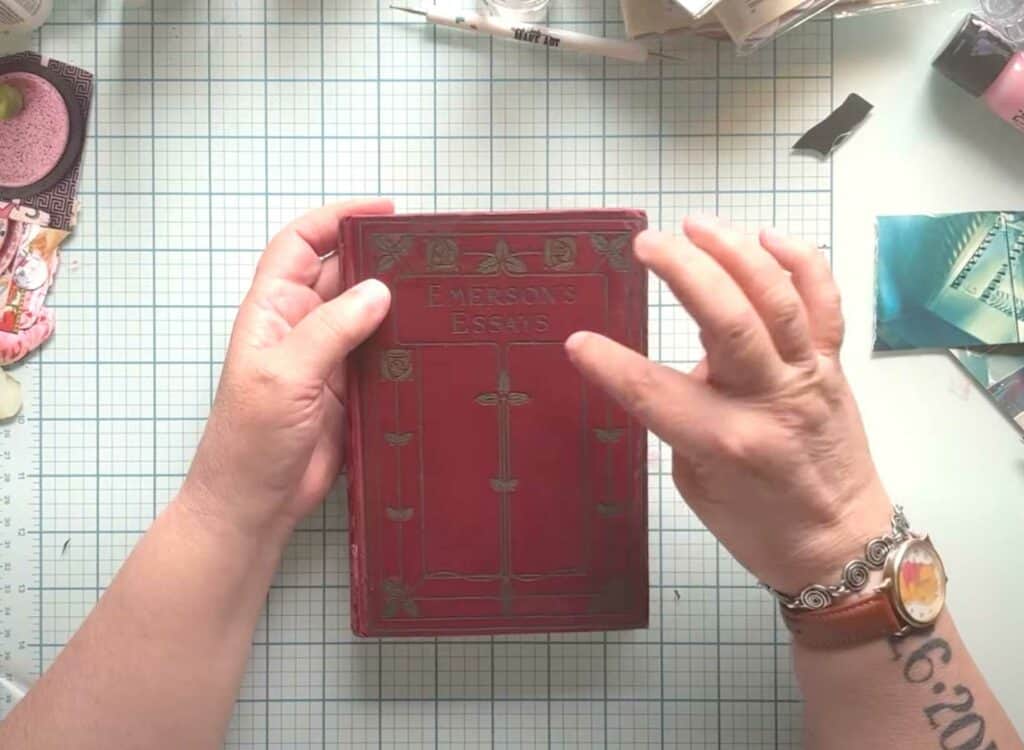
Step 1: Choosing the Right Book
Before starting, the type of book you choose will greatly impact the success of your project.
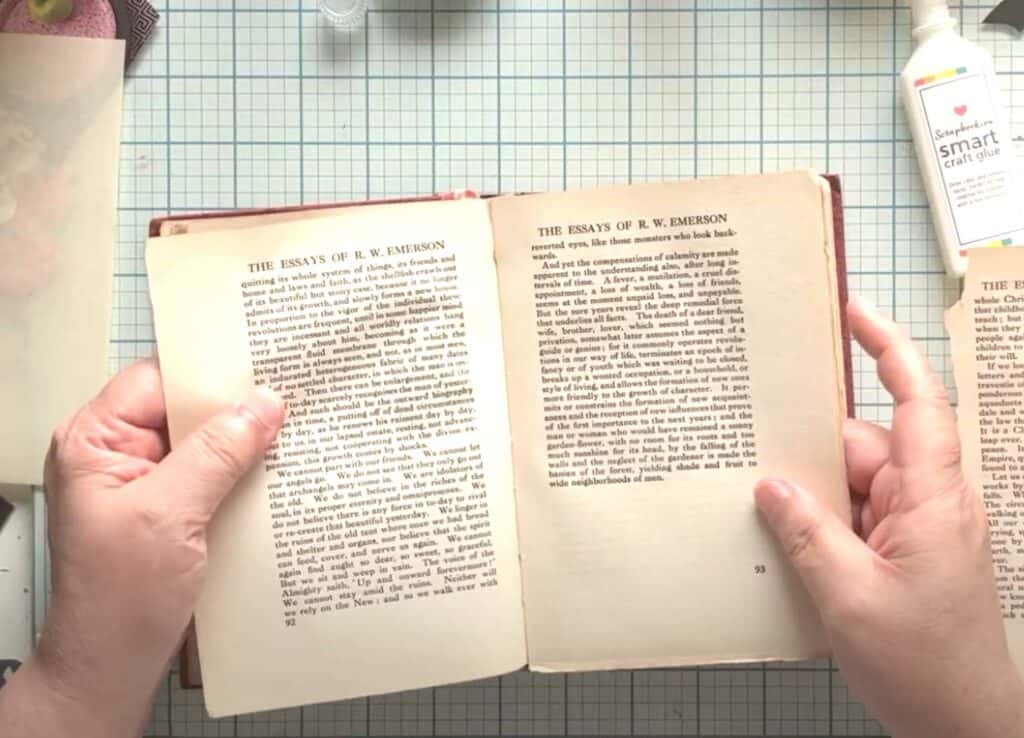
- Inspect the Condition: Start with an old book—preferably one with a broken spine or loose pages. These books are ideal candidates for alteration.
- Assess Value: If you stumble upon a "first edition," double-check its actual rarity before proceeding. For heavily damaged or otherwise unsalvageable books, feel free to proceed guilt-free.
- Identify Stability: Look at how the book’s spine and signatures (bundles of pages sewn together) are holding up. Choose a book that will stand up to the crafting process.
Step 2: Stabilizing the Book
Stability is crucial to ensure your altered book can withstand the creative process and remain functional.
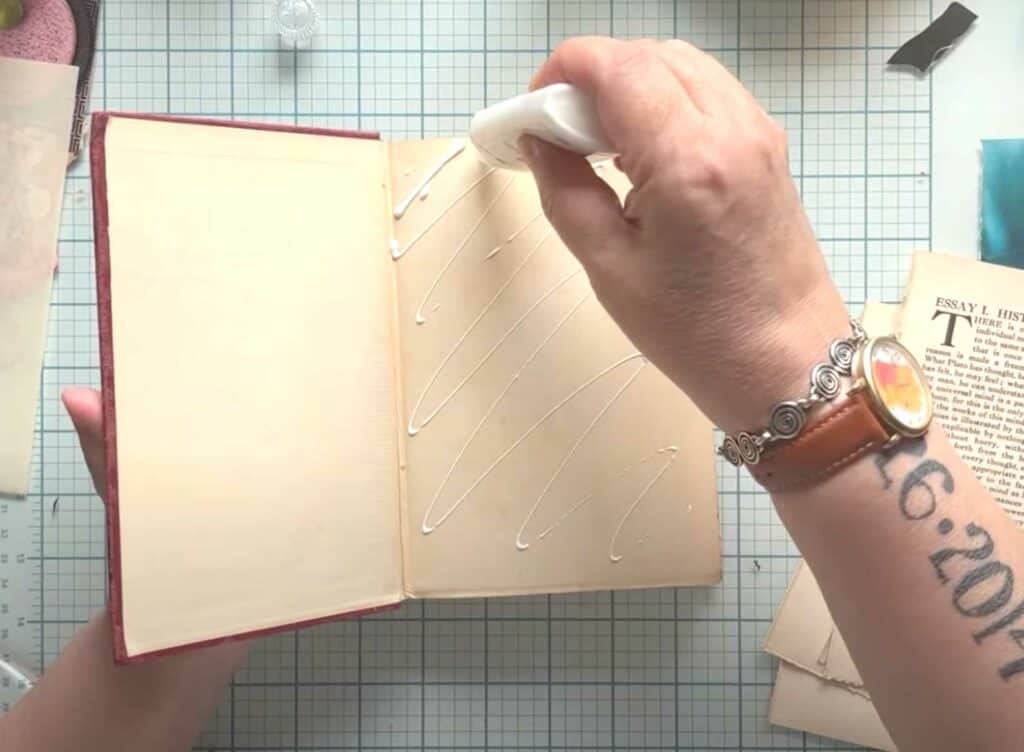
- Front and Back Pages: Begin by gluing together the first few pages to add strength to the front and back covers. Use a reliable craft glue or fabric tape for this step.
- Fabric Tape Fixes: Stabilize any fragile spines or damaged edges with fabric tape. This ensures flexibility and durability while allowing the book to open and close seamlessly.
- Reinforce Pages: For delicate pages, glue two to three pages together to create a sturdy surface for future embellishments.
Step 3: Deconstructing the Pages
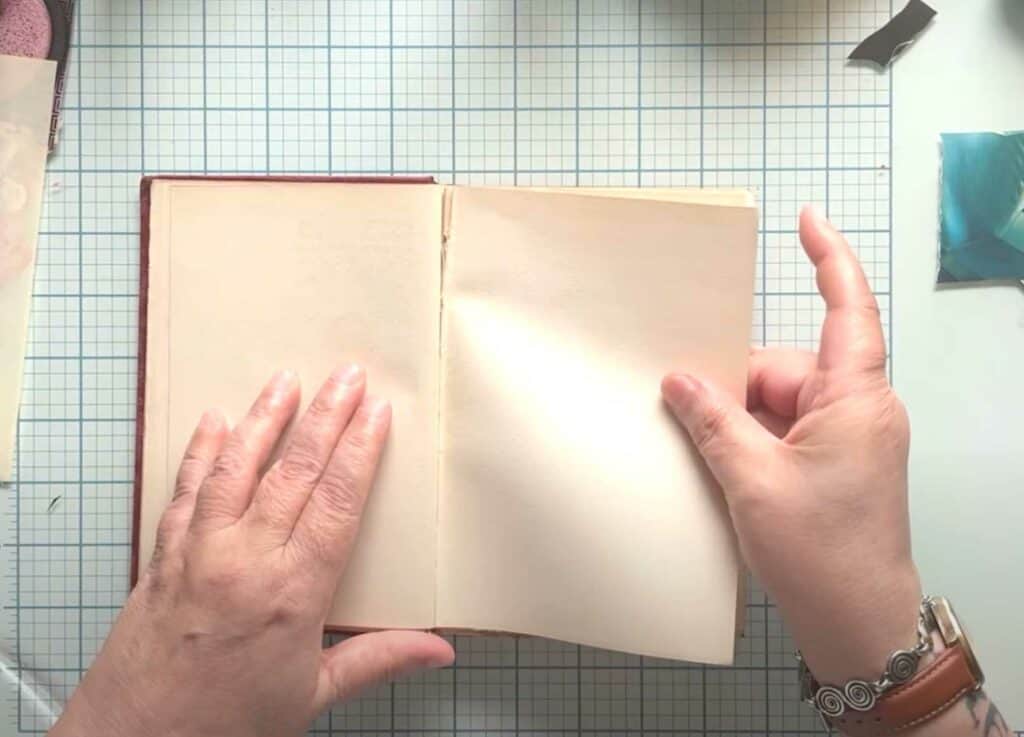
To make space for your artistic additions, carefully remove pages while maintaining the book’s structure.
- Understanding Signatures: Pages in books are typically arranged in small groups called signatures. Carefully identify these to avoid pulling out pages haphazardly.
- Remove Excess Pages: Reduce bulk by removing unnecessary pages. Aim to leave only enough for your planned designs, keeping in mind that embellishments like tuck spots and pockets will add bulk.
- Spacing Out Removals: To maintain the book’s stability, avoid tearing out consecutive pages. Instead, remove pages evenly throughout the book.
Step 4: Prepping for Alterations
Once the book is stable and slimmed down, prepare it for creative embellishments and structural integrity.
- Glue Strategy: Always glue pages together across signatures to ensure the book remains intact. Avoid weakening the spine by concentrating alterations in one area.
- Minimize Pages: For a more manageable journal, keep the page count low (around 6–8 finished spreads). This approach ensures each page is fully utilized and creatively fulfilling.
Step 5: Planning the Artistic Journey
With your book prepped, it’s time to dream up your creative designs and personalize the pages.
- What’s Next? Now that your book is prepped, the fun begins! Future steps include creating tuck spots, pockets, and layered designs with ephemera.
- Use Your Own Style: Incorporate your personal photos, journaling cards, or pre-designed kits to add flair and meaning to your altered book.
- Stay Organized: Keep your workspace tidy to avoid misplacing small embellishments and ensure a smooth crafting experience.
Tips for Success
These handy tips will help you avoid common pitfalls and make the most of your altered book project.
- Start Simple: If you’re a beginner, choose a newer, sturdier book for your first project. Older books can be unpredictable and frustrating to work with.
- Save Interesting Pages: Don’t discard illustrations or unique text pages—they can serve as decorative elements.
- Experiment Freely: Altered books are all about creativity, so don’t be afraid to try unconventional techniques or materials.
Conclusion
Altering a book is a rewarding way to repurpose a neglected object into something beautiful and meaningful. From stabilizing the structure to planning your artistic vision, every step in the process is an opportunity to unleash your creativity.
Ready to dive into the world of altered books? Stay tuned for next week’s tutorial on creating tuck spots and pockets!
