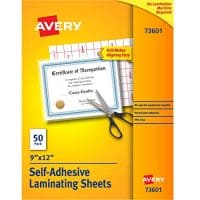
I am on a mission to find the perfect way to make clear pockets for envelopes for my altered books and junk journals! Here are my best tips and ideas for using self laminate sheets from the office supplies store.

First off, let's get this out of the way, there are LOTS of ways to mess up doing these pockets! The laminating sheets can fold in on themselves and you can wind up with a huge ball of plastic (ask me how I know!)
For that reason I recommend you try these first on a project that you don't care as much about or in your "practice" journal like I did in the video!
I got the original idea for this project from a gal who was making dashboards for travelers notebooks and modified it for my altered book!

Perfectly Clear Pockets From Self Adhering 3 Mil Laminating Sheets
Pick the spot that you want to put your clear pocket in. Don't forget that you will be putting a piece over that needs a little clearance so maybe give yourself about ¼" around.
Cut two pieces of the laminate, one that you will fold over to be the "pocket" part.
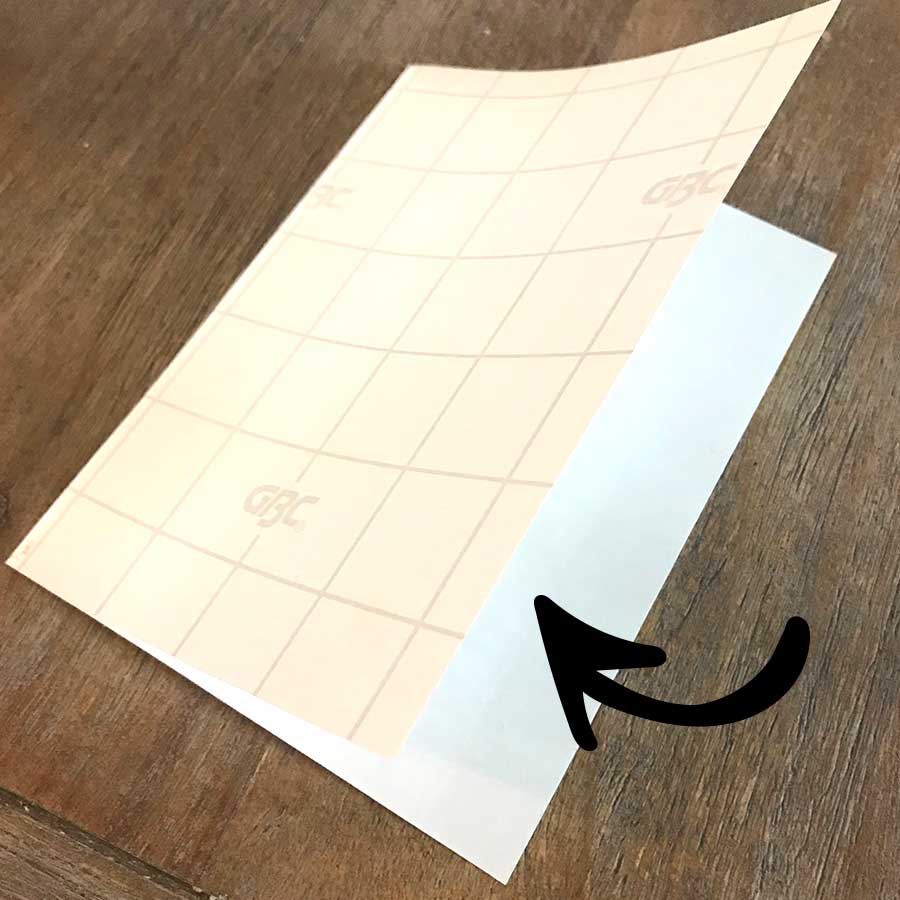
Cut the part that will be the "cover" for the pocket. This needs to be about ¼" bigger on the two sides and bottom than it is on the top (the top will line up with the top of the pocket.
Fold over your pocket piece and pull off the backing of the "bottom" half. Stick it to the page.
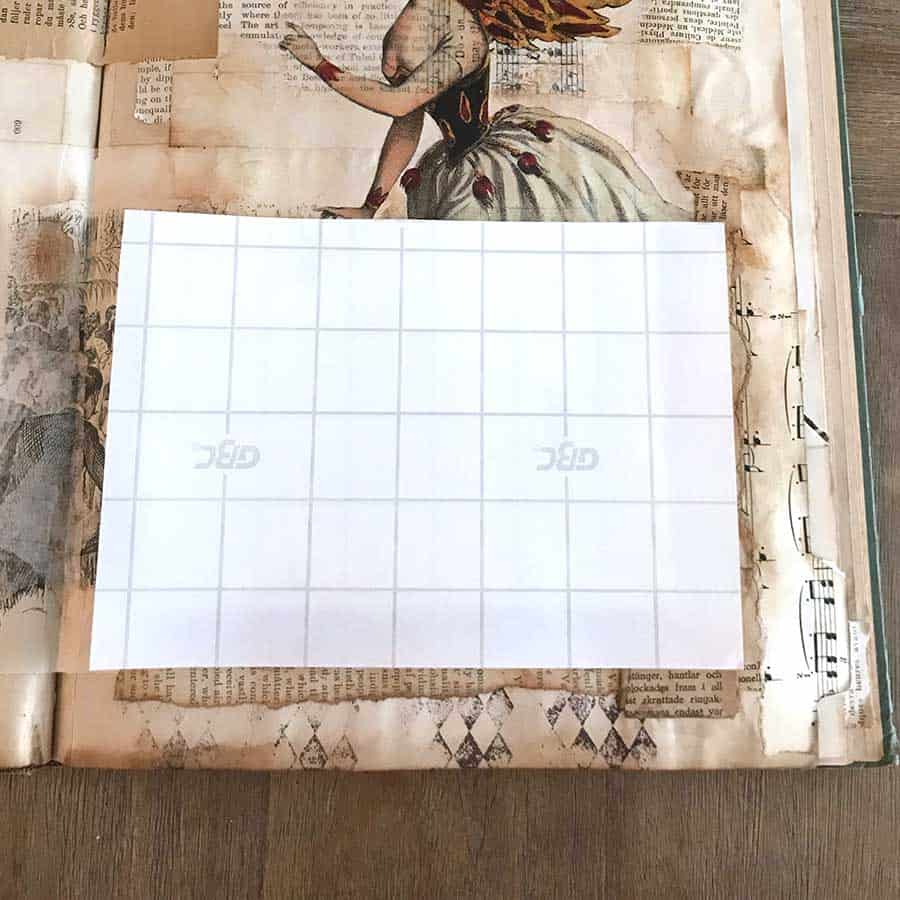
Unpeel the part that is facing up (it will be sticky and you have to be careful now!)
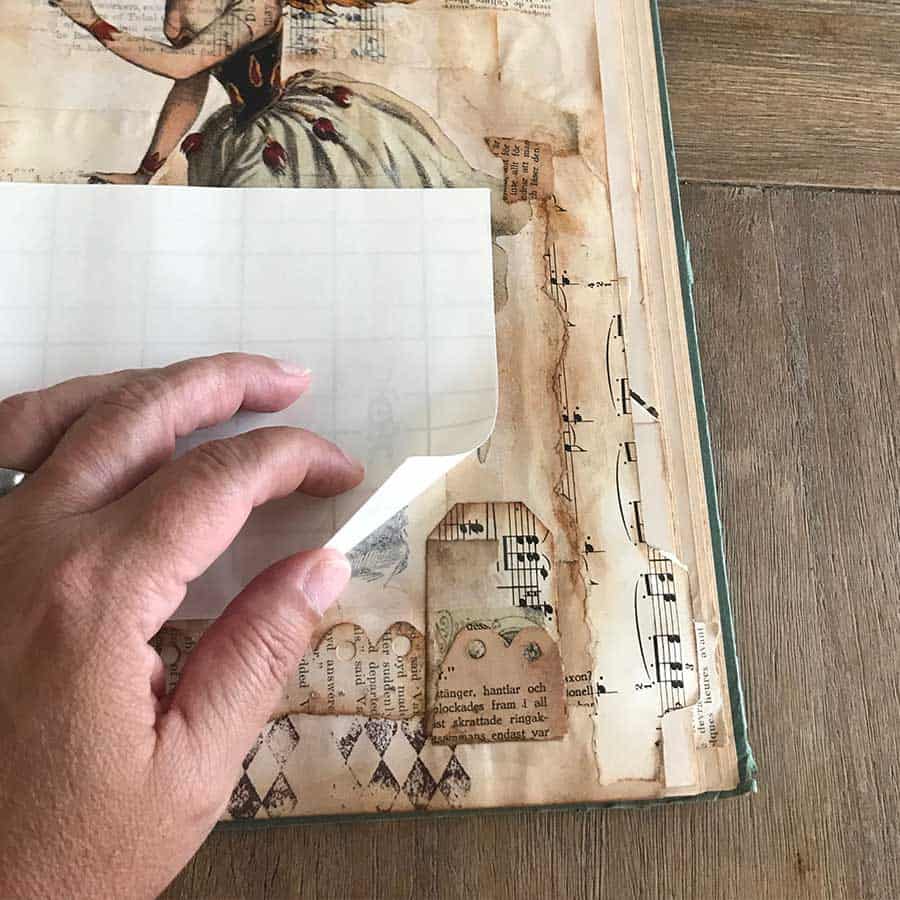
Now comes the super tricky part... peel the cover part and stick it on top of the pocket sticky side down covering the entire envelope and lining the tops up so there there is a "pocket" at the top.

At this point you have an actual pocket and maybe the kind of laminate you use will actually stick on the page, mine doesn't. So get your cat, oops I mean get your tape and now comes some self reflection.
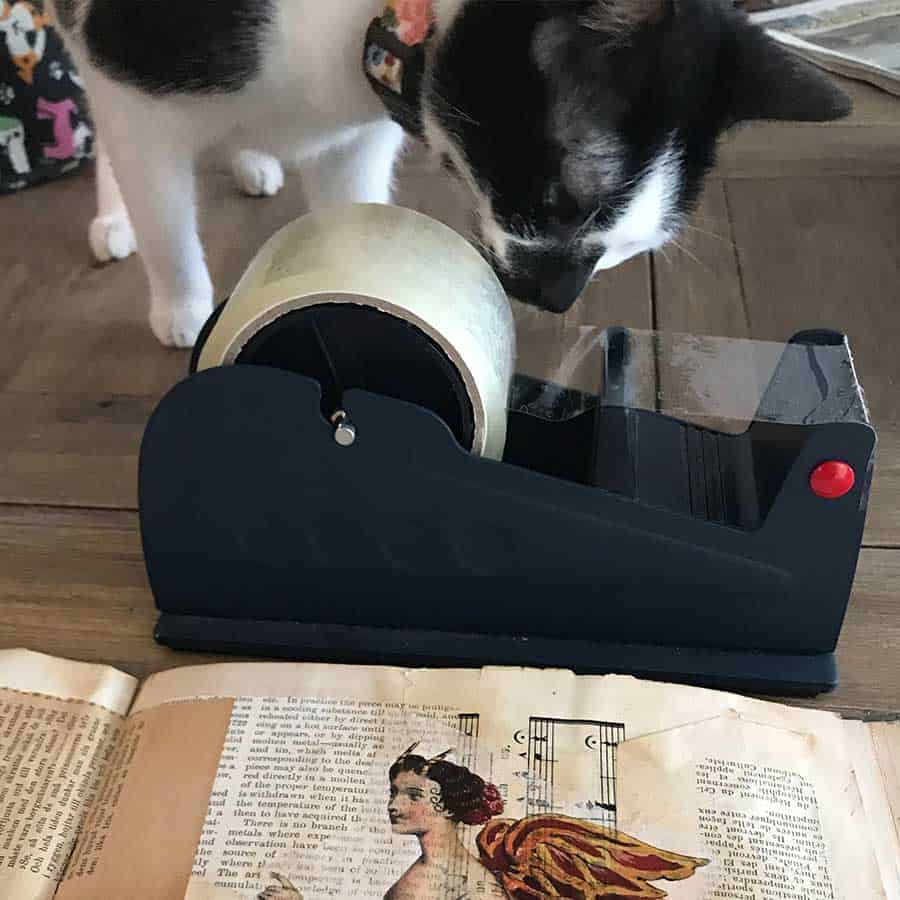
Are you the kind of person who has to have perfectly cut clear tape to stick on your clear envelope or are you like me and okay with non-perfect pieces? Use the strapping tape or glue to stick the edges around the pocket.
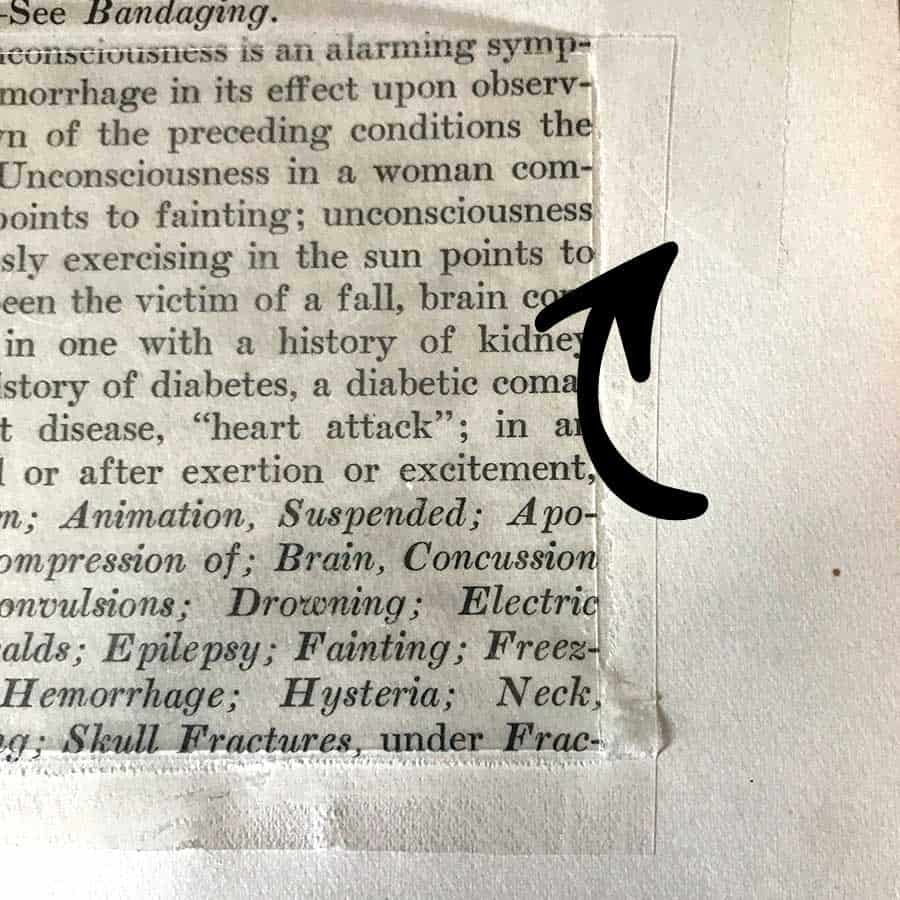
Now, strapping tape could eventually discolor over time. I LOVE that look because I do vintage journals so I don't mind but you might. In that case use some kind of archival tape to stick it on.
It winds up looking like this where you can slide ephemera into it!

"Stick On Pocket" FAQs
Having done a few of these now, I have some tips and ideas that might help you avoid my early mistakes!
If It Doesn't Stick
I was so excited to use these because they were totally clear and invisible. I thought that they would stick to the page, but they didn't on anything I made, BUT they work great with some tape.
I tried using the red double sided tape but it is definitely a whitish color behind the plastic so that was not okay for me.

Stiff Ephemera Only
I am using my altered book to hold ephemera, why I was making these pockets in the first place. While you could put anything in there because you can see it just fine, I wouldn't stick small things in a deep pocket because you would have to use something to fish it out. They are pretty inflexible.
Anything stiff that sticks out the top will be fine.
Making More Room
The first one I did I stuck really tight to the page without much room for anything to fit in. This one I put my finger inside the envelope while I was sticking the top piece on and there is much more room to put stuff in there now.
Test First!
I would highly recommend doing your first one in a project that you don't love. It took a while to wrap my head around all the parts and the first one was definitely not as pretty as this one turned out (bubbles around the edge).
How To Make Clear Laminate Pockets

How to walkthrough to make a clear laminate pocket for your junk journal or altered book. Great for storing ephemera!
Materials
- Self laminating sheets
- Clear tape or glue
Tools
- Scissors
Instructions
- Pick where to put your pocket
- Cut the pocket sized piece that will be folded over
- Cut the part that will be the pocket cover, allow ¼” on sides and bottom
- Fold over the pocket piece, pull off the backing on the “bottom” and stick to your page
- Unpeel the part facing up
- Stick the cover piece on top, lining up the tops and peel off backing
- Use strapping tape or glue to stick the edges on if your page if your laminate isn’t sticky enough
Notes
You may not have to use extra tape, Step 7, to stick your pocket on. I found that the kind of laminate sheets I have won't stick on either paper (it pulls it up) or on Mod Podge varnished pages (it doesn't stick well).
Recommended Products
As an Amazon Associate and member of other affiliate programs, I earn from qualifying purchases.

