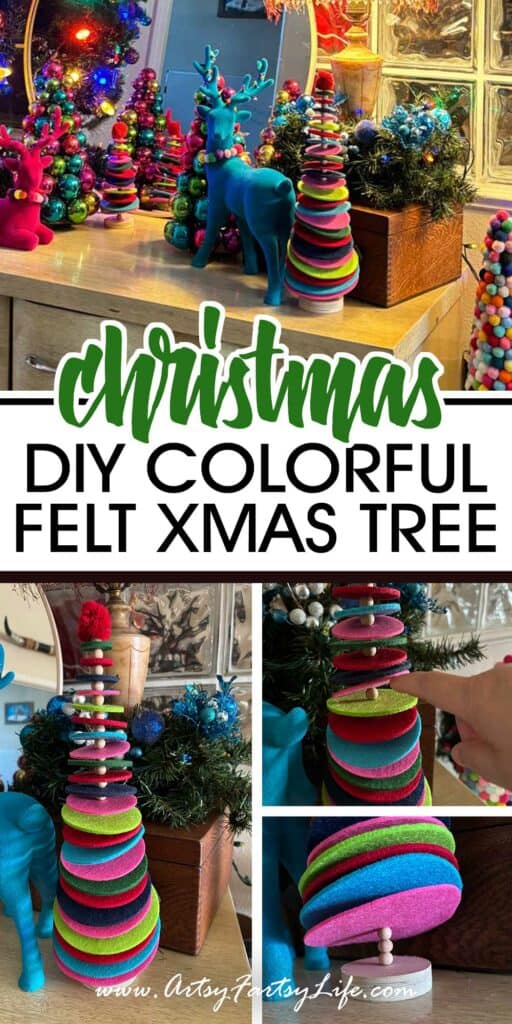
A few years ago, my father-in-law gifted me these adorable felt and wooden bead Christmas trees, and I’ve been in love with them ever since. They’re the perfect mix of whimsy and handmade charm—exactly the kind of thing that fits right into my maximalist eclectic Christmas decor.
I even featured them in my Maximalist Eclectic Christmas post, and one of the gals reached out asking if I had made them myself! I had to laugh and admit that no, they were a thoughtful gift from my father-in-law. But that got me thinking: Could I learn to make them myself?

Of course, I had to check first to see if they were still available to purchase anywhere. Unfortunately, it seems like they’re no longer for sale. That sealed the deal—I decided to figure out how to DIY these beauties so I could recreate them for myself and maybe even share them with friends and family.
After a bit of trial and error (and some seriously starched felt), I’m thrilled to share the step-by-step instructions with you. Whether you want to recreate these for your own decor or as unique gifts, they’re simple, fun, and absolutely delightful to make!
Materials Needed:
Thick felt Sheets (various colors)
Wooden Balls/Beads (with a hole for threading)
Dowel Rod (approximately 8-10 inches long)
Wooden Base (round disc, about 1-2 inches in diameter)
Pom Pom (for the top)
Starch Spray or Mod Podge (to stiffen felt)
Hot Glue Gun (for securing components)
Drill and Drill Bit (to make a hole in the wooden base if needed)
Scissors (for cutting felt circles)
Ruler and Pencil (for measuring and marking)
Optional: Compass or Circular Templates (to draw perfect circles)
Instructions:
Prepare the Wooden Base:
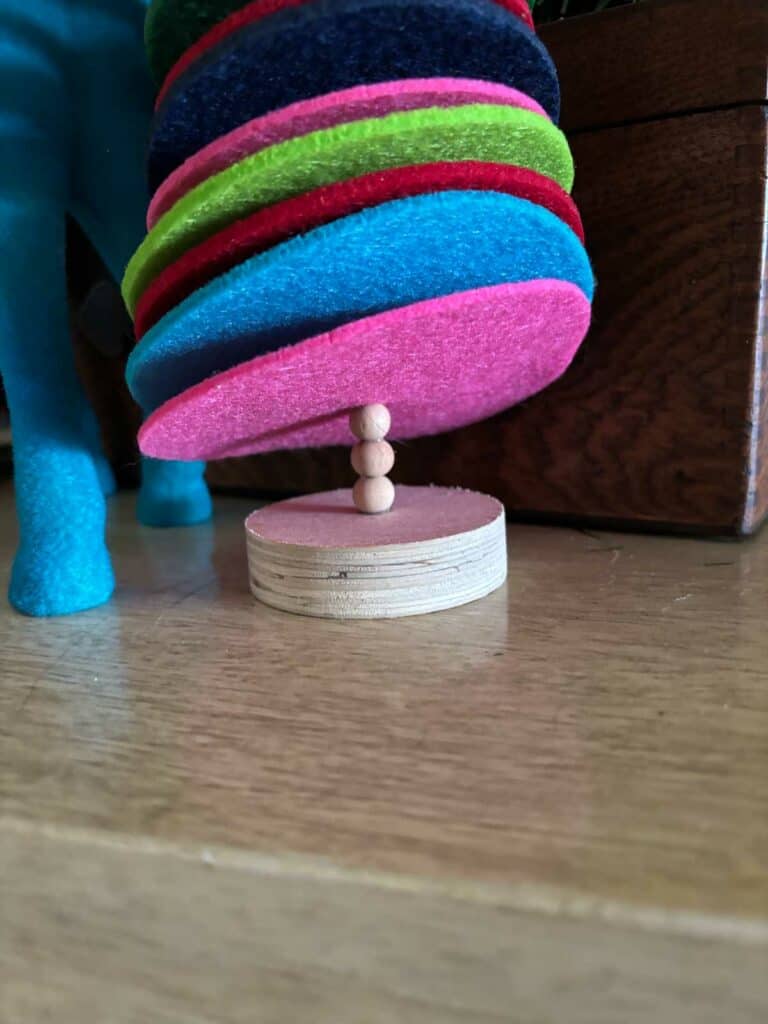
- If your wooden base doesn't already have a hole, use a drill to create one in the center, sized to snugly fit the dowel rod.
- Insert the dowel rod into the hole and secure it with hot glue.
Cut Felt Circles:
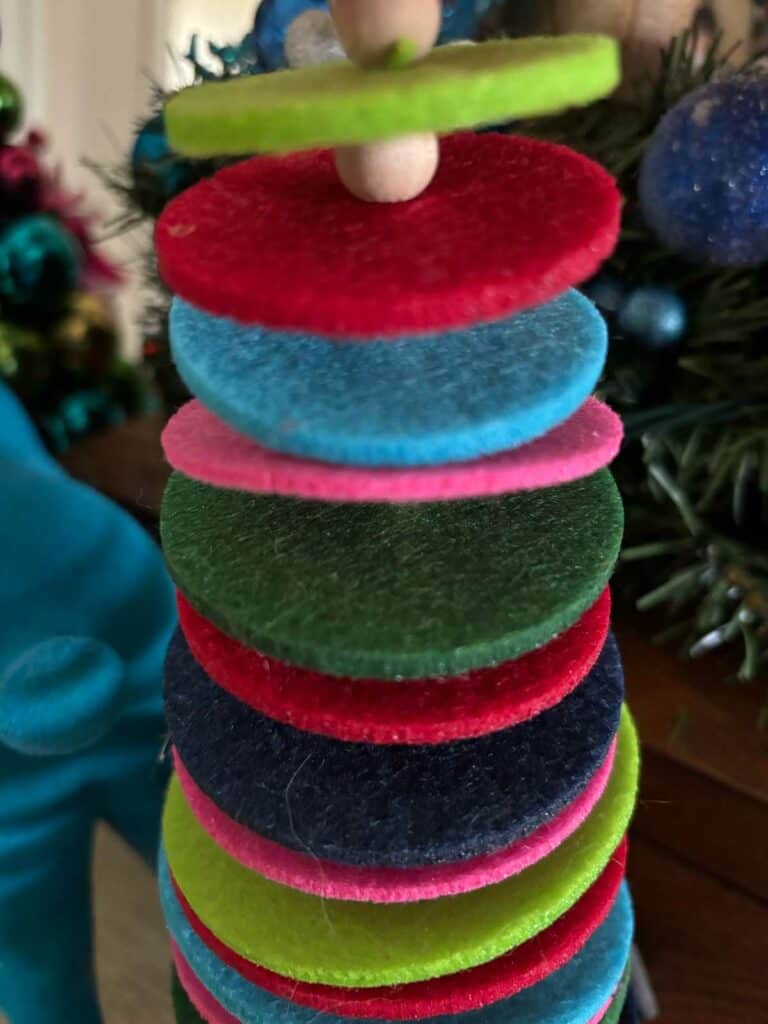
- Cut felt into circles of various diameters, ranging from approximately 1 inch (for the top) to 4-5 inches (for the bottom). Gradually decrease the size as you work upwards.
- To stiffen the felt and prevent sagging, spray them lightly with starch or brush them with Mod Podge. Let them dry completely.
Prepare Wooden Balls:
- Ensure the wooden balls or beads have holes that will slide over the dowel rod.
Assemble the Tree:
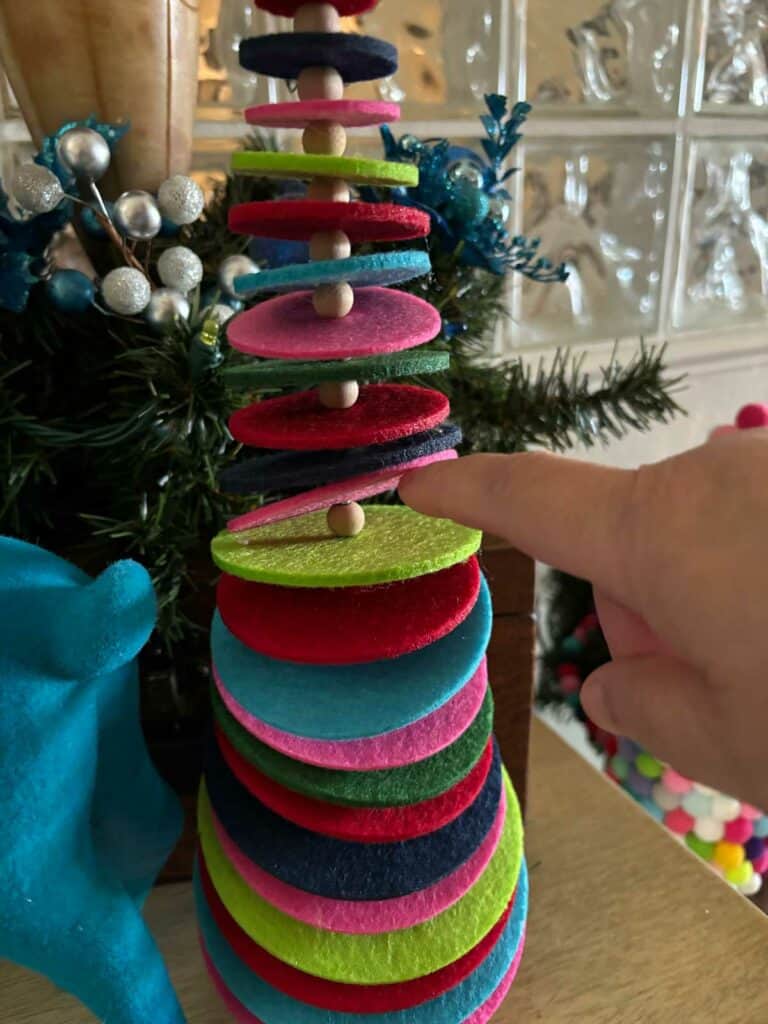
- Slide a large felt circle onto the dowel to form the bottom layer.
- Add a wooden ball/bead above the felt.
- Alternate between felt circles and wooden balls, gradually decreasing the felt circle size as you move up the dowel. Leave enough space at the top for the pom pom.
Attach the Pom Pom:
- Once all felt circles and beads are in place, glue a pom pom to the top of the dowel to finish the tree.
Secure and Adjust:
- Ensure all felt pieces and beads are evenly spaced. If necessary, glue some felt circles or balls in place to keep the tree stable.
Display Your Tree:
- Place your finished tree on a flat surface and enjoy your colorful, whimsical holiday decoration!
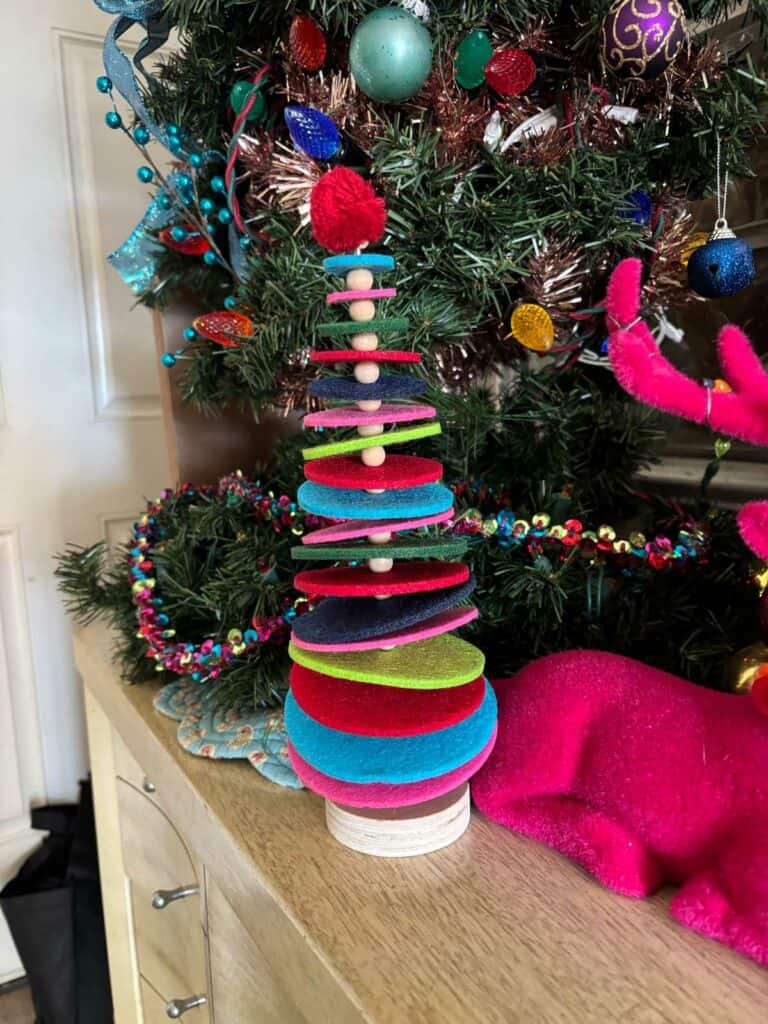
Festive Felt Colorful Christmas Tree Wrapup
I hope this guide inspires you to try making your own felt and wooden bead Christmas trees! They’re such a fun project, and the end result is so satisfying. Plus, there’s something truly special about creating your own decorations that hold meaning and memories. If you do make these, I’d love to see your creations—tag me or send me a photo so we can admire your handiwork together. Here’s to a festive and creative holiday season!
