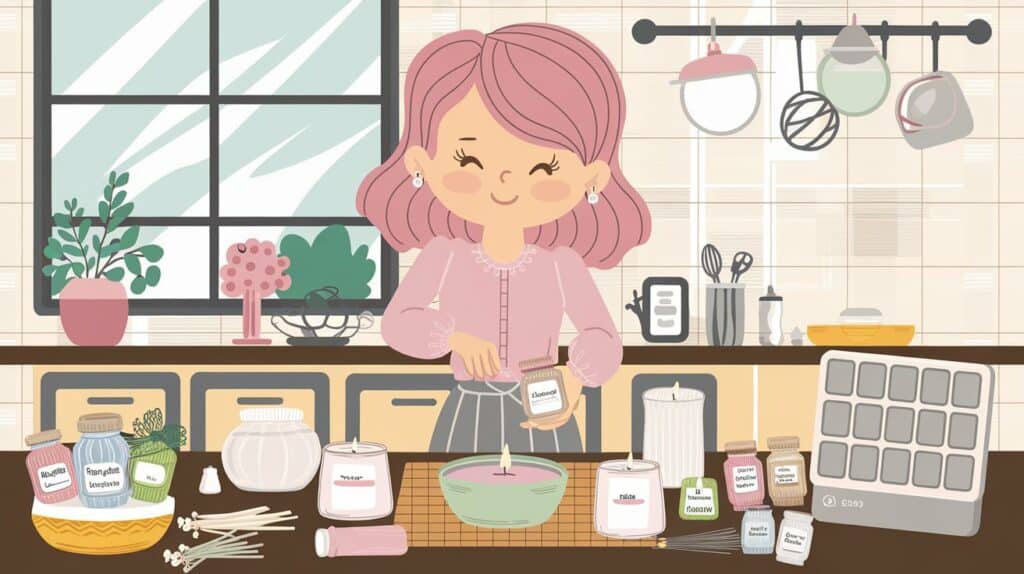
Handmade candles are the perfect addition to any home! Whether you’re setting the mood for a cozy evening or just enjoying the warm, comforting glow of a flickering flame. But what if you could make your own custom-scented candles at home?
Not only does it give you the chance to create unique scents, but it’s also a fun and rewarding DIY project! In this post, I’ll show you how easy it is to make scented candles using a simple melt-and-pour method. Let’s get started!

What You’ll Need
Before we dive into the process, let’s make sure you have everything you need. Fortunately, making candles at home is straightforward, and most of the supplies can be found at your local craft store or online.
- Wax: You can choose from a few different types of wax. For beginners, I recommend using soy wax because it’s easy to work with and burns cleanly. Beeswax is another great natural option, though it can be a little pricier. If you want to go for something more traditional, paraffin wax works well, too.

- Fragrance Oils: Scented candles are all about the fragrance! You can use essential oils for a more natural approach, or opt for pre-made fragrance oils for a stronger scent throw. Popular candle scents include lavender, vanilla, eucalyptus, and citrus. But don’t be afraid to mix and match—combining scents is one of the most fun parts of candle making!

- Wicks: The wick you choose should correspond with the size of the container you’re using. Cotton wicks are a great standard choice, while wooden wicks give off a rustic feel and crackling sound when they burn.

- Containers or Molds: The container is where your candle will live! Glass mason jars are classic, but you can also get creative with tin cans, ceramic mugs, or even teacups. If you’re making shaped candles, molds will come in handy.

- Tools: You’ll need a double boiler or microwave-safe bowl to melt the wax, a thermometer to monitor the temperature, a stirring spoon, and wick holders to keep the wick centered.

Step-by-Step Guide to Making Scented Candles
Making candles is simple, but there are a few key steps to keep in mind. Follow this easy guide, and you’ll have beautiful, scented candles in no time!
Step 1: Prepare Your Workspace
Start by setting up your workspace. Lay down some newspaper or old towels to catch any spills. Having all your supplies within reach will make the process much smoother, so gather everything you need before you begin!
Step 2: Melt the Wax
Now, it’s time to melt the wax. You can use a double boiler for this, or melt the wax in the microwave. If you’re using a microwave, heat the wax in 30-second intervals and stir each time to avoid overheating. If you’re using a double boiler, bring the water to a simmer and place the wax in the top pot, stirring occasionally.
For most waxes, you’ll want to heat it to around 170°F. Use a thermometer to ensure the wax is at the correct temperature.
Step 3: Add the Fragrance
Once the wax is melted, it’s time to add your fragrance! Add 1 ounce of fragrance oil per pound of wax for a good scent throw. If you're using essential oils, feel free to blend different oils to create your own custom fragrance.
Be sure to add the fragrance when the wax temperature is around 160°F for the best scent retention. Stir the wax gently to distribute the fragrance evenly.
Step 4: Attach the Wick
While your wax is cooling slightly, it’s time to attach the wick. Secure the wick to the bottom of your container using a small amount of glue or a wick sticker. Once the wick is in place, use a wick holder or tape to ensure the wick stays centered and doesn’t move while the wax sets.
Step 5: Pour the Wax
Now comes the fun part—pouring the wax! When your wax reaches about 130°F to 140°F, carefully pour it into your container, leaving about an inch of space at the top. Make sure the wick stays centered as you pour.
Try to pour slowly and evenly to avoid air bubbles. If you want a perfectly smooth top, you can let the wax cool slightly before topping it off.
Step 6: Let the Candle Set and Cure
Allow your candle to harden for 4-6 hours at room temperature. You’ll know it’s ready when the surface is firm and cool to the touch.
For the best scent throw and burn quality, it’s ideal to let your candle cure for 24 hours before burning it. This gives the wax and fragrance oils time to fully bond.

Tips for Perfect Scented Candles
Here are some great tips for how to make perfectly scented candles!
- Choosing the Right Scent Strength: If you love a strong scent, you can always add a little more fragrance oil. However, if you prefer a lighter fragrance, adjust the amount accordingly.
- Layering Scents: Try blending scents like lavender and vanilla or citrus and mint to create your own unique candle fragrances. Experiment with different combinations until you find the perfect blend!
- Wax Tips: If you notice any frosting or uneven burning on your candles, don’t worry—this is a natural occurrence with soy wax. To avoid it, pour the wax slowly and at the correct temperature.
- Decorating Your Candles: Get creative by adding dried flowers, herbs, or even a sprinkle of glitter into the wax for a beautiful touch. Just make sure to do this once the wax has cooled slightly so that the decorations don’t sink to the bottom.
Common Mistakes to Avoid When Making Scented Candles
Super easy way to avoid making mistakes with your candles!
- Incorrect Wick Size: If your wick is too small, your candle will burn too slowly. If it’s too large, it could burn too fast and create soot. Always choose a wick size that suits the size of your container.
- Overheating the Wax: Wax can lose its scent if it’s overheated, so always melt it slowly and at the correct temperature. Keep an eye on your thermometer!
- Not Allowing Enough Curing Time: Skipping the curing process may cause your candle to have a weak fragrance. Be patient and let it cure for at least 24 hours for the best results.

How to Burn Your Scented Candle Safely
Now that you’ve made your beautiful candle, it’s time to enjoy it! But before you light it up, here are a few safety tips:
- Trim the Wick: Always trim the wick to about ¼ inch before lighting your candle. This helps the candle burn evenly and reduces soot buildup.
- Never Leave a Candle Unattended: Always keep an eye on your candle when it’s burning, and never leave it unattended.
- Burn for the Right Amount of Time: To make your candle last longer, avoid burning it for more than 4 hours at a time. This helps the wax melt evenly across the surface.
Conclusion
Making your own scented candles is a fun, creative process that allows you to personalize every aspect—from the wax to the fragrance to the container. With just a few simple ingredients and tools, you can create candles that are perfect for your home or as thoughtful gifts for loved ones.
So go ahead, experiment with different scents, and let your creativity shine! And if you try making your own candles, be sure to share your creations with me in the comments below!
AI Image Disclosure: Some of the images in this post were made using AI, kind of like how I used to use stock photos back in the day—but now I can make exactly what I want to help you visualize what I’m talking about. The vibe is totally me—just with a sprinkle of tech magic to bring it to life!


