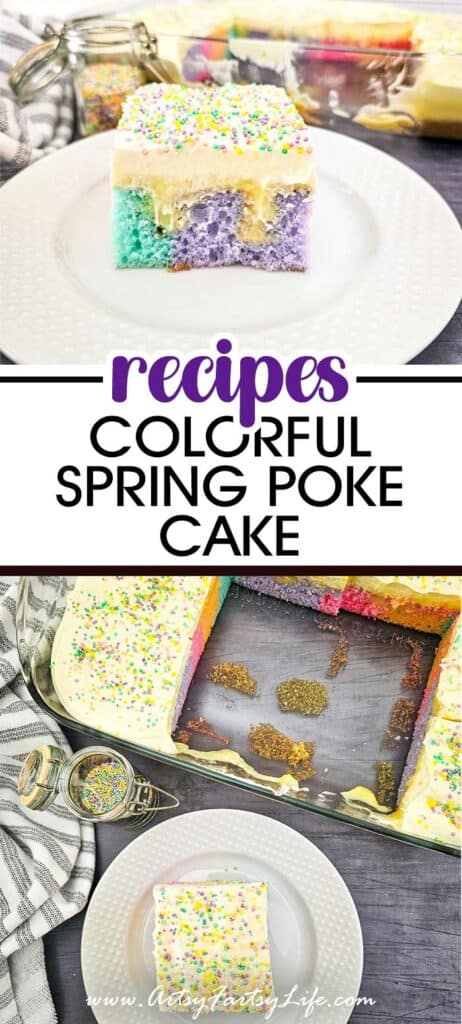
I LOVE all the fun pastel colors in this poke cake! It is perfect for fun spring events like Mother's Day, Father's Day, Easter or just normal family gatherings.
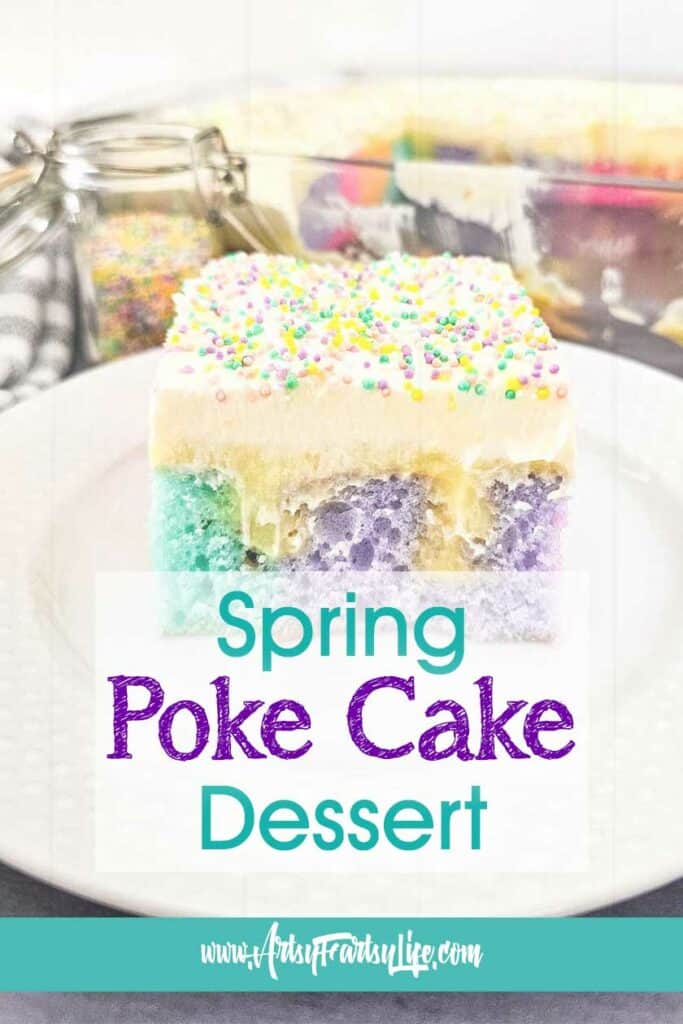
What is a better way to celebrate all things Spring than a delicious and pretty spring poke cake? And it is SUPER simple, using just a boxed cake mix, food coloring, vanilla pudding and whipped topping... such an easy cake recipe!
I might be the queen of using boxed cake mixes to make something extraordinary that looks fancy but is actually super simple to make!
And the best part? You can tart it up any old way you want, not just for spring! Use shades of pink for your grand daughter's birthday party, blue poke cake for a gender reveal party or add green to make it a St. Patricks Day cake... the options are endless!
What You'll Need (printable recipe card below)
Here's your simple ingredients shopping list and the tools you'll want to gather before diving in:
Ingredients:
- 1 white cake box mix plus the ingredients it calls for (check the box!)
- Wilton Neon Gel Food coloring (pink, purple, green, and blue)
- 2 boxes (3.4 oz each) vanilla pudding mix
- 4 cups milk
- Whipped topping (like Cool Whip, or make your own!)
- Plenty of spring sprinkles
Tools:
- Measuring cups
- Hand mixer or stand mixer
- Large bowl
- 4 small bowls
- Silicone spatula
- Spoons
- Pastry bags (optional, but make the colorful batter easier to handle)
- 9x13 inch cake pan or baking dish
- Wooden spoon (for those poke holes!)
- Medium bowl
- Whisk
Let's Get Baking (and Poking!)
Preheat and prep: Preheat your oven to 350 degrees and give your cake pan a good greasing with vegetable oil or Crisco.
Mix and color: Make your cake mix according to the box directions. I like to use a hand mixer on low speed because I have arthritis. Then, the fun part – split the batter into four small bowls and add about 2 drops of each food coloring into a bowl. Stir those colors in good!

Rainbow time: Here's where it gets artsy. You can either use pastry bags or a spoon to drop the colored batter into your cake pan in rows. Alternate colors for the most vibrant effect!

Bake it: Pop that pan in the oven and bake (check those box instructions for bake time). Do the toothpick test to make sure it's done – it should come out clean.
Poke-a-thon: This is satisfying. Grab the handle of a wooden spoon and start poking holes all over the top of the cake!

Pudding power: Whisk up the first box of vanilla pudding with 2 cups milk and pour it over the cake, making sure that pudding gets into all those holes! This step is why your cake will have a moist texture!
Chillout #1: Pop the cake in the fridge for an hour to firm up.
Pudding + whipped topping: Whisk up the second box of pudding with the remaining milk. Fold in that whipped topping for extra fluffy goodness and spread it on your cake. If you wanted a substitute, cream cheese frosting would be great on this cake too!

Sprinkle magic: Add about half your sprinkles now to let them start adding their own color to the cake.

Chillout #2: Back into the fridge for at least 2 hours.
Decorate and devour: Just before serving, go wild with the remaining sprinkles and slice it up!
Spring Poke Cake
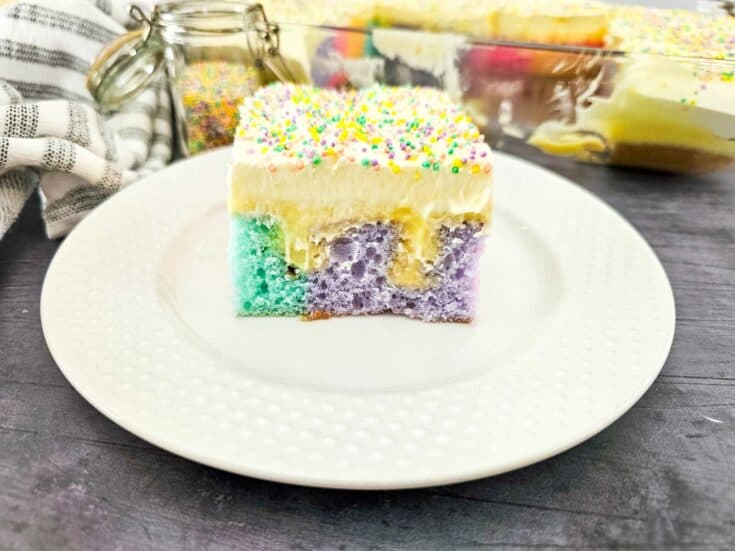
I LOVE all the fun pastel colors in this poke cake! It is perfect for fun spring events like Mothers Day, Fathers Day, Easter or just normal family gatherings.
Ingredients
- 1 white cake mix plus ingredients (mine called for 1 ½ cups water, ½ cup oil, 4 egg whites)
- Wilton Neon Gel Food coloring - 2 drops of each color
- 2 boxes (3.4 oz each) vanilla pudding
- 4 cups milk
- 8 oz container whipped topping
- 2-3 tablespoon Spring sprinkles
Instructions
- Preheat the oven to 350 degrees, and grease a 9x13 cake pan.
- Prepare the cake mix according to package directions.
- Divide the mixture between 4 small bowls, and add 2 drops of food coloring to each bowl. (You should have 1 bowl of each color) Stir well to mix the color.
- Add the batter to pastry bags, or use a spoon to add the batter to the pan. You’re going to do rows of colors, alternating the colors in each row. I did 5 rows, but you could do more, or less, depending on how you want the cake to look.
- Transfer the pan to the oven, and bake according to package directions (I did 25 minutes), or until a toothpick inserted into the center of the cake comes out clean.
- Once baked, remove the cake from the oven.
- Use the end of a wooden spoon to poke holes all over the cake, about 1 inch apart.
- Prepare one box of pudding with 2 cups of milk in a medium bowl, and whisk for 2 minutes. Pour over cake, spreading it into the holes, and evenly on top of the cake.
- Refrigerate for 1 hour.
- After 1 hour, prepare the next box of pudding with the remaining 2 cups of milk, and whisk for 2 minutes. Fold in the whipped topping, and spread over the cake.
- Add half the sprinkles all over the cake.
- Refrigerate for 2 hours.
- With these sprinkles, they dissolve a bit due to the moisture, but that’s ok because it’s what makes it colorful. Just add MORE sprinkles right before cutting.
- Cut the cake int0 12 slices (or more if you want smaller pieces), and enjoy!
Notes
Storage: store covered and refrigerated
Nutrition Information:
Yield:
12Serving Size:
1Amount Per Serving: Calories: 177Total Fat: 9gSaturated Fat: 6gTrans Fat: 0gUnsaturated Fat: 3gCholesterol: 7mgSodium: 89mgCarbohydrates: 20gFiber: 0gSugar: 17gProtein: 4g
Pro Tips:
- If you don't have neon gel food coloring, regular food coloring works too. The colors might be a bit softer.
- The sprinkles will "bleed" a little bit into the cake as it sits, creating a super cool watercolor effect!
- Leftovers (if there are any!) stay great in the fridge for a few days.
- If you want to make lemon poke cake, just use lemon jello and cake mix instead, lime poke cake, lime jello... I think you get the gist!
More Great Dessert Recipes You Might Love
- Super Yummy Cherry Jello Poke Cake Recipes!
- Easter Recipes - Birds Nest Cookies and Easter Rice Krispie Treats
- Lemon Cake Box Cookies - Easy Dessert Recipe!
Let me know if you try this colorful Easter poke cake recipe!