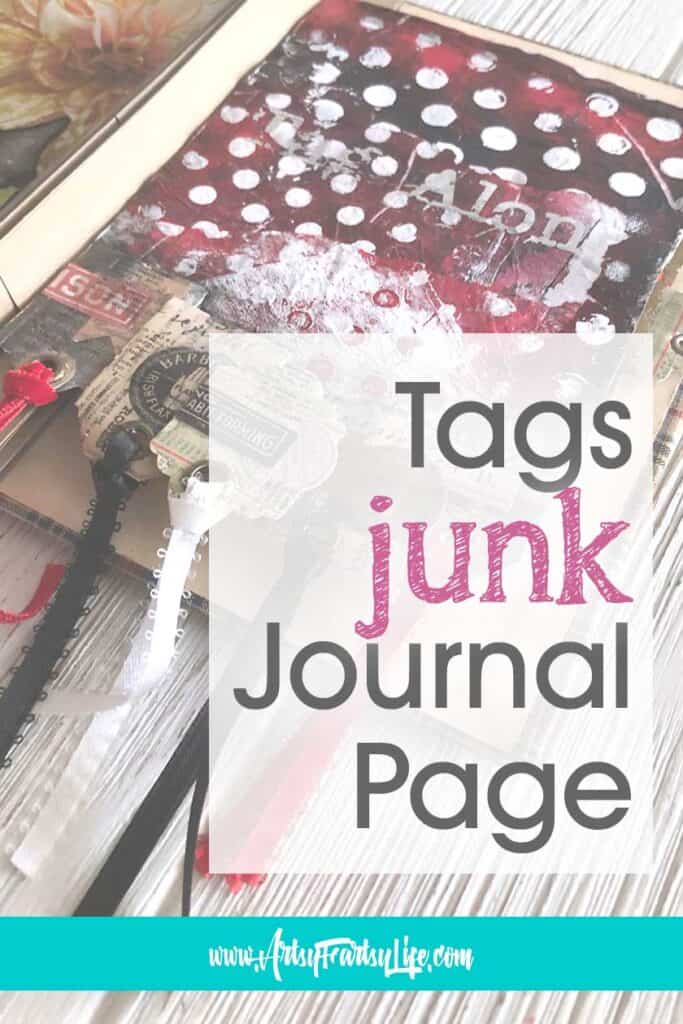
I thought it would be fun to use my tag punches for making a a snazzy pocket in my junk journal. It turned out even better than I thought! I used the tag punches to embellish my journal pocket AND add some dangly ribbons to stick out the bottom!
How I Thought of This One!
One of my favorite things to do is to challenge myself to use some kind of tool or art supply that I already have on hand. So many times we think we have to get new supplies, but I already had these cool tag punches that I could use to make a fun pocket for my junk journal.
This is what I call a true "junk journal" where I am using junk mail for the basis of each book page. This pocket is an envelope that I cut up and used as the basis for this pocket!
Full Video Tutorial - How To Make Tag Punch Junk Journal Pocket
Products Used In The Video: I always include the whole list because I LOVE knowing what is out there to use in my mixed media art! Please note a will receive a small commission if you purchase through my link at no additional cost to you... whoo whoo!
- Archival Black Ink Pad
- UHU Glue Sticks
- Minc Transfer Paper (the shiny silver words)
- Art Glitter Glue
- Mod Podge
- Tim Holtz Ephemera
- Tim Holtz Collage Tissue
- Glossy Accents
- Fiskars Tag Punch
- Cropadile (for setting eyelets)
- Heidi Swapp Mini Minc
- Brush Water Pen
- Michaels Ribbon Bunches
How To Make A Tag Punch Junk Journal Pocket (With Ribbon Dangles!)
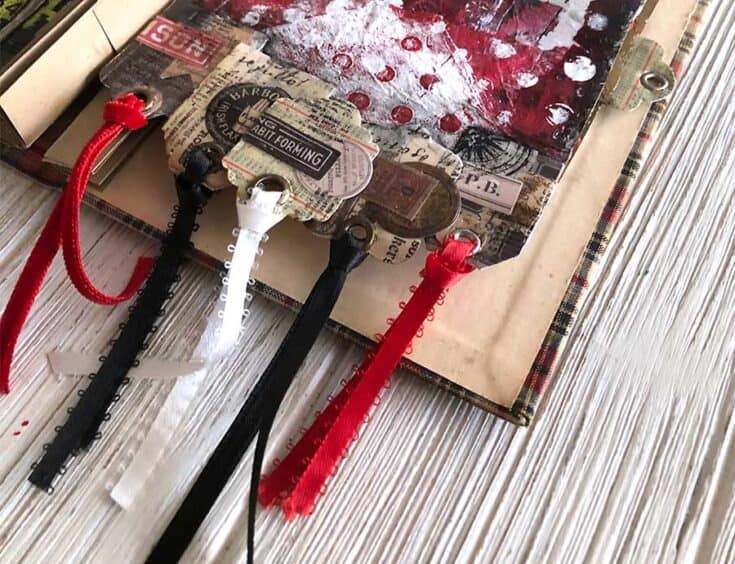
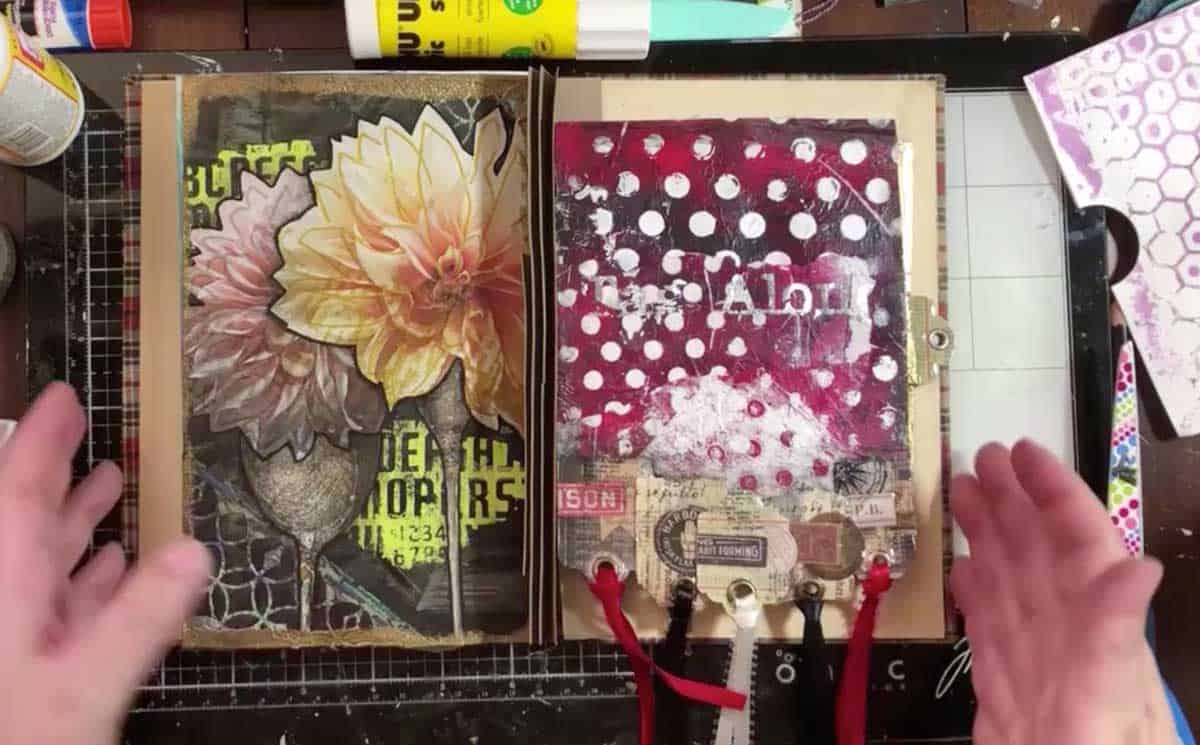
Tips, ideas and products that I used to make this wicked cool, vintage inspired junk journal pocket page. It has the cutest tags that hold ribbons that peek out of the bottom of my journal!
Materials
- Archival Black Ink Pad
- UHU Glue Sticks
- Minc Transfer
- Art Glitter Glue
- Mod Podge
- Tim Holtz Ephemera
- Tim Holtz Vellum Ephemera
- Tim Holtz Collage Tissue
- Glossy Accents
Tools
- We Are Memory Keepers Clear Cut Punch
- Fiskars "Tag Punches
- Mini ½ Punch
- Cropadile
- Heidi Swapp Minc
- Brush Water Pen
Instructions
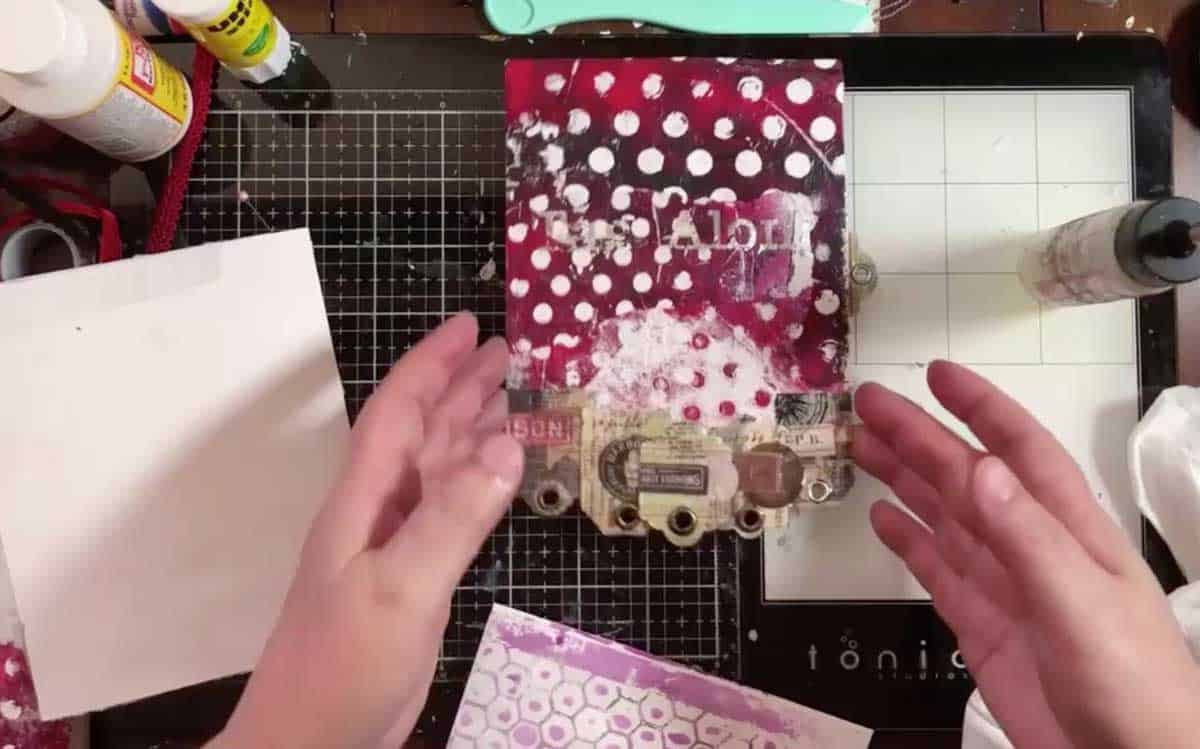
- Get your tissue paper or other background ready for the pocket (I used an old envelope and mixed media paper for my base)
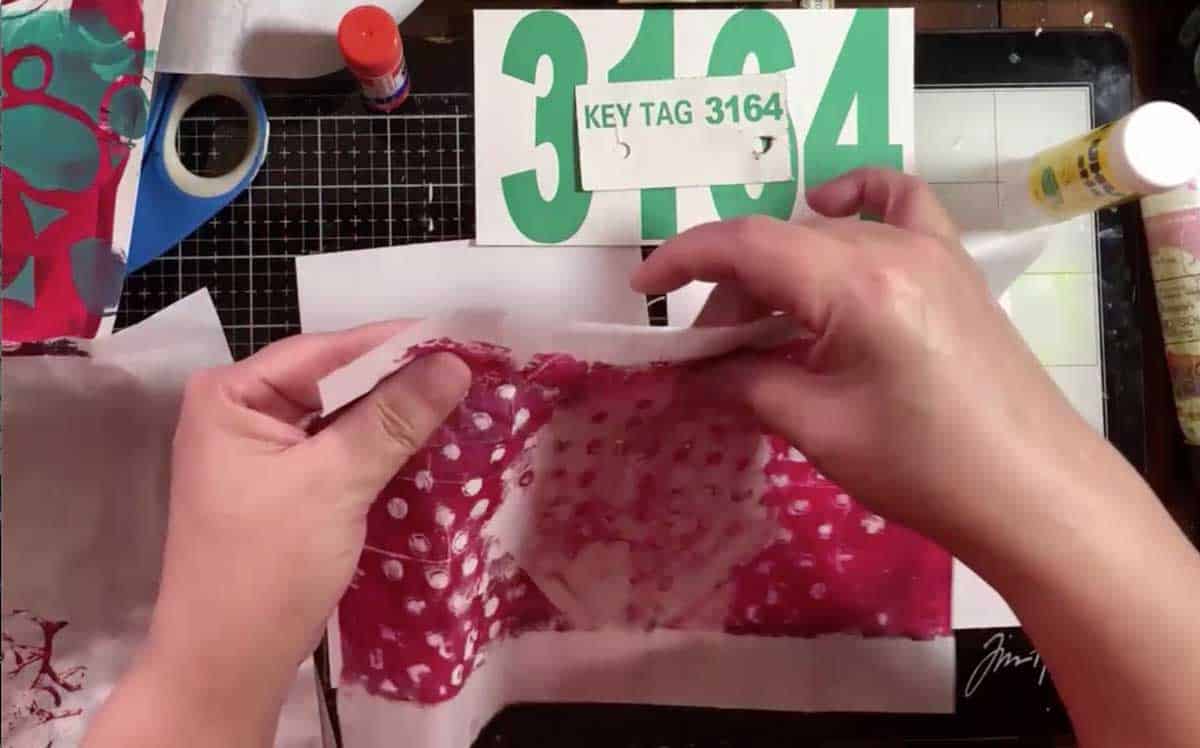
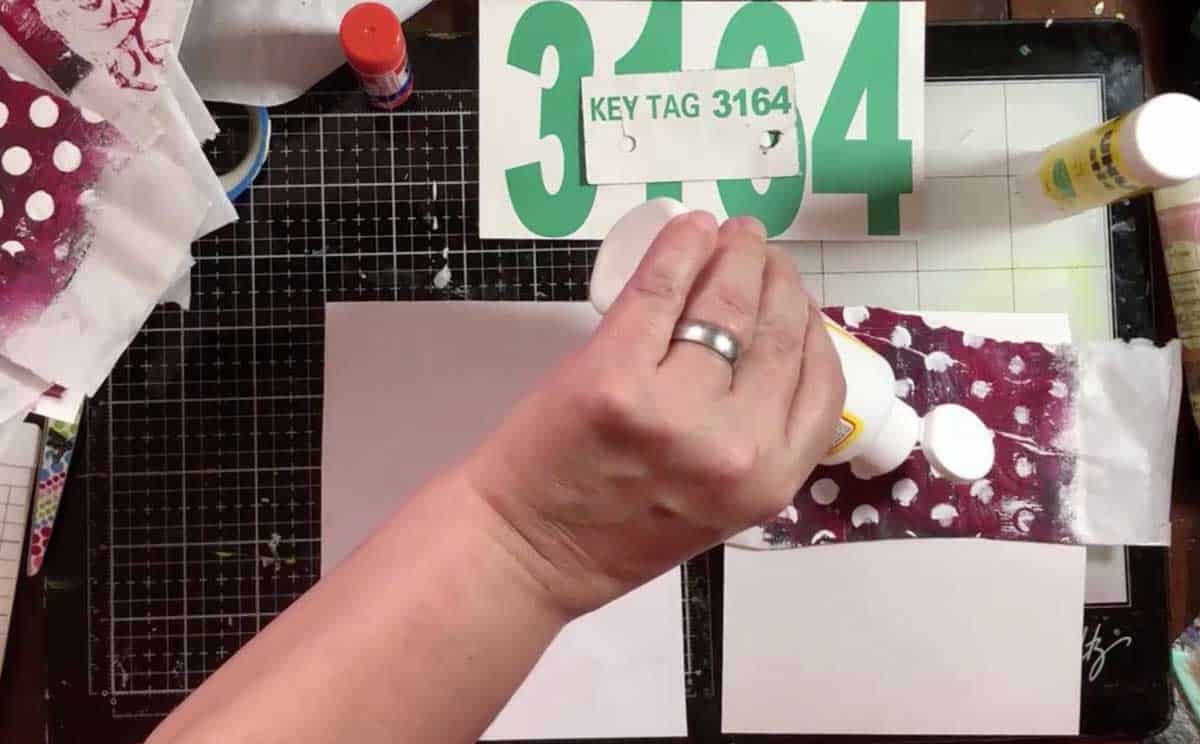
- Use Mod Podge or other gel medium to glue your fancy papers to your envelope
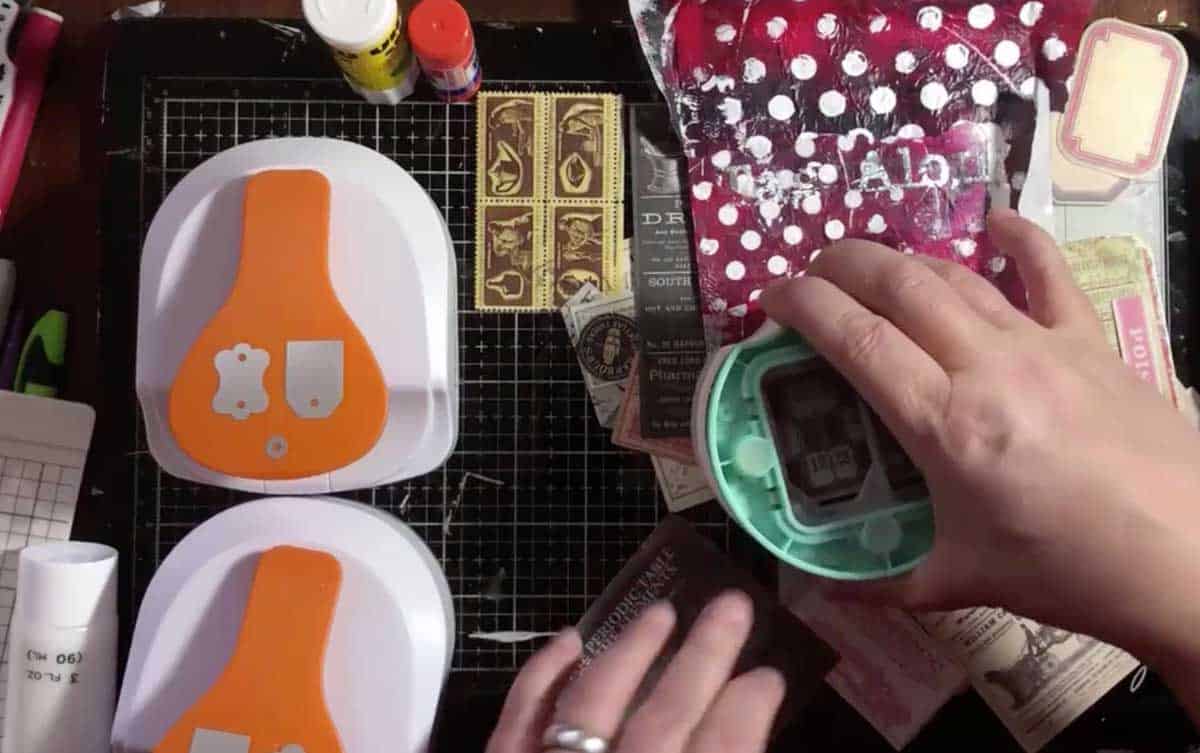
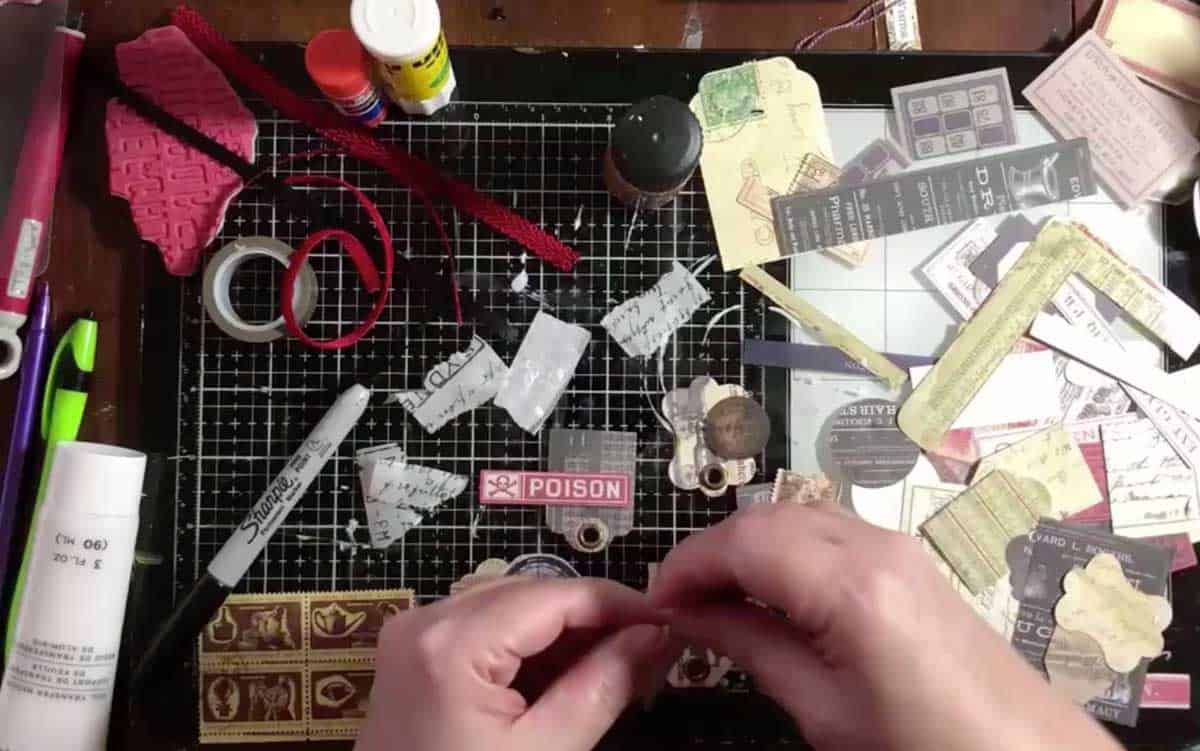
- Use tag punches or dies to cut out your tags (I used 5 tags for the bottom and 1 tag for the pullout)
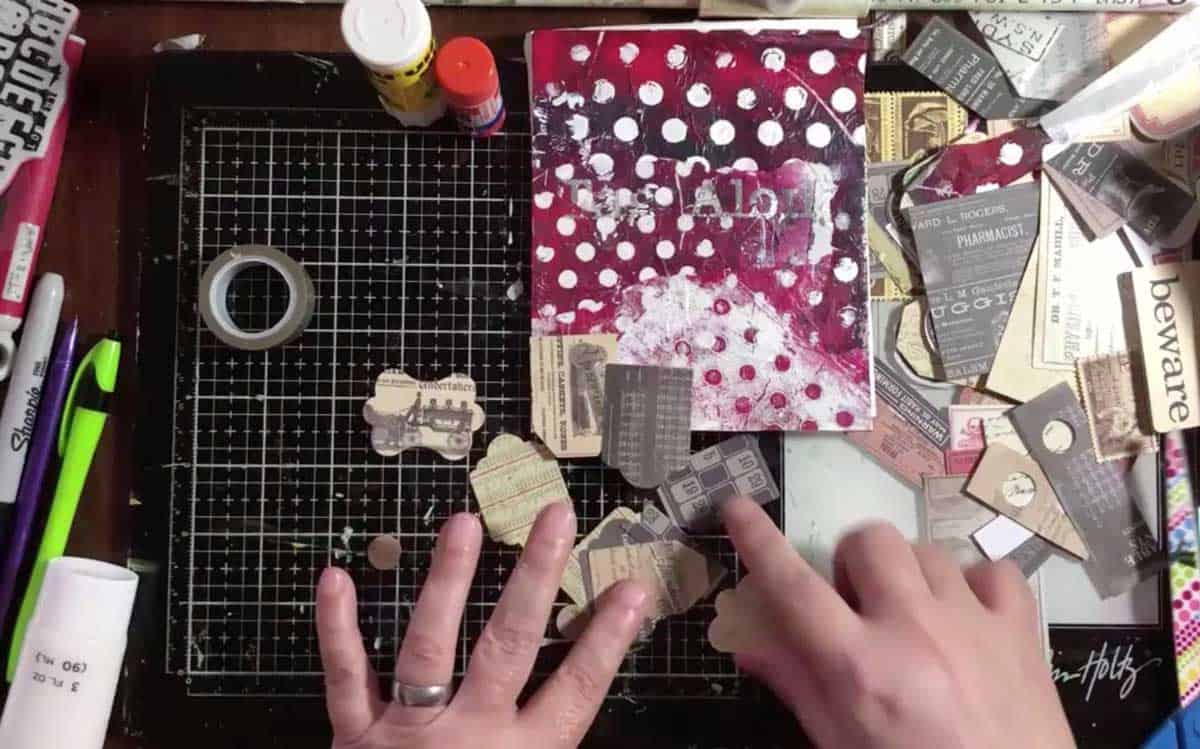
- Dry fit arrange your tags across the bottom to see how you are going to use them and see if you need any more
- Cut ribbons to size (I wanted mine to stick out of the bottom so I cut them long)

- Layer your tags with ephemera to add interest
- Use Glossy Accents or Mod Podge Dimensional to make the tags still and shiny
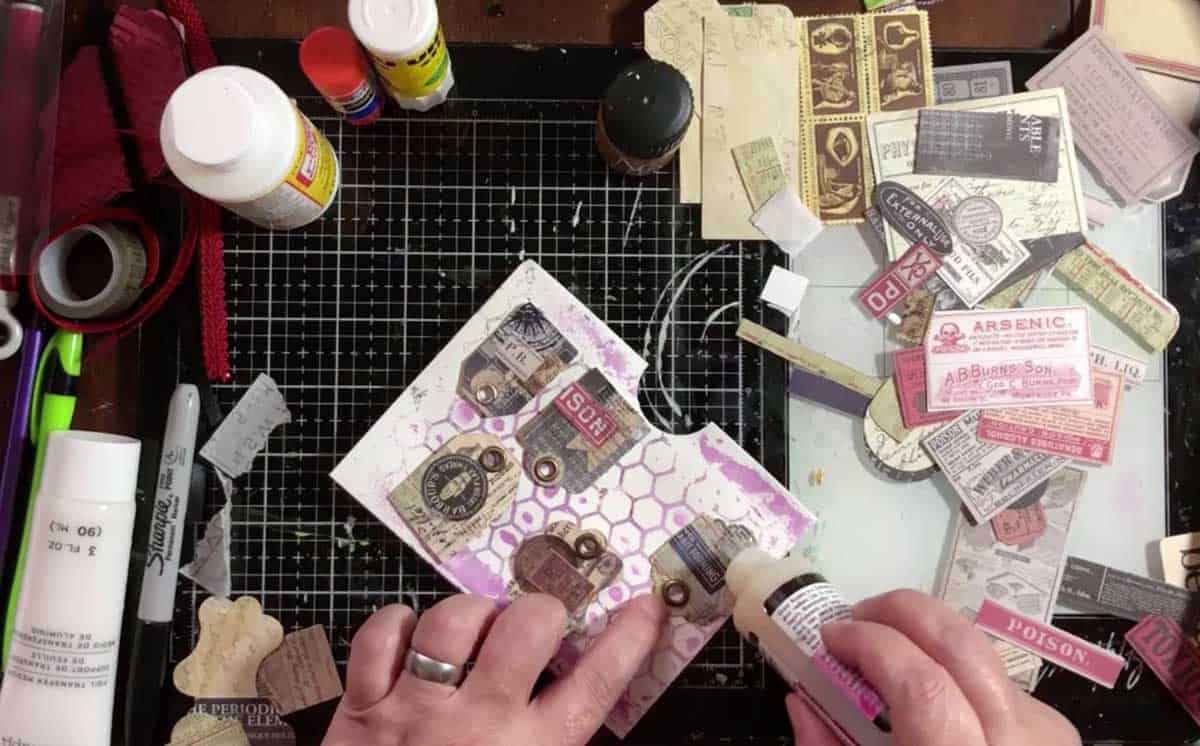
- Glue down your tags, arranging them across the bottom of the pocket (I used Art Glitter Glue)
- Outline the top of your tags and the outside of the pocket with Stabilo pencil to add dimension and shadows
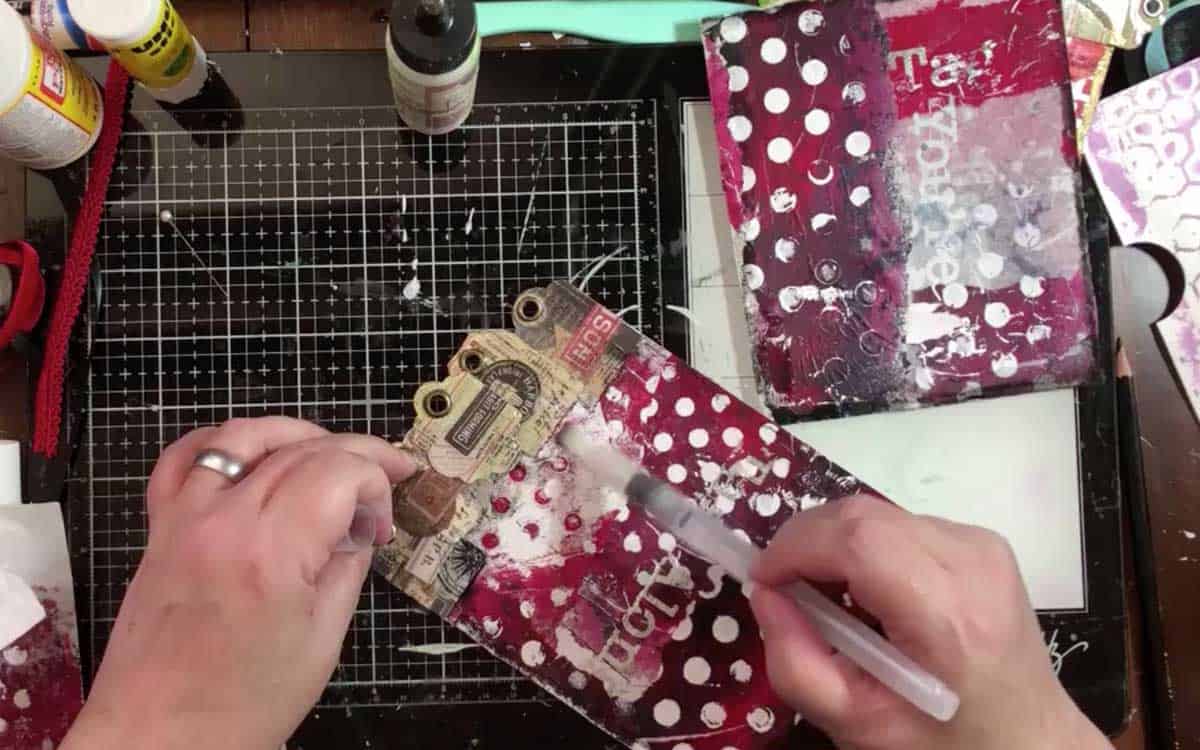
- Add ribbons to the holes in your tags (optional - add grommets or eyelets to the holes first)
Recommended Products
As an Amazon Associate and member of other affiliate programs, I earn from qualifying purchases.


Tag Journal Pockets FAQ
I had SO MANY QUESTIONS when I started doing junk journals! Here are a few I get most often about making pockets...
What kinds of pockets can you make in your junk journals?
You can make any kind of pocket (including just folding up or over a piece of scrapbook paper or card stock!
For this project I used an old envelope that just happened to be EXACTLY the right size to fit on that binding.
How many envelopes should you save for journaling?
Once you start junk journaling you will be so glad to get your mail because there is SO MUCH JUNK in there. That said it can tend to pile up fast.
What I do is keep a fair amount of different sizes and shapes then toss the rest. OR I will do a whole mini album made of different envelopes if I just can't bring myself to throw away good "junk"...:)
Is this really a junk journal? You used so many products!
A gal I really like did a video the other day and laid out "rules" for junk journal pages, art journals, scrapbooks and all sorts of different creative endeavors.
Gotta say I was super disappointed in her because that might lead someone to NOT doing art because they can't do it the "right" way!
I call this a junk journal because I am using junk in it for base. Maybe it isn't a book created of all junk, and I used vintage books to make the cover, but I am having fun making it and that is good enough for me!