Tips and ideas for how to take ratty thrift store boxes like this one and turning them into colorful and functional storage for your office or craft room. I used decoupage tissue paper and acrylic paint to turn an ugly old box into a beautiful storage tray!
Thrift Store Crafts
I LOVE finding cute little boxes and trays like this one at the thrift store. It is super well made (dovetail corners even) and it will work perfectly for organizing my craft room and office!
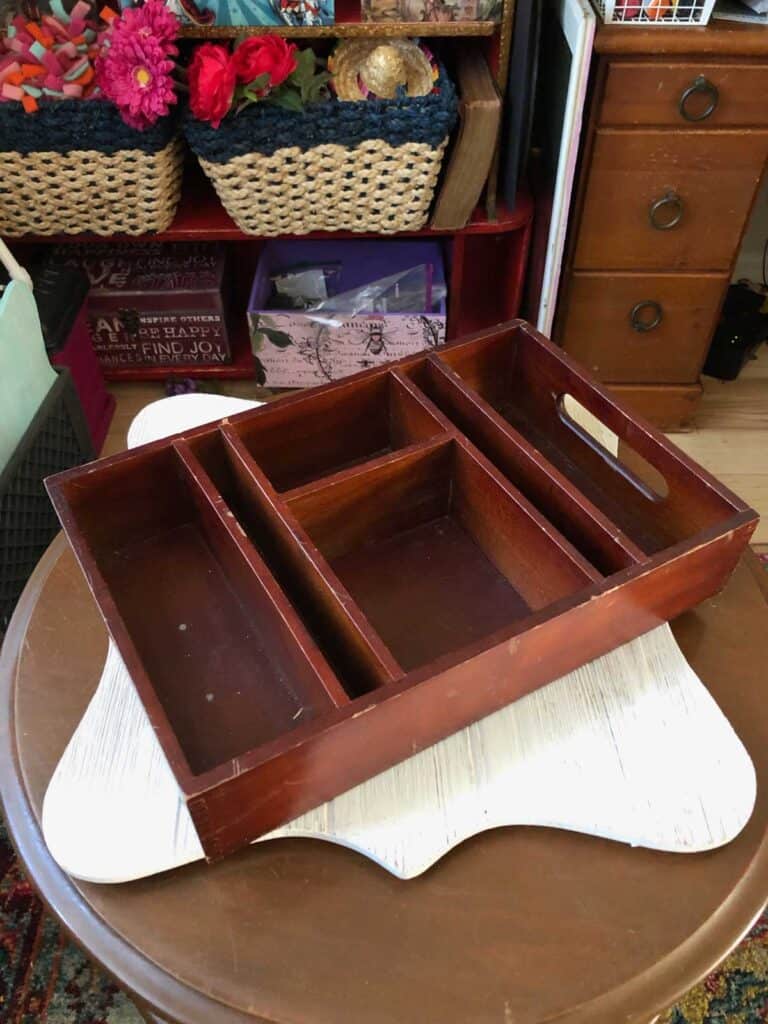
The best part about picking one like this is that lots of people will pass it by because it has some wear and tear on it!
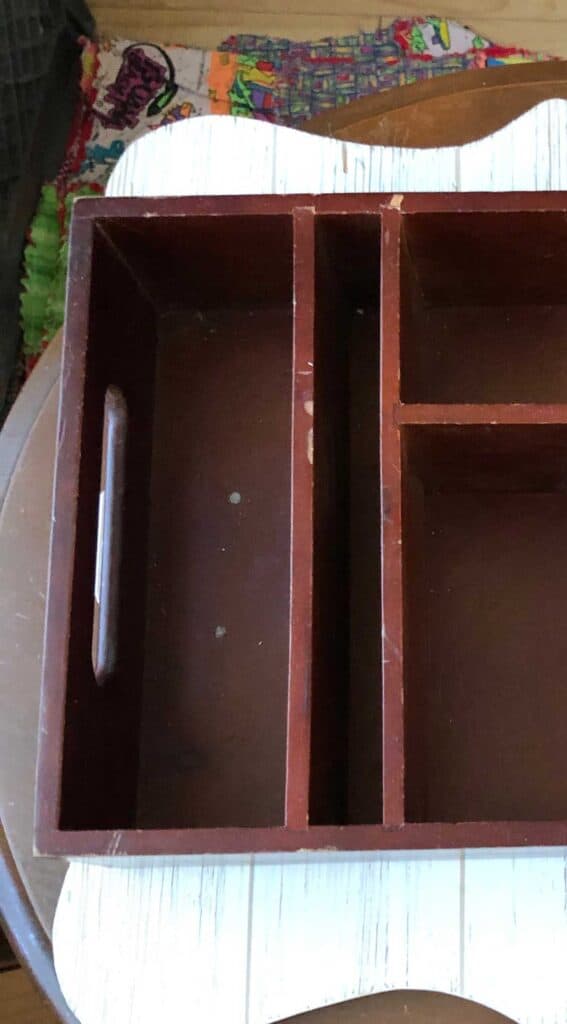
It was about $5 for the box, there is NO WAY I could buy something of this quality at the store for that price now!
Preparing The Storage Box
Make sure to clean your box well (I had to get a ton of old dust and oogies out of mine!)
Then you need to prime your box inside and out. You can use "real" primer from an old project or use white Gesso paint like I did!
I like using white Gesso rather than clear Gesso to give the tissue paper a bright clean background to put your tissue paper on in the decoupage phase!
It will be a little rough or grainy feeling which is good! We want a surface that the glue and tissue paper will stick to!
Painting The Insides
I like to have cool contrasting colors inside my box, but you could do all one color if you wanted!
You can use any kind of paint you have around (I used acrylic paint from either Michaels or Hobby Lobby).
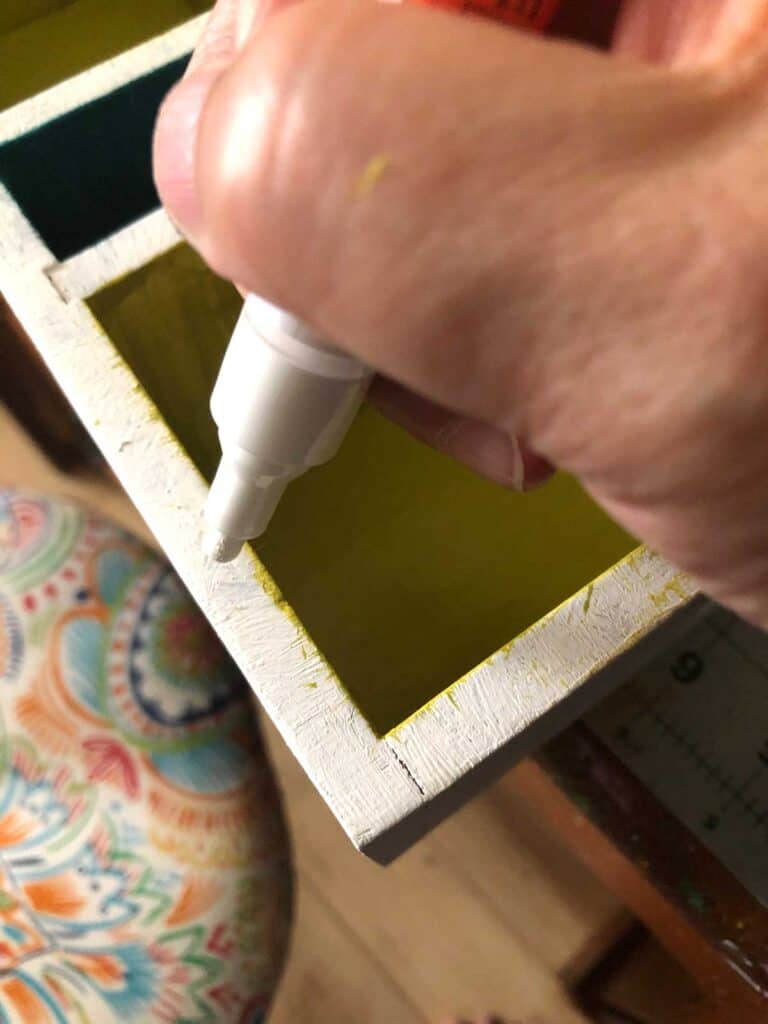
After you are done with the painting, you will want to touch up the edges (if you left them white like I do). I used a Posco pen to go back and clean up any of the "oopsies".
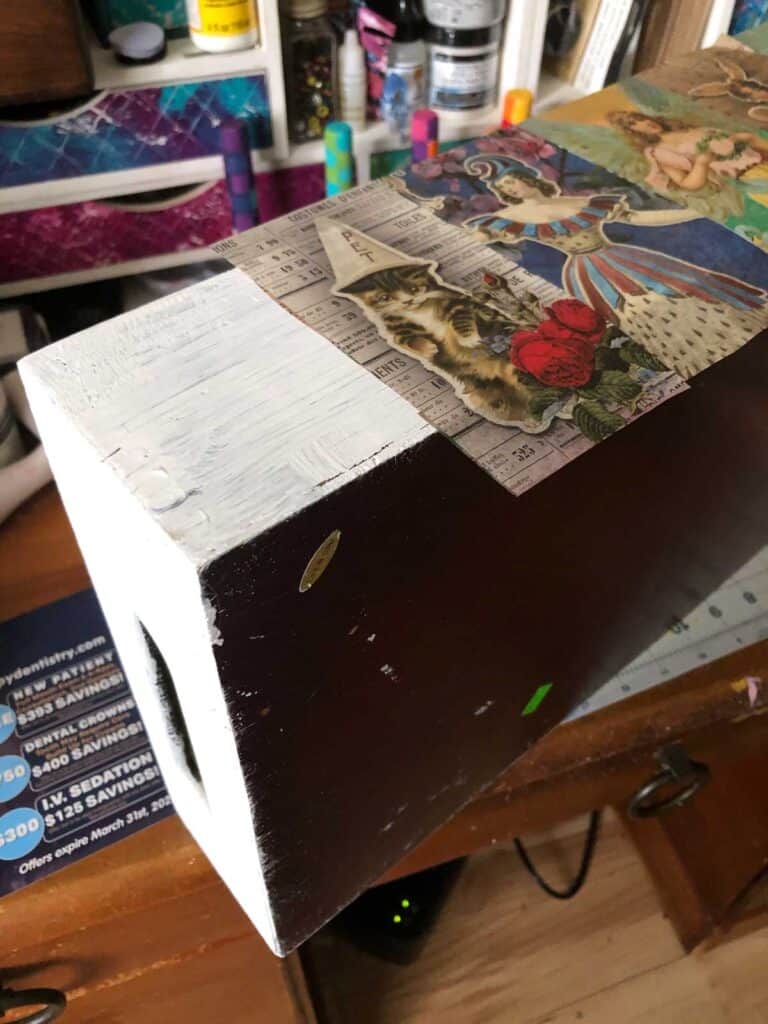
Decoupage Your Box
This is the fun part! I used some of my custom designed tissue paper to decoupage the box. You can use any kind of tissue paper or napkins you have (just remember to take off the extra layers if you are using napkins).
Step #1 - Use a paintbrush to put a thin coat of Mod Podge on the first important side of the box. The two long sides were important to me, the handle sides were where I wanted any weird overlaps to occur!
I like the matte version because I don't want the finish to be too shiny!
Step #2 - Position your tissue paper starting in the middle and work your way out to the ends.
Step #3 - Use a brayer to squish the paper down and get out any wrinkles or bumps. On the first pass be super careful because you can pull the tissue paper. Once it is stuck you can roll it back and forth pretty hard.
Note: If you mess up your paper, there is some time to take it off and start over again. I had to do this and just scrapped the first picture and did a different one!
Step #4 - Work around the box doing the other important side next and then the other ends in case it overlaps weird (the handles or the holes will cover it up!
Step #5 - Use a sharp Exacto knife or the Tim Holtz retractable one I use to cut the excess tissue paper off.
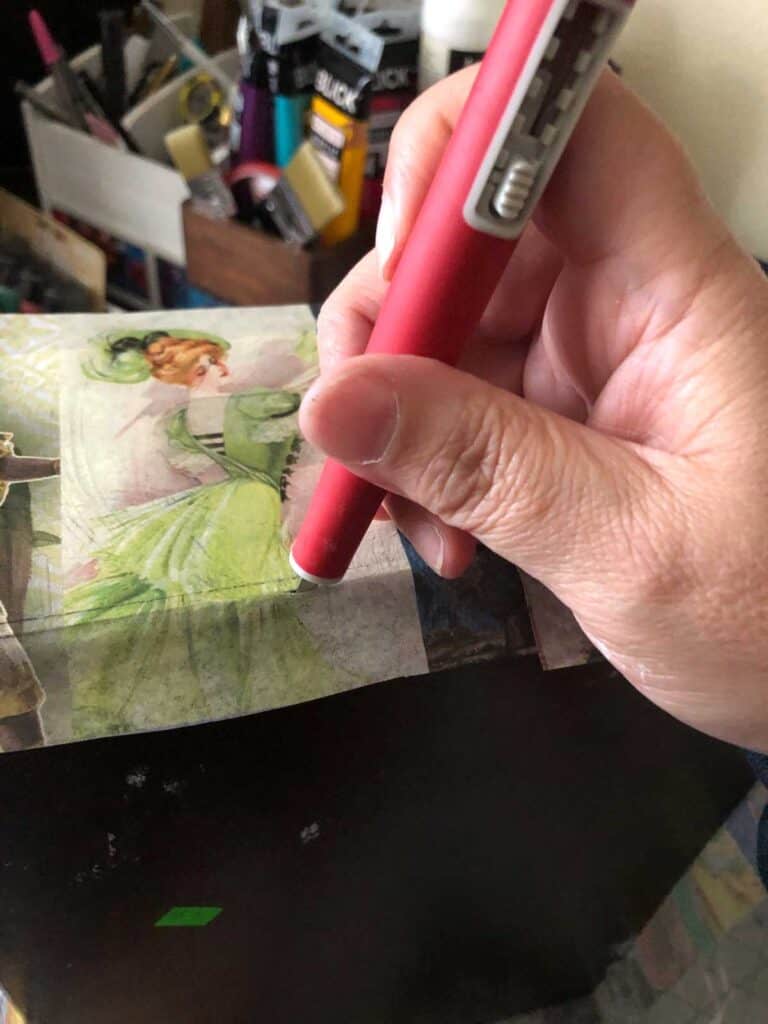
I like doing it this way instead of trying to cut all the papers to the right size because I get a super clean edge. Also with these old boxes they might not be perfectly square and I would wind up having to do something like this at the end anyways!
The Finished Box!
This one turned out so well! I love the cute little sides with all the fun vintage characters around the edges.
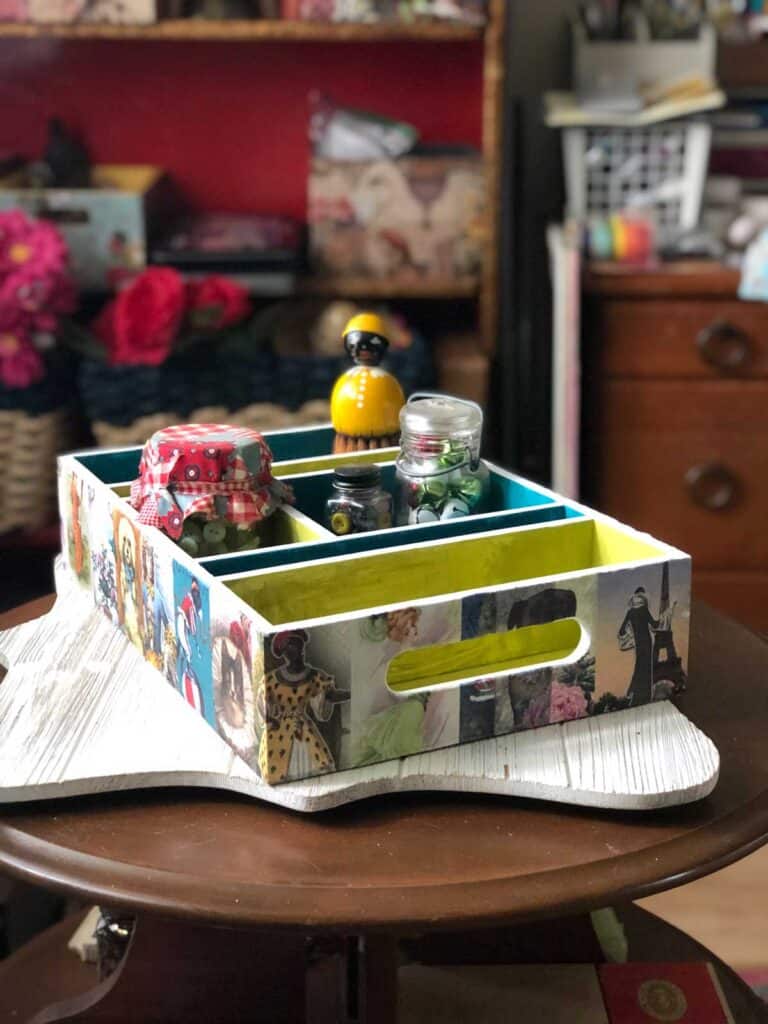
There are dogs and cats and ladies and bees, so darn fun!