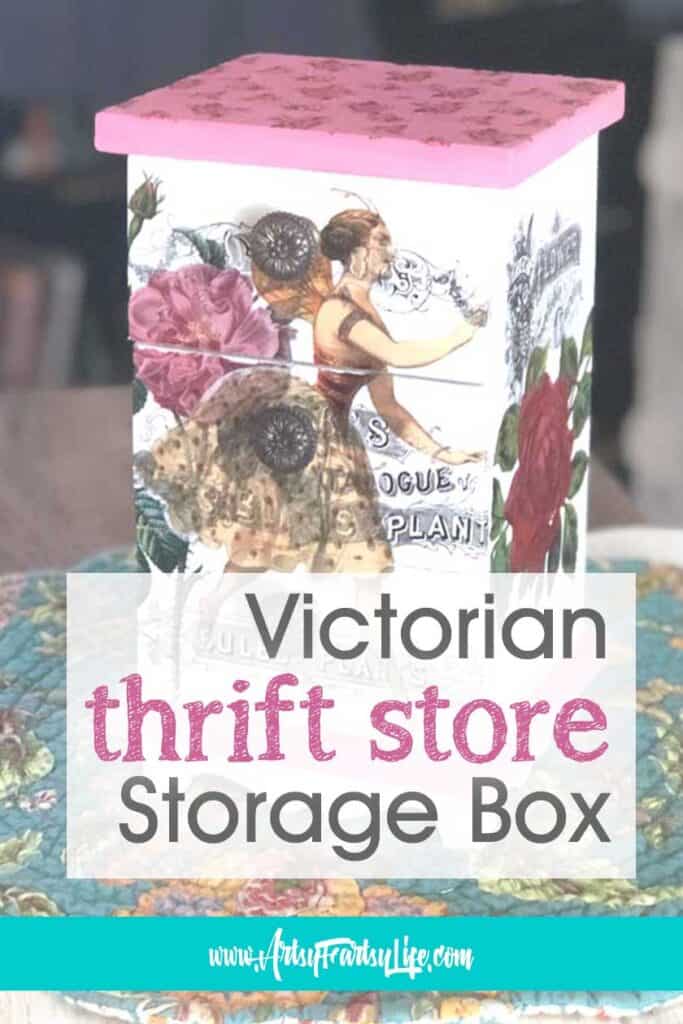
This thrift store crafts project was super fun! I got a hideously ugly, 1990's style storage box unit and did an upcycle makeover with decoupage and paint. Here are my best tips and ideas for how to take thrift store finds and make them super pretty treasures.
Thrift Store Finds - Ugly Green Box
I have a really great thrift store here in the Tampa Bay area where I can find all kinds of old boxes and decorative storage containers.
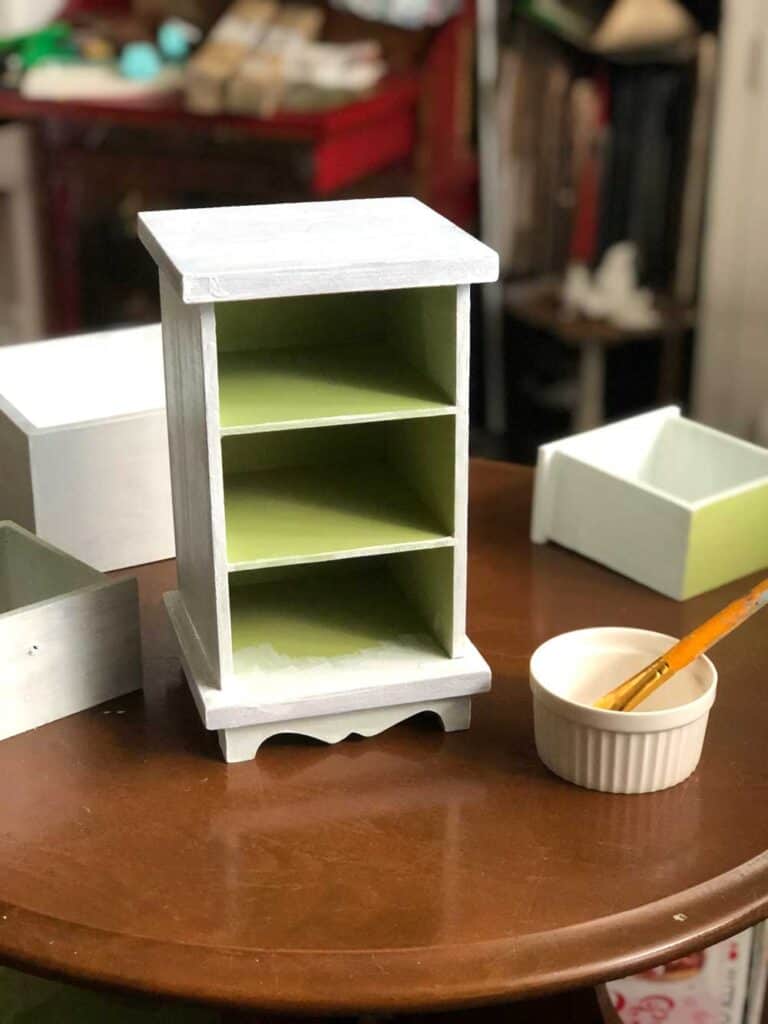
When I saw this green storage box, straight from the 1990's I knew that I could upcycle it and give it a pretty makeover!
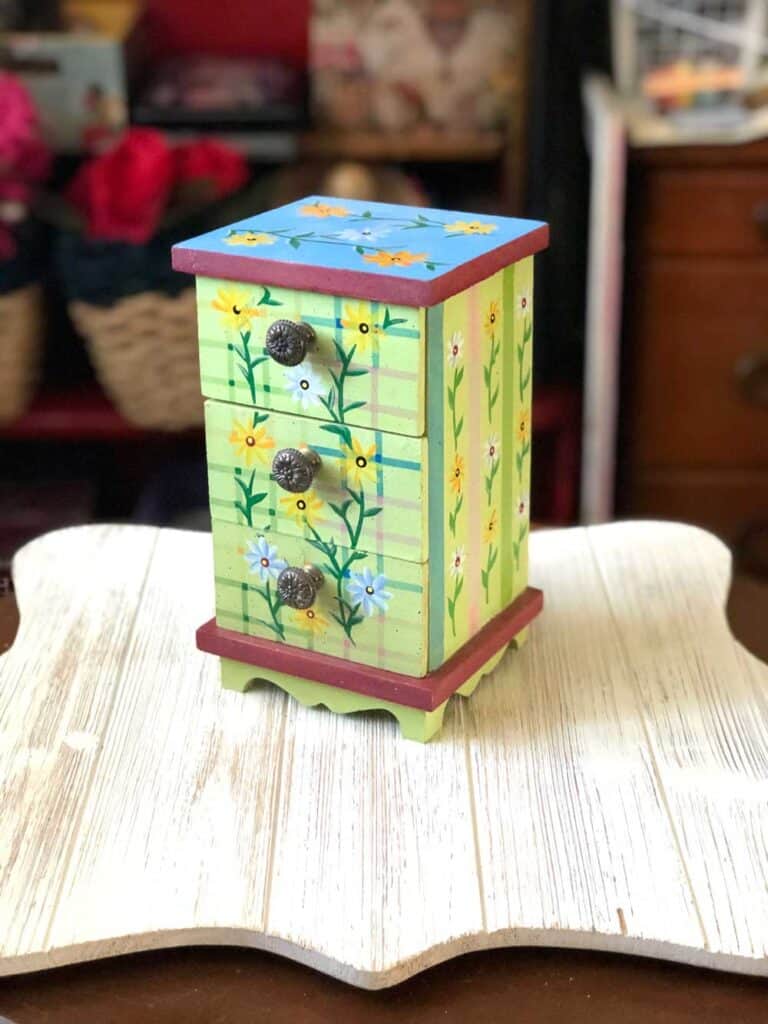
One thing to look for when you are doing this kind of project is to get a pretty high quality box to work with.
This one was made of real wood and had pretty metal handles that had a screw on the back so I could remove them easily for painting!
Priming Your DIY Project
Before you do any kind of painting, you need to prime your project with something like chalk paint or gesso (I used white gesso for this!)
I did NOT sand this before painting on the primer as it is super sticky and I knew I would be doing enough to the piece so that you wouldn't see the paint lines in the finished project!
Decoupaging The Sides
I have tons of different decoupage tissue sheets I get from Zazzle that I use for this kind of Victorian project.
I got the original images from the Graphics Fairy site that has loads of vintage images that are out of copyright and can be used in your artwork (even pieces that you sell!)
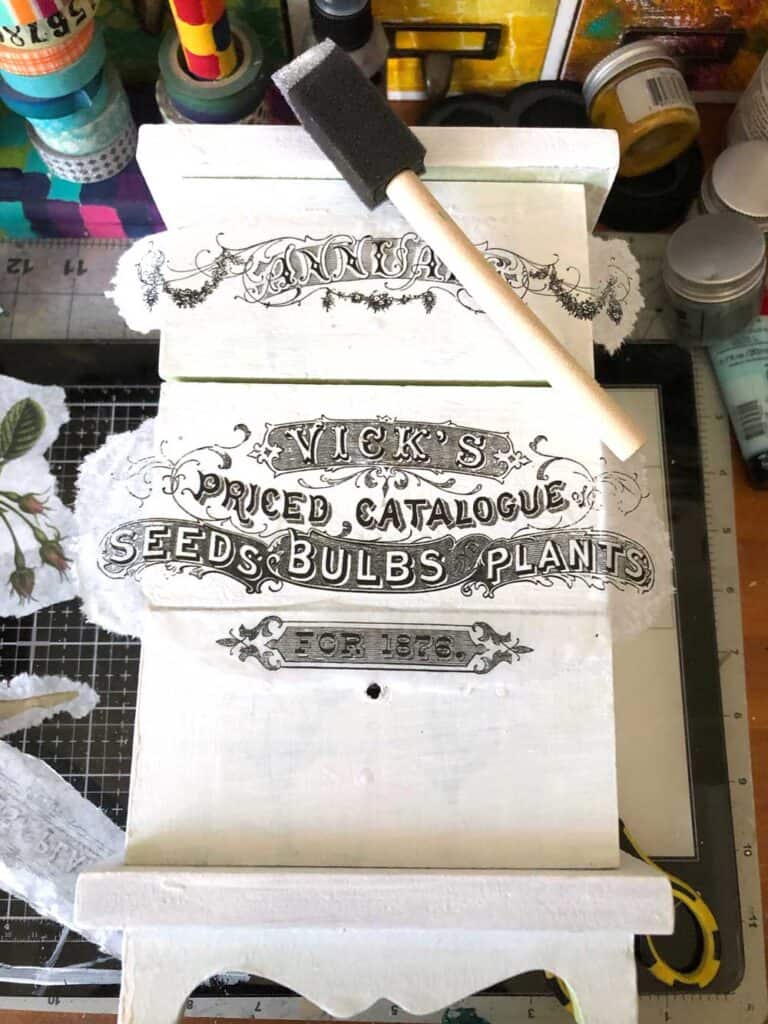
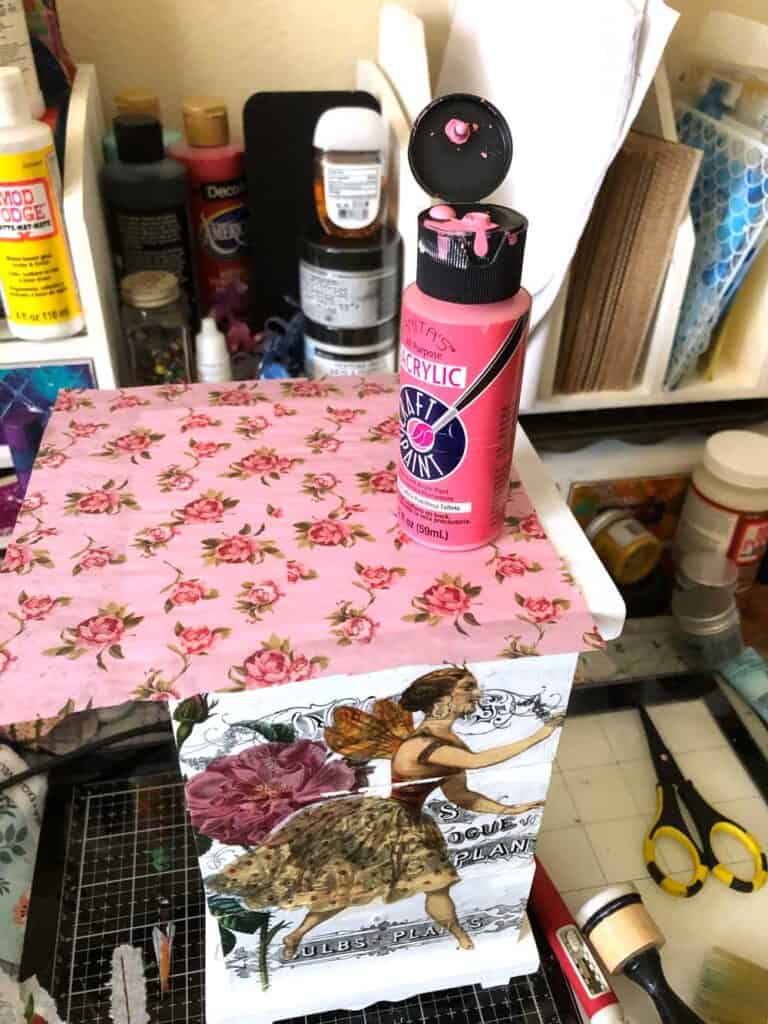
I started by using Mod Podge to decoupage on some fancy word graphics and then added the lady and the roses over that.
I like how it looks with the words showing through, if you didn't you could cut them out and not have the overlap!

Make sure that once you have the graphics laid down that you use some kind of brayer to "smush" it on and also to get the wrinkles and bumps out!
I like this brayer from Ranger, it is small and easy to use (make sure the "pointed foot rests" are up when you use it or you will tear your graphics!)
Using Paint To Fancy It Up
If I could only give you one tip, it would be to use all different colors of paint to fancy your projects up!
On this one I used a bunch of different paint colors to make it way more interesting!
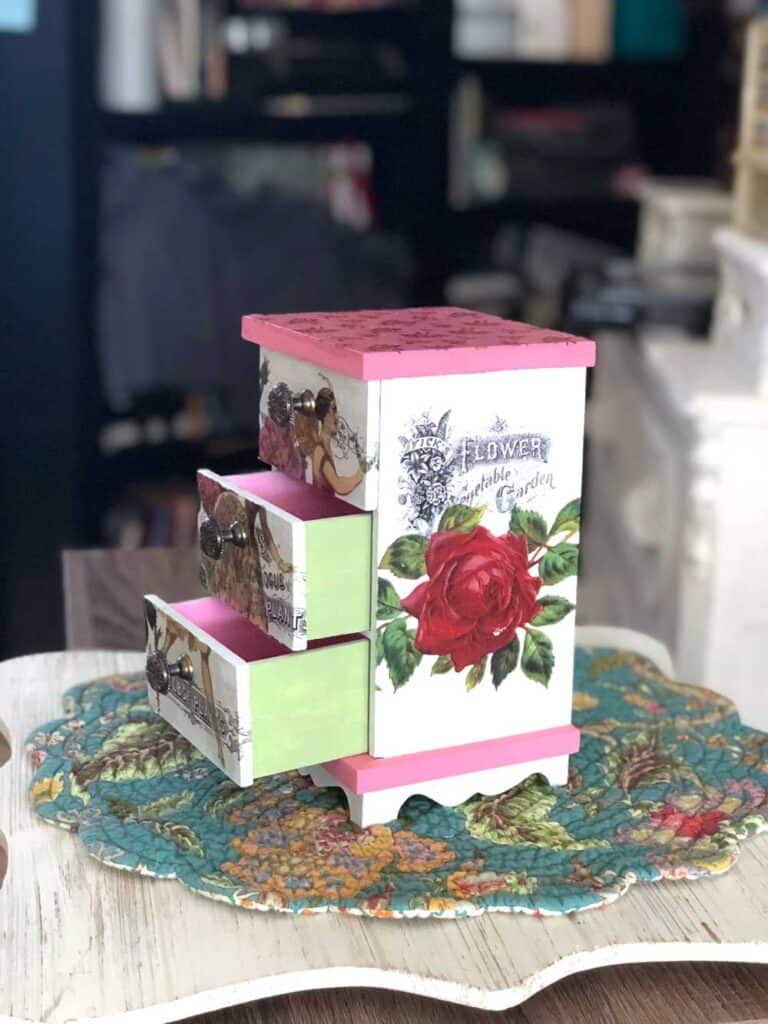
For example, I have green paint on the sides of the drawers that shows when the drawers are open and I painted the inside of the drawers a pretty pink!
It is these kinds of little touches that make it seem like finished piece!
Decoupaging The Top
Last but not least, once I had most of it put together and I thought it was looking pretty good, I thought I should paint the top and bottom "shelf" pink.
I decoupaged the pretty pink flowers on and it turned out great!