
If you need me, I'll be over here making tiny chocolate hedgehog faces and losing my whole mind over how stinking cute they are!
I am not, by any stretch of the imagination, a from-scratch baker. My oven and I have an understanding: I bring the box mix, it brings the heat, and together we pretend I know what I'm doing. So when my grandkids asked if we could "make something cute" one rainy afternoon, cake mix cookies were the obvious answer - quick enough that little hands don't lose patience, forgiving enough that "mistakes" just look like personality.

These little guys started as a goofy Pinterest scroll and ended up being one of the most requested treats in our house. The kids love pressing sprinkles into the dough (it's basically edible glitter, as far as they're concerned) and piping on the tiny faces. My husband, who claims he "doesn't really do cute food," ate four in one sitting and didn't say a word. That's the real seal of approval around here.
Bougie on a budget, adorable on sight, and easy enough that a non-baker like me can pull it off without breaking a sweat - that's the sparkle-without-the-splurge magic of a good cake mix hack!
Why You'll Love This
- One box, big payoff. A box of cake mix does the heavy lifting, so there's no measuring out flour, cocoa, and leaveners separately.
- Grandkid-approved activity. Pressing sprinkles and piping faces gives little hands something to do - and something to be proud of.
- No fancy tools required. A cookie scoop and a piping bag (or even a snipped sandwich bag) get the job done.
- They travel well. Perfect for bake sales, school parties, or just showing up somewhere with something memorable.
- Big cute factor, small effort. These look like they took way more skill than they actually did - the best kind of recipe.
Ingredients
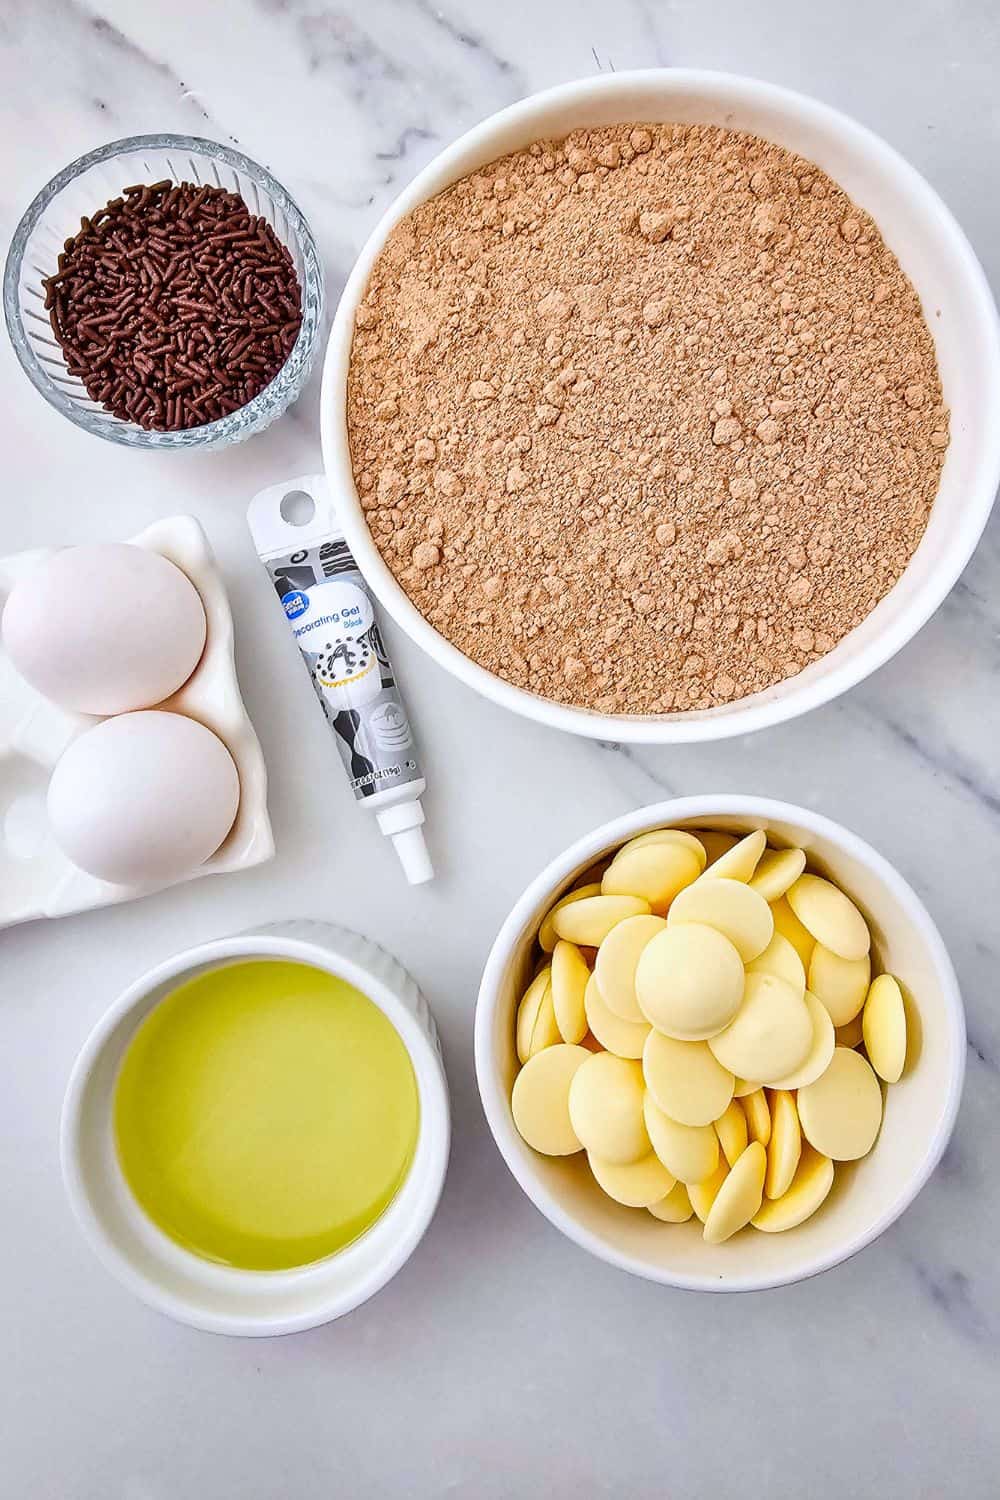
- 13.25 oz box milk chocolate cake mix
- ½ cup vegetable oil
- 2 eggs
- ½ cup chocolate sprinkles
- 1 cup white chocolate melting wafers
- Black gel icing tube
Tools & Equipment
- Measuring cup
- Large bowl
- Silicone spoon
- Cookie scoop
- Baking sheet
- Parchment paper
- Spoon
- Wire cooling rack
- Small bowl
- Piping bag
Directions
Preheat the oven to 350 degrees. Line a baking sheet with parchment paper.
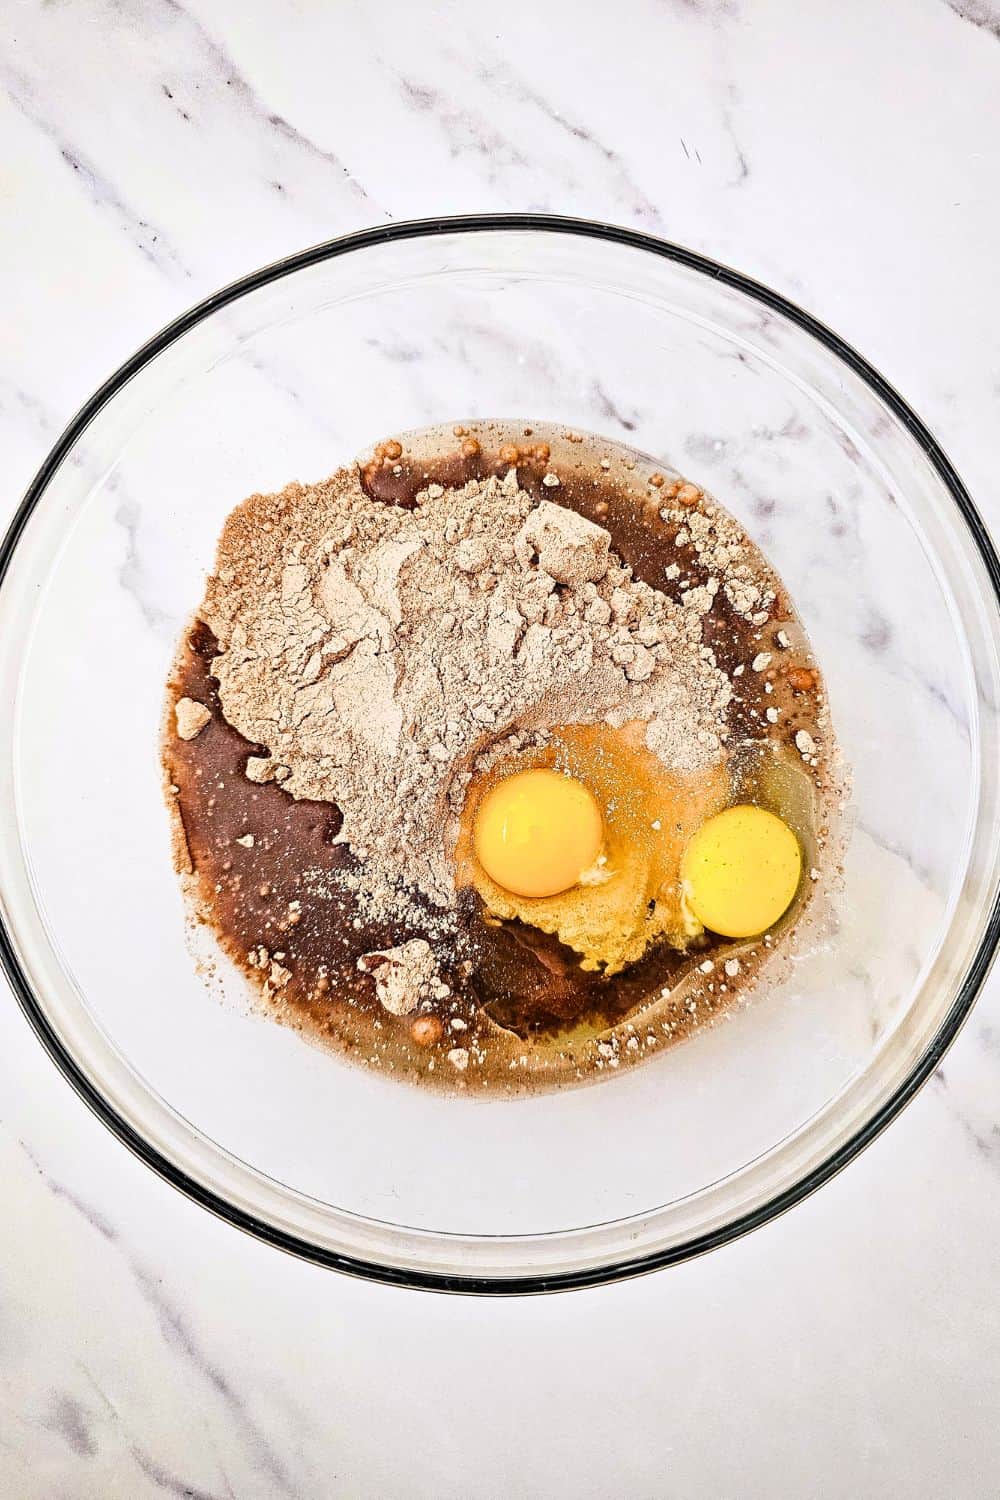
Stir the cake mix, oil, and eggs together in a large bowl until a dough forms.
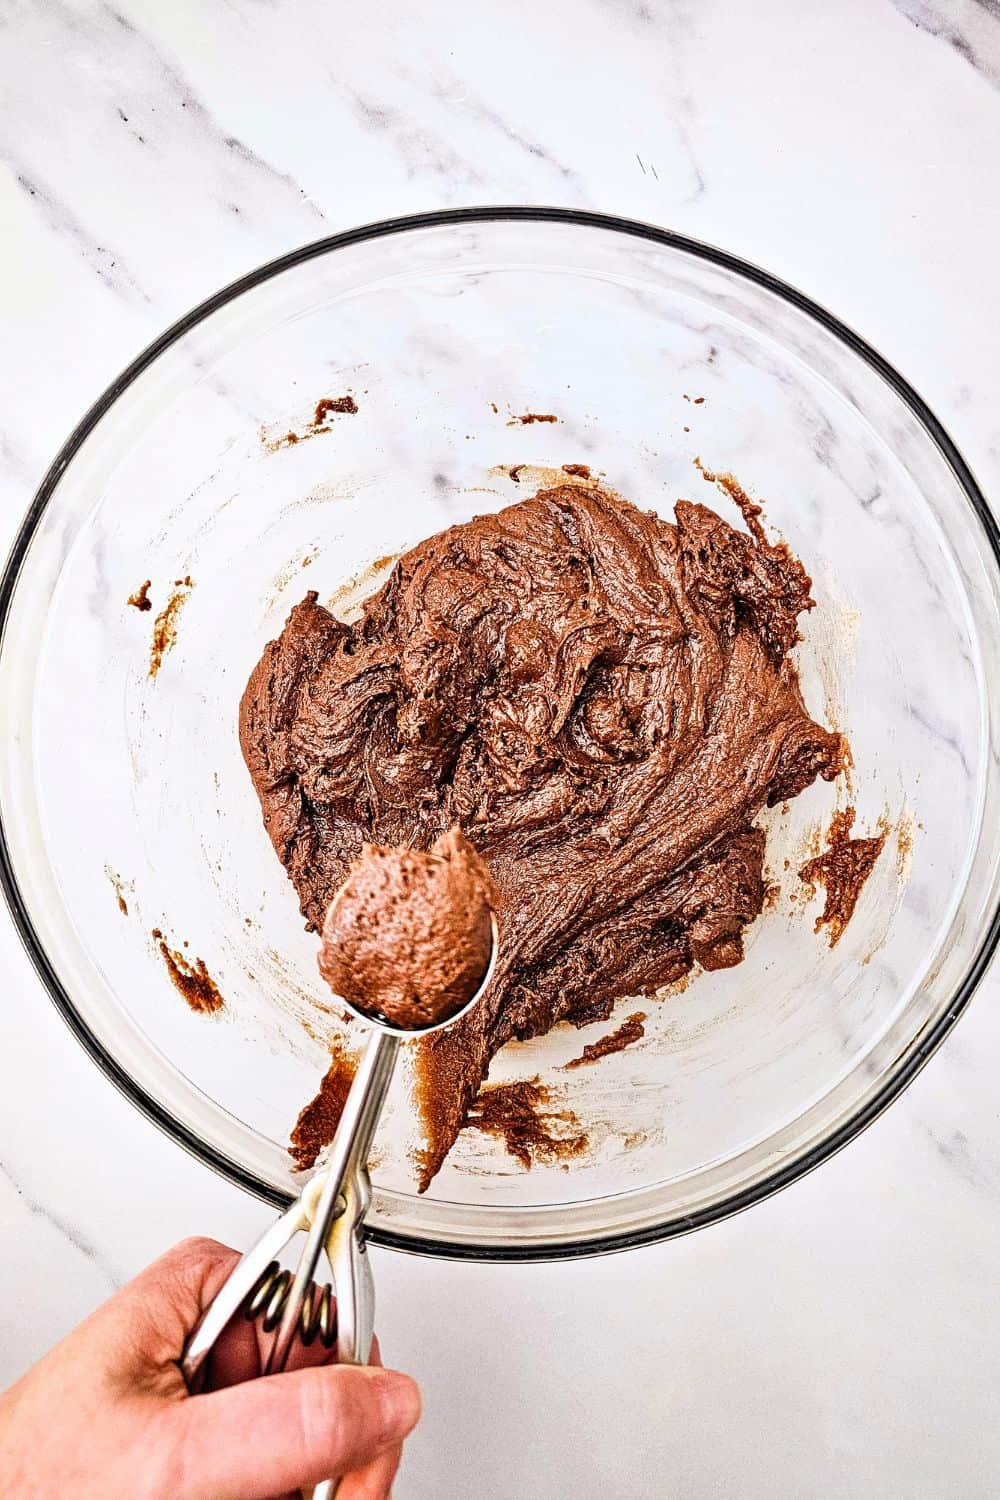
Scoop the dough using a 1½ tablespoon cookie scoop, then drop onto the baking sheet, 2 inches apart, as these spread while baking.
Press a well into the center of each dough ball with a spoon, then press sprinkles into the sides and top of the dough.
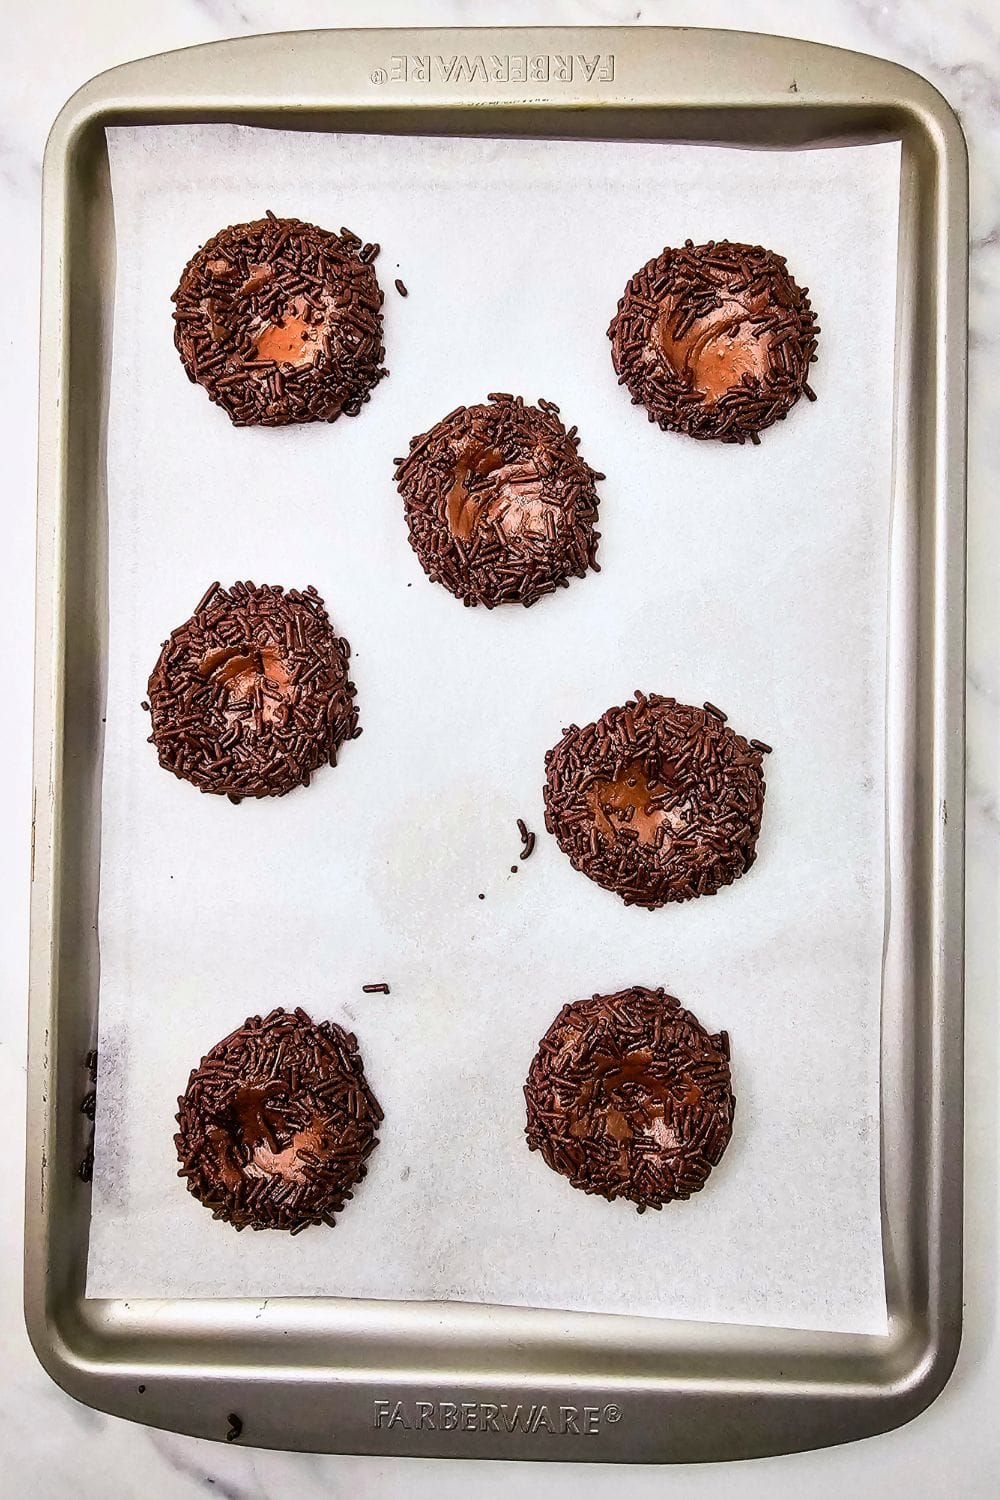
Bake for 8-10 minutes.
Press the center down again gently right after removing from the oven, then transfer cookies to a cooling rack.
Melt ¾ cup of the white chocolate wafers (set aside the remaining ¼ cup) in a microwave-safe bowl in 30-second intervals, stirring between each, until smooth. Spoon the melted chocolate into the center well of each cooled cookie and let it set.
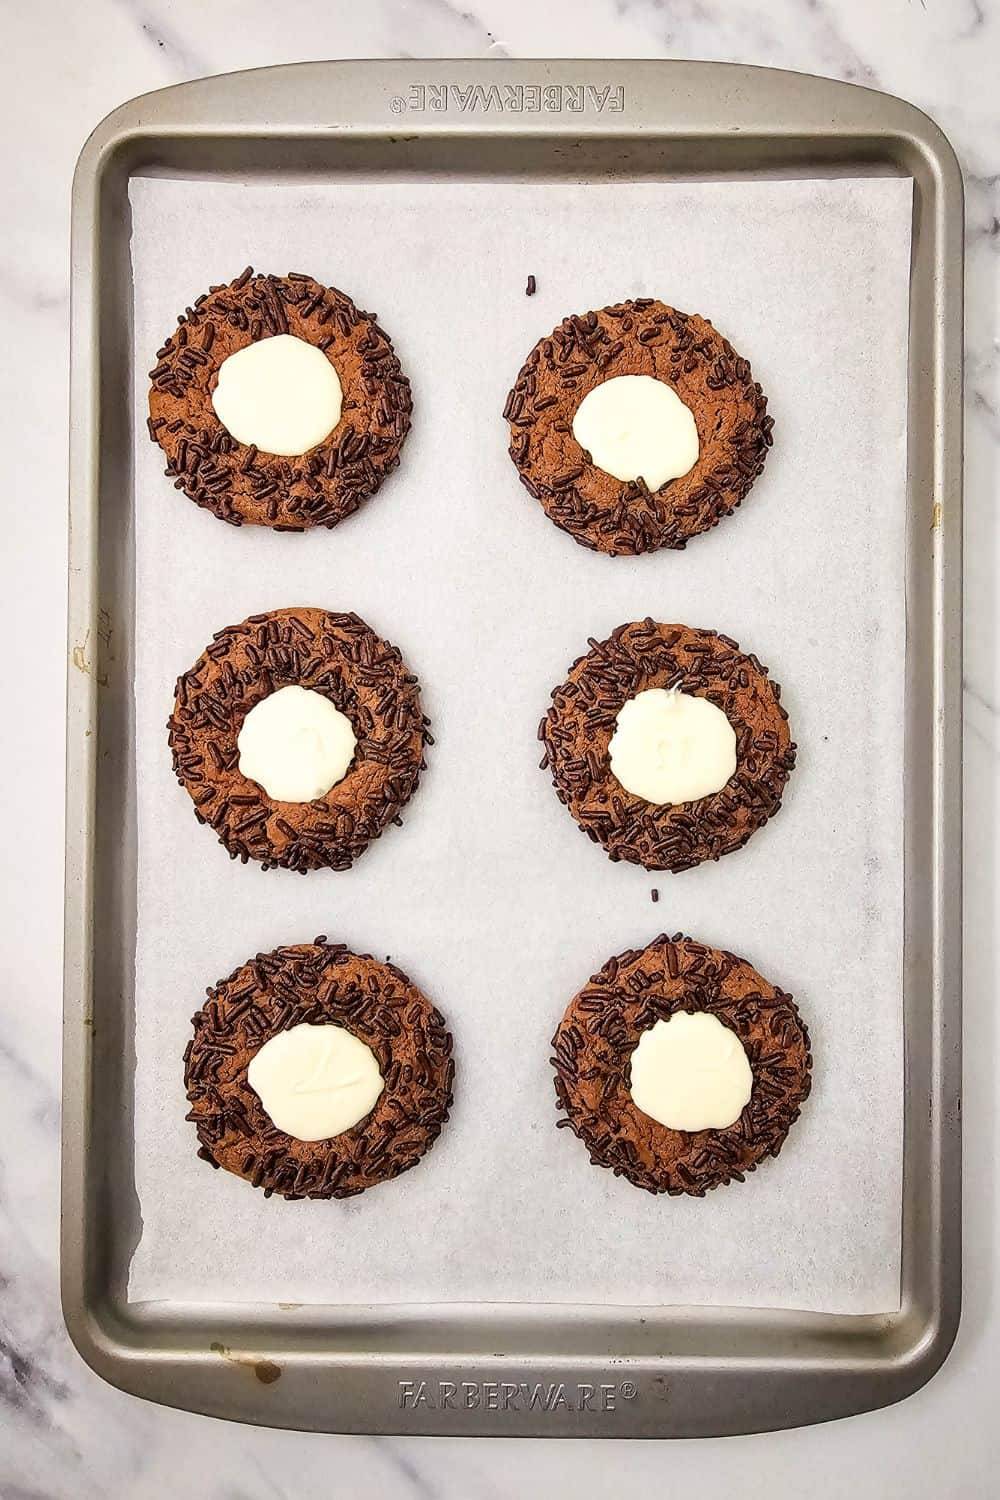
Warm the remaining ¼ cup of wafers in a piping bag for 30 seconds, gently massage the bag, and repeat until fully melted.
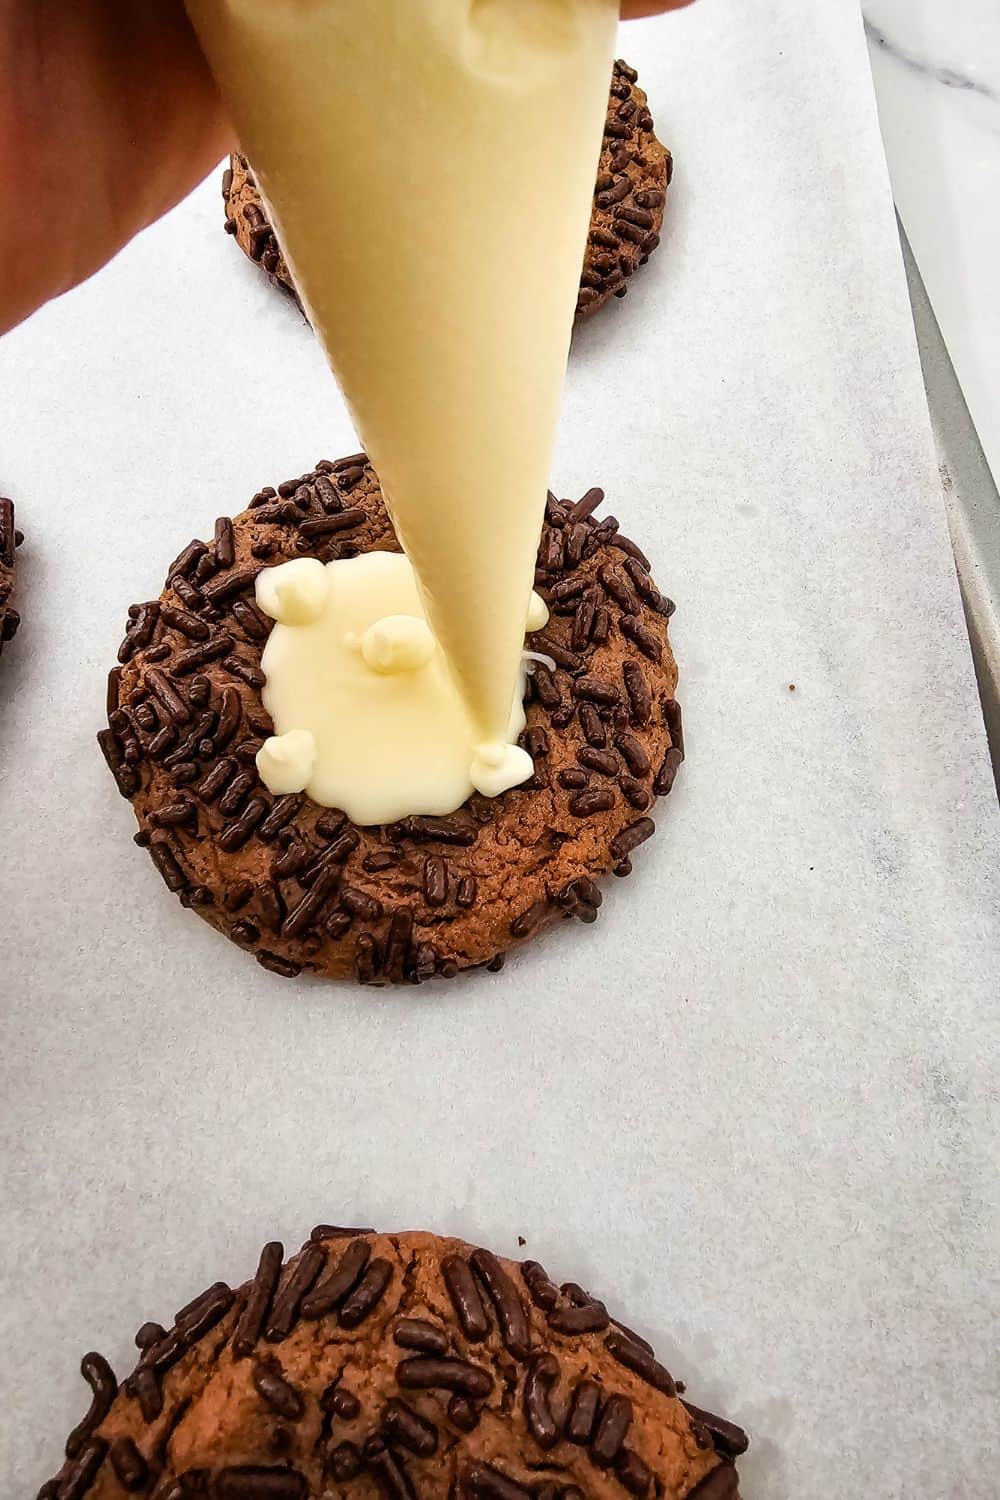
Snip the tip of the piping bag and pipe small chocolate circles near the top and bottom edges of the white chocolate center (these become the ears and feet), plus one at the top-middle for the nose.
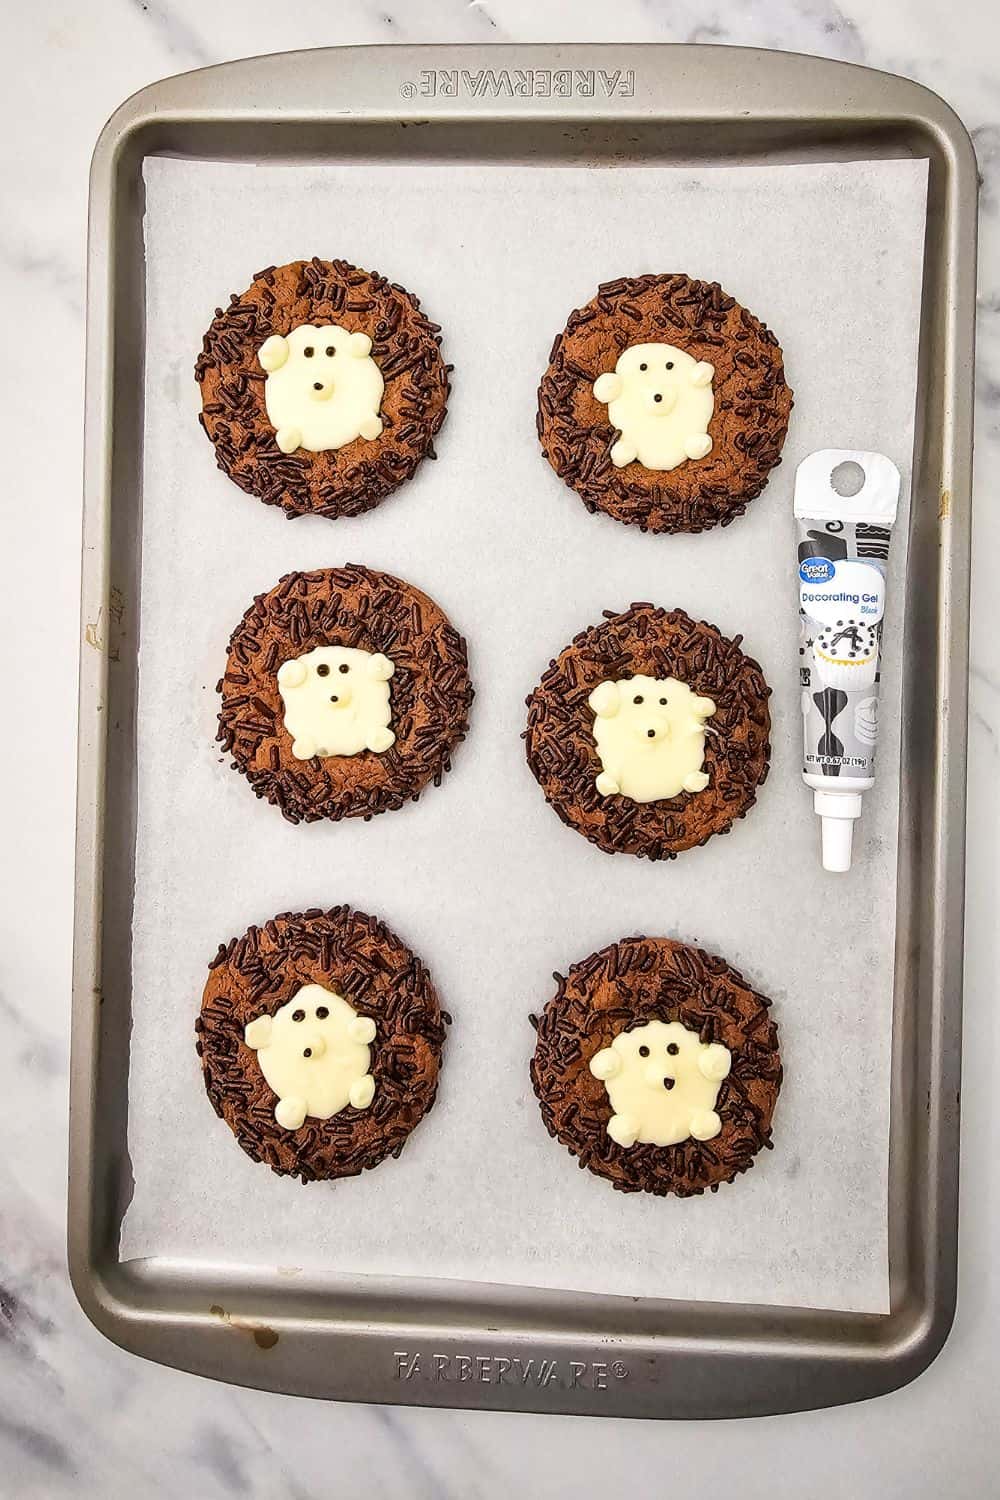
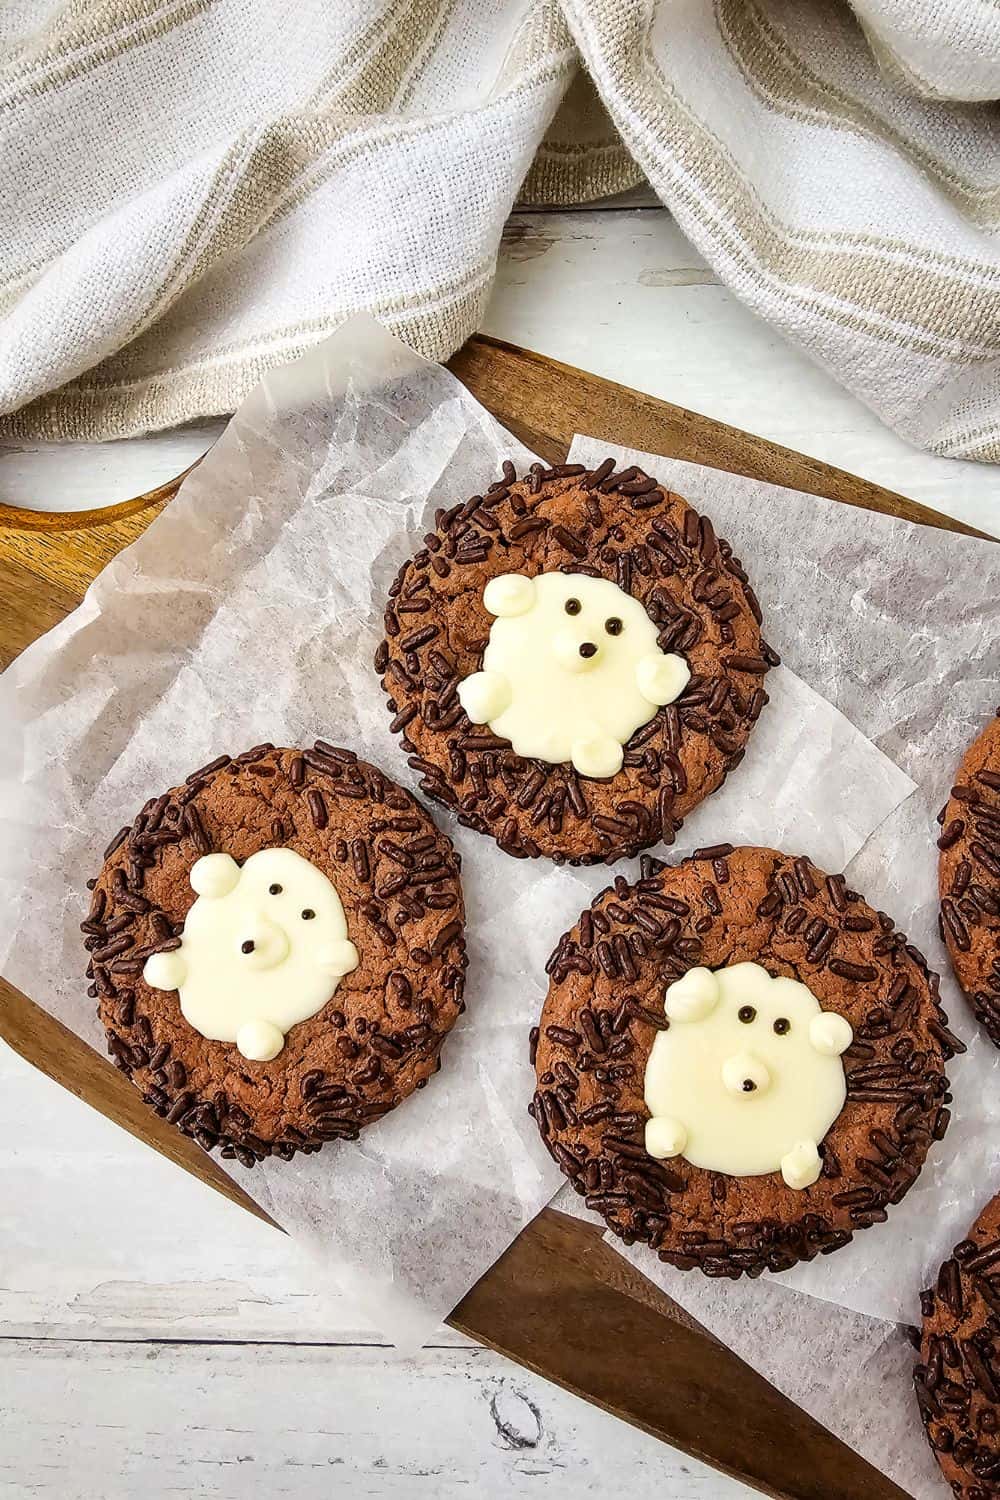
Finish by adding a dab of black icing to the nose, and two small dots above it for the eyes. Let set completely before serving.
Tara's Tips
- A cookie scoop keeps all your hedgehogs the same size, so they bake evenly.
- If your piping bag chocolate starts to firm up mid-project, a quick 10-second reheat brings it right back to workable.
- Let the kids do the sprinkle-pressing step - it's the messiest and most fun part, and mistakes just look charming here.
- No piping bag? A zip-top sandwich bag with a tiny corner snipped off works in a pinch.
Serving Suggestions
These are perfect piled on a platter for a fall gathering, tucked into lunchboxes, or set out at a bake sale table where they will absolutely disappear first. Pair them with Old Fashioned Maple Fudge or Pineapple Fluff for a nostalgic dessert spread that feels like it took way more effort than it did.
Wicked Cute Hedgehog Cookies

These adorable hedgehog cookies start with a simple cake mix cookie base and get the cutest chocolate sprinkle coats!
Ingredients
- 13.25 oz box of milk chocolate cake mix
- ½ cup vegetable oil
- 2 eggs
- ½ cup chocolate sprinkles
- 1 cup white chocolate melting wafers
- Black gel icing tube
Instructions
- Preheat the oven to 359 degrees. Line a baking sheet with parchment paper.
- Stir the cake mix, oil and eggs together in a large bowl until a dough forms.
- Use a 1 ½ tablespoon cookie scoop to gather dough, then drop onto the cookie sheet, 2 inches apart as these spread.
- Use a spoon to make a well in the center, then press sprinkles into the sides and top of the dough.
- Transfer the pan to the oven and bake for 8-10 minutes.
- Remove the cookies from the oven, and press the center down a bit again. Transfer to a cooling rack.
- Once the cookies are cooled, set aside ¼ cup of the melting wafers. Add the remaining ¾ cup to a microwave safe bowl and heat in 30 second intervals, stirring between each heat session, until fully melted. Carefully spoon chocolate into the well in the center of the cookies. Allow the chocolate to set.
- Now add the ¼ of melting waters to a piping bag and heat for 30 seconds, remove, gently massage the bag with your hand and repeat until melted.
- Snip the very tip of the bag, then pipe small chocolate circles towards the top and bottom of the white chocolate center on each side, and towards the top middle for the nose.
- Once that has set, add a dab of black icing on the nose, and two dabs above for the eyes.
Storage
Store cooled cookies in an airtight container at room temperature for up to 5 days. They also freeze well - layer between parchment in a freezer-safe container for up to 2 months.
These are the kind of cookies that make people stop, smile, and ask "wait, did you MAKE these?" And the answer is yes - sparkle, splurge-free, and all!