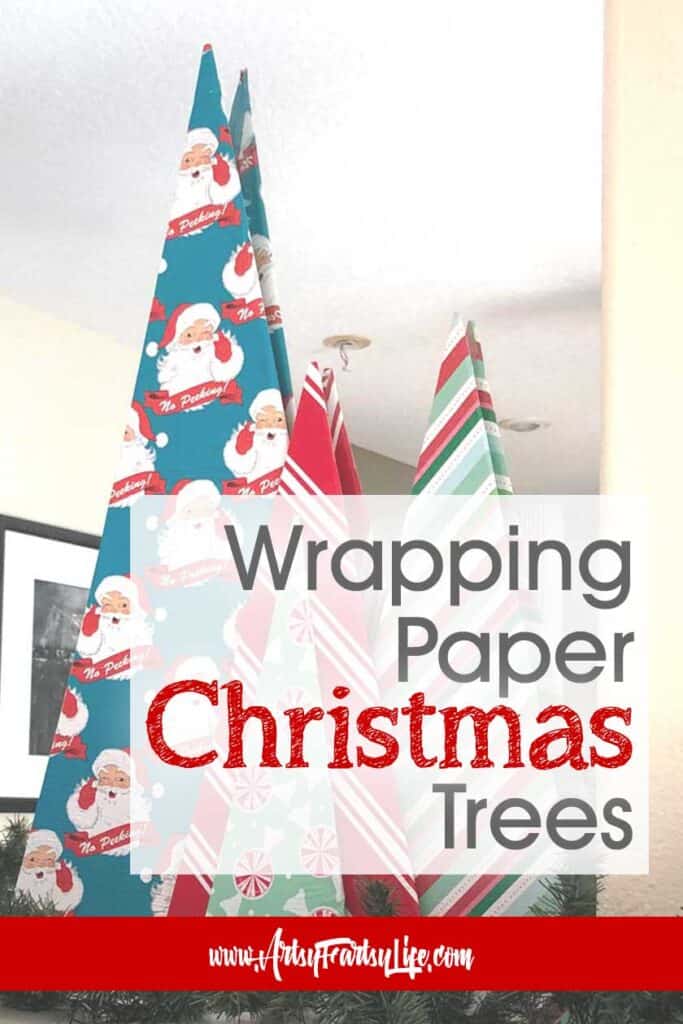
This year I wanted to do a turquoise and red Christmas decorations theme, but I didn't want to break the bank by buying a ton of big decorations in the "right" Christmas colors. So I made these cheap DIY wrapping paper Christmas Trees to have as a backdrop of color on my mantle.
Why I Wanted Cheap Christmas Decorations
I want to be honest, I spend A LOT on my Christmas decorations, but when I get a wild hair and want to do a specialized color like red and turquoise, I like to keep costs low on things that I am not going to keep forever!
For this project I will be throwing these out after the season... they are just a one year decoration!
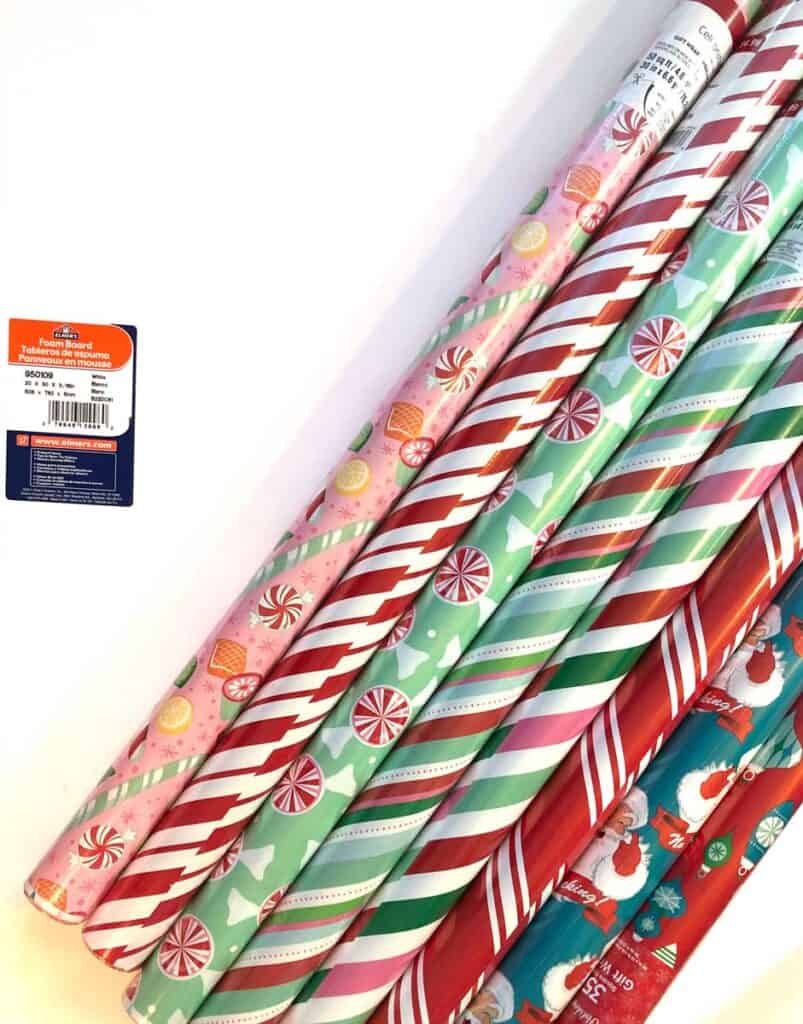
All in all I spent about $5 in foam core boards, and about $6 in wrapping paper (I had a 20% off Michaels coupon!)
I used two boards and 7 different kinds of wrapping paper. That said, I could have for sure used fewer wrapping papers, just repeating them instead of using all different ones.
OH, and I will be using the "leftovers" for wrapping presents this year so this project was practially FREE! Whoo whoo!
Full Wrapping Paper Christmas Trees Tutorial Video
How To Make Wrapping Paper Christmas Trees
This was a super easy and fast project for the holiday season, but I did get a few Christmas craft tips and tricks along the way!
1. Pick Out Some Fancy Wrapping Paper
I knew I wanted to use turquoise and red for my color scheme and having those colors in big panels on my mantle would be a great way to get started with my decorating!
I picked candy canes, Christmas ornaments, santas and colorful stripes that would match my holiday decor.
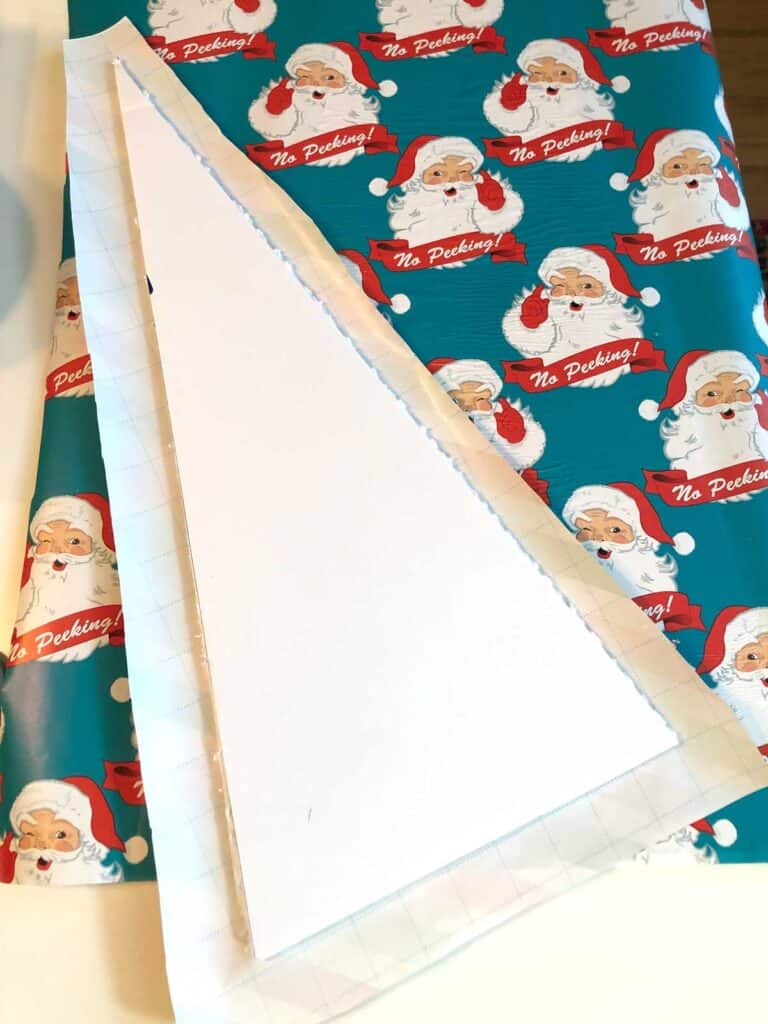
2. Cut Foam Core or Cardboard Into Christmas Tree Shapes
I used 20X30 foam core panels so my tallest trees are just a little shy of 3' tall! Buying something new that tall would be a bank breaker, so this was a super good way to make my Christmas budget stretch out!
Cut any sized rectangle and then measure the middle to make isosceles triangles (two sides equal).
You can make yours tall or short, fat or skinny! That is the super cool thing about this project, you aren't trying to work around pre-made sizes... you get to pick!
3. Use Glue To Stick The Paper On
Cover one side of the Christmas tree with glue (I used Mod Podge) and then press it onto the wrapping paper, smushing it down to make it stick.
NOTE : When you set them down to dry, put them on a surface that is color safe (don't lay them down on your Grandma's white bedspread as they may stain it!)
4. Wrap The Trees Like A Present
This was super easy! I used double sided tape on the little ones and then used strapping tape on the big ones for the long sides.
Wrapping Paper Trees FAQ
While this was a super easy project, I did have a few a ha's.
Make Sure Your Paper Is Facing The Right Way
If you use a paper like the ornaments paper, make sure it is facing the right way up. The first time I did it the ornaments were facing the wrong way... doh!
Double Sided Tape Reduces Wrinkles
Mod Podge will leave wrinkles in your wrapping paper because it is a water based glue. If you don't want wrinkles then use double sided tape (if you are doing lots of them, this will make your time shorter because there is no drying time!)
I don't care that there were wrinkles in mine, they are super small and not noticeable.
Make Lots Of Different Sizes
If I was going to do it again I would make fatter and skinnier trees. I varied the heights, but didn't think about the fact that the bases would all be about the same width!
You Can Make Them Fancy
I left mine plain but you could use fancy pom pom trim or ribbons to make them a little more decorative. Just glue it on or even staple it if you want to be able to reuse it again!