Let me set the scene: spooky season is creeping in, pumpkin spice is taking over the airwaves, and your mantel is just BEGGING for some flair. Enter: these faux taper candles - made from plaster of Paris and dressed up in tissue paper decoupage. They're the perfect blend of eerie elegance and autumn charm, without the fire hazard (or waxy mess!)

Please note: This article contains affiliate links, and that means that I may earn a commission if you buy something. Read my full disclosure here.
This is a project that’s more trick AND treat. I’ll walk you through the basics of casting, painting, and decoupaging these babies so you can make your own cozy-cool candle collection. Let’s do this!
Faux Vintage Taper Candles Tutorial Video
What You’ll Need:
- Plaster of Paris
- Water
- Silicone taper candle molds (Michaels has great two-piece ones!)
- Acrylic paint (from my stash)
- Halloween tissue paper
- Gloss medium or Mod Podge (for decoupage magic)
- Sandpaper
- Dina Wakley glue (or any craft glue)
- Paintbrushes
- Candle holders
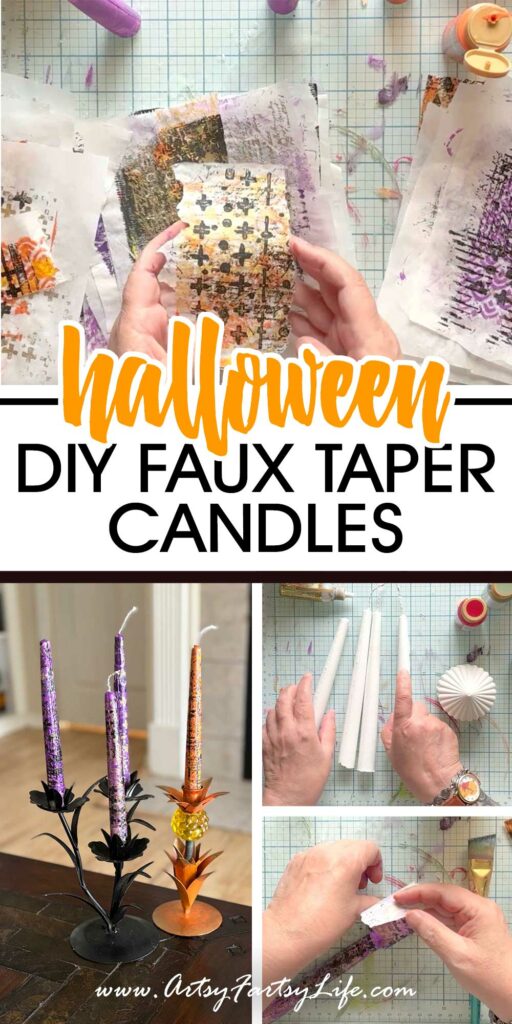
Step 1: Cast Your "Candles"
Mix 2 parts plaster of Paris with 1 part water (pro tip: don't reverse that - ask me how I know!) Pour into your molds, insert a faux wick if your mold allows, and let them cure fully. Mine felt cold for days thanks to Florida humidity - so give 'em time!

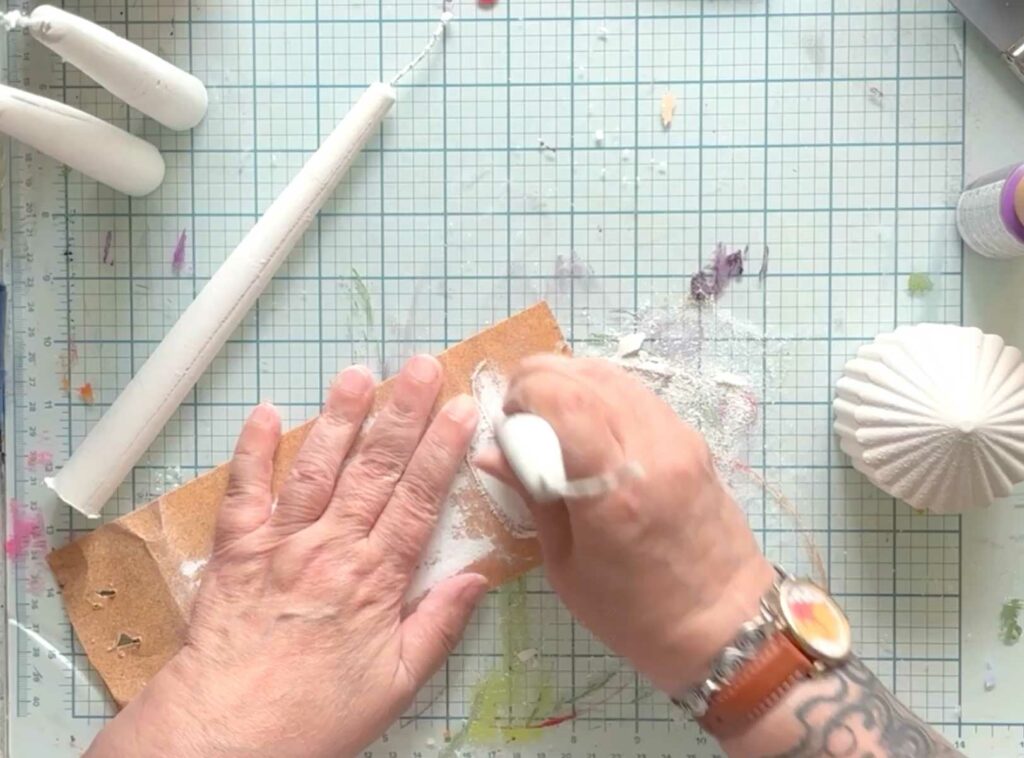
Step 2: Smooth the Base
Once cured, pop out your candles and sand the bottoms flat so they sit pretty in your holders. Cracks? No problem. Just glue them back together and move on - perfection is overrated.
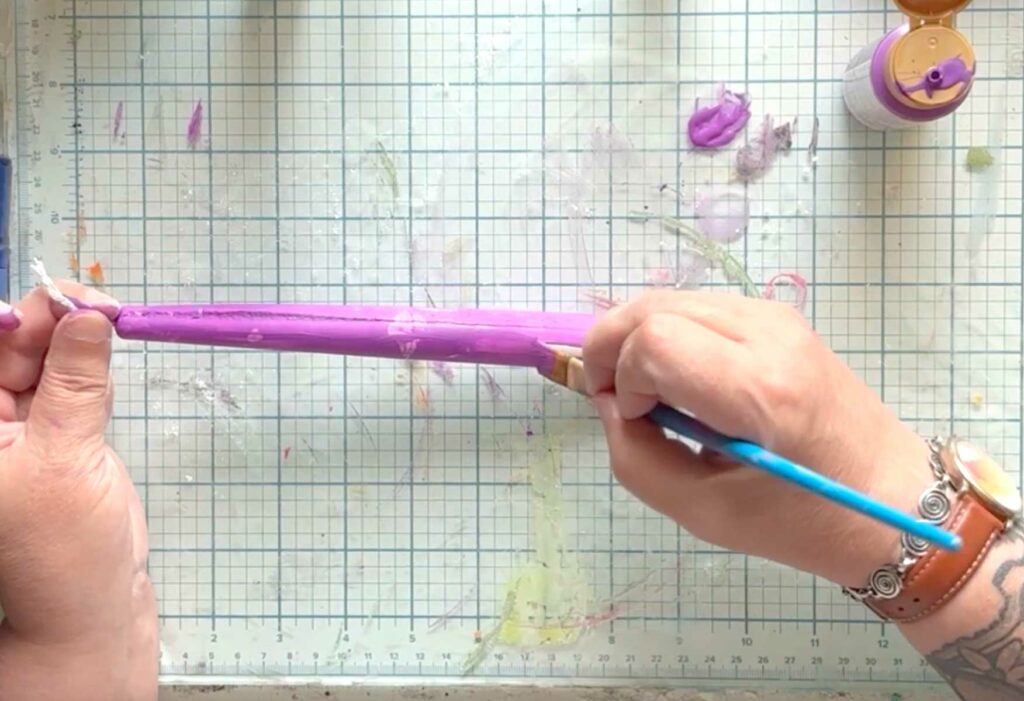
Step 3: Paint Like a Boss
Give your candles a solid base coat of acrylic paint. I recommend doing two coats for full coverage. Acrylic paint seals the plaster and provides a bold base for your tissue paper. Avoid watercolors - they’ll just soak in and ghost away.
Step 4: Decoupage Delight
Choose your fave tissue paper designs and wet them slightly for easy wrapping. Slather your candle in gloss medium and gently wrap the tissue around. Add another coat on top to seal it in. Go slow, smooth gently, and embrace the sticky fingers.

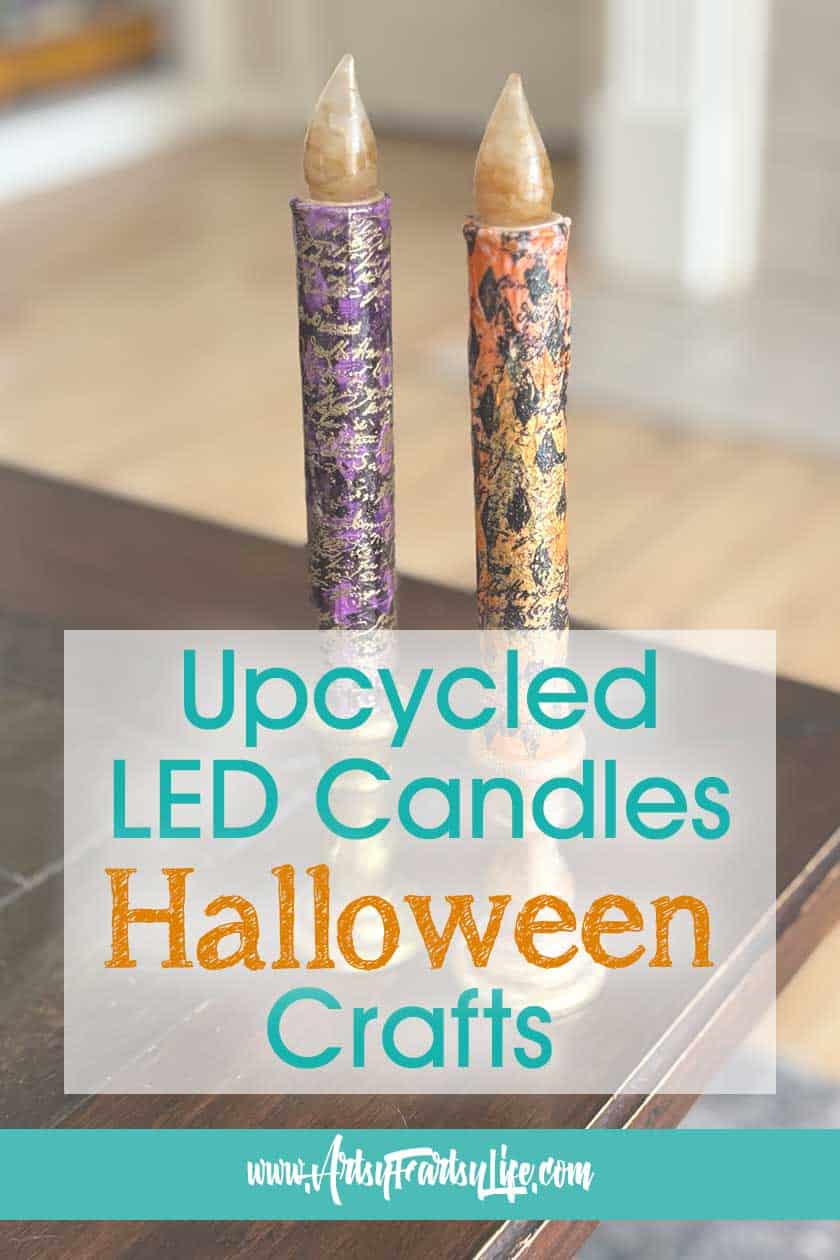
Step 5: Let It Dry & Admire
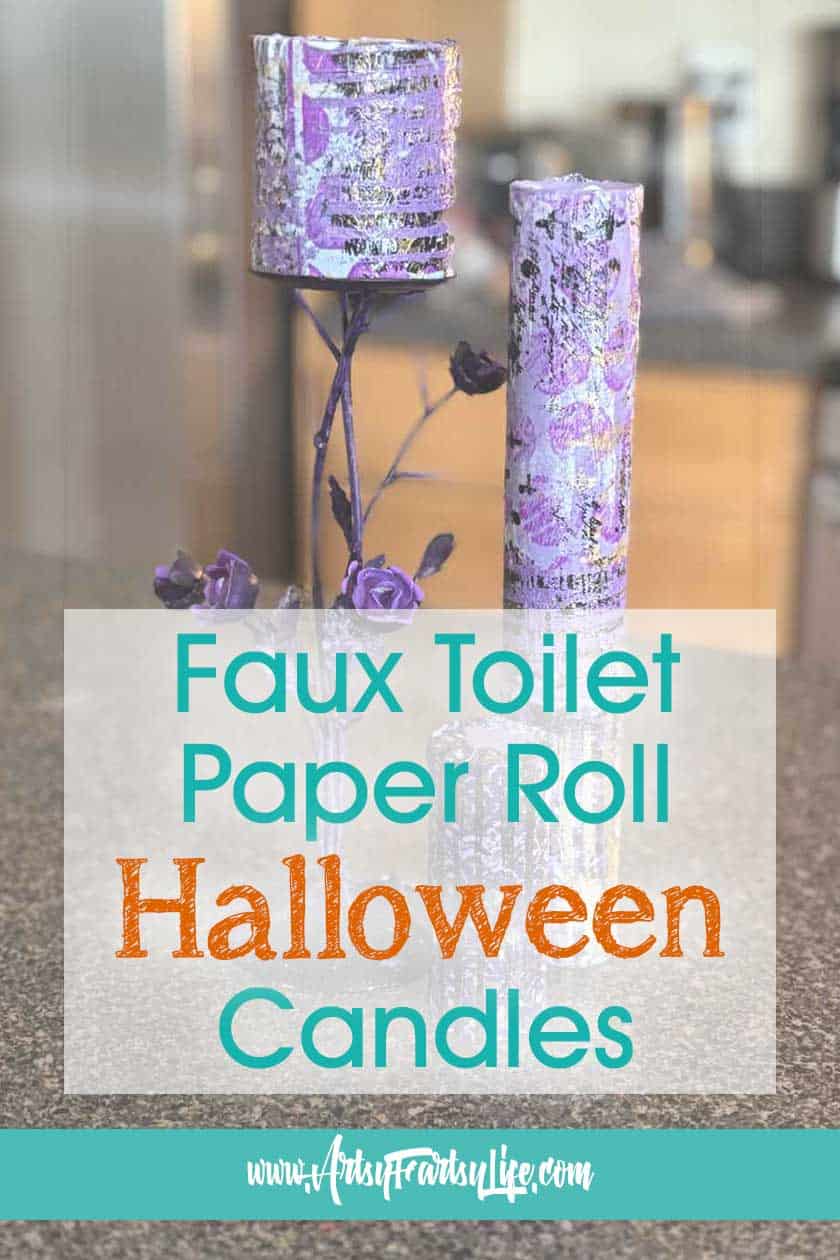
Let your candles dry overnight. Then pop them in holders and step back - you just made handmade taper candle art! Whether you're going for haunted mansion or harvest chic, you're gonna LOVE how these turn out.

Bonus Tips:
- Sand first, paint second, decoupage third. That’s the rhythm.
- Don't stress over cracks - they add character and glue fixes everything.
- Not every candle needs to be tall. Sometimes a stubby lil’ taper is just what your candelabra needs.
- Always prep more tissue than you need. Some designs will surprise you when wrapped.
- Display on your mantel for max drama!

These DIY faux taper candles are my new obsession - and yes, my husband is very over them. But the grandkids LOVE them and honestly? So do I. They're artsy, unique, and way safer than real flames in a busy house.
So light up your spooky season or your fall vibes - with faux flames that slay. Happy crafting, friends!
Here are some more great DIY Halloween and Fall crafts you can make:
- Colorful Risers That’ll Elevate Your Holiday Home Decor (Literally!)
- Faux Vintage Apothecary Labels (Halloween Labels)
- How I Made Spooktacular Faux Halloween Candles (No Fire, No Fuss, Just FAB)