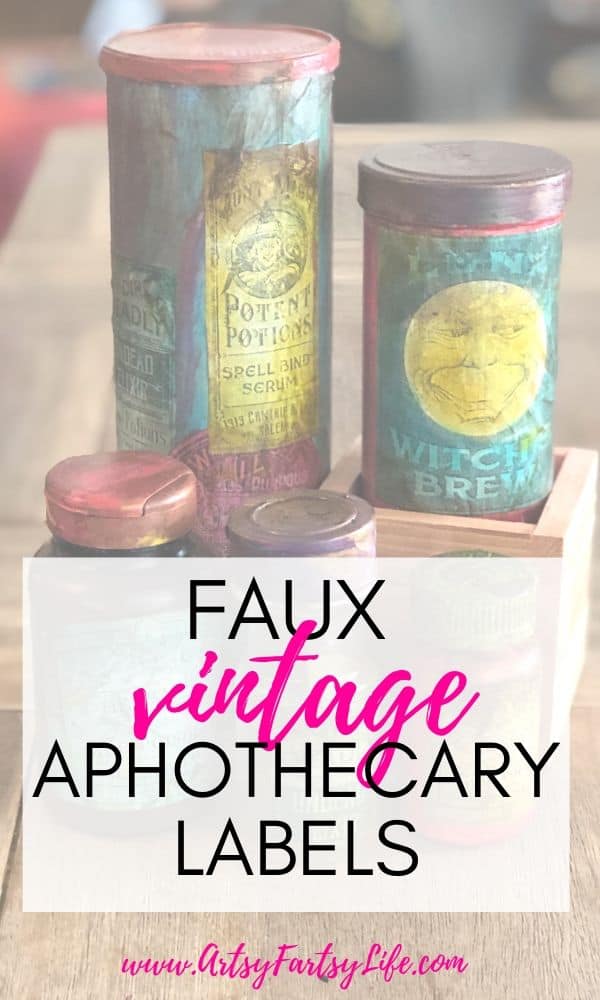
This is such a fun and fast project! I made these vintage faux labels to go into my apothecary craft box and they came out amazing! I used digital download labels from Etsy and Distress Inks to make them look old and grungy (but still colorful!)
Video :: How To Make Faux Halloween Labels
First Download The Labels
I know that I could maybe make some labels in Word or Adobe, but I am a lazy crafter so I went to Etsy to find some cute ones!
Doing a search for "apothecary labels digital" I found the cutest ones by the Chocolate Rabbit. click here to get the exact ones I used!
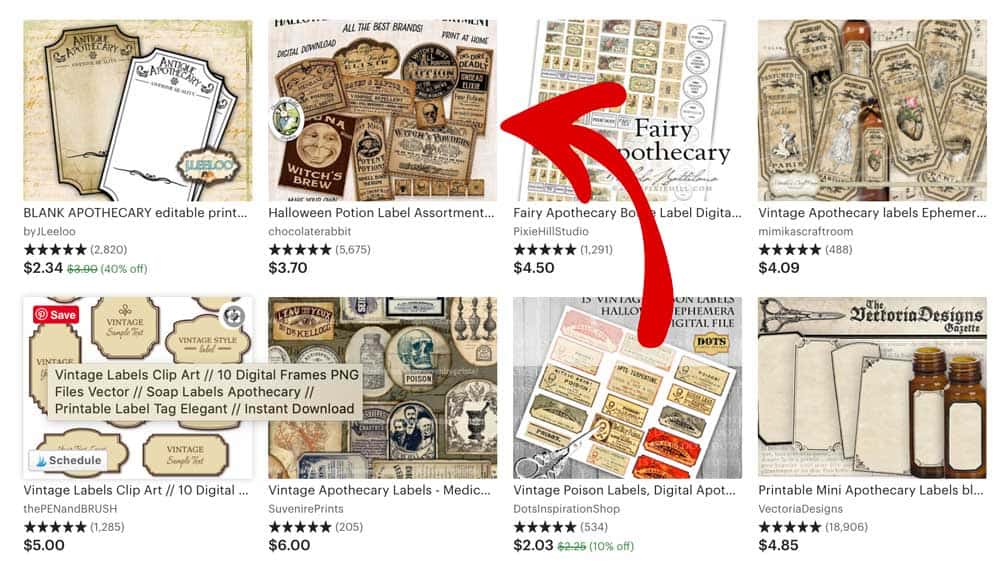
If you have never ordered a digital download, what happens is that you pay and then they send you a PDF or JPG file that you can print from immediately!


Looking for more? Check out the Wicked Cool Junk Journal Kit!

Printing The Apothecary Labels
The first time I printed them I used plain typing paper and it wasn't very good... they looked bad and the printing wasn't super clear.
But they looked amazing when I printed them out on good Hammermill, 28 Pound, 100 white paper.
I just printed them in black and white because I wanted to be able to control what kind of color I used!
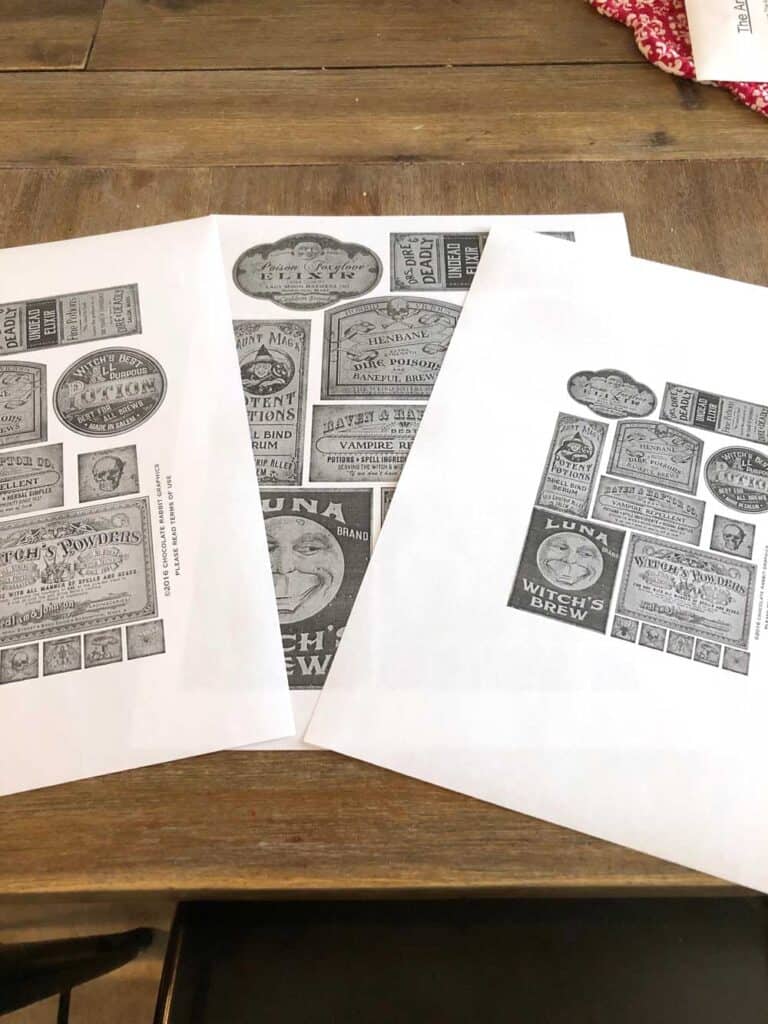
The nice thing about doing a digital download is that you can can make them smaller by decreasing the size when you print them!
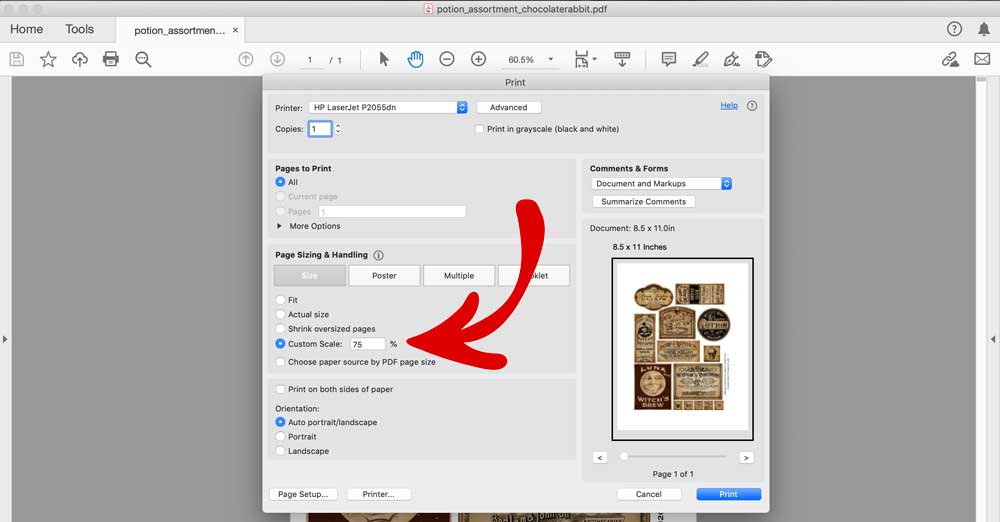
I printed three sets, full sized, 75% and 50%. I used the smaller ones on the smaller bottles!
Cutting Out The Labels
PLEASE do not think you have to cut out the labels perfectly! We are trying to make them look old and battered so if you make a mistake, you can leave it and fix it during the decorating!
In the video I even showed you how I tore off the side of a label and it came out really cool!
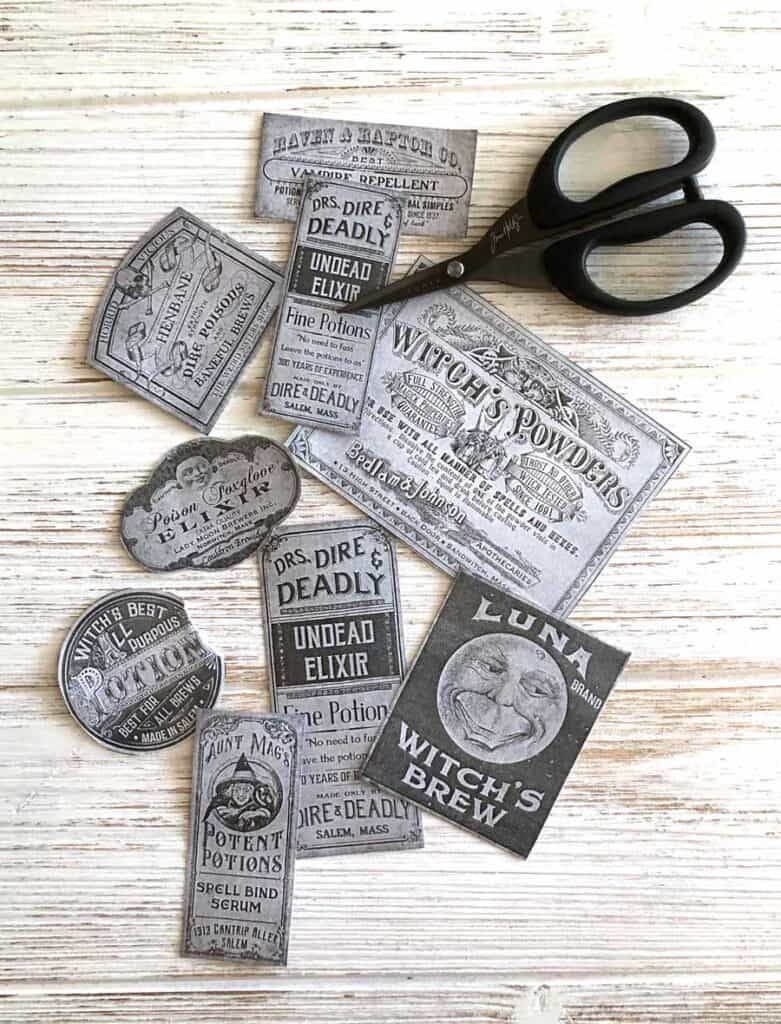
You can use any kind of little scissors to "fussy cut" the labels, but I LOVE the Tim Holtz scissors I just got. They have super soft handles and a cool tiny serrated blade that does a super good job!
Krinkle The Paper
The next step is scary, you want to krinkle up the paper so that you get some cool wrinkles that will be good for adding distress and texture later!
Use Distress Ink Pads To Accent The Wrinkles
Okay, there are 3 colors of distress that work great for adding the "aging" lines to your labels!
My favorite was Mustard Seed which is a yellow color, but Antique Linen, Peeled Paint and Vintage Photo also worked well!
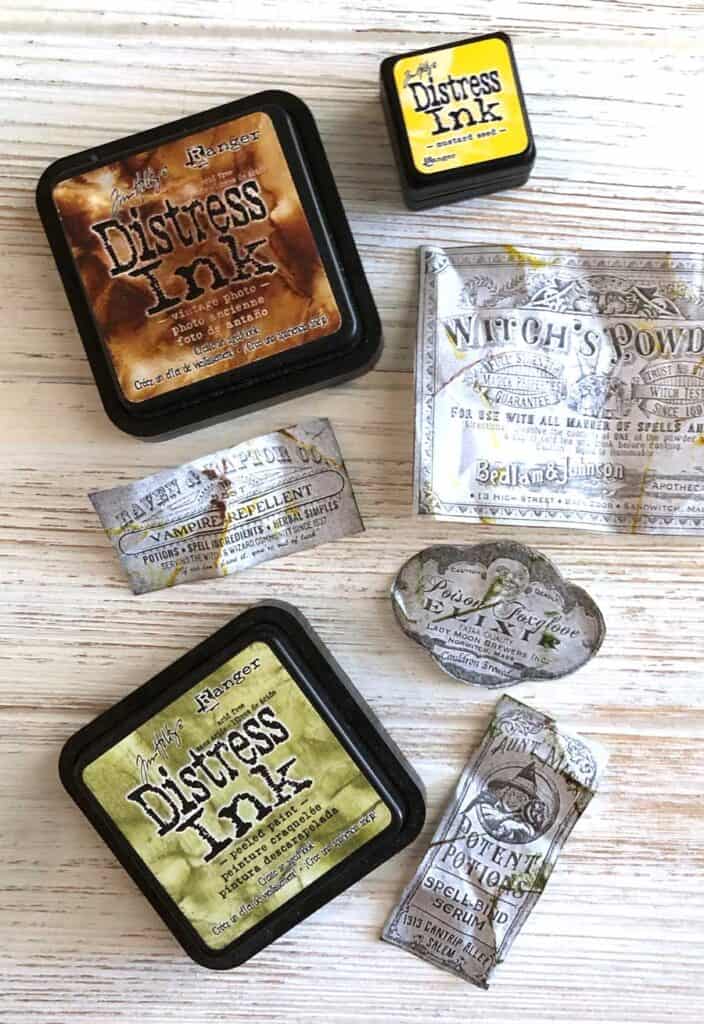
Simply run the ink pad over the wrinkles to add a line of texture!
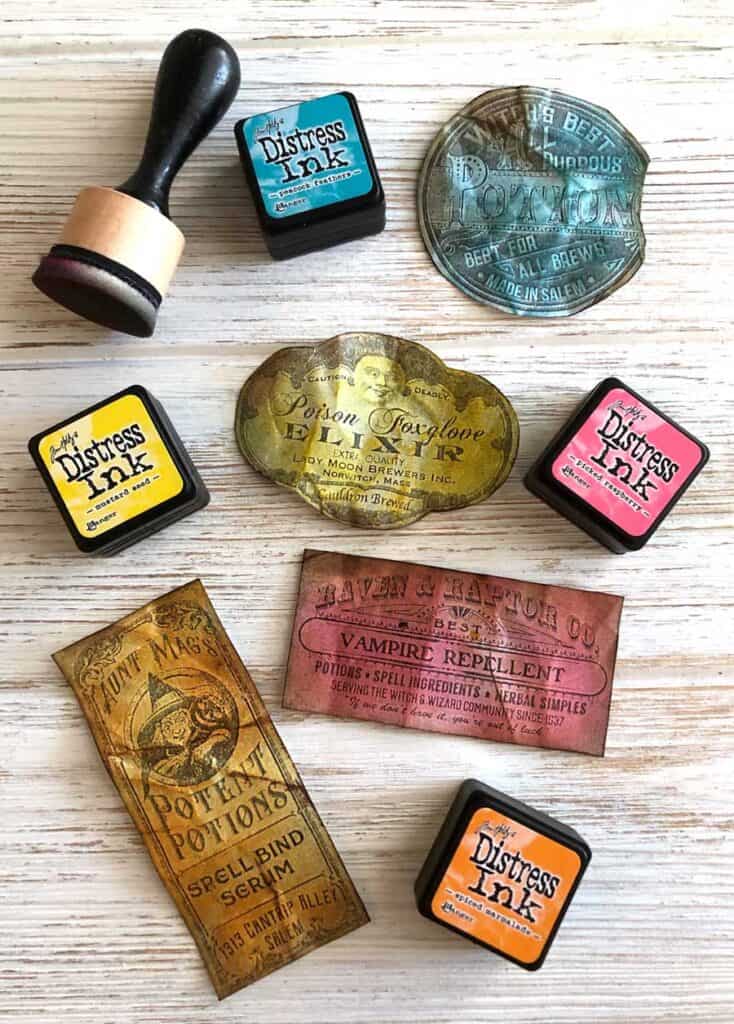
Coloring The Labels
To color the labels you can use Distress Ink too! You will need some distress colors and a blending tool.
I used Picked Raspberry, Peacock Feathers and Mustard Seed, but you can use any colors you have that you like!
Antiquing The Labels
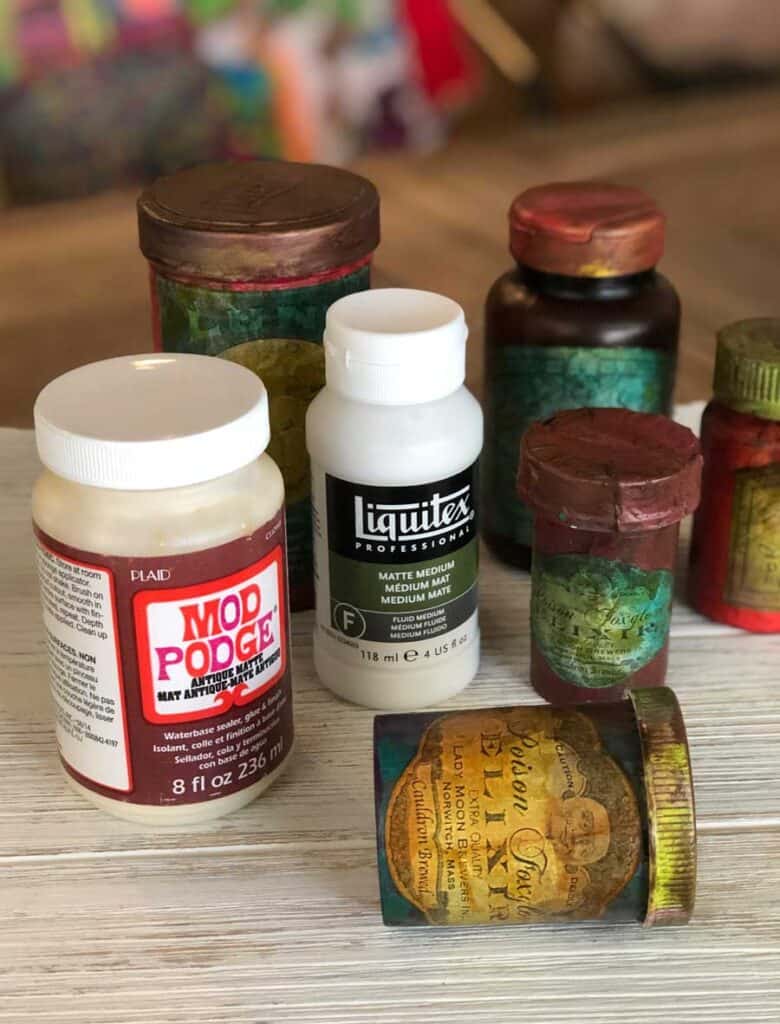
Last but not least you want to make them look old and antique. I used both Antique Mod Podge and regular Liquitex Medium mixed with some brown paint.
This gives a really old look to your labels and helps to stick them to your project!
The Final Apothecary Case
I made these labels to use in my Faux Apothecary case and they came out AMAZING!
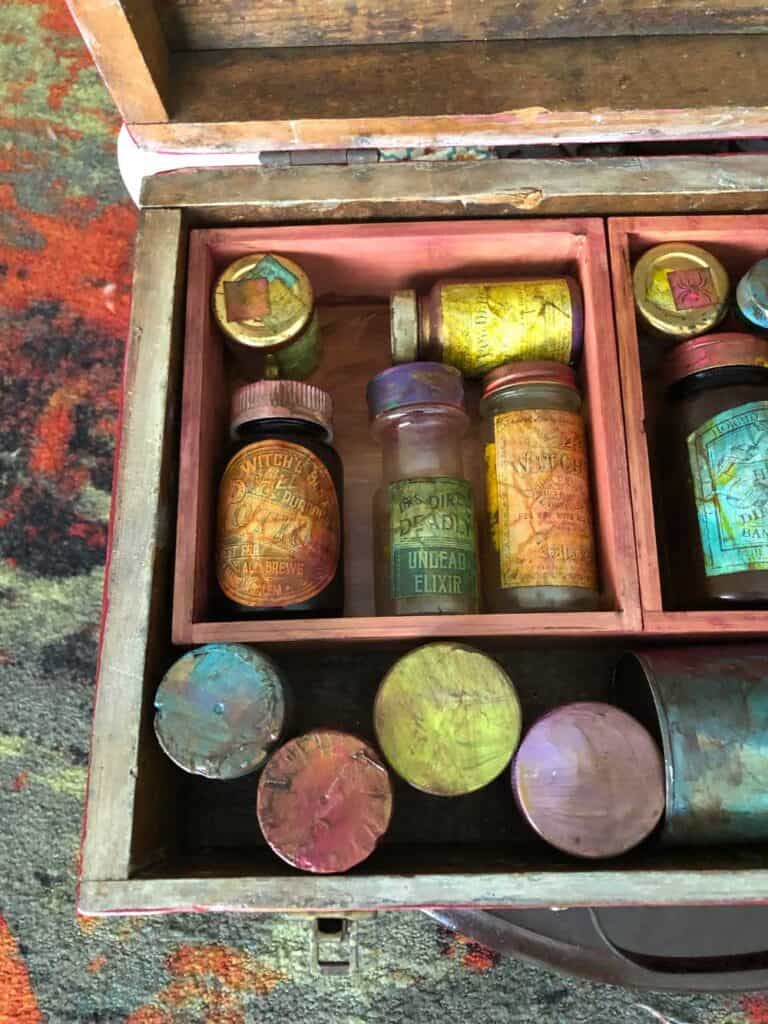
That green one is Peeled Paint Distress Ink which is such a pretty color too!