A great introduction to creating gel plate prints using different unique papers! I was making background papers for my brand new art journal and pulled you along for the ride!
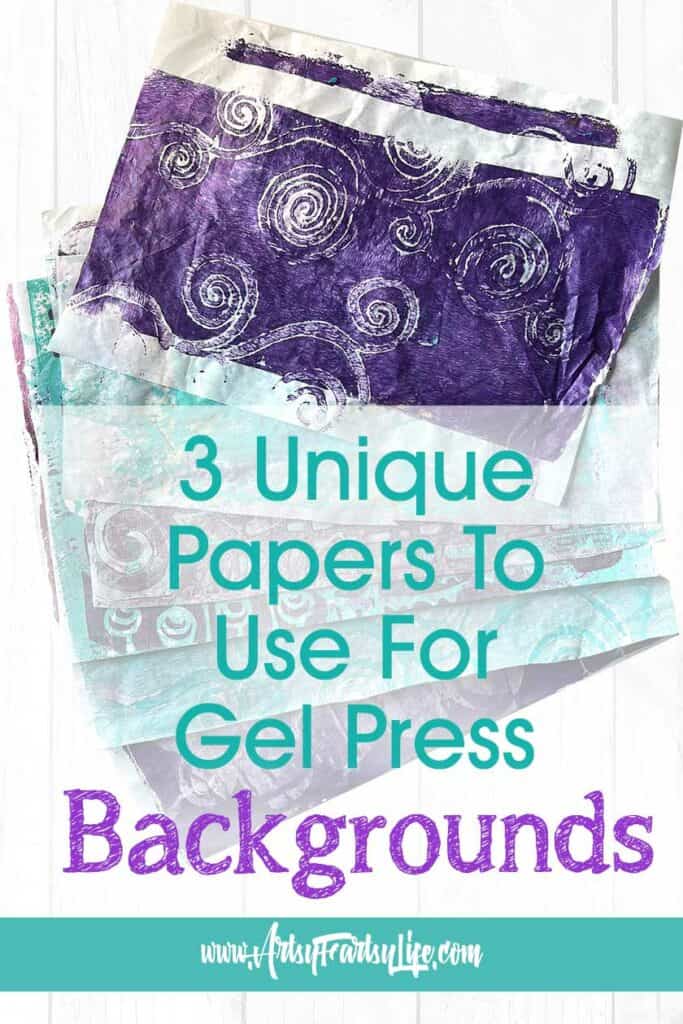
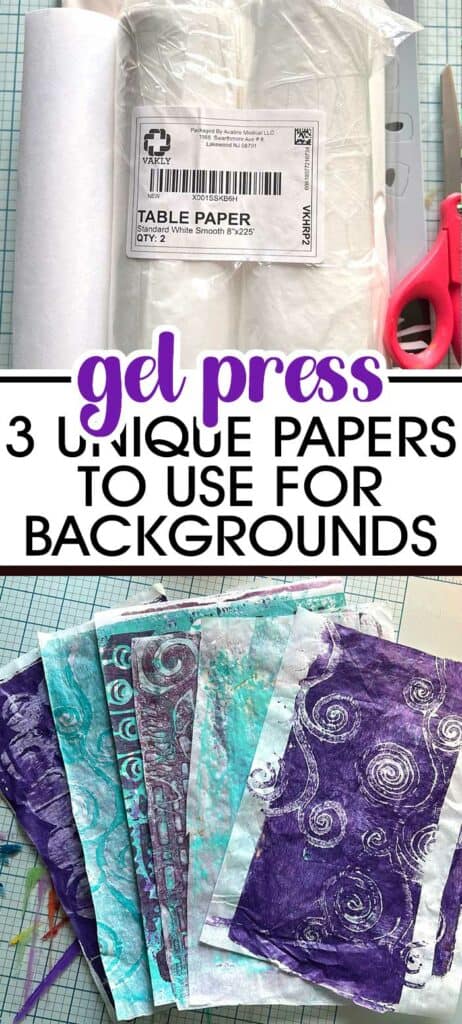
For this experiment, I wanted to see how different types of paper would react on a gel plate. I gathered three options:
- Doctor's exam table paper: The thrifty, no-frills choice.
- Wet-strength tissue paper: Surprisingly durable when wet.
- Fancy rice paper: Delicate and textured, promising interesting effects.
Of course, I also grabbed my favorite acrylic paints, stencils, and my trusty gel plate.
Walkthrough Video
Products Used In This Project
Here are some of the items I used in the video! Some are affiliate links where I will make a little bit of money if you purchase through my links.
- Dr. Paper
- Wet Tissue Paper
- Rice Paper
- Joggles Stencils
- Acrylic Blocks
- Tim Holtz Stencils
- Makeup Sponges
- Dyan Reaveley Journal
- Round Blender Brush
I started with the doctor's table paper. It's smooth, so I knew I'd need to layer textures with stencils. My biggest tip here is to go light on the paint at first. Too much, and things get muddy fast! After playing around with the doctor's paper, I let my first print dry.
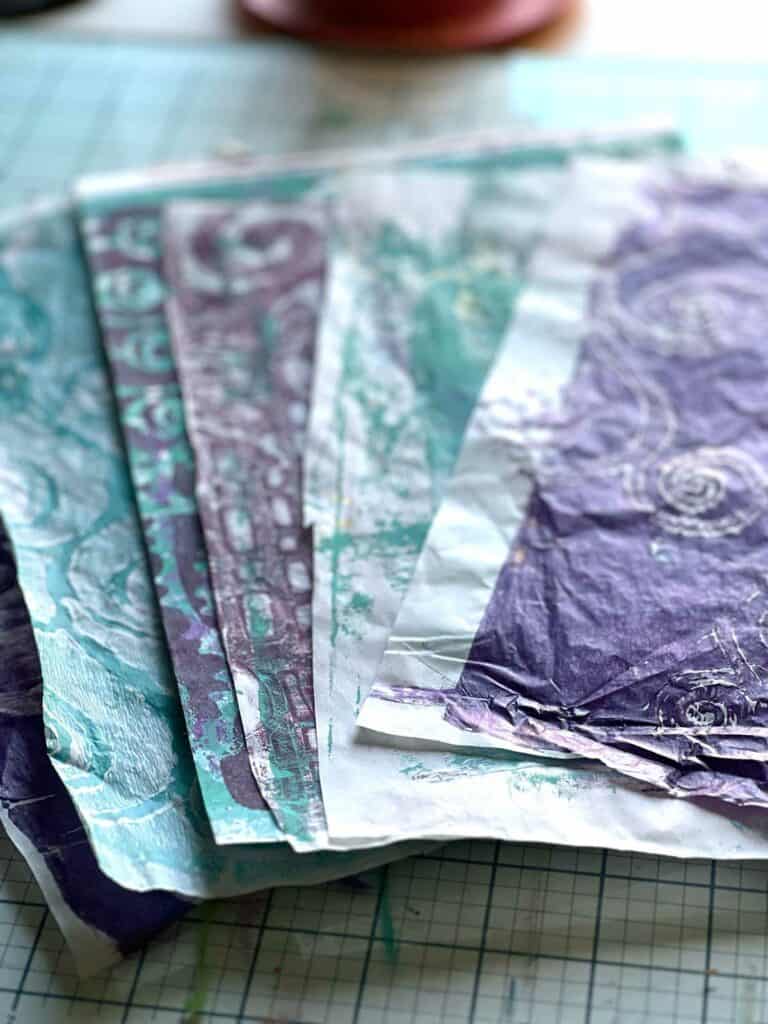
Next up was the fancy rice paper. Oh, this stuff is gorgeous! It has a natural texture that translates beautifully onto the gel plate. The paint interacted with it in such a unique way.
Finally, the underdog – wet-strength tissue paper. This was surprisingly my favorite! It's thin enough to create lovely translucent effects and wrinkles in the most artistic way.
Overall, this was a super satisfying little art session. If you've never tried gel printing, I highly recommend it. And don't be afraid to experiment with different papers – the results might just surprise you!
Gel Plate Backgrounds Wrapup
I hope this helps you get started with your gel plate backgrounds! I had a blast making these and I KNOW how much you gals like learning about backgrounds!
Here are some more posts that you might like to learn about:
- 6 Ways To Make Mixed Media Backgrounds!
- How To Make Neutral Backgrounds for your art journals
- 1880s Webster Dictionary Free Printable Background Papers
