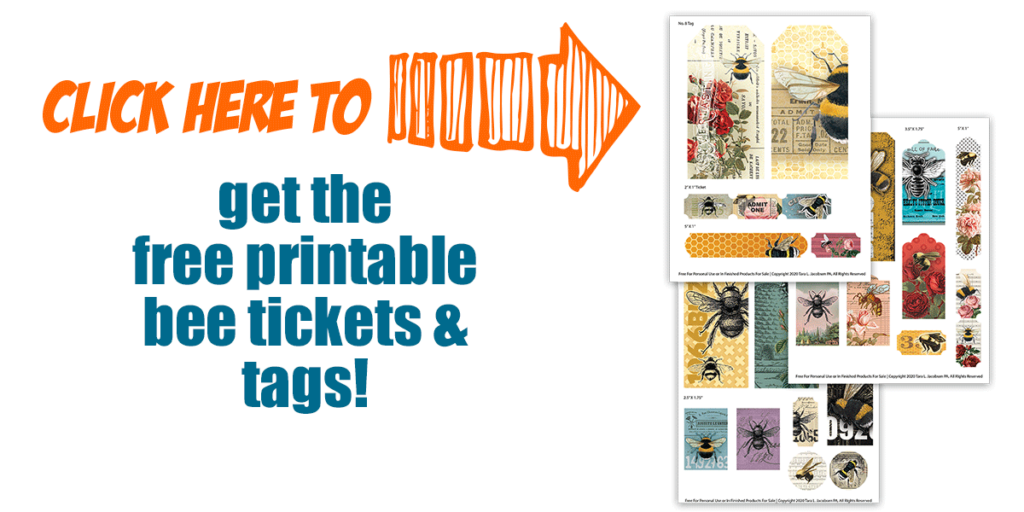
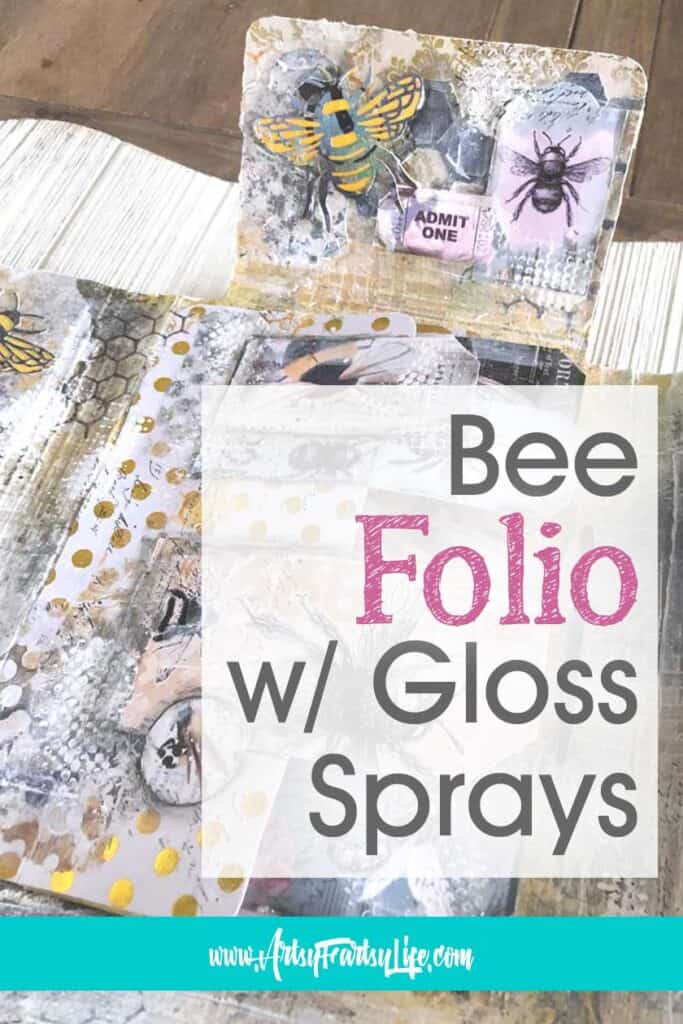
I wanted to do a project with my Free printable bee ephemera, and after taking a Dina Wakley class I thought that using my Gloss Sprays would be a great way to combine my bees and the projects I had made in class! Here are my best tips and ideas for using gloss sprays in a folio project!
Please note: This article contains affiliate links, and that means that I may earn a commission if you buy something. Read my full disclosure here.
Bee Folio - How To And Video Step By Step
The Papercraft Folio Project
I had gotten this folio at Joanns on a super discount and wanted to do a project that was A) easy and B) fast.
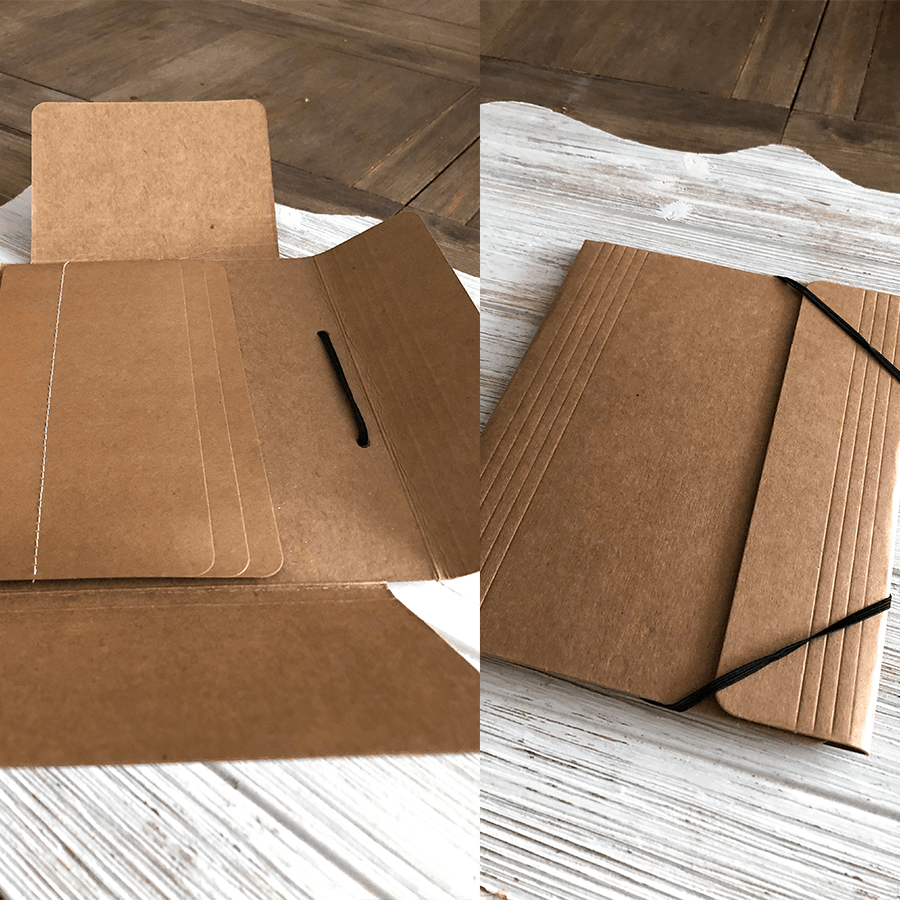
This is the Tim Holtz small Ideology folio. It is not as big as a normal folio (helping with the quick) and I didn't have to build a book or do any assembling other than glueing the waterfall part down (easy).
I think these are discontinued, but I found some still for sale on Etsy.
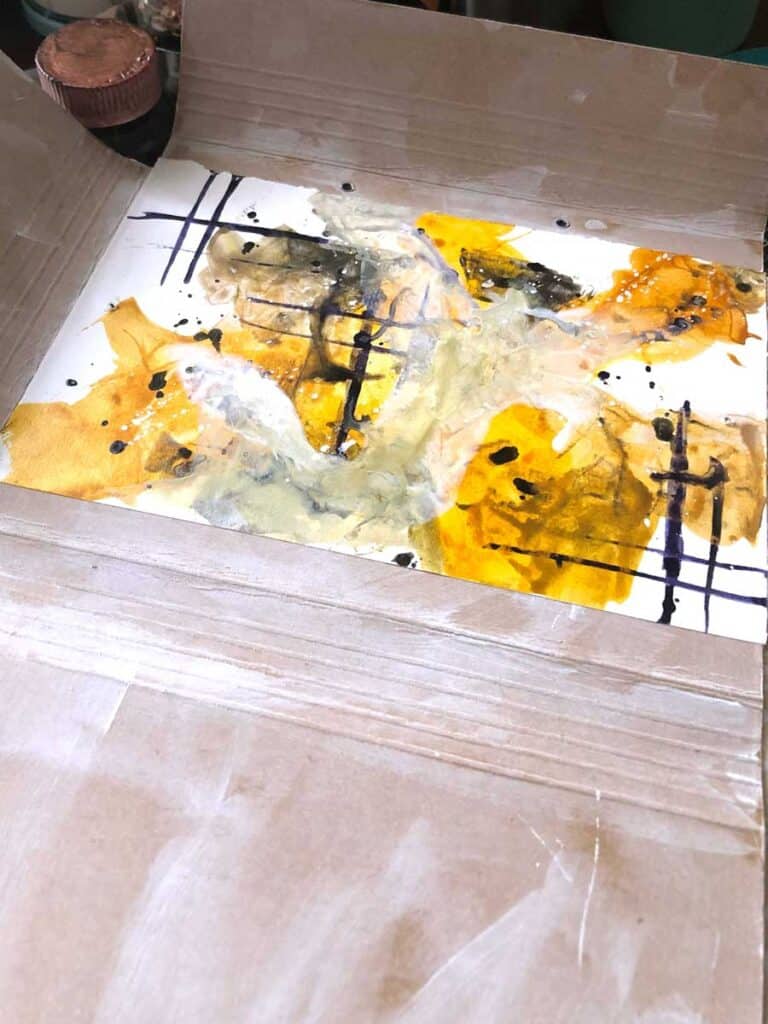
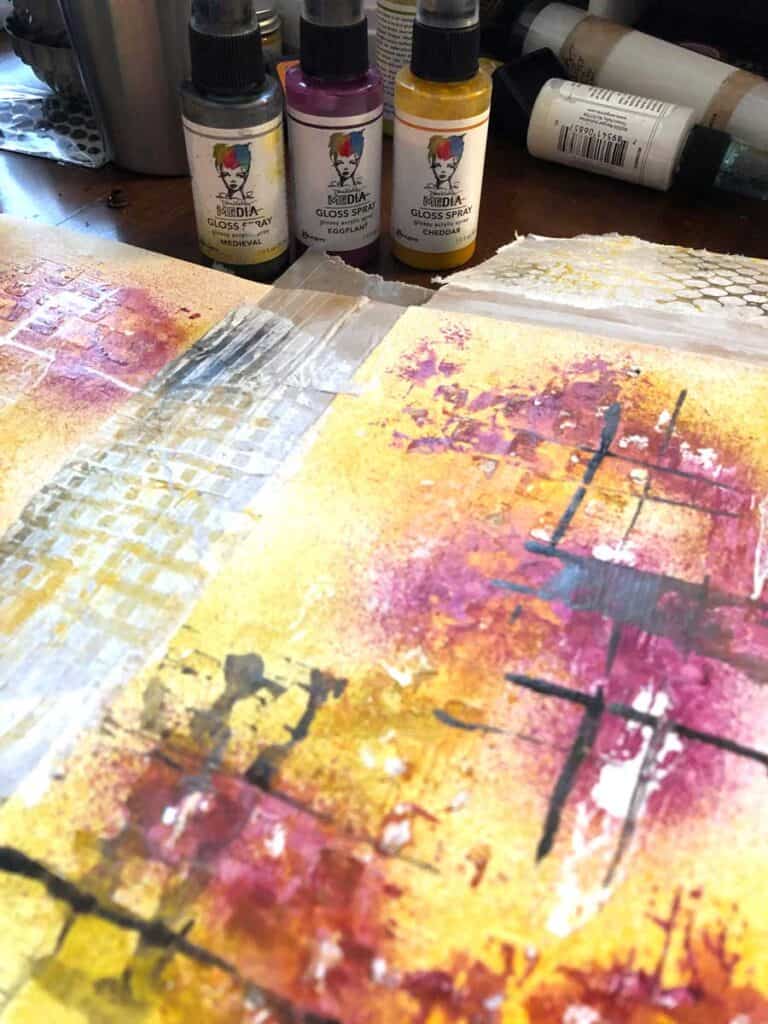
Oodles of Gloss Sprays
So, I took a class from Dina Wakley who is the designer behind the Gloss Sprays and made a BUNCH of different backgrounds, gel plate tissue papers and tags.
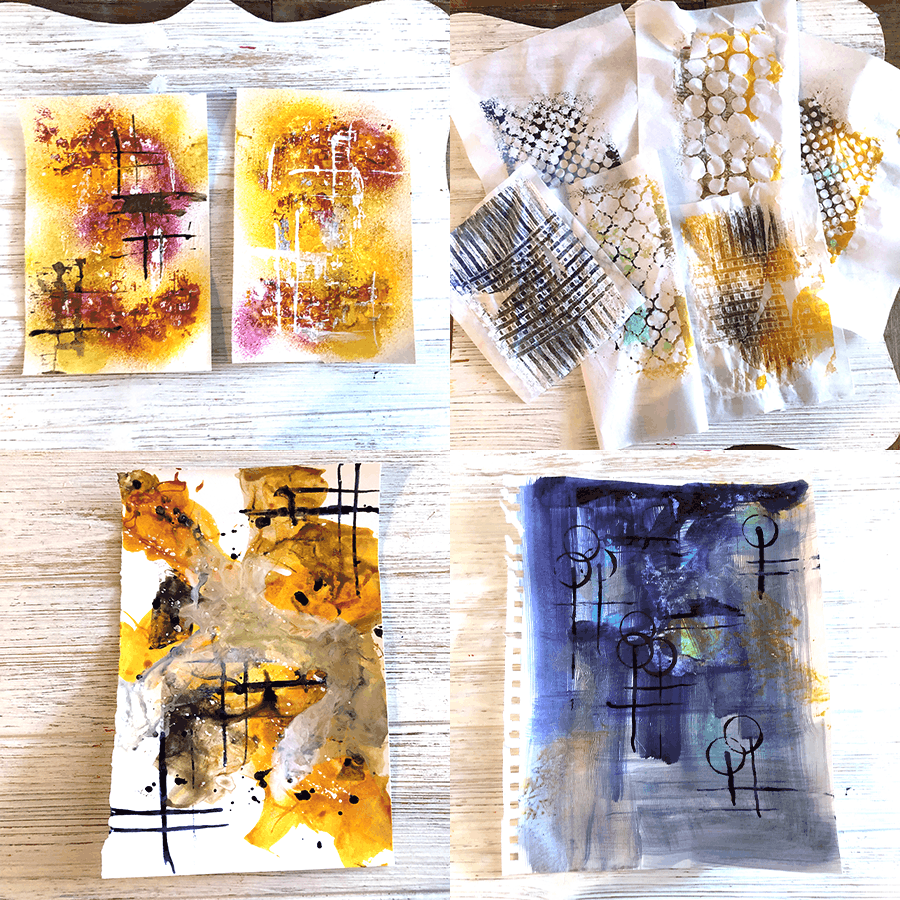
I hate "wasting" supplies, so I thought it would be fun to make a project that used all these different backgrounds and papers.
Bumble Bee Ephemera
I have been wanting to have more pictures to use for my Free Printable Bee Ephemera, so this was going to be the perfect project!
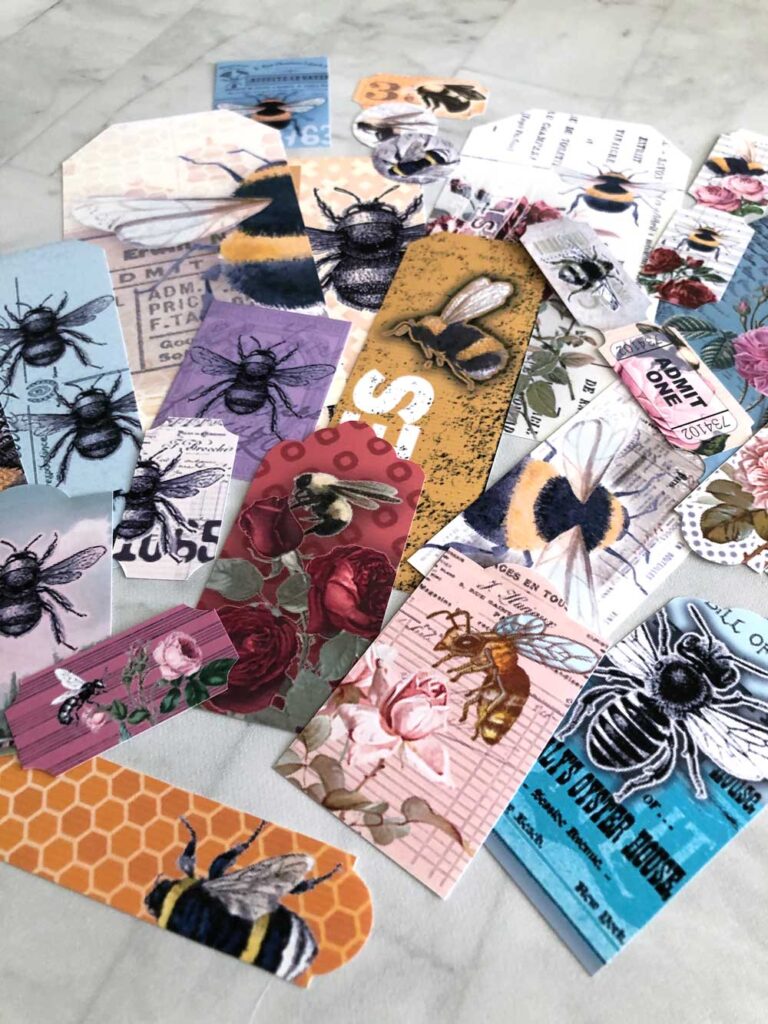
I would mix the gloss sprays with the folio and throw in some bees... perfect since I used mostly yellow and black gloss sprays!
The Colors That I Used
I ALWAYS want to know the colors that people used in their project so here are the ones that I used the most!

If you LOVE making junk journals and want a full printable kit to help you get started, check out the Bee Junk Journal Kit

Priming The Folio
I used gesso on all the different parts of the folio, front, back and even the waterfall parts. Because I was doing a "white look" I didn't want the brown background I wanted to start with a clean slate.
That said, I didn't cover it perfectly, wanting to add some texture on this first layer.
Adding A LOT of Tissue Paper
The next layer was to take the Gloss spray tissue paper and add it all over the different sides of the folio.
Adding More Layers
The next step was adding a bunch more layers!
Die Cuts - Bees and Beehive
I wanted a bunch of fun layers to be included so I did the beehive die cuts and parts of the bumble bees out of the dark blue background I made.
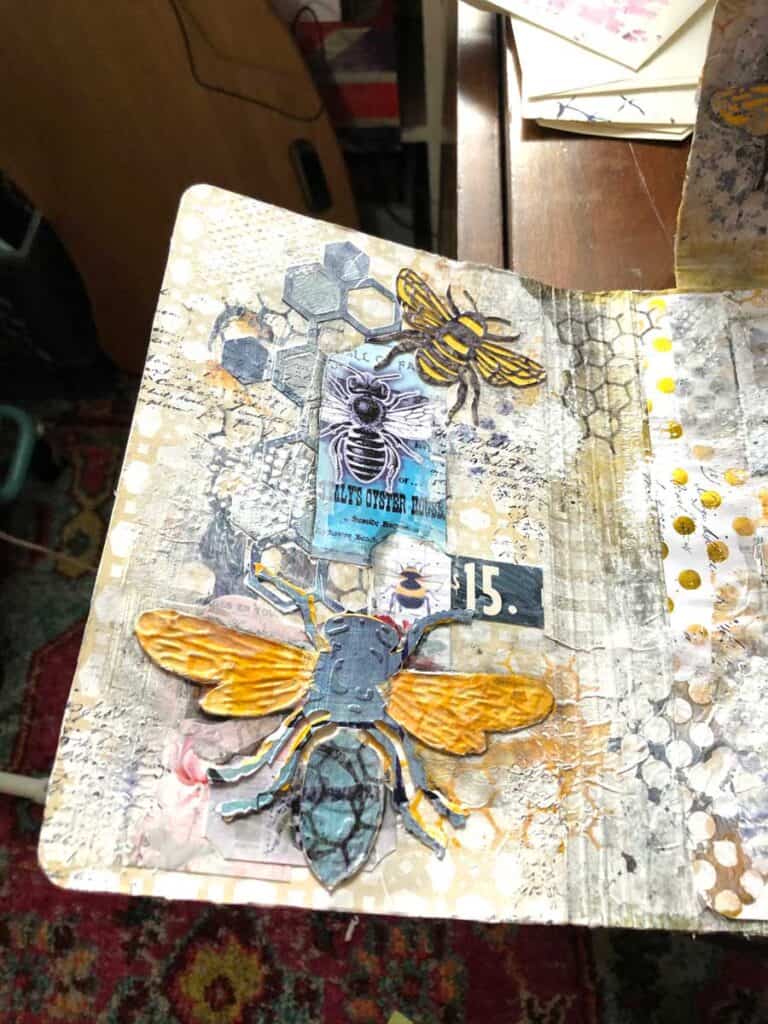
At first I thought that there was no place I would be able to use the blue bits, but they worked perfectly to replace the "black" parts of the bees. Black for sure would have been way too harsh a contrasting color on my dreamy pastel background!
Sizzix Thinlits Die Set 4 Pack Sizzix Bigz Die with A2 Texture Fades
Bee Ephemera
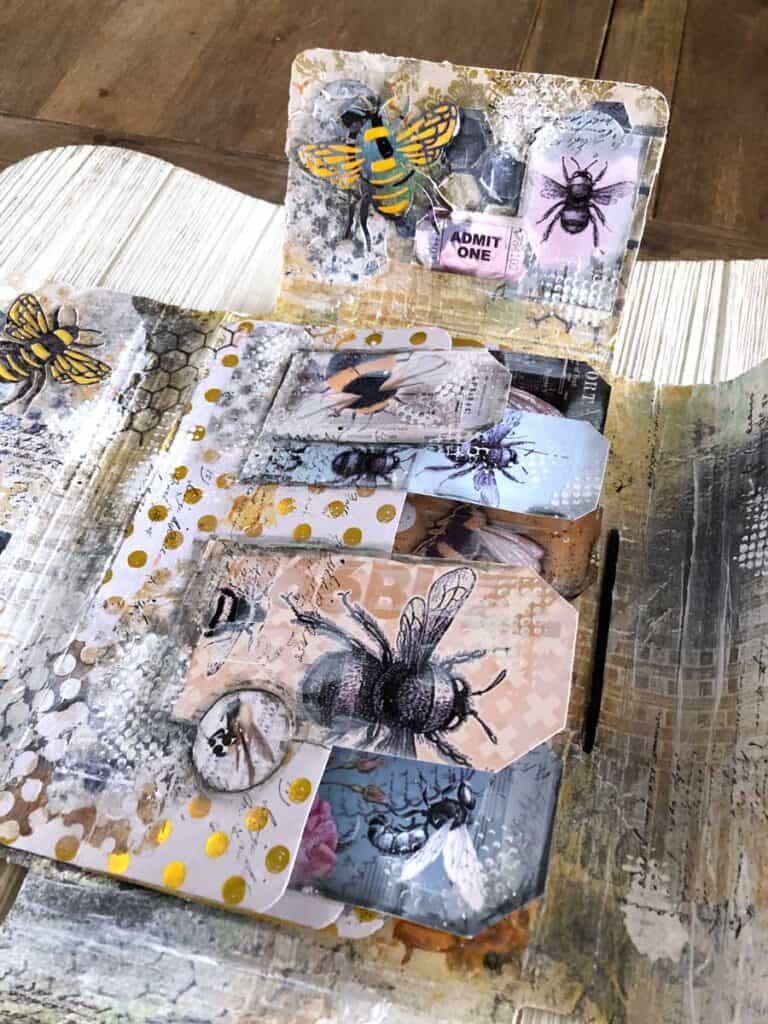
One layer for sure was the bee ephemera. I didn't want it to be the star of the show (the die cut bees were the stars), but I love how they worked great as backgrounds.
I will say that I will be adding more tags to the waterfall as I come across things that I think will go good there!
White Acrylic Paint With Glaze
I thought everyone knew about glaze, but my father-in-law who has been an artist all his life didn't know about.
When you add "Glazing Medium" to your acrylic paint it makes it translucent. I did a BUNCH of dry brushing the glaze and white paint over the whole thing to merge the background and the tags.
Final Bee Folio Project Pictures
Here are a bunch of the "afters"! Hope you love them as much as I do!
Bee Folio Front Cover
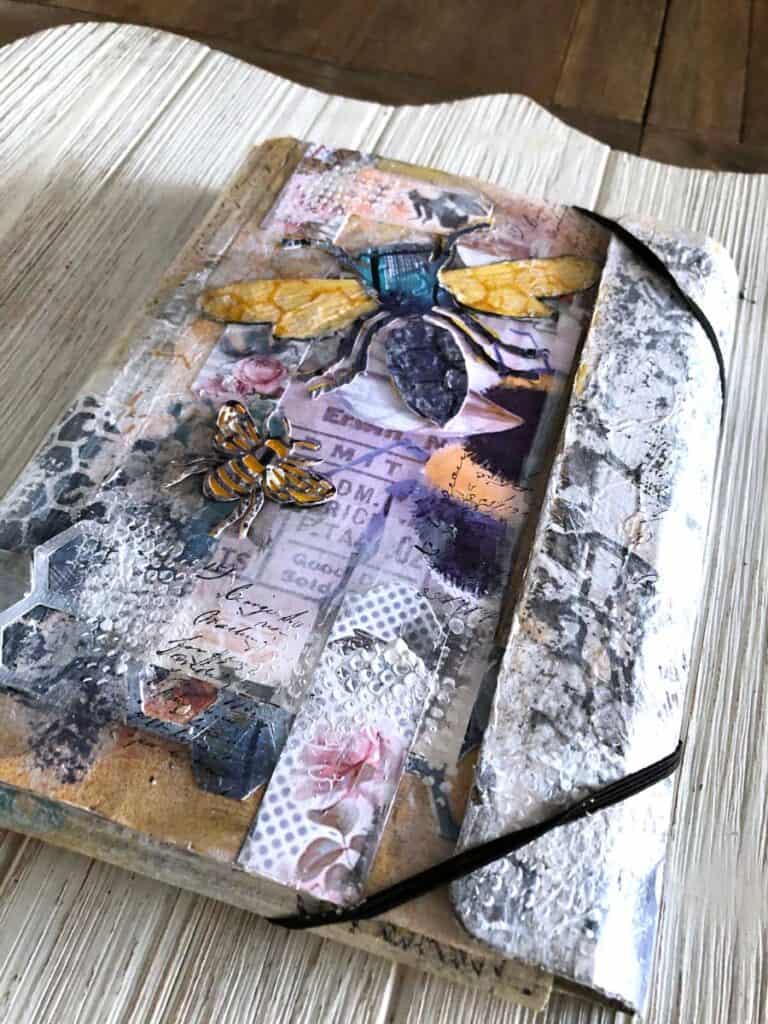
Bee Mini Album Back Cover
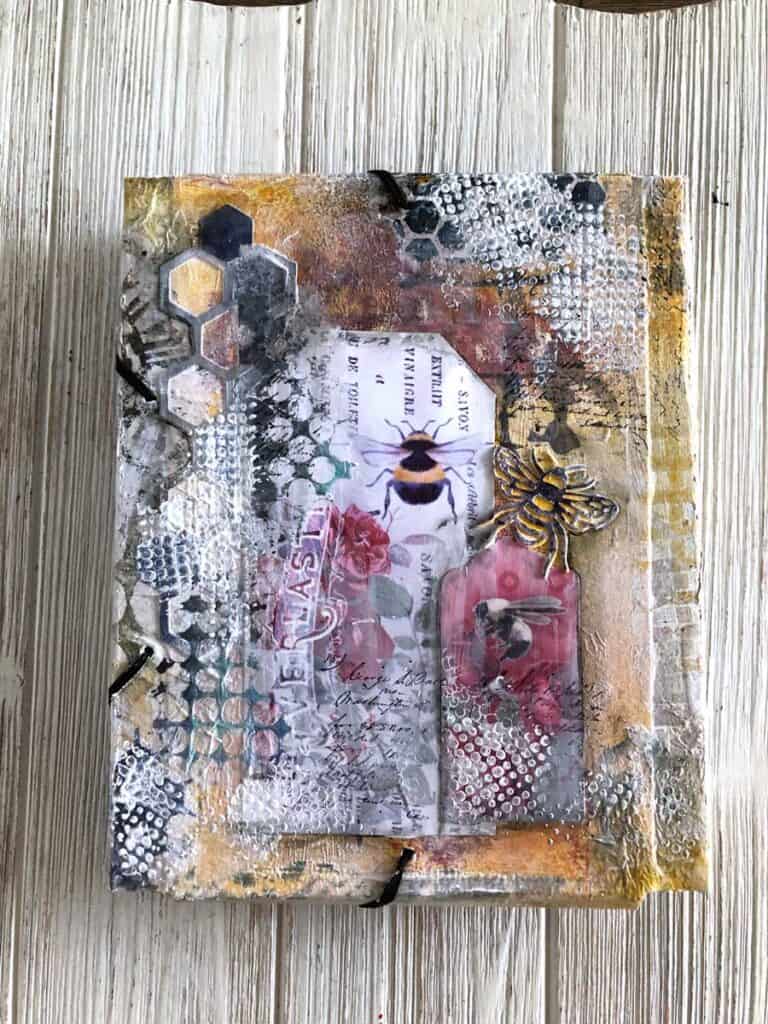
Bee Folio Inside Flap
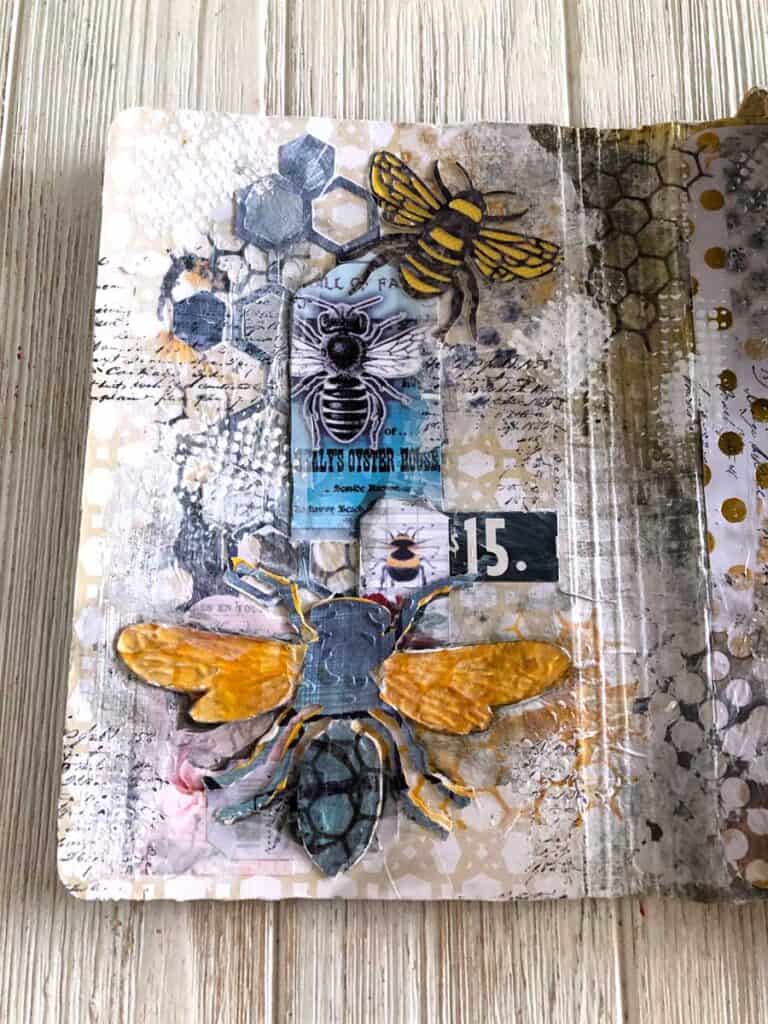
Bee Mini Album - Inside Waterfall
