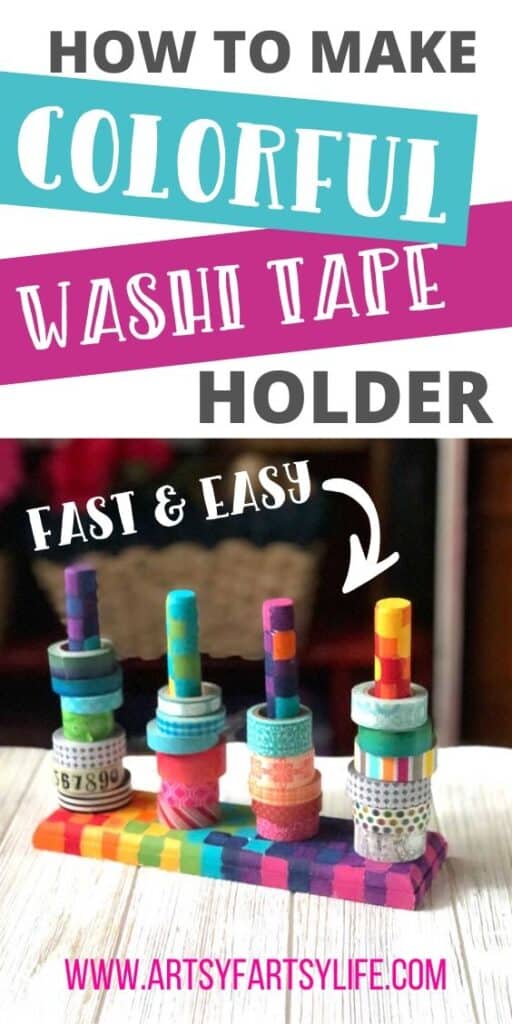
This is a great project to help with your craft room storage and organization (especially if you have a small craft room!) This washi tape holder is super functional and cute when painted with a rainbow of colors or any way your heart desires!
Want more? Check out all 9 Creative Washi Tape Storage Ideas!
Craft Supplies Needed
This is a super fast and affordable project, and the cool thing is that you probably have most of the craft supplies you need already lying around!
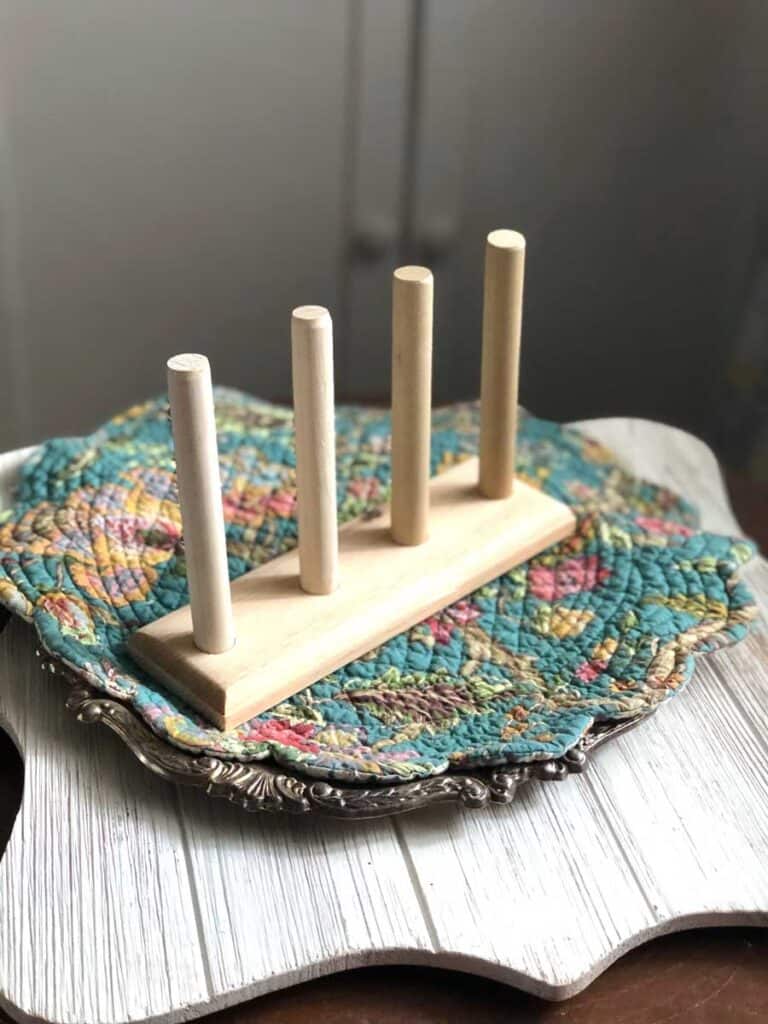
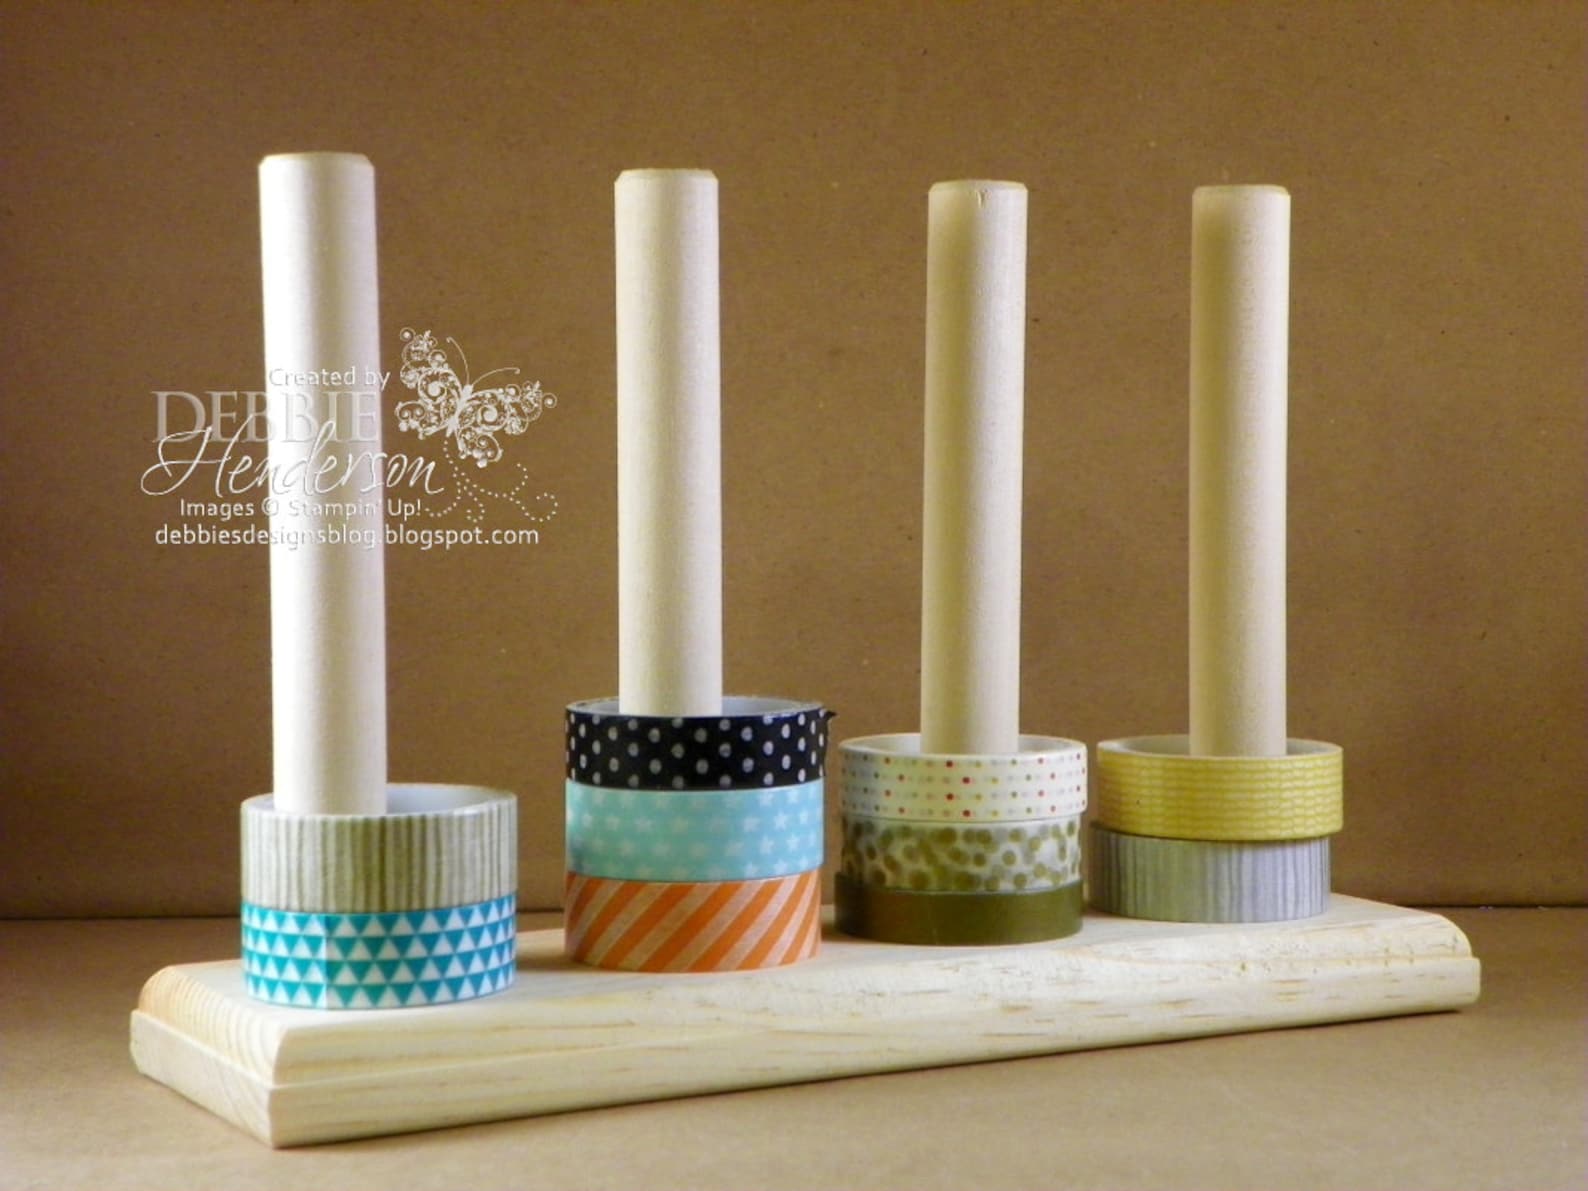
1. Wooden Dowel Washi Tape Holder
I looked at a bunch of different wooden dowel holders for washi tape before I found this super cool (and affordable) one on Etsy.
I like the size (my craft desk is pretty small) and it holds a lot of washi tape rolls!
Washi Tape Storage, Washi Tape Holder
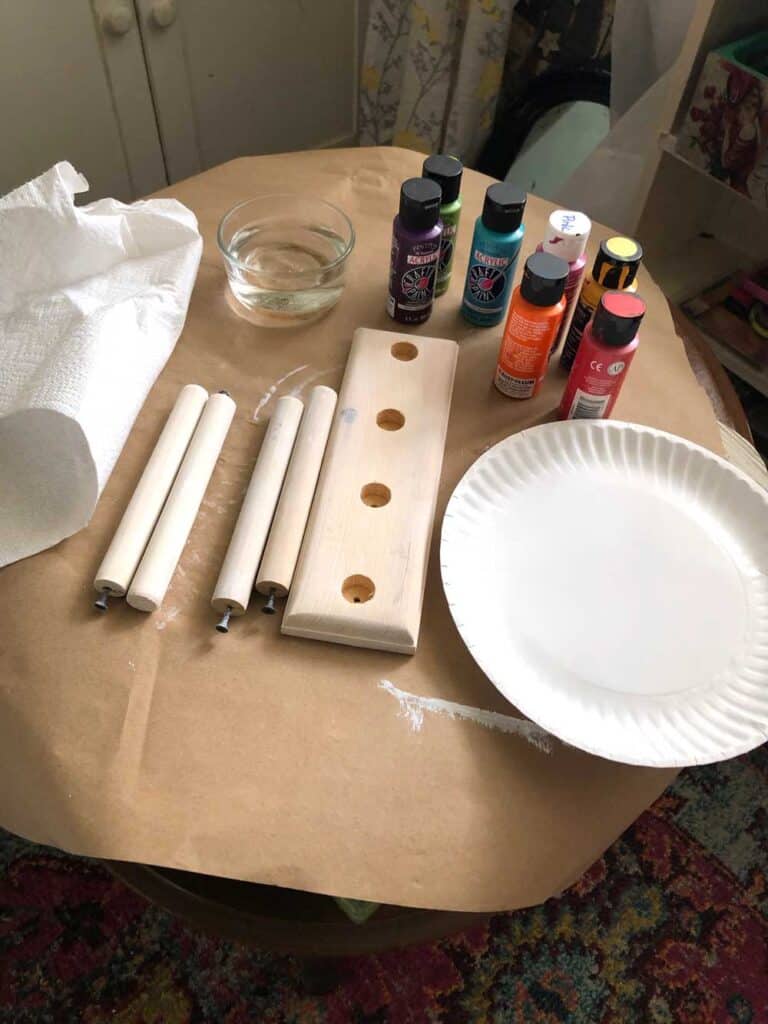
2. Acrylic Paints
I used a bunch of different rainbow colored acrylic paints for this project. They were just cheap ones from Michaels or Hobby Lobby.
You could go full on rainbow like I did, or if you like a more subdued color palette you could pick some of your favorite shades of pink, blue or green!
3. Sanding Paper
This is an optional step! I did a tiny bit of sanding on the edges, you may want to do more. I figured the paint would cover most of the rough design.
I tool the holder apart to sand, prime and paint it! I think that if you weren't doing as complicated a pattern (like all one color) you could for sure leave it together!
4. Gesso or Primer
I use Gesso paint for all my priming (on my papercraft pages and wood products). This is just a base coat kind of paint that is a little rough and provides a great surface for the paint to stick to!
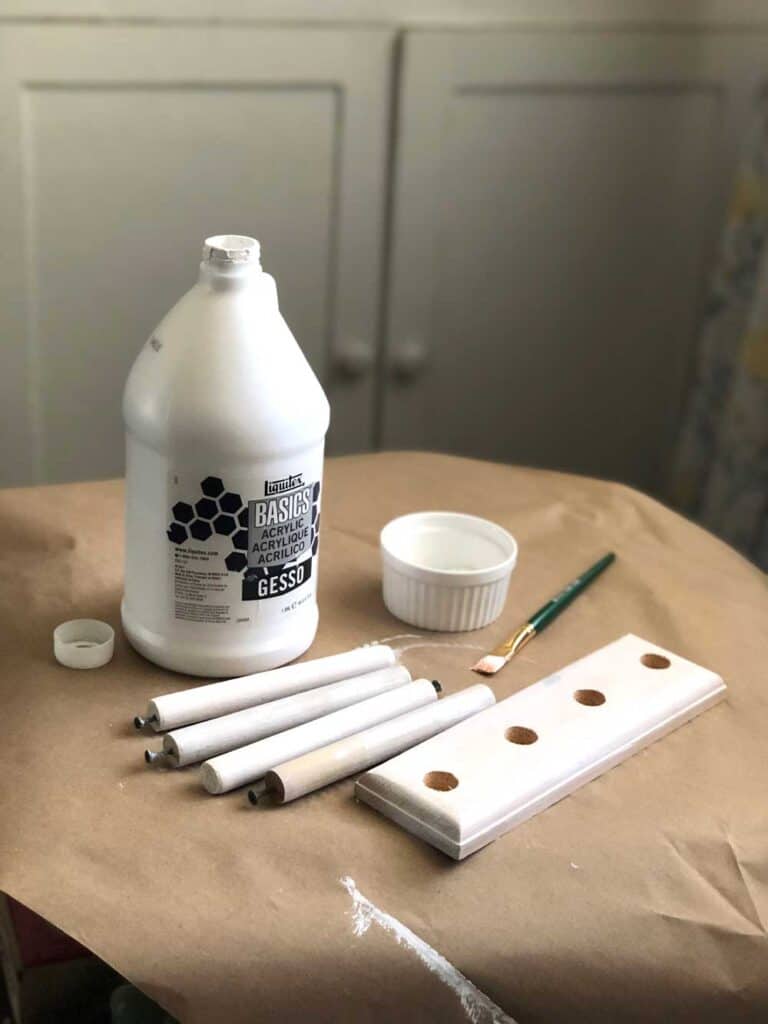
That said, you don't HAVE to have Gesso paint, you can use a regular primer paint that you have from your last DIY decorating project.
5. Flat Tipped Paintbrushes
If you want to do the little squares like I did, you have to have flat tipped paintbrushes!
MEEDEN Flat Paint Brushes Set Short Handle
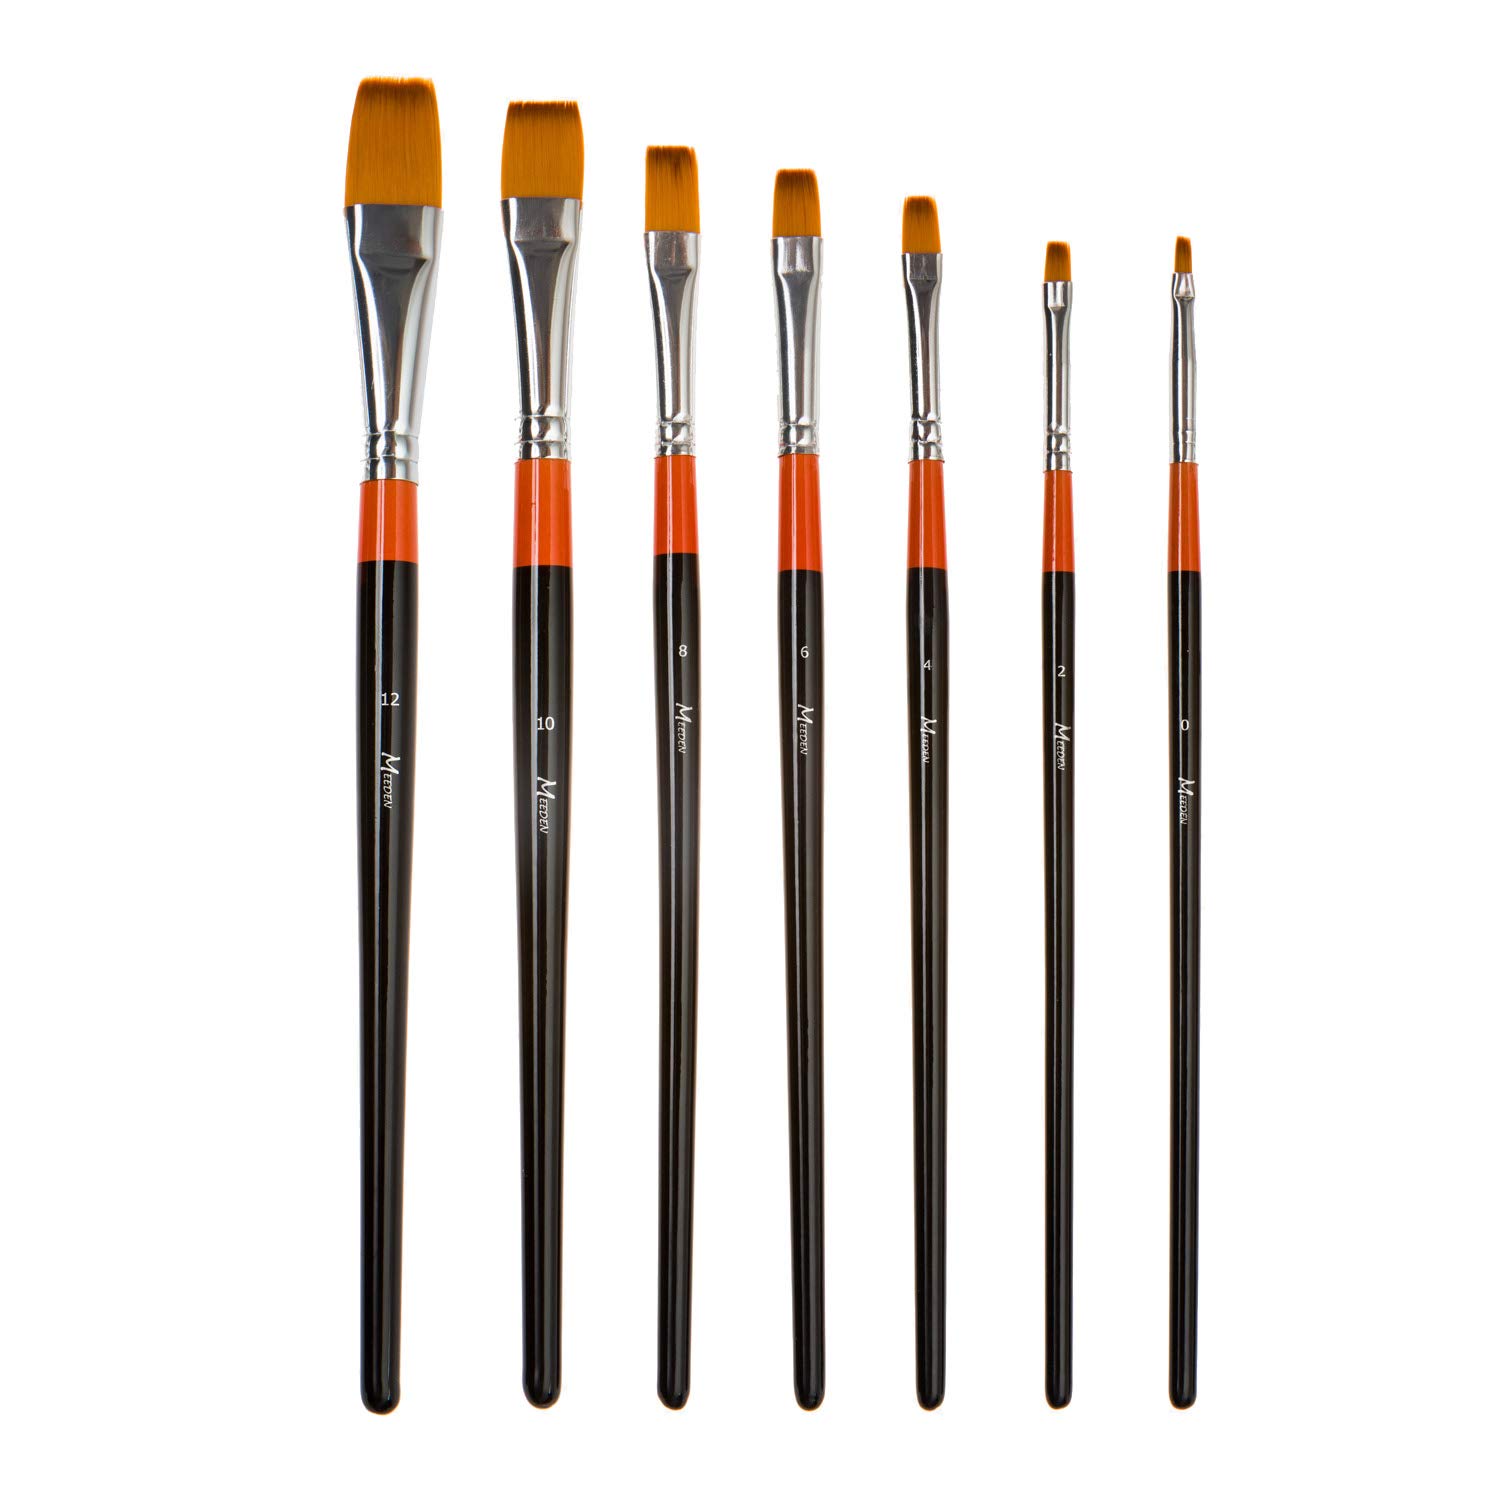
To make the squares you just swipe up and then across using the flat "sides" to make the square edges.
Painting Your Washi Tape Holder
Okay, this is a super easy project because you can pick exactly the way that you want to paint it, although I did come across some good tips!
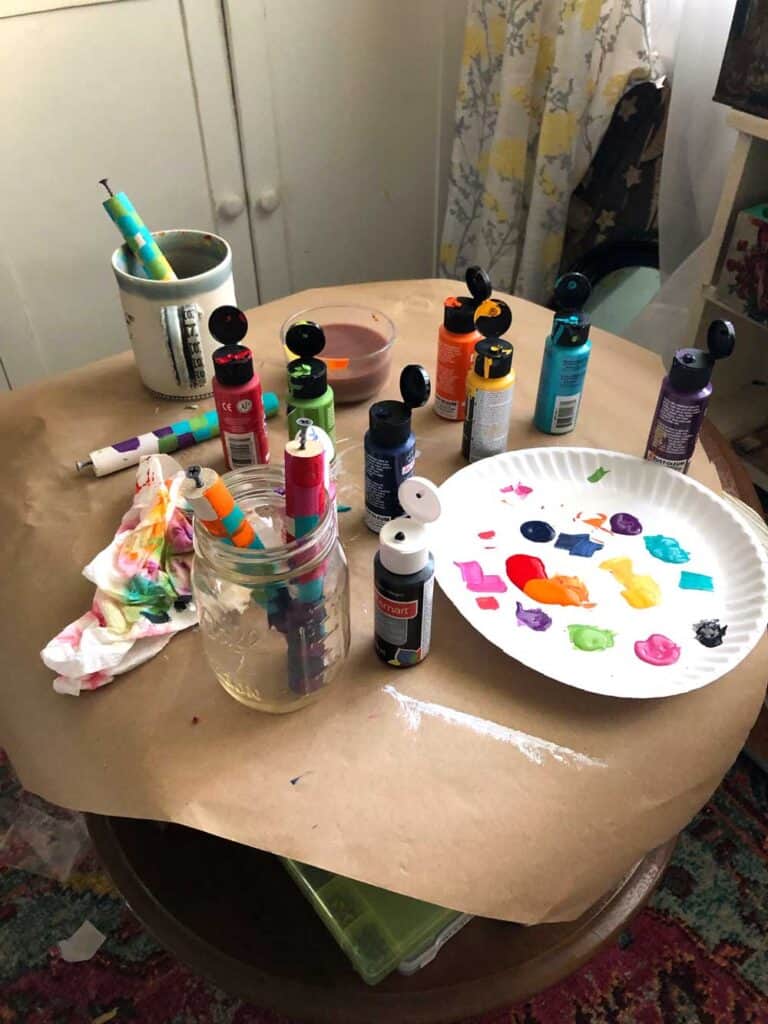
Put the dowels in cups - at first I was laying the dowels down and they kept getting stuck to the craft paper. Setting them upright in the cups made them less "sticky-together".
More coats are better than thicker coats - I thought that I could do just one coat, bt they tended to run into each other and I had to put a second coat on anyways!
Don't freak out about the pattern - when I started I thought my pattern would be perfect, but a couple of times I had to have two colored squares together ... you know what, no one has noticed! And once you have the washi tape on there you won't notice either!
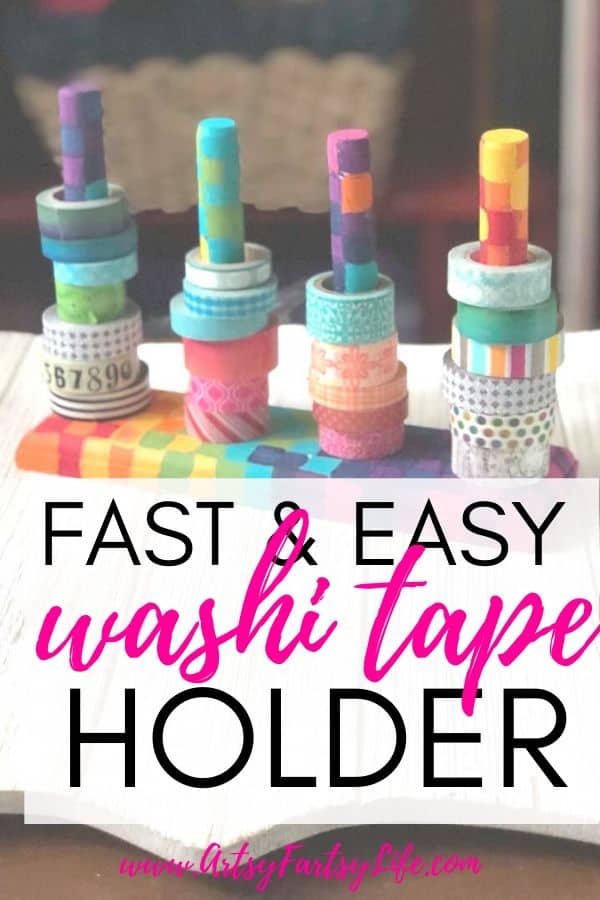
The Final Project
I couldn't be happier about how this turned out! I love all the colors and it is super functional and pretty!
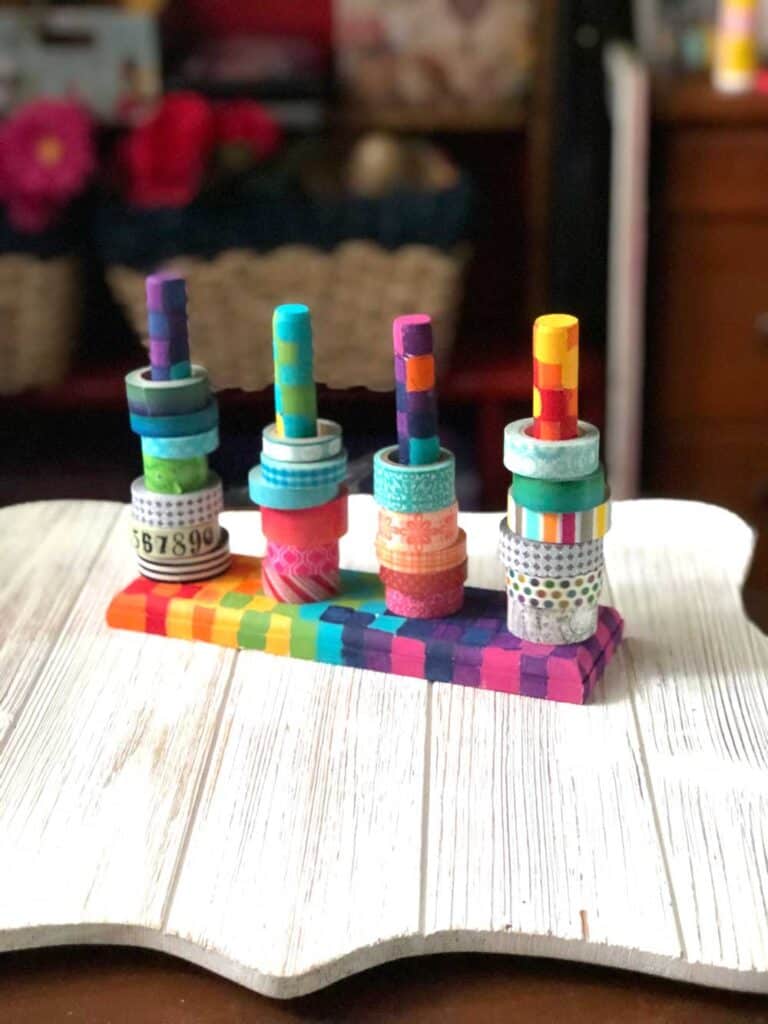
If I was really neurotic (like I can be) I would get two of them and put the red on a red dowel, orange on an orange dowel, etc.
I do find that sorting my craft supplies by rainbow colors makes it much easier to see when I need to replenish my stock!
Check out my Rainbow Storage Box!
Washi Tape Holder Wrapup
I am super interested in finding storage solutions for my craft room office combination. I think this great for storing my washi tape collection and keeing my washi tape organized.
Washi is so colorful and pretty that it makes sense to have a way to store and display it on your craft table!