This fun and easy melt and pour soap recipe is a great way to add a citrus smelling essential oils blend with a touch of green tea for an extra antioxidant boost to your life!

Introduction to DIY Citrus Soap Bars
I love being able to share this easy homemade citrus soap recipe with you! Mixing a goat's milk melt and pour soap base with essential oils and THEN adding in the green tea gives you aromatherapy AND an early morning wake up all in one little bar!
If you have never used melt and pour soap, it is super easy, just cut up the base into cubes, nuke in microwave and pour into a mold... then add any and all ingredients you want!
What You'll Need
Here's the simple supply list of everything I used to make six bars:
- ¾ lb Goat's Milk Melt and Pour Soap Base
- 7 drops bergamot essential oil
- 7 drops lemon essential oil
- 10 drops sweet orange essential oil
- ½ teaspoon green tea
- Soap molds
- Optional: Microwave-safe measuring cup, craft stick, rubbing alcohol spray bottle
Step-by-Step Guide to Making Your Citrus Soap Bars
These citrus soap bars are super fast and easy to make! Here is a step by step guide to making amazing homemade skincare...
Gather Your Ingredients
Make sure you have your goat's milk melt and pour soap base, bergamot essential oil, lemon essential oil, sweet orange essential oil, green tea, and your soap molds ready.
Don't forget the optional microwave safe spouted 4 cup measuring cup and wooden craft stick for stirring, along with a spray bottle filled with rubbing alcohol.

Prep Your Soap Base
Start by cutting the goat's milk soap base into 1-inch cubes. This size ensures that the soap melts evenly and quickly without burning.
Time to Melt: Place your soap cubes into the measuring cup and heat them in the microwave in 30-second intervals. Stir between each interval to help the soap melt evenly. It's crucial to avoid overheating, as that can ruin the texture of your soap.
Mix in the Magic: Once melted, let the soap cool slightly, just so it's not piping hot. Then, stir in your essential oils — bergamot, lemon, and sweet orange for that citrusy zing, along with the green tea for an antioxidant boost. Mix well to ensure the fragrance and benefits are evenly distributed.

Into the Mold
Carefully pour your soap mixture into the molds. If you're worried about air bubbles spoiling the smooth finish of your bars, here's where the rubbing alcohol comes in handy.
A quick spritz on the surface immediately after pouring can help pop those pesky bubbles.

Let Soap Dry
Let your soap bars set and harden for 2-3 hours. Avoid moving the molds during this time to ensure your soaps maintain their shape and clarity.
Unmolding The Citrus Soap
Once set, gently release your homemade citrus soap bars from the molds. If they resist, a quick dip in warm water can loosen them without melting the soap.
Customize Your DIY Soap
You don't have to, but if you are feeling all fancy you can customize your soap a number of different ways!
Scent Variations
- Other Citrus: Try grapefruit, mandarin, lime, or a blend for an extra zing!
- Floral Twist: Add lavender, rose, or ylang-ylang essential oils alongside the citrus for a softer, floral-citrus scent.
- Herbal Touch: Blend in a bit of rosemary, peppermint, or eucalyptus for a fresh and invigorating twist.
Additions
- Exfoliants: Stir in finely ground oatmeal, coffee grounds, poppy seeds, or jojoba beads after the soap has slightly cooled for a gentle scrubbing effect.
- Botanicals: Add dried lavender buds, rose petals, or chamomile flowers to the top of the soap in the mold for a decorative touch. I have a great Rose Petal Essential Oils Shower Steamer recipe if you like that kind of thing!
- Natural Colorants: Use a small amount of spirulina powder for a pale green tint, turmeric for a hint of yellow, or beetroot powder for a subtle pink.
Other Ideas
- Swirls: After pouring the base into the mold, drizzle on a bit of melted soap base mixed with a different colorant to create pretty swirls.
- Layers: Create a layered effect by alternating colors of soap base or adding a clear layer in between. Let cool between each step to avoid muddying your soap.
- Embeds: Purchase small soap embeds in fun shapes (like citrus slices!) and press those into the top of your soap mold.
Important Note: Always research new essential oils or additives carefully to make sure the right amounts to use in the soap, and check for any potential skin sensitivities.
Citrus Melt and Pour Soap Wrapup
If you are just getting started with soap making, this is the kind to start with... just some melt and pour soap, essential oils and you are good to go!
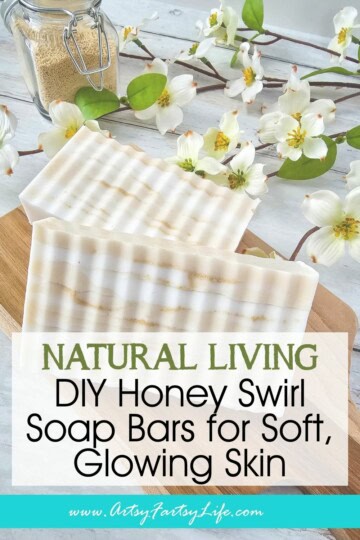
Here are some more natural beauty recipes you might like to check out!
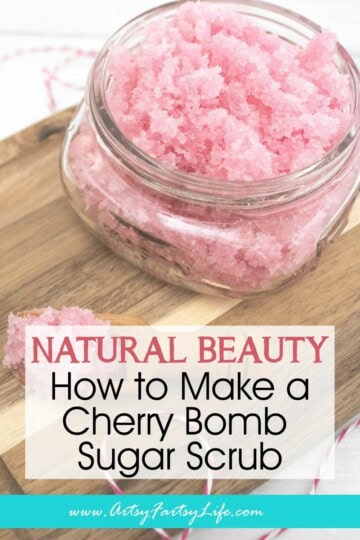
- If you love orange essential oils you might totally dig this Orange and Vanilla Sugar Scrub Recipe
- Ready to step up your soap game? Check out these wicked cute Owl Soaps (I used these have a great floral meets woodsy scent that owl lovers will love!)
- If green tea is your jam, check out these Green Tea Exfoliating Scrub Bars!