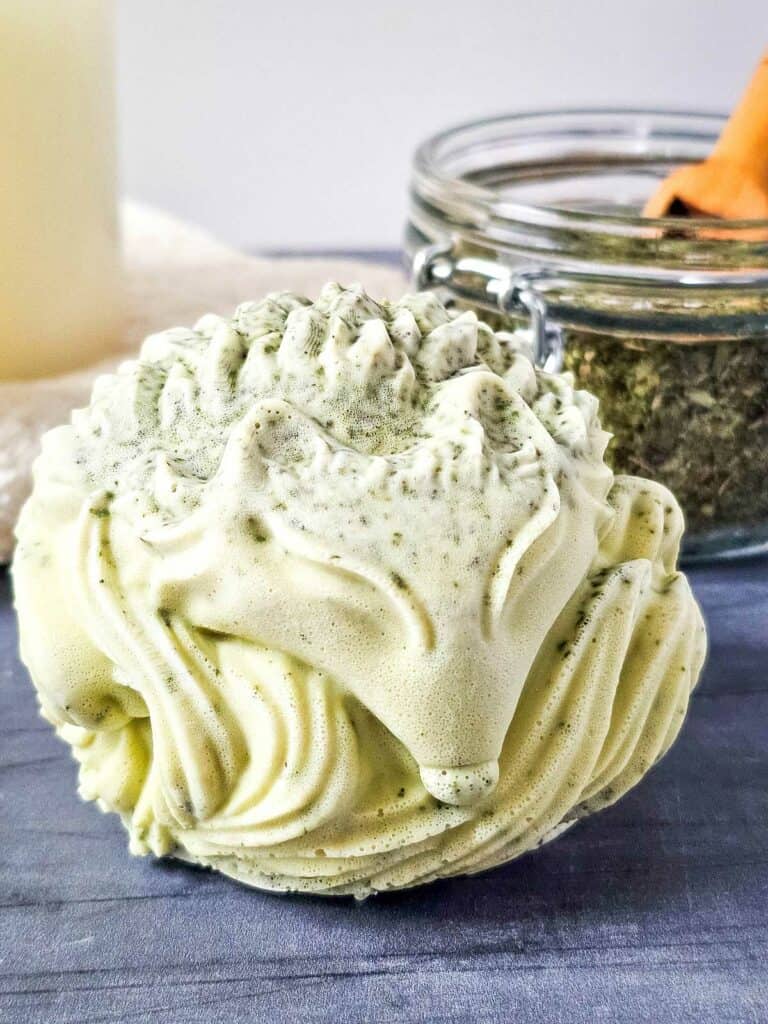
These darling essential oil soap bars are shaped like cute little foxes! With the scent of peppermint and eucalyptus, these soaps can help with a variety of cold issues.

Please note: This article contains affiliate links, and that means that I may earn a commission if you buy something. Read my full disclosure here.
Introduction to Natural Beauty
I'm a big fan of diving into the world of natural beauty products. There's something deeply satisfying about blending your own skincare items.
After all, understanding what goes into the products I slather on my skin gives me peace of mind. Just think about it: no hidden chemicals, just pure, skin-loving goodies that offer benefits beyond just cleansing. Today, I'm revving up to share my latest project with you: making a charming peppermint and eucalyptus scented soap!
This isn't just any bar of soap, though. Shaped like a cute little fox and crafted with a shea butter base, it's a delightful addition to any bathroom.

Natural peppermint leaves infuse it with color, and a combination of peppermint and eucalyptus essential oils fill it with a refreshing fragrance. It's not only about getting clean; it's an immersive aromatherapy experience that brings a burst of invigoration to every shower moment.
Essential Oils and Their Benefits
I'm absolutely thrilled to share the delightful benefits of peppermint and eucalyptus essential oils, which are the stars of our homemade soap.
Peppermint Essential Oil
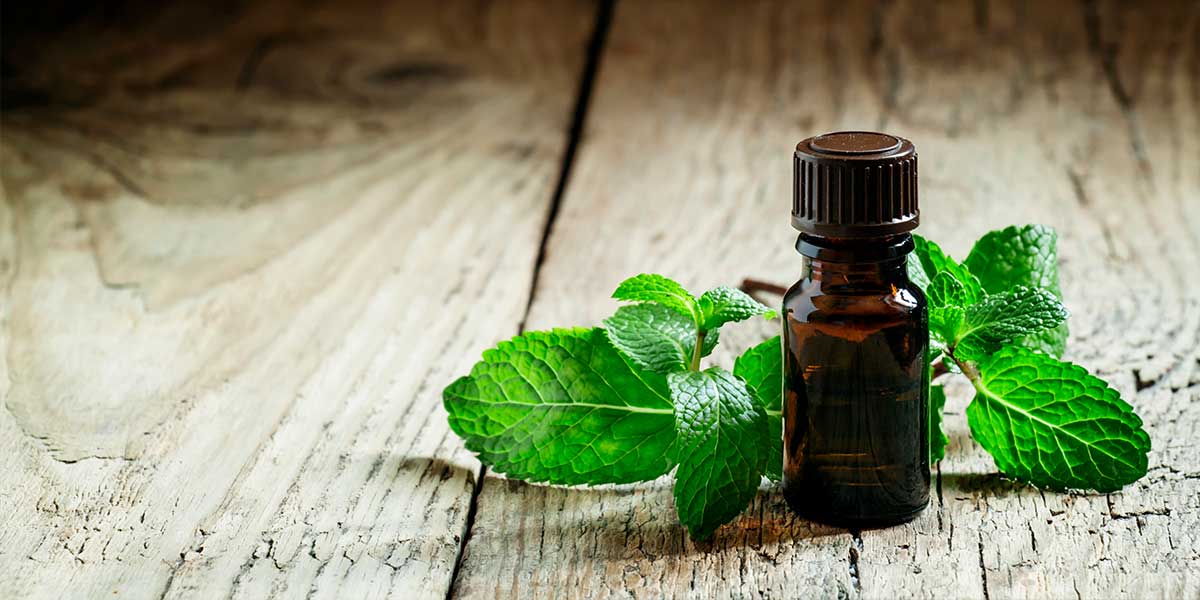
I chose peppermint oil not only for its crisp, invigorating scent but also for its cooling sensation on the skin.
This essential oil can help to soothe tired muscles and has been known to offer some relief to those pesky tension headaches.
Eucalyptus Essential Oil
Now let's talk about eucalyptus oil. This one's a powerhouse! It brings a clean, sharp aroma to our soap that's incredibly uplifting.
The oil has natural cleansing properties and it's possibly great for the skin, especially for its reputed ability to promote a feeling of clear breathing and open airways.
Combine that with its rumored antimicrobial properties, and you've got yourself an ingredient that's both beneficial for your skin's health and your senses.
When blended together in our foxy creation, these two oils form a symphony of aromas that not only enhance your bathing experience but also bring some of nature's best to your skincare routine.
The result? A soap that's a feast for your skin and a delight for your nose – the perfect start to a refreshing morning or a soothing end to a long, tiring day.
What You'll Need
There are some basic things you will need to make these fun foxy soaps!

- Fox soap mold: Grab a mold in the shape of a fox to give your soap that cute, woodland vibe.
- Large microwave-safe spouted measuring cup: You'll need this to melt the soap base—make sure it's large enough to hold and pour your mixture without a mess.
- Wooden craft stick: This will be your go-to tool for stirring the melted soap and blending in the essential oils and leaves.
- Shea butter melt and pour soap base: You'll need about 10 - 1 inch cubes, a little over half a pound, to form the base of your soap.
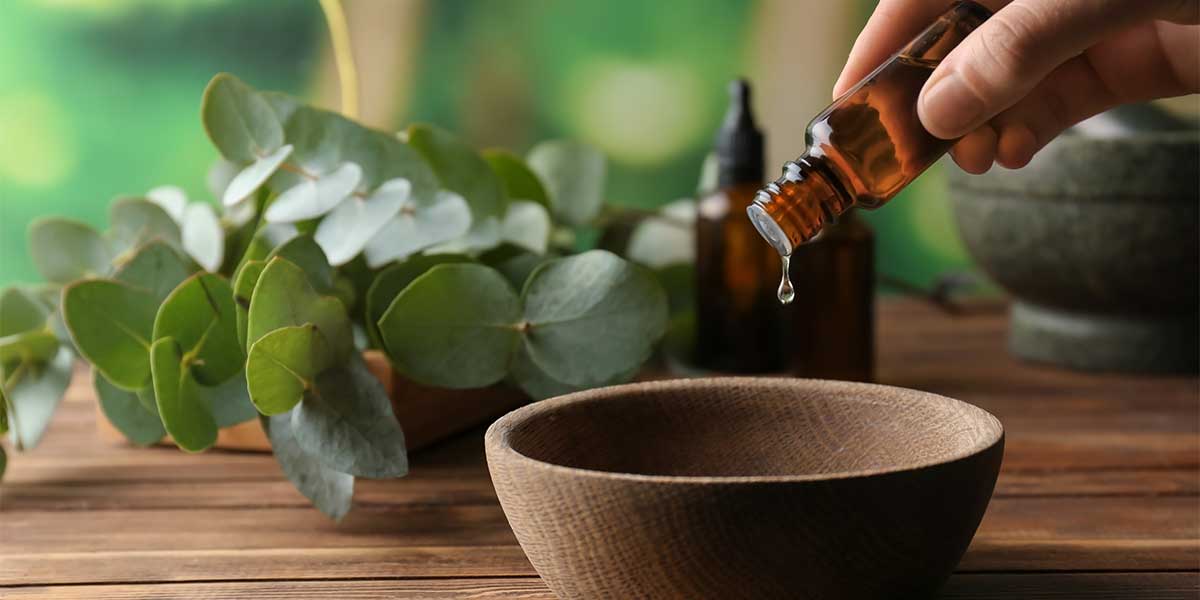
- Eucalyptus essential oil: Have 8 drops of this invigorating oil ready to add its refreshing scent and skin-loving benefits.
- Peppermint essential oil: Prepare 15 drops for a cool, energizing aroma that complements the eucalyptus wonderfully.
- Dried peppermint leaves: Measure out 2 teaspoons of these for a natural, gentle exfoliation and a pop of color.
Preparing Your Soap Base
First things first, I grab my shea butter melt and pour soap base and chop it up into small, manageable 1-inch cubes. This way, they'll melt evenly without any trouble. I make sure I have just over half a pound to fit nicely into my fox mold later.

Next, I take a large microwave-safe measuring cup - avoiding any accidents with unsuitable containers is a must. I pop the cubes in and set my microwave to high. I'm patient with the process, heating the base in 30-second bursts.
After each beep, I open the door and give the melting soap a good stir with a wooden craft stick. I keep my eyes peeled during this stage; the base can get pretty hot, and I certainly don't want to burn myself.
Once it's melted to a smooth and even consistency, I set it aside. At this point, I remind myself to handle everything with care because dealing with hot soap means dealing with hot materials, and that calls for a bit of extra attention to safety.
Mixing and Molding
Pour in the Essential Oils: Once the shea butter soap base turns to liquid after microwaving, gently add 15 drops of peppermint essential oil and 8 drops of eucalyptus essential oil. These oils give the soap its refreshing aroma and a touch of aromatherapy benefits.
Stir in the Peppermint Leaves: Next, sprinkle 2 teaspoons of dried peppermint leaves into the melted base. This not only infuses the soap with a natural peppermint scent but also introduces a beautiful speckled green appearance.

Mix Thoroughly: Take your wooden craft stick and give the mixture a thorough stir. Make sure the essential oils and the peppermint leaves are evenly distributed throughout the base to ensure each soap bar has a consistent smell and texture.
Pour into the Fox Mold: Slowly guide the mixture into your fox soap mold. Fill each cavity to the top, making certain there are no air bubbles. A smooth, slow pour will contribute to a flawless shape for your soap.

Eliminate Bubbles: If you notice any air bubbles on the surface, you can gently tap the mold on the countertop. This little shake lets any trapped air escape and leaves the top of your bars perfectly smooth.
Repeat if Necessary: If you have more mixture left, wait until the first set hardens a bit, then go ahead with another round of pouring into additional molds. This ensures every bar sets just right.
Setting and Unmolding Your Soap
After pouring the mixture into the fox mold, patience is key. Give your soap about two hours to solidify. This wait ensures the soap hardens enough to hold its shape.
Find a spot that's cool and out of direct sunlight for this process. These conditions help prevent any sweating or melting. Peek in periodically to see the transformation from liquid to solid.
Unmolding is just as simple as the rest of the process. Gently press on the bottom of each mold cavity and carefully pull at the edges to release your new peppermint soap.
If it resists, a quick stint in the freezer for no more than five minutes might do the trick. But be careful not to leave it in too long; a frozen soap is a brittle one.
After successfully easing your soap out of its fox-shaped home, you've officially completed your handcrafted peppermint masterpiece. It's ready for use right away or to be adorned with a ribbon for an adorable, personalized gift.
Foxy Peppermint & Eucalyptus Soap Bars Wrapup
I hope you love this project as much as I do! These little fox soaps are as cute as they are healthy for your skin!
These foxy soaps could also make a great gift for that special someone in your life! Make 4 of them to put in a box or bag up just one for the perfect stocking stuffer!
Here are some other great natural beauty recipes you might want to try: