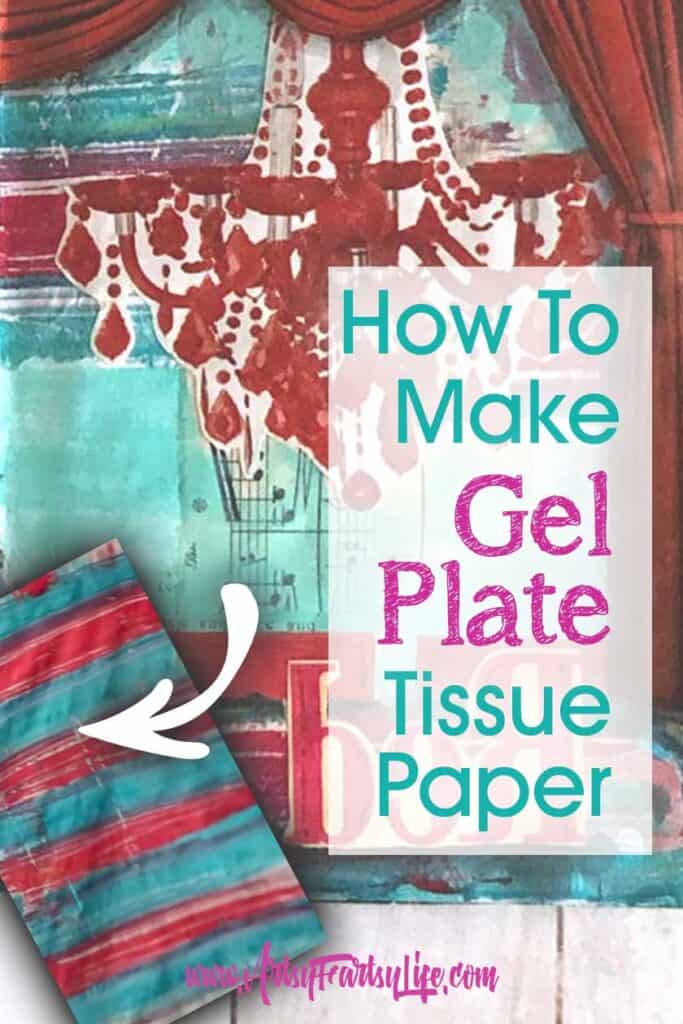
Tips and ideas for how to make striped tissue paper using acrylic paint and a gel press printing plate. Great for your mixed media artwork, backgrounds or junk journals.
Tissue Paper Backgrounds For Artwork
When I started doing art journals and mixed media art, I watched tons of videos of how to make beautiful backgrounds right in your book... and tried a bunch of them myself with seriously mixed results.
Some of the backgrounds I made were FABULOUS, but more were either okay or just plain ick!
And I am the kind of person who gets blocked when facing an ick page... sigh.
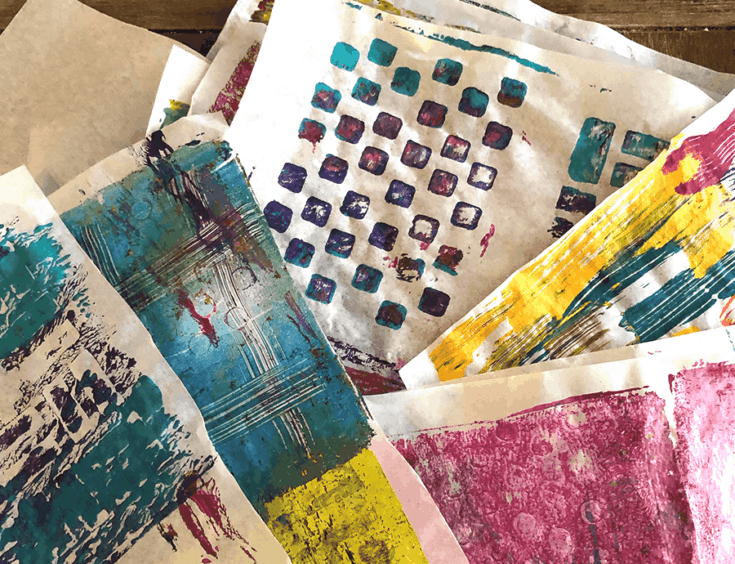
Then I started using a gel press plate for making patterns and colors and fell in love. And I made the requisite 100 pieces of pretty paper, but I didn't have an easy way to use those as backgrounds in my journals that were already fat enough with the tons of layers I tend to use.
But then, inspiration struck... what if I used tissue paper? It is thin, but still strong enough to (mostly) not tear when paint is applied.
Here are two of the pages from my Sketchbook Project Journal where I used colorful tissue paper backgrounds.
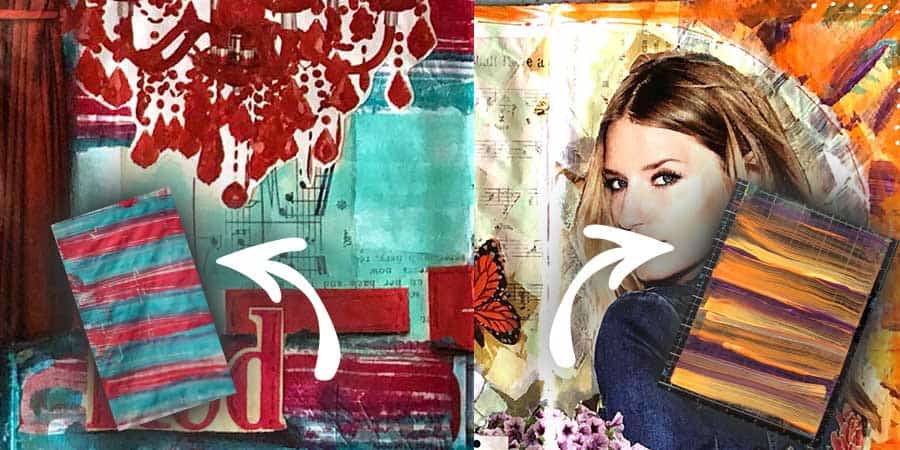
As you can see, they are great for adding a pop of color, just where you want to have it, without messing up a whole journal page if you get it wrong!
How To Make A Gel Press Plate Tissue Paper
Here are my best tips and ideas for making gel press backgrounds using acrylic paint, a gel press and tissue paper.
Materials
- Acrylic Paint
- Tissue Paper
Tools
- Gel Press Plate
- Fondant Rollers
- Stencils
- Brayer
- Paintbrushes
Instructions
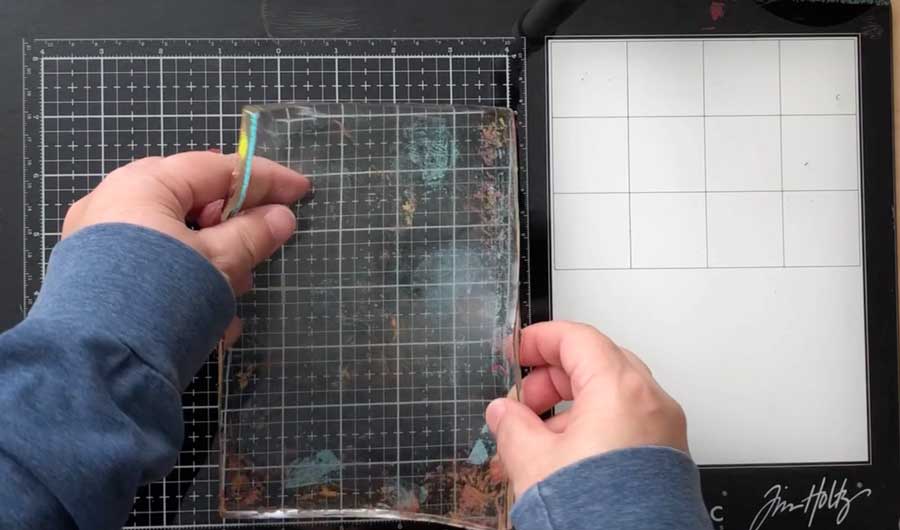
- Place gel press plate on flat surface
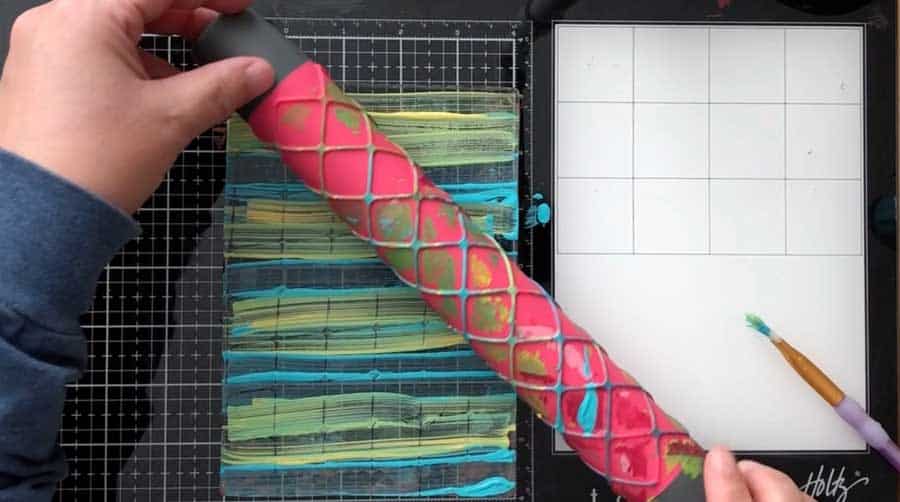
- Paint gel press with acrylic paint using paintbrushes
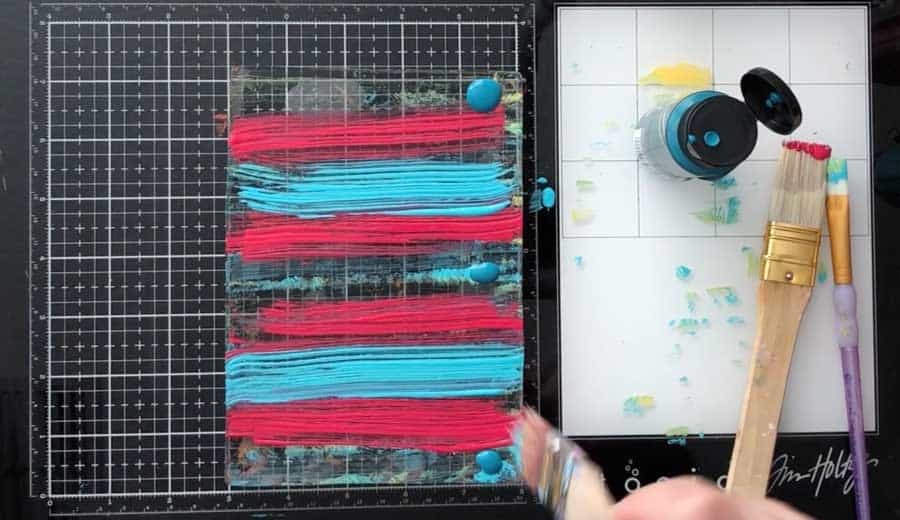
- Use stencils, fondant rollers, cardboard or bubble wrap to make patterns
- Press tissue paper into the paint, rub with hand
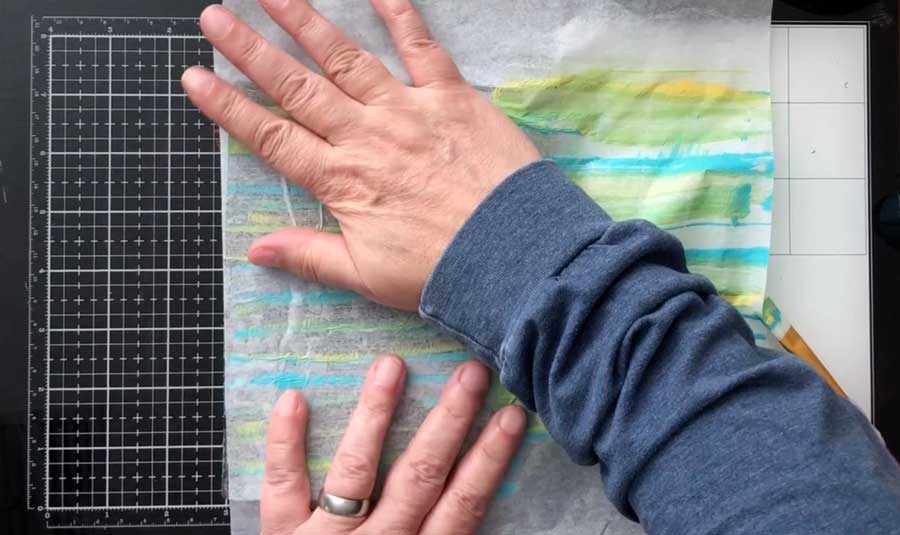
- Make multiple "pulls" by turning tissue paper and rubbing again
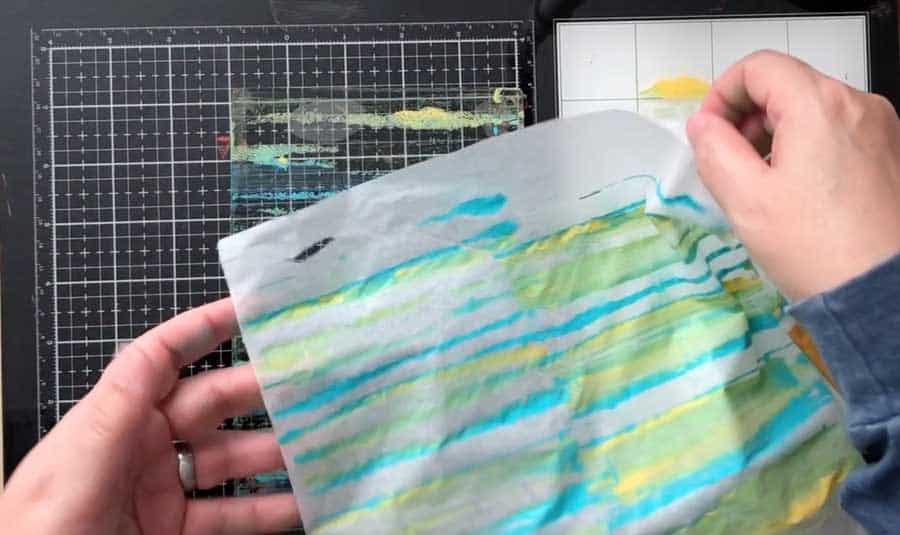
- Let dry
Notes
- You can use almost anything to make patterns in the paint. I have used bubble wrap, stencils and cardboard with the front torn off. I love using fondant rollers because they make a great pattern in the paint.
- Make complex patterns by using different mixes and matches of colors. You can layer them as much as you want!
- I use Mod Podge to glue the tissue paper into my junk journals.
Recommended Products
As an Amazon Associate and member of other affiliate programs, I earn from qualifying purchases.


Tissue Paper Background FAQs
I had so many questions when I started doing these backgrounds! Here are the answers to some of the biggest ones...
What kind of acrylic paint should you use?
I use ALL kinds of paint. Cheap Walmart and Hobby Lobby. Fancy Dylusions and Dick Blick paints. The quality of the paint doesn't seem to make any difference with the technique.
How Many Pages Do You Make?
I tend to make a BUNCH of different backgrounds in all different colors. These are great because they take up so little space. I also keep a pile of tissue paper around to "clean" off my gel plates whenever I am making anything!
How Does The Gel Plate Work?
Acrylic paint doesn't permanently stick to the gel printing plates. You can put it on, leave it for days and then paint over it again days later and it will "pull" up. You can also use almost any kind of medium (alcohol inks, markers, etc.) and then just rubber brayer a layer of acrylic paint and "Pull" it all off.