I was at the Back To School sales this week with my son and I saw pocket folders for 20 cents. I started thinking that for that cheap, I could figure out some way to use them to organize my magazines and ephemera for junk journals and altered books.
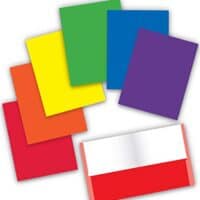
2 Pocket Folders, Letter Sized, Rainbow Colors
I started with picking up some rainbow color folders. I got four of each of the colors (red, orange, yellow, green, blue, purple and pink).
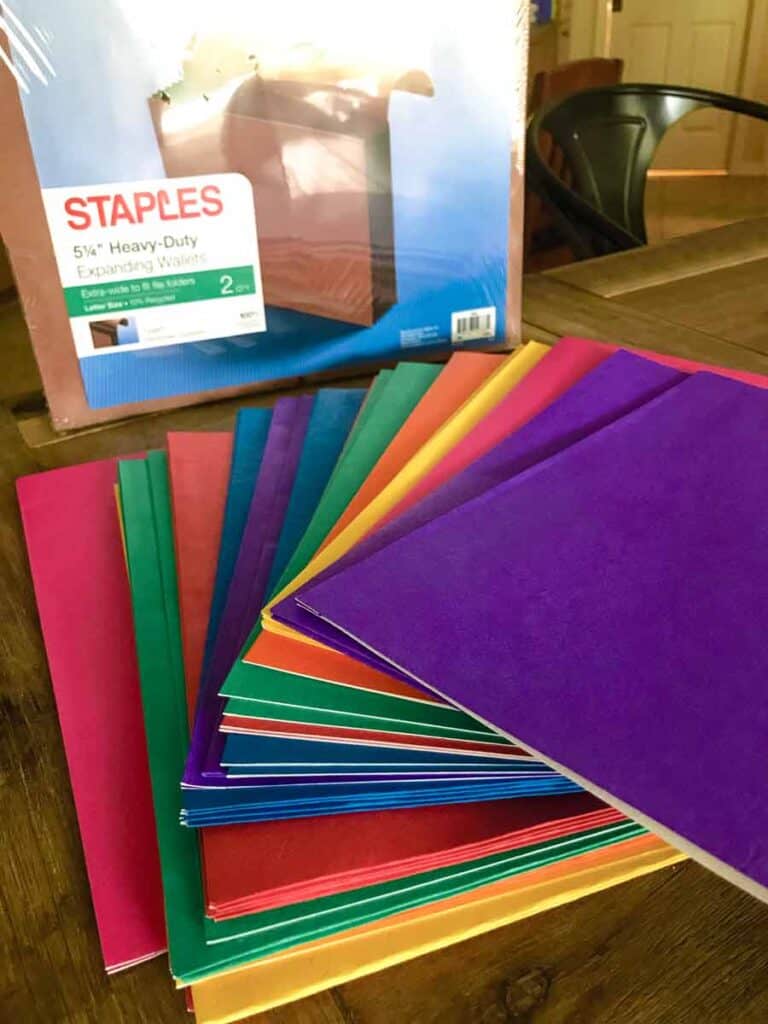
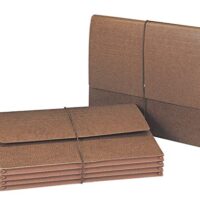
I also got the Heavy Duty Expanding File Wallet with Flap and Cord Closure... there were two in the package for like $14. The ones linked are skinnier than the ones I got which were expandable to 5 ½".
Tabs For The Folders
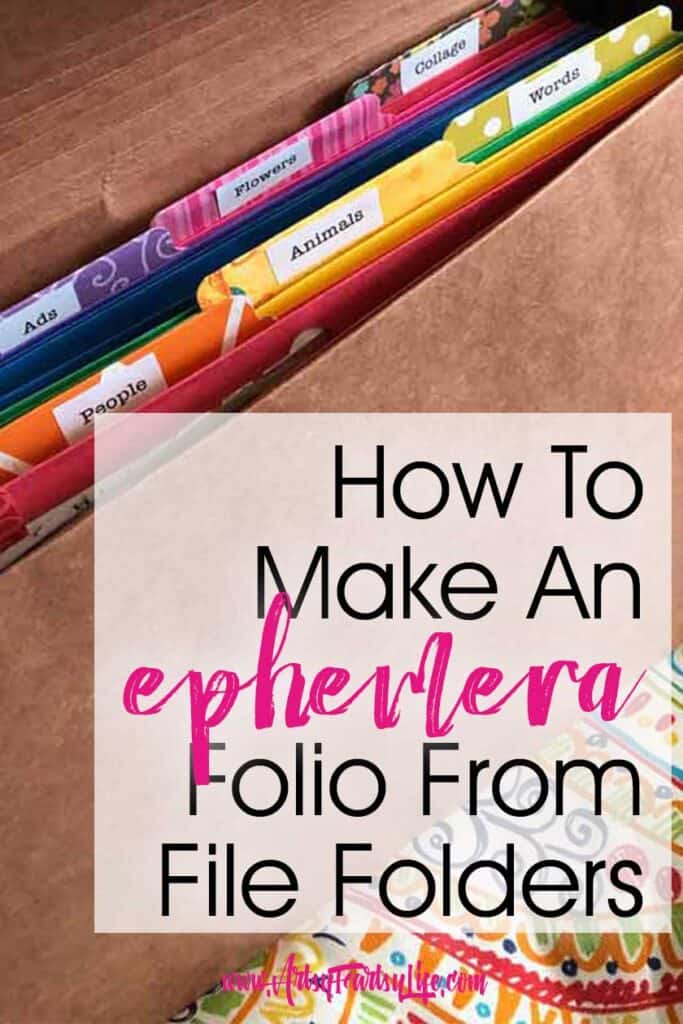
Next I wanted to do pretty, colored tabs to match the colors of the folders and I KNEW I had enough colors in my scrapbook stash to make color-coordinating tabs.
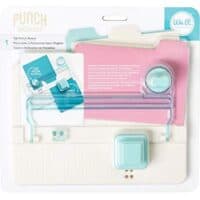
I used my We Are Memory Keepers Tab Punch Board to make the tabs. I folded over the pieces of cardstock I used (I had a few cut up for an old project so I just made the rest match that size).
Because I had the fold at the top, I could put one side of the tab on the inside, and one on the outside, strengthening the tab part of the paper.
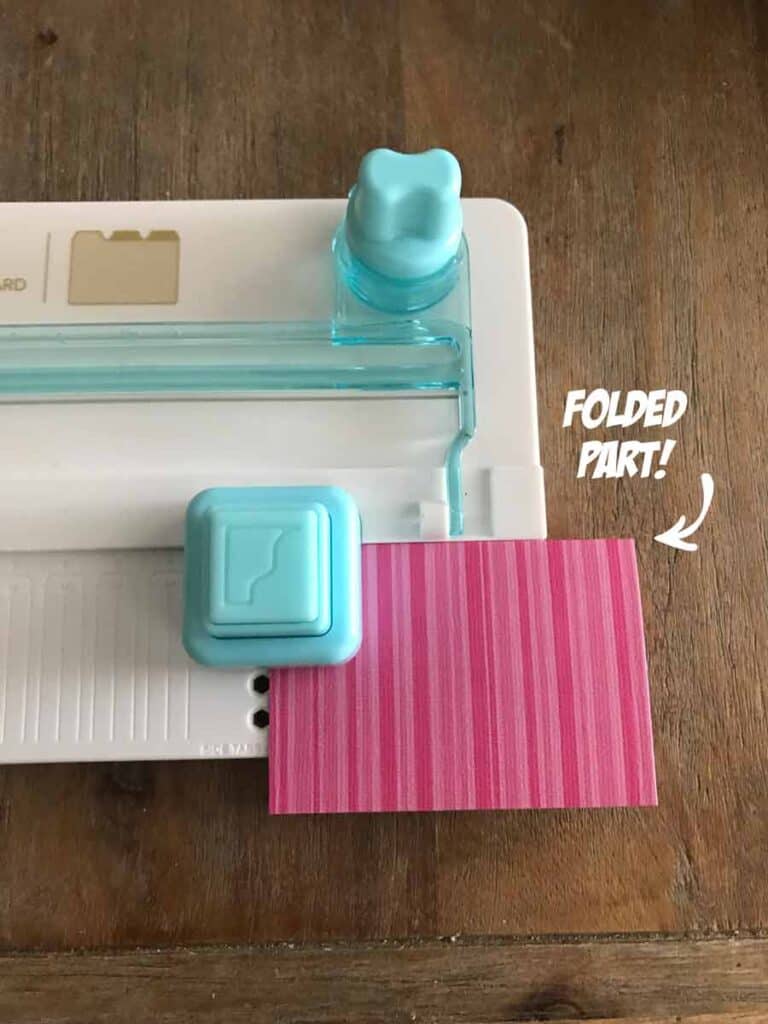
I then laid out the tabs across the folders. I wound up with 4 across, two times. You could make smaller tabs and only have one set of 8 tabs if you wanted. This is pretty loosey goosey, using what you have in your scrapbook stash to save money!
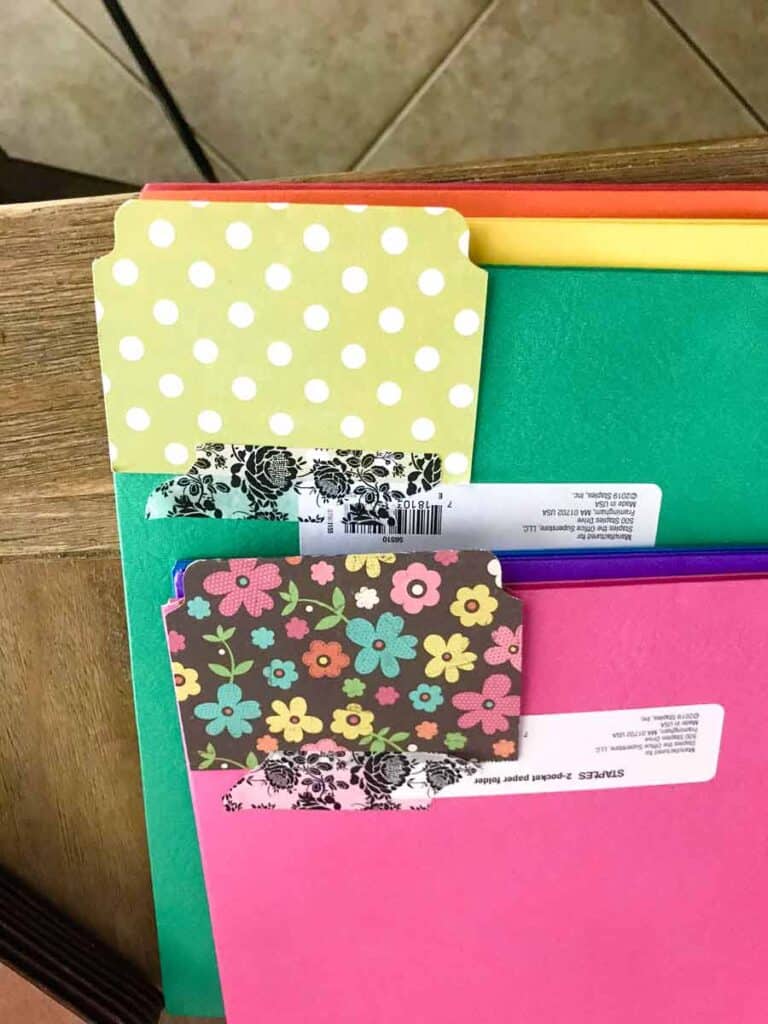
I just used washi tape to put them on there to start so that I could move them around easily. After I had them the perfect way I wanted them, I glued both sides down and let them dry.
Categorizing Your Folders
The next thing I did was organize my folders and figure out what I wanted to keep in each one of them!
- Organizing by color - since these are colored like the rainbow, if you are a gal who likes to organize by color, this is the PERFECT project for you!
- Organizing by topic - I organized my folders by topic (list at the bottom).
Some tips....
If you are making two sets like I did, make sure to split up your "big folders". My backgrounds and book pages folders were both going to be huge, so I put one in one expandable file and one in the other.
Use sticky notes to plan out your folders. I FOR SURE thought I was going to have a color folder, but come to find out that is not how I really work (sorry Totally Tiffany...:)
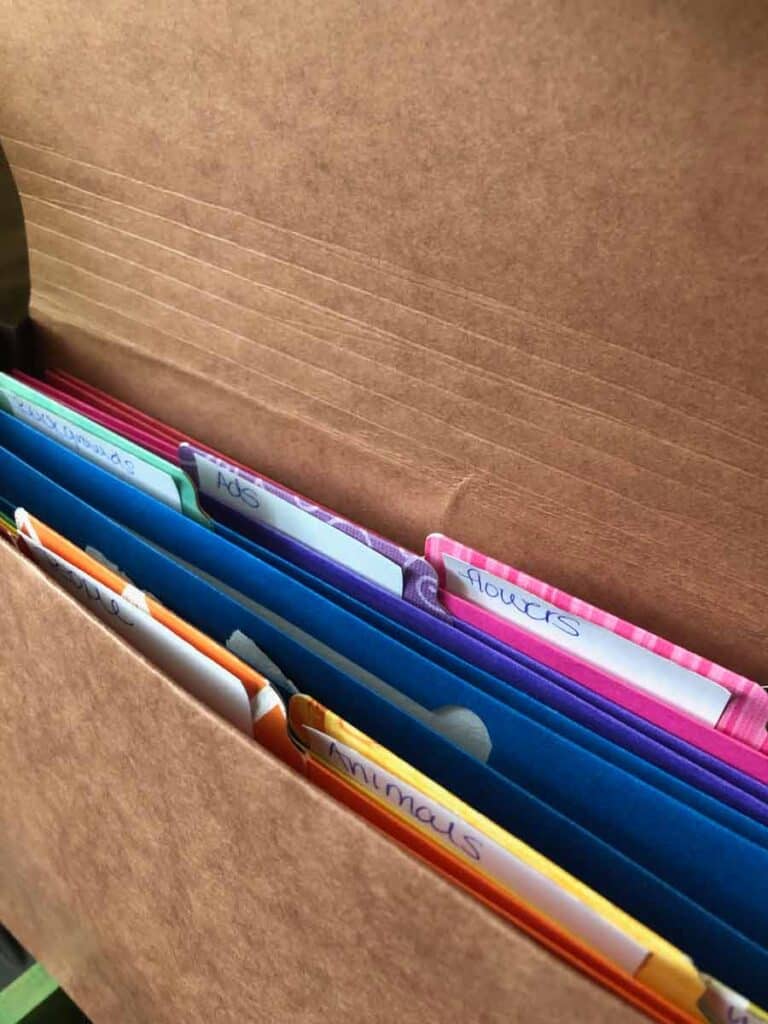
Don't try to be perfect to start. Just get everything out and start sorting it into piles that make sense to you!
Customizing Your Folders
Some of my little folders were just fine to fill up the two side pockets, but some of my other folders needed extra space.
Large Double Folder
I sewed together two folders for my backgrounds. This was super easy, I just poked holes through the spines and threaded some string through the holes.
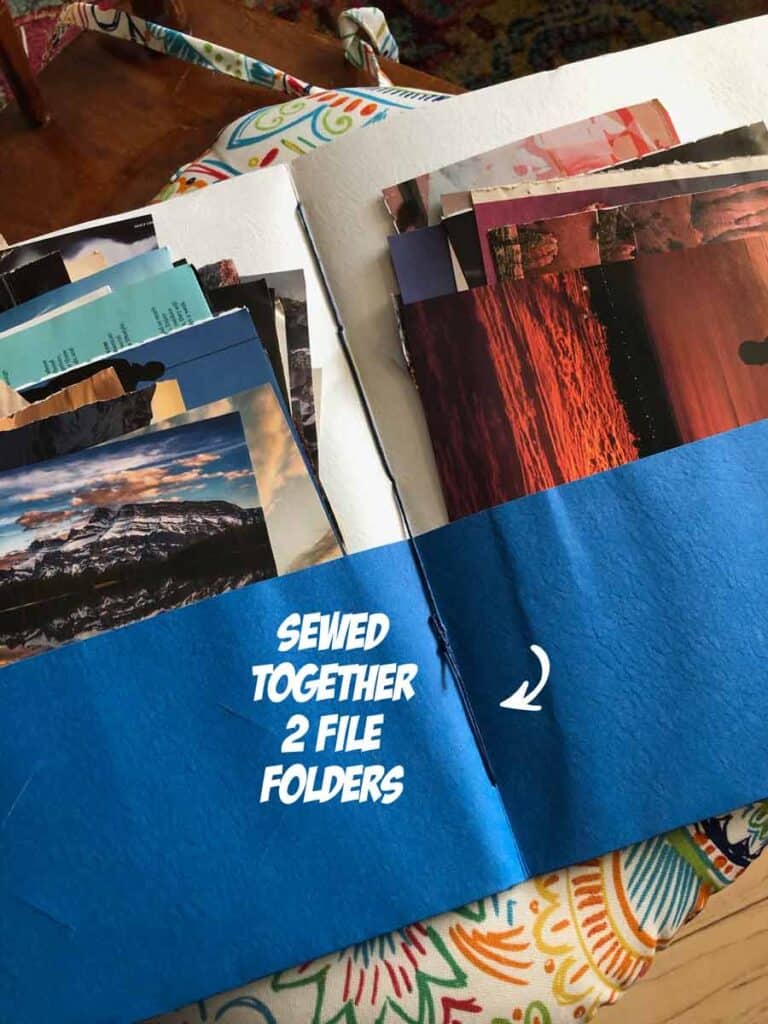
I also made some envelopes to hold my little pieces of ephemera and magazines.
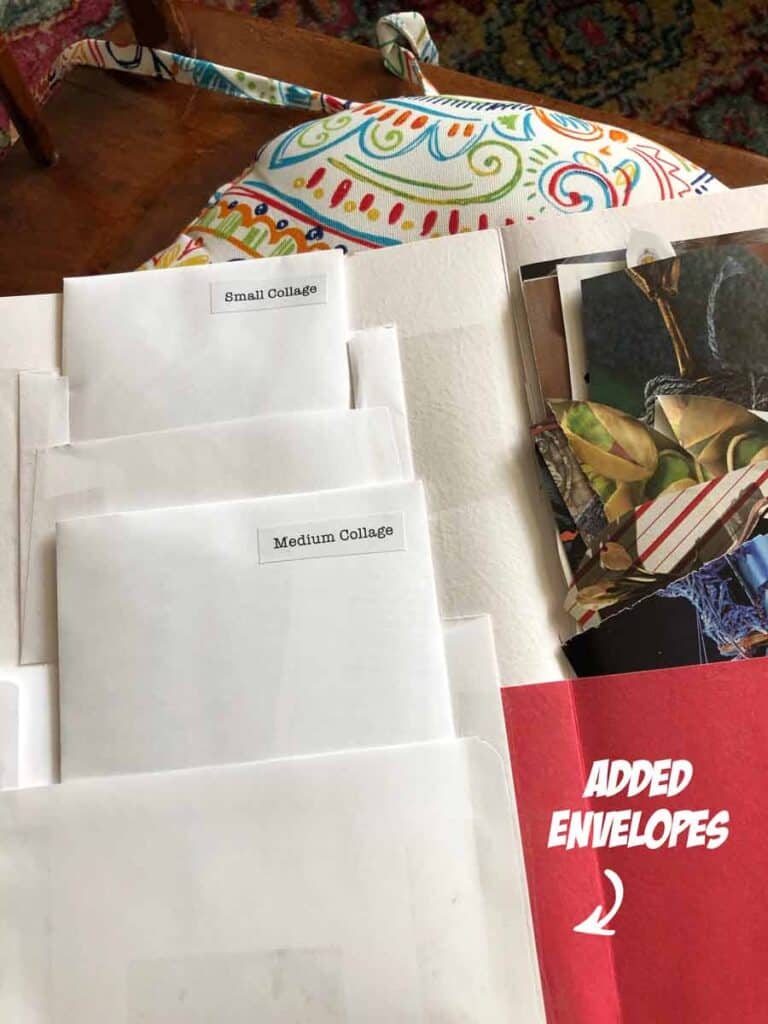
The Final Ephemera Folio
Okay, I feel like this may be my all time favorite project of all time!
It was cheap, all the folders and the expandable files cost less than $20 total and it has corralled all my paper into two folders that are super portable. I have to be able to grab my "stuff" and use it on my desk or the dining room table.
It is fun and pretty. Seeing all the colorful files there together with the scrapbook tabs makes my heart happy!
Last but not least, this was not a HUGE project. Yes, I had to collect my ephemera, yes I had to make some tabs, but in comparison to most things I do, this was a one afternoon kind of project!
Here is my final file folder!
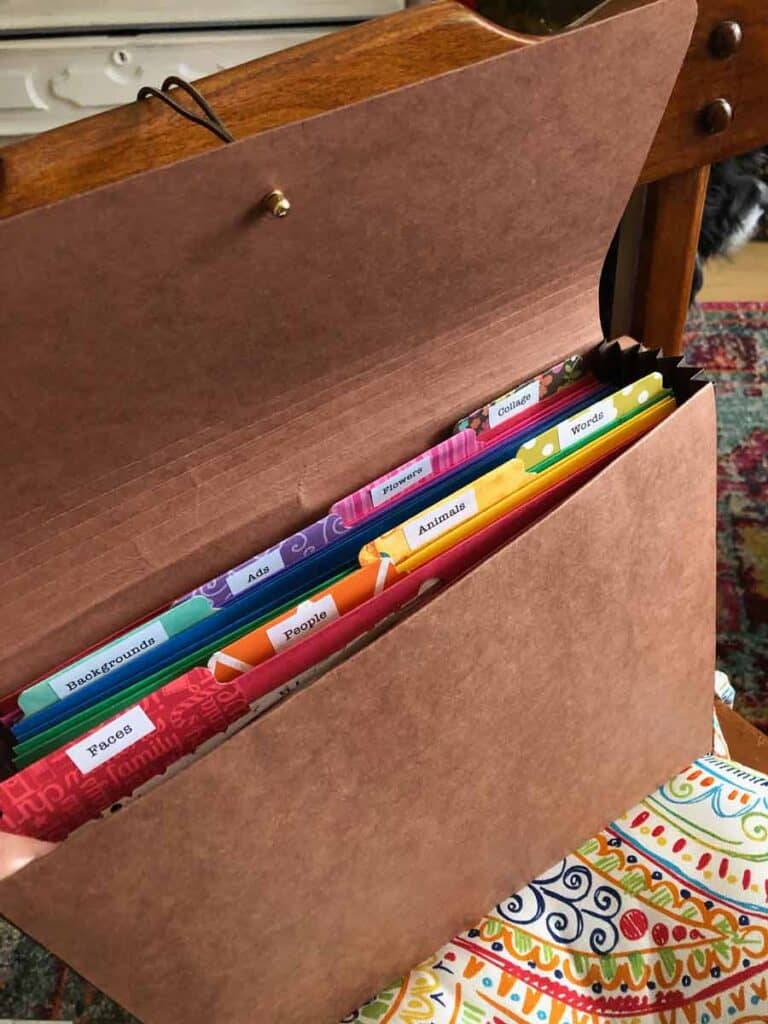
How To Make An Ephemera File Folder Organizer
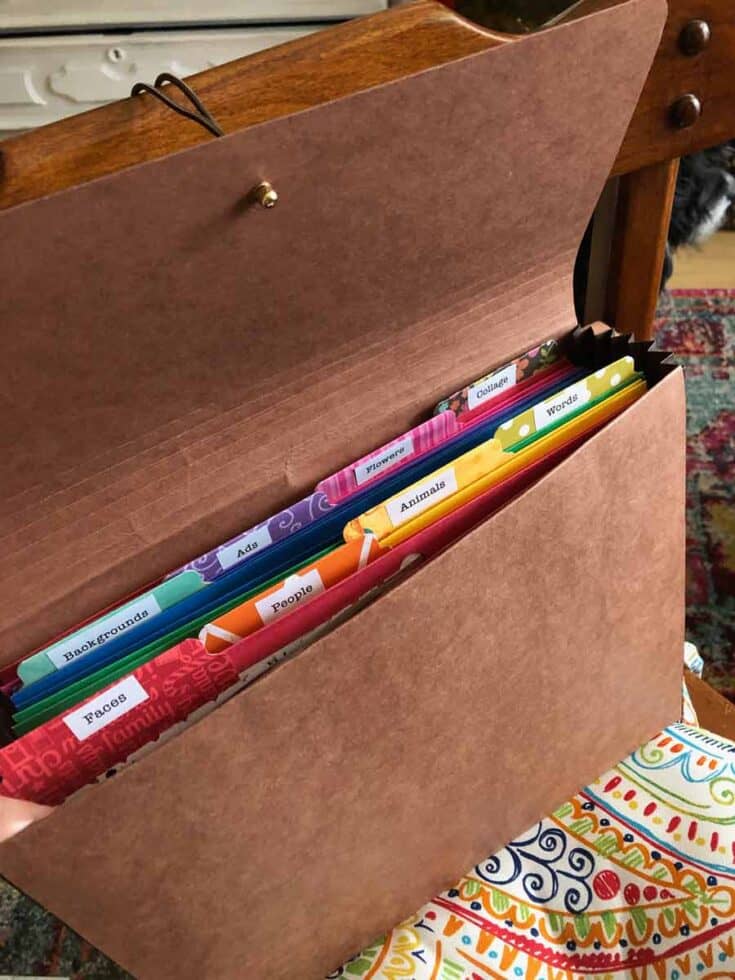
Using 20 cent file folders from the office supplies store to make an ephemera folder to organize all of your craft papers and ephemera.
Materials
- Paper file folders with pockets
- Expandable wallet folder
- Scrapbook tabs
- Labels
Instructions
- Sort your file folders by color (Red, Orange, Green, Blue, Purple, Pink)
- Sort your ephemera and paper into categories
- Make tabs for each folder that are color coordinated with your folders (use your scrapbook stash)
- Glue tabs on folders
- Use sticky notes to label folders, move around until you are happy
- Make stick on labels for your final tabs
- Put in expandable file wallet
- Fill with your papers
Notes
Don't make labels right away. You will probably want to move things around a bit as you organize.
Don't try to be perfect right off the bat! You can get more 20 cent files if you absolutely mess things up!
Recommended Products
As an Amazon Associate and member of other affiliate programs, I earn from qualifying purchases.
My Categories
I thought you might like to see the categories I used!
Faces
People
Collage
Maps
Animals
Flowers
Die Cuts
Backgrounds
Tags
Words
Book Scraps
Book Pages
Tim Holtz
Ads
Holiday

