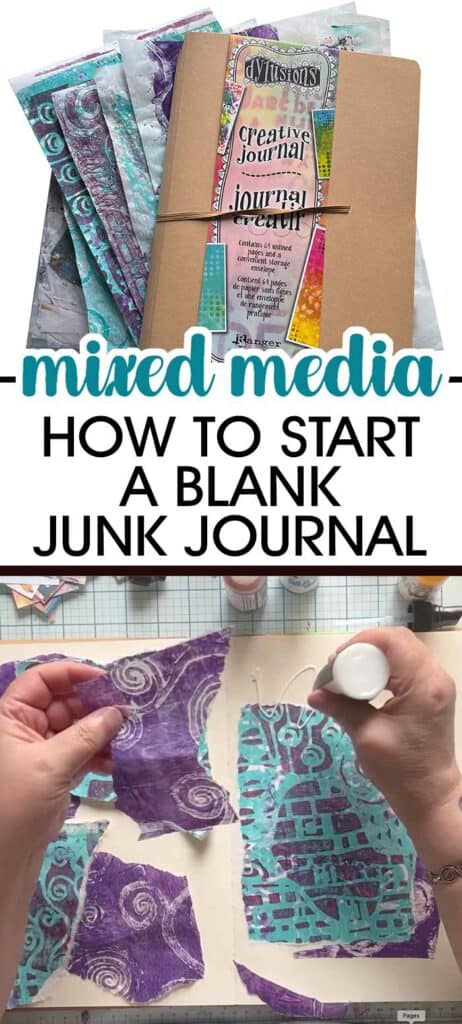
Today we are going to be talking about how to start a brand new journal by using background papers and paint to add interest to the pages!
Please note: This article contains affiliate links, and that means that I may earn a commission if you buy something. Read my full disclosure here.
There is nothing more intimidating art-wise than staring down at a blank page (or ALL the blank pages) and thinking, what the heck am I going to do on this page!
Also, sometime in the future you are going to have a BRILLIANT idea and want to get started on it, only to discover that you don't have any backgrounds in your journal ready for that art... sigh.
This is why the FIRST thing I always do in a new journal is start with a whole bunch of backgrounds.
Backgrounds aren't scary! They are just backgrounds, sitting there looking cute, waiting for something to come along and spice them up!
Full Backgrounds Walk Through Video
Remember those amazing background papers we created the other day? Well, it's time to use them to make all of our blank pages go away!
In this post, I'll guide you through the process of adding those papers to your journal, creating a foundation for all the fun pages you are going to make in the future!
Materials:
- Your brand new art journal (I am using a Creative Journal by Dyan Reavely)
- Your awesome pre-made background papers
- Collage medium (like Distress Collage or Mod Podge)
- Paintbrush (in the video I used a Tim Holtz paintbrush that is flat and wide)
- Acrylic paints in your favorite colors
- Scissors (optional)
Step-by-Step Guide
In case you are a "reader" instead of a "watcher", here is a quick overview of what I did in the video!
Embrace the Tear
Don't be afraid to rip your background papers into interesting, organic shapes.
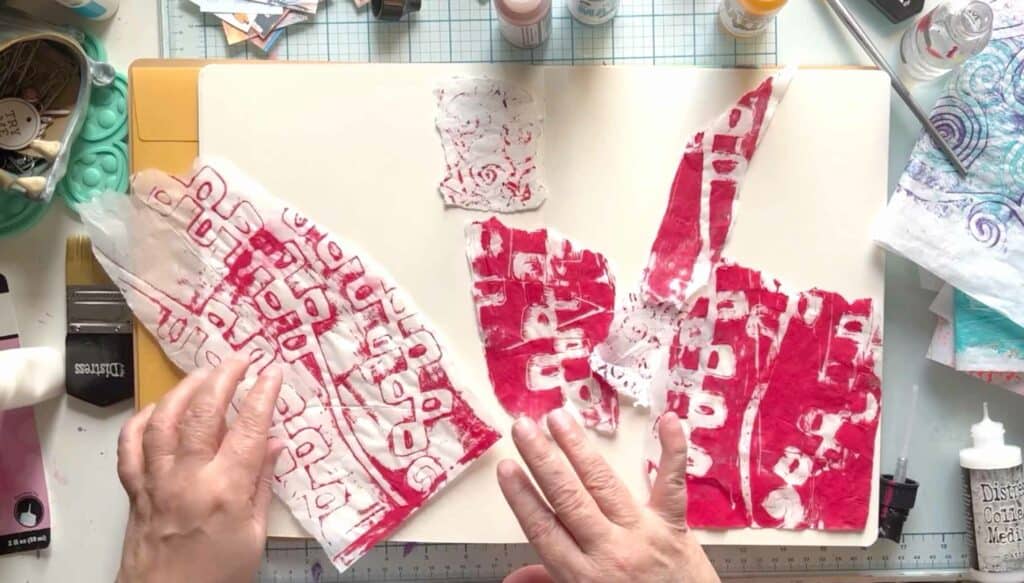
This adds a playful, unexpected element to your journal pages. If you crave more structure, feel free to use scissors to cut out geometric shapes or specific patterns.
Collage It
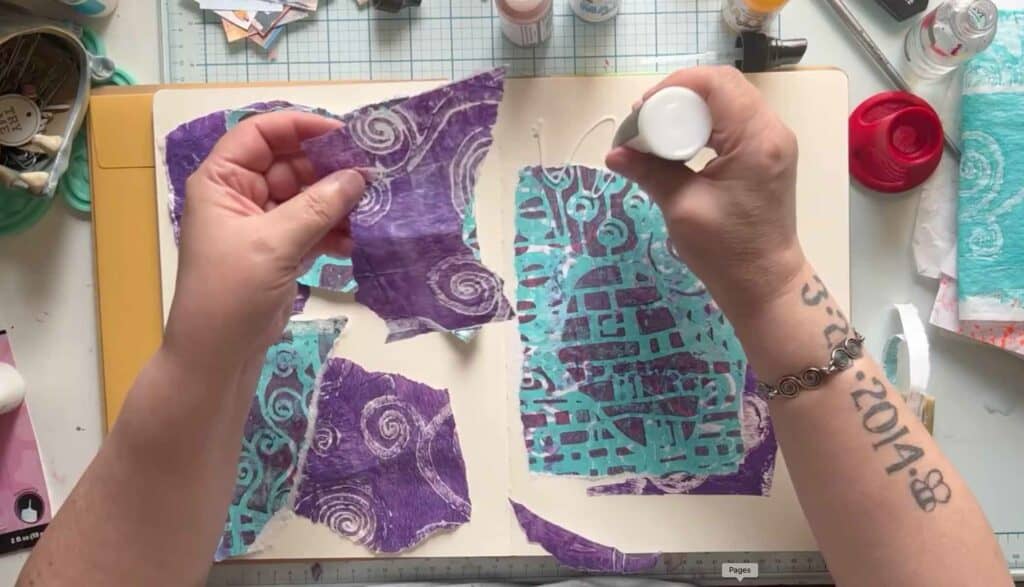
Grab your collage medium and paintbrush. Spread a thin layer of the medium onto the journal page, then carefully place your paper pieces down.
Press them gently into place and smooth out any bubbles. Get creative with the arrangement – let pieces overlap or leave intentional spaces.
Fill the Gaps
Time to bring out your paints! Choose colors that either complement your background papers or create a bold contrast.
Paint over the blank spaces in your journal, blending and filling in areas around the paper pieces. Let your creativity flow!
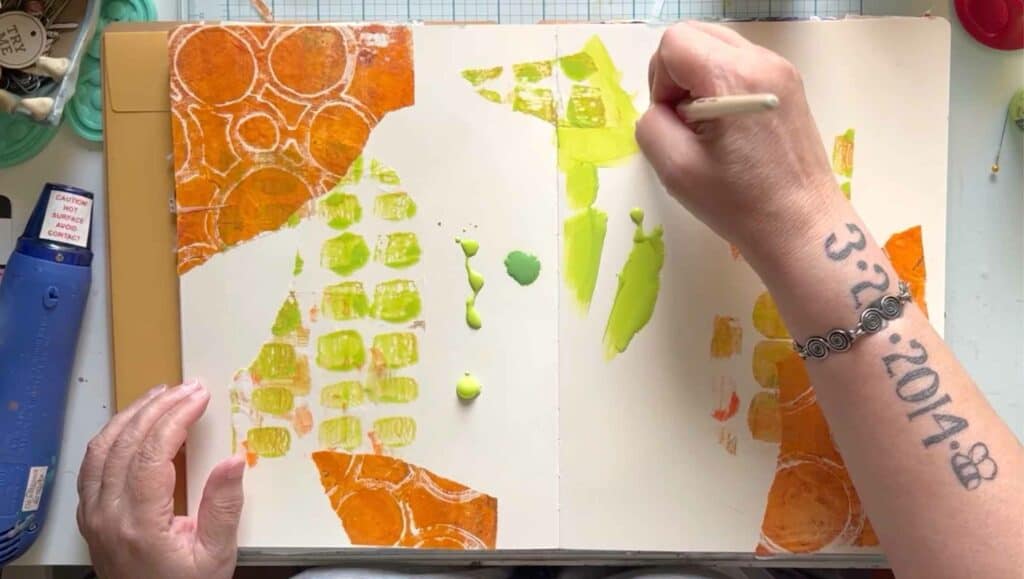
I like to use acrylic paint because I put so many layers on my art, but you could use watercolor paint or even Tim Holtz crayons or Dina Wakely scribble sticks to get a background color in the big open spaces!
Tips & Tricks:
- Layering: Create depth by layering torn papers and using different colors of paint.
- Go Bold: Don't be afraid of vibrant colors or contrasting patterns. This is your chance to make your journal uniquely yours!
- Add Texture: Experiment with texture by mixing in a bit of sand or grit to your acrylic paint before applying.
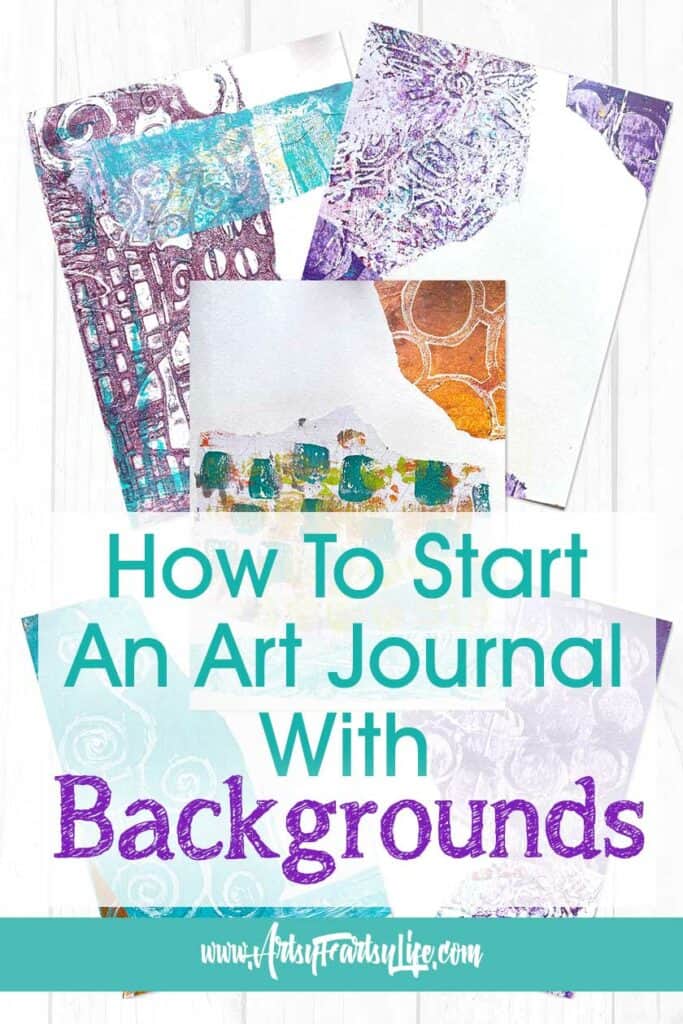
Final Background Paper Examples
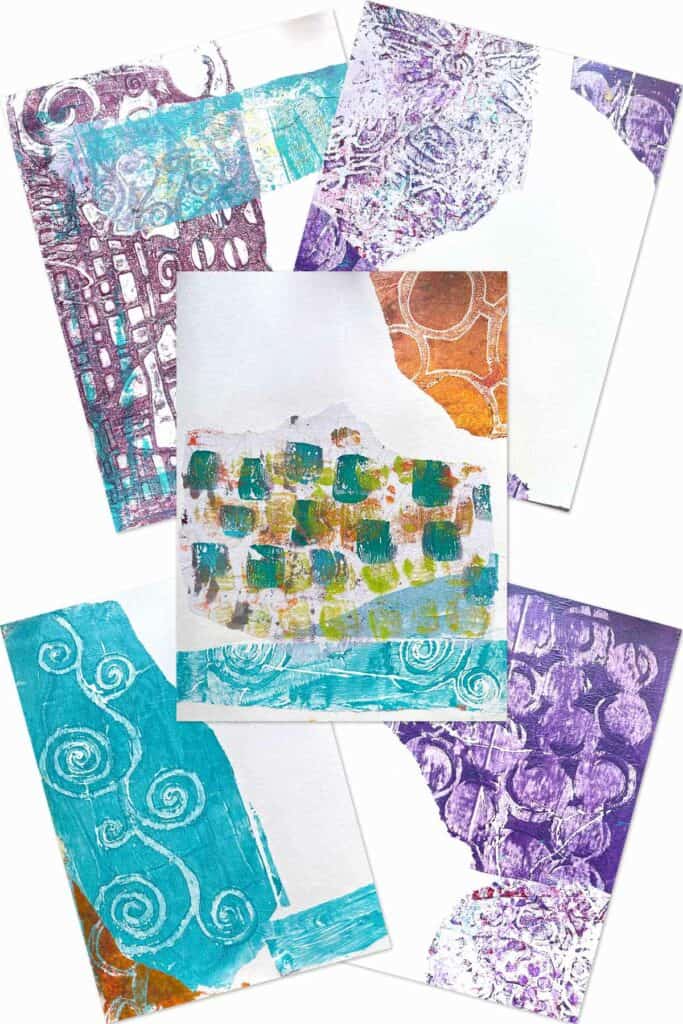
I thought you might like to see how some of pages came out! I am sure you will see them up close and personal in upcoming videos, but here is a quick peek of some of the background pages I made!
Starting Your Art Journal With Background Papers Wrapup
Remember, there's no right or wrong way to create journal backgrounds. The most important thing is to have fun and just get something down on those blank pages!
Embrace the process, and let go of worries about perfection! There are no mistakes in art journaling (as you can see by the one page that stuck together that I kinda love the best!)
I'd love to see what you come up with! Share photos of your gorgeous journal backgrounds, shoot me an email ([email protected]) and I will add it to this page to inspire the other peeps!
Here are some more posts you might like!
- 3 Unique Papers For Gel Plate Backgrounds
- How To Make Backgrounds From Inks and Stamps
- 6 Ways To Make Easy Mixed Media Backgrounds
