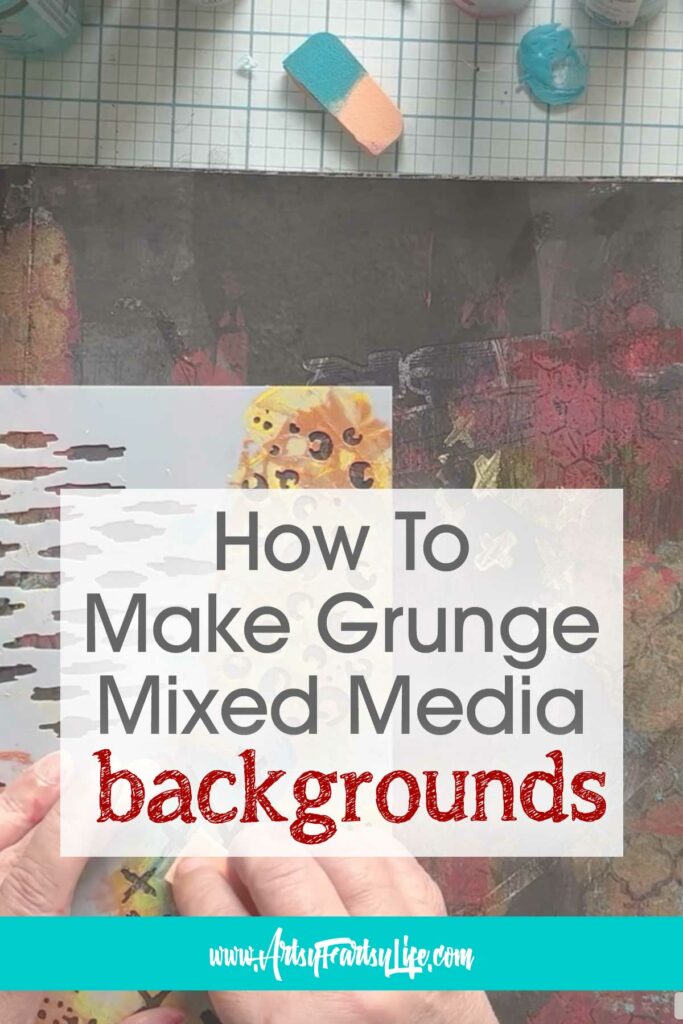
If you love texture, depth, and a beautifully distressed look in your art journals or mixed media projects, a grunge background is the perfect technique to try! Using a gel plate and stencils, you can create layered, imperfect, and dynamic backgrounds that add richness to any project. Let’s dive into the process!
Please note: This article contains affiliate links, and that means that I may earn a commission if you buy something. Read my full disclosure here.
Making Grunge Mixed Media Backgrounds With Stencils and Gel Plates Video
What You’ll Need:
- Gel Plate – A must-have for creating organic textures.
- Acrylic Paints – Choose a mix of dark, metallic, and bold colors.
- Stencils – Opt for designs with irregular patterns, numbers, text, or distressed textures.
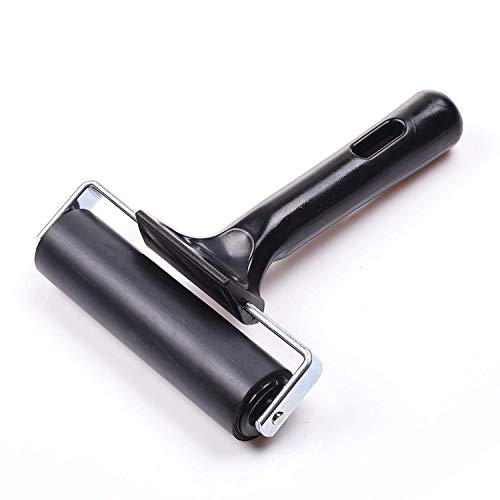
- Brayer – Helps to spread paint evenly across the gel plate.
- Art Journal, Canvas, or Mixed Media Paper – Your surface for printing.
- Palette Knife or Sponge – For additional texture effects.
- Heat Tool (Optional) – Speeds up drying between layers.


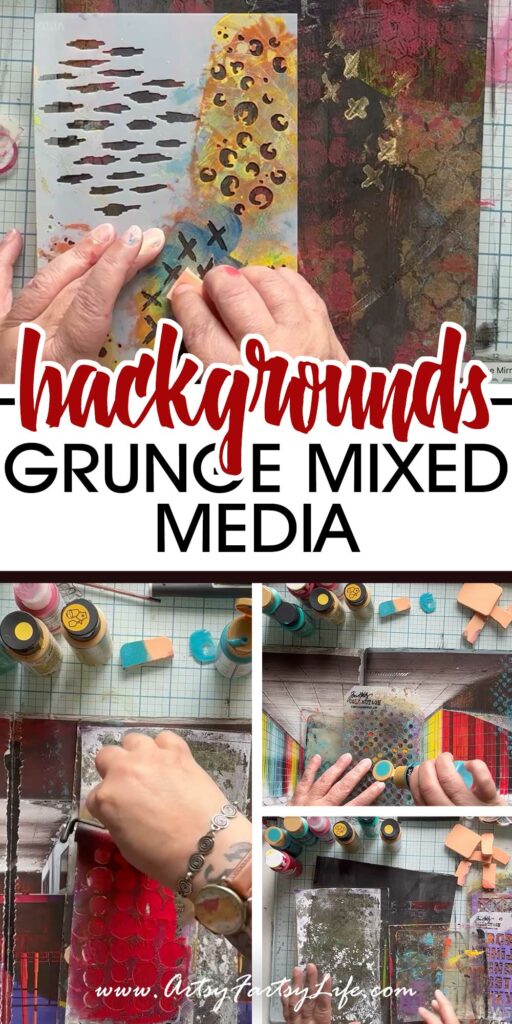
Step 1: Why Use a Gel Plate?
Instead of applying paint directly through stencils onto paper, using a gel plate creates a more vintage, worn, and organic effect.
Direct stenciling often results in crisp, perfect patterns, while printing from a gel plate softens the edges, adds layers of texture, and gives a more distressed, aged appearance. The slight imperfections and irregularities make it feel more natural and artistic, perfect for grunge-style backgrounds.

Step 2: Applying Paint Through the Stencil
If you already have a background like I do in the video, you can work with stencils and gel plates directly over your background images:
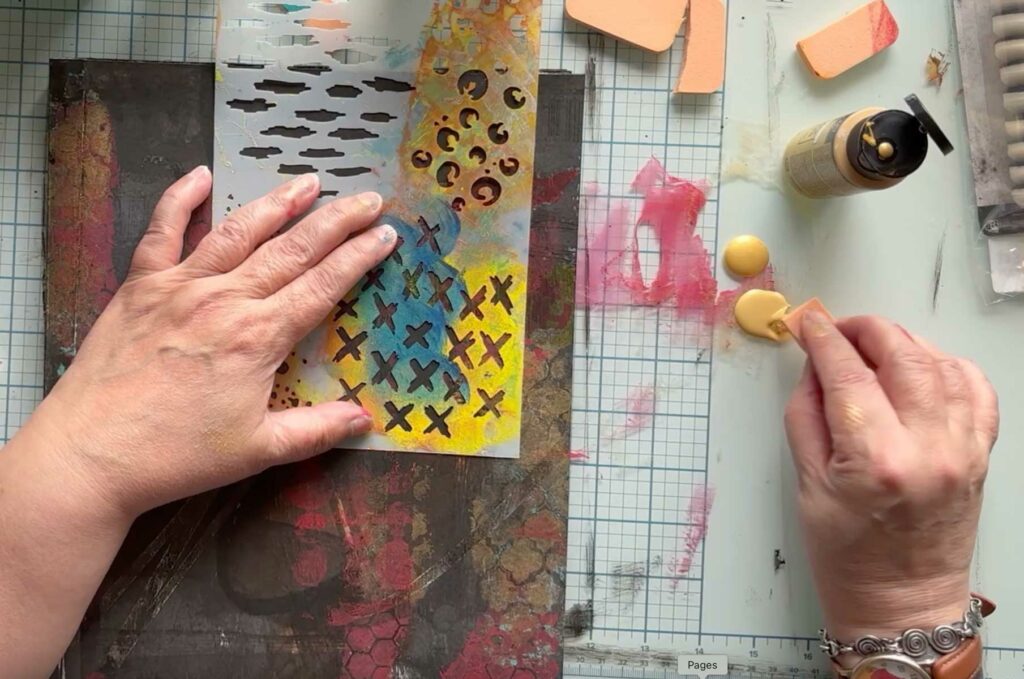
- Place your stencil directly onto the gel plate.
- Use a makeup sponge with a small amount of paint or pull excess paint from your work surface with a brayer to apply color through the stencil onto the gel plate.
- Once the stencil is fully covered in paint, carefully remove it to reveal the negative pattern on the gel plate.
- Pick up the gel plate and press it down onto your journal page to transfer the pattern.
- You can blend colors to create an ombré effect or use a single color at a time with different stencils to build layered patterns.

Step 3: Build Up the Layers
- Once the first layer is dry, repeat the process with different stencils and colors.
- Use metallic golds, bronzes, or contrasting colors to add highlights and depth.
- Overlapping stencils in different directions creates a more organic, grunge-style look.
- Remember to have the pattern go off the page from time to time for a more sophisticated design.

Step 4: Add Texture & Distressing
- Use a palette knife or sponge to scrape away sections of paint from the journal pages before it dries.
- Flick water droplets onto the gel plate before transferring to the journal for a distressed effect.
- Lightly sand areas after drying to reveal layers underneath.
Step 5: Incorporate Final Details
- Once satisfied with the base, use a stencil and sponge with a contrasting color (like gold, black or white) to add striking details.
- Add ink splatters, stamping, or handwritten marks for extra grunge appeal.
- Use your heat tool between layers to prevent smudging and sticking.

Step 6: Let It Dry & Use It!
- Allow your piece to dry completely before using it as a journal background, collage element, or standalone artwork.
- To prevent pages from sticking together in a journal, insert wax paper or gently separate pages with clips while drying.
Final Tips:
- Experiment with different stencils and unconventional tools like bubble wrap or old book pages.
- Use bold vs. muted colors to create contrast and visual interest.
- Don’t overthink the layers—imperfections make the best grunge effects!
Creating a grunge background with a gel plate and stencils is a rewarding, unpredictable process that results in unique textures every time. Give it a try and let me know how it goes—what colors and stencils do you love using for grunge effects? Let me know in the comments below!
Here are some more great articles about backgrounds you might love!
- How To Make Gel Plate Tissue Paper
- 6 Ways To Make Easy Mixed Media Backgrounds
- How To Make Neutral Backgrounds For Mixed Media