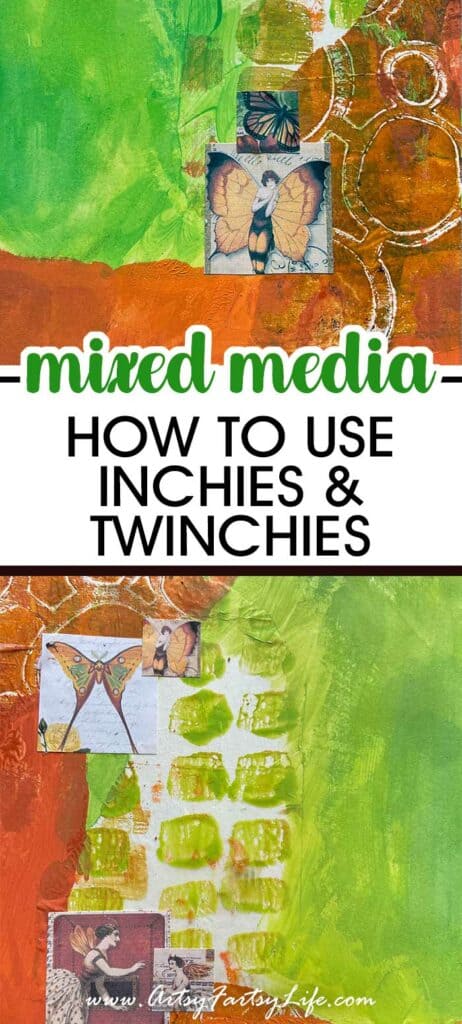
I just found out about these tiny little pieces of art, inchies and twinchies! I made a free printable (of course) and then wanted to see how I would use them in my mixed media artwork!

I'll be showing you how I used inchies and twinchies, which are small, pre-cut paper squares, in my mixed media artwork.
Whether you're a seasoned mixed media artist or just starting out, this technique is a fantastic way to add pops of color and interest to your projects!
Video Walkthrough Of Using Inchies and Twinchies
Let's Talk Inchies and Twinchies
If these are new to you like they were to me, you may have some questions!
- Inchies are one inch by one inch squares with artwork on them
- Twinchies are two inch by two inch squares with artwork on them
I found that I like twinchies more! They are great for adding visual interest when creating backgrounds for mixed media pages.
The inchies were REALLY small and while they made a great little addon, they were a bit small for my kind of artwork.
An introduction to inchies and twinchies
I found out about inchies when a gal asked me to make 1"X1" squares of my free printables which I thought was weird, but somewhat easy!
Since I already had the artwork done, it was super easy to just pop them into a template and BAM! We had inchies. But there would have to be 48 on a page... are you kitten me?
So I did twinchies too which allowed me to make pages of 9 inchies and 12 twinchies time three sheets which gives you A LOT of cute little ephemera to add to your mixed media!

Now you might wonder why I have three copies of the same collage sheet! What I did was test on plain copy paper and normal printing, plain copy paper and best printing, and Hammermill Premium paper and best printing.
The Hammermill paper made a huge difference in the print quality so that is what I recommend using!
How to prepare your inchies and twinchies
Being a collage artist who has cut up things for a living for the last few years, I knew a little trick about how to cut these inchies up!

Cut them into strips and the cut off the ends. This help if you are going to be using a paper cutter because then you can slide the inchies right up to the guide on the cutter.

I found that it was very hard to cut even the long way of the inchies and twinchies on the paper cutter. I think that if you used cardstock instead of copy paper it would be easier!
I just used my scissors to cut them out! You might be better at using a paper trimmer than I am, so do what is best for you.
Techniques for incorporating inchies & twinchies into your artwork
There are many ways you could use inchies and twinchies including collage, decoupage, and mixed media embellishments!
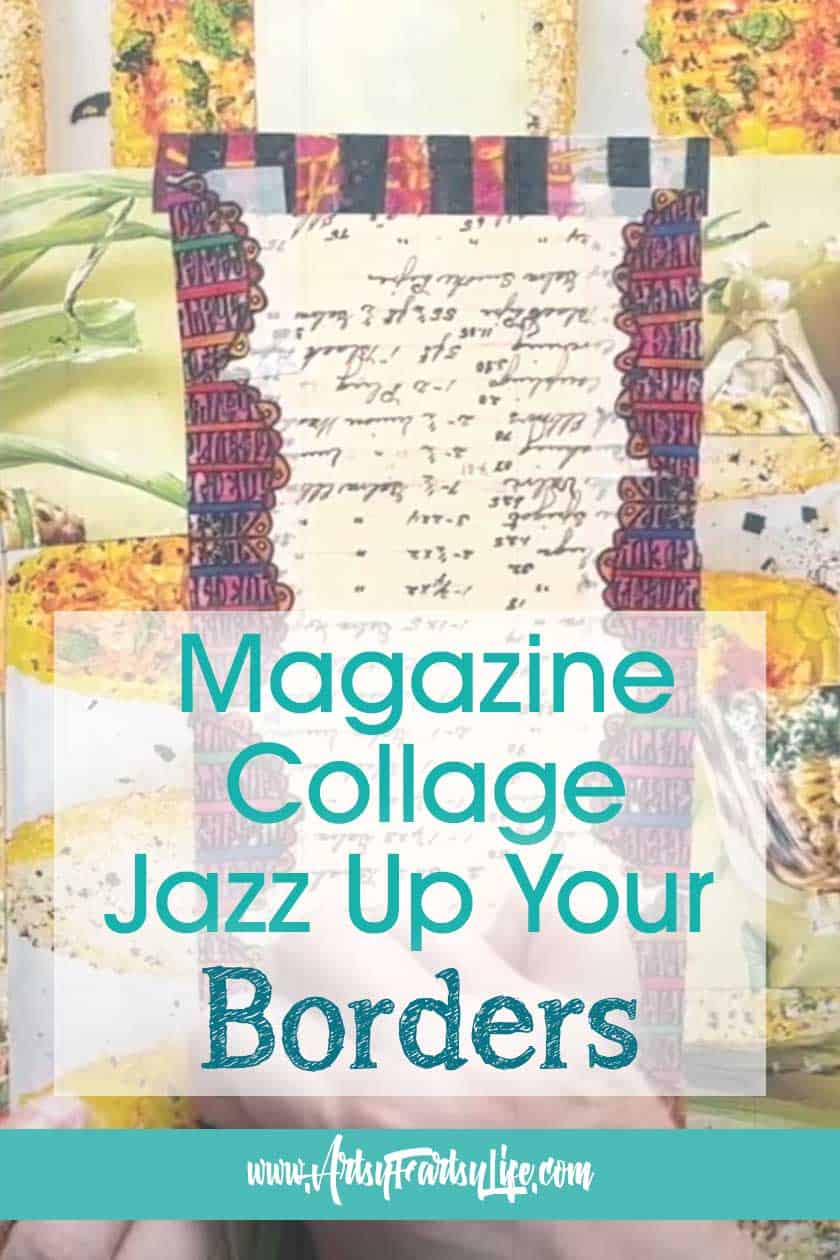
Here is how I added them as a border accent on my mixed media pages!

Whenever I used to see Teesha Moore's old collages I wondered how she found so many cool little images to use in her borders. I think these cute squares are going to be the answer to my prayers!
Tips and tricks for working with inchies and twinchies
- Layering: Build depth by overlapping inchies and twinchies. Use contrasting colors, patterns, or materials for interesting visual effects.
- Transparency play: Experiment with sheer papers or vellum to let elements from your background peek through your inchie/twinchie layers.
- Focal points: Use a single bright or bold inchie or twinchie to draw the eye to a specific area of your artwork.
- Texture galore: Combine different textures like smooth paper, rough paper, and embossed materials for added dimension.
- Embellish away: Don't just stick them down! Embellish inchies and twinchies with beads, charms, stitching, or tiny doodles.
Extra Tricks
- Distress them: Create a vintage look by sanding the edges, crumpling, or staining your inchies and twinchies before you use them.
- Color shift: Dye, ink, or stain your inchies and twinchies to create custom colors and effects.
- Stamped with love: Ink up rubber stamps and use inchies/twinchies as your stamping canvas, creating unique mini artworks within your "larger" piece.
How To Use Inchies & Twinchies In Mixed Media Wrapup
I hope you love this tutorial as much as I do! I had so much fun cutting up and using the inchies in my artwork!
If you want more free inchies and twinchies make sure to sign up for my freebie list, I will for sure be making more and will send them out to you when they are done!
Here are some posts that you might like!
- Storytelling In Magazine Collage and Mixed Media Art
- How To Make A Magazine Collage Mixed Media
- How To Use Coloring Book Pages For Mixed Media