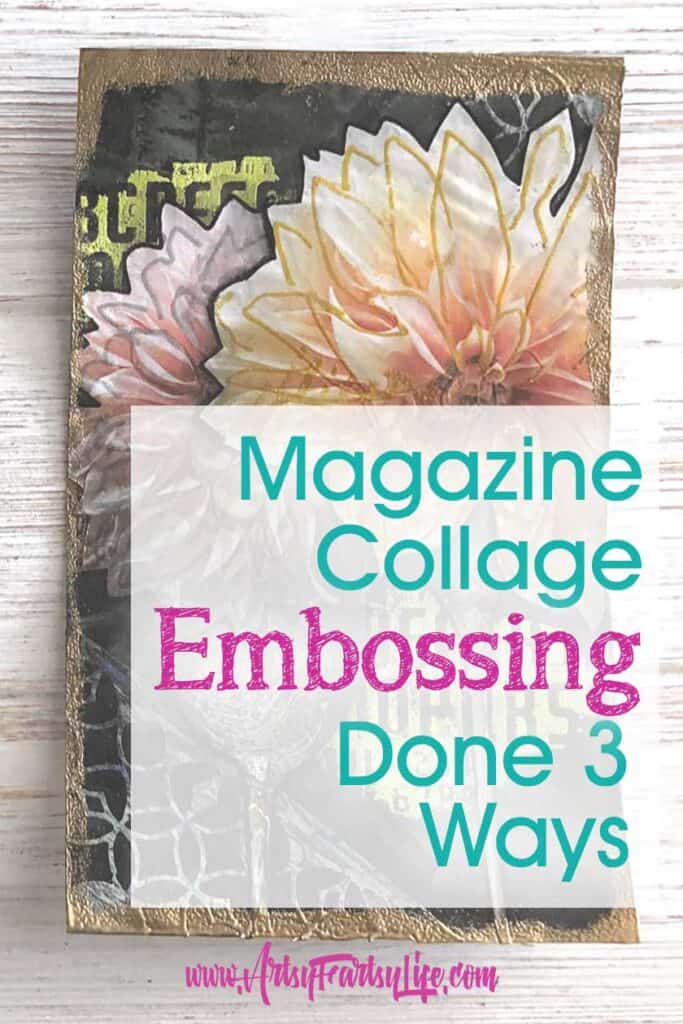
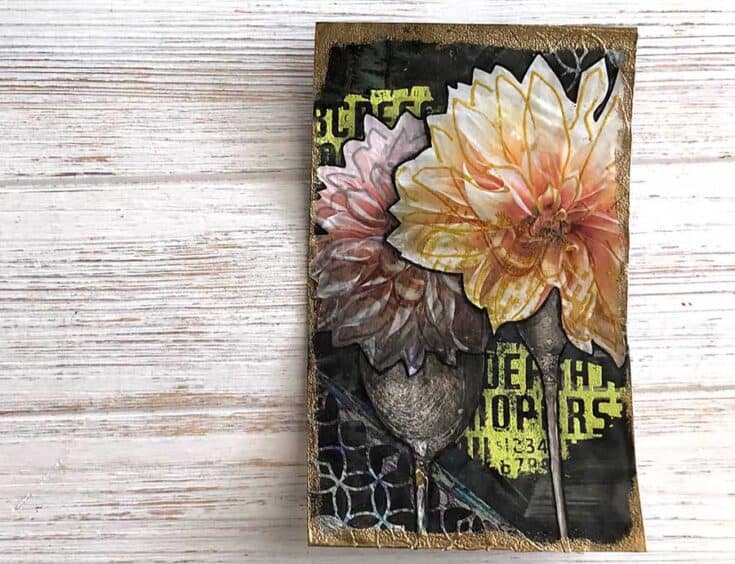
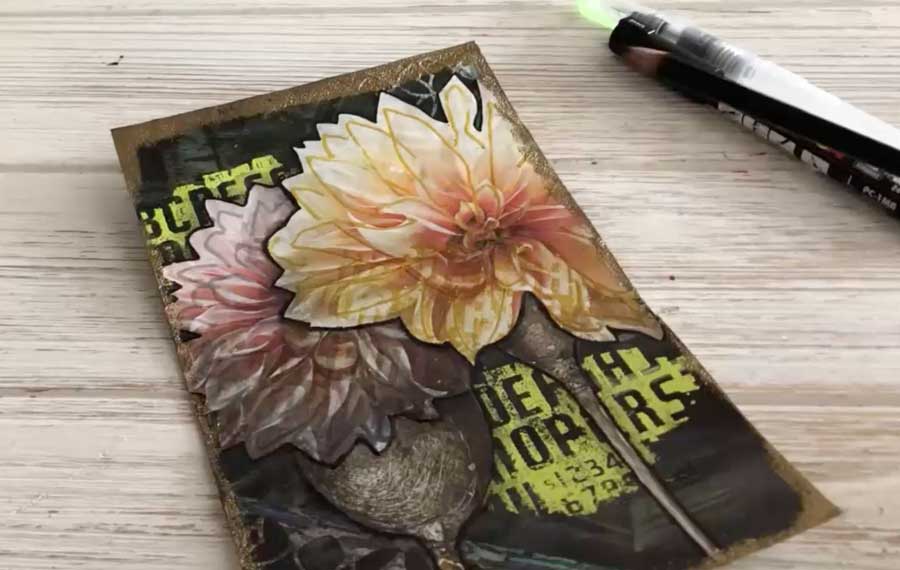
Tips and ideas for how to use embossing in your magazine collage pages. I used three different kinds of embossing techniques in this page and I LOVE how it turned out! It added some fun extra texture and color to the page.
How To Use Embossing In Magazine Collage Full Video
What Is Embossing?
Embossing in papercraft is when you use a wet medium like embossing fluid on the paper, add embossing powder and then heat with some kind of heat tool.
You need to use something like embossing ink (it can be in a pad, dabber or pen) to wet the surface (you could even use water if that is all you have, just know that it will dry out fast so you have to work quickly!)
To melt the plastic in the powder, you need a highly focused heat tool (the ones that look like hair dryers aren't focused enough to melt the powder).
Types of Heat Embossing Powder
There are a LOT of different types of heat embossing powder. You can find all different colors, some with metallics and others that have "chunks" to add even more texture.
- Opaque - (solid) ones include Wow, Ranger and Hero Arts are some great brands
- Translucent (transparent and let the under colors show through)
Embossing Tips
There are a couple of tips that I have found really make a difference in the success of your projects!
Use lots of powder - I often see gals trying to use just a little bit of the embossing powder to "save it". I usually dump out ALL of the powder in the jar on the piece and then just a paper underneath to catch it all!
Sheet of paper - You don't need some kind of fancy paper when you are collecting your embossing powder, I just use a piece of typing paper. Just remember NOT to do your embossing liquid on top of it or you will waste your embossing powder on just typing paper!
Don't expect perfection - I don't know about everyone else, but I always thought everyone else's embossing was perfectly smooth like glass. I think it depends on what kind of powder you use, the finer the powder the less texture you will get.
Embossing On Magazine Images Vs Card stock
As you can see in the video, I was super concerned about doing embossing on magazine paper as it is MUCH thinner than card stock or watercolor paper.
I was super pleasantly surprised at how well the magazine paper worked! It embosses super fast because of how thin it is, but it works great!
3 Types of Embossing In This Project
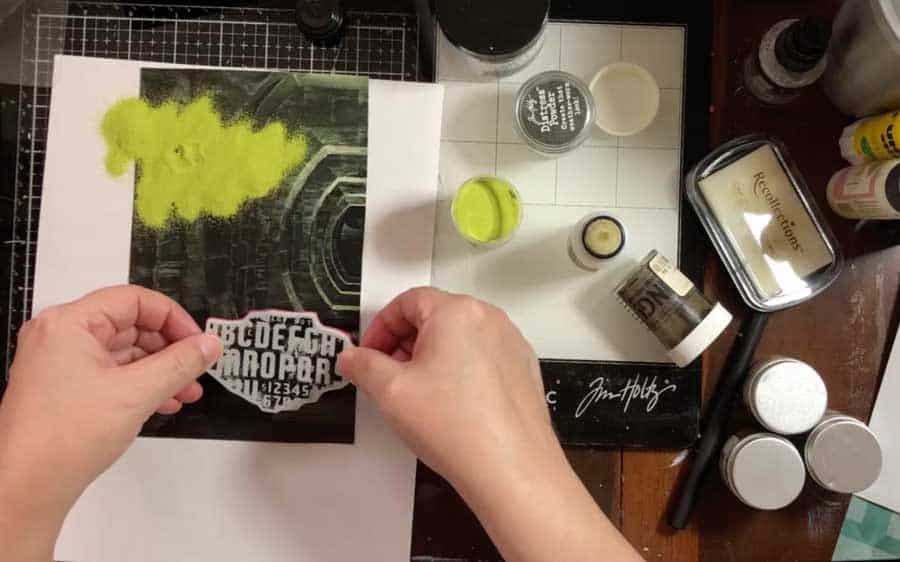
- Rubber Stamping - I used an embossing liquid dabber with the stamps and it worked great!
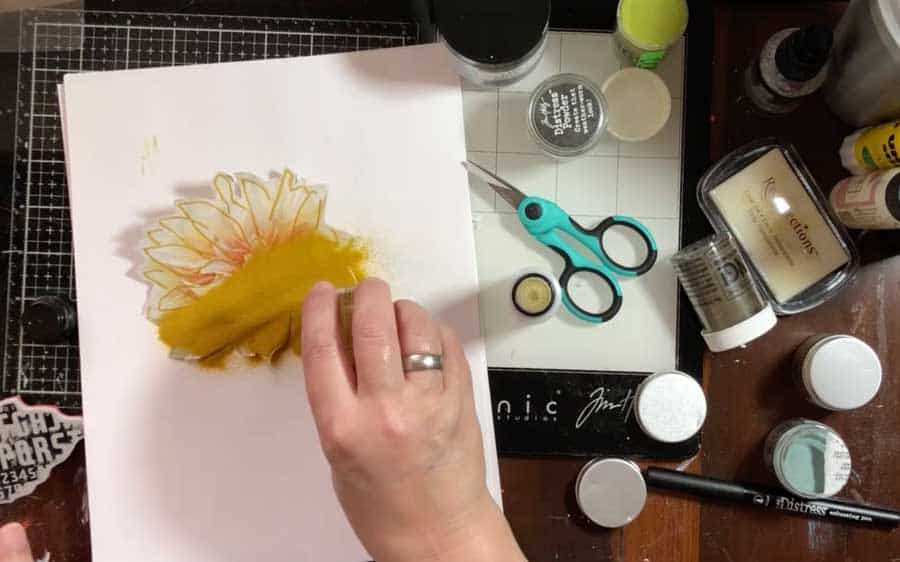
- Embossing Marker - This is the first time I used the marker and it was PERFECT for making fine lines in the flowers!
- Embossing The Edges - Embossing the edges worked great (I got the idea from a Seth Apter video!)
Additional Lots of Additional Textures
One thing that helps "sell" magazine collage is having lots of layers and textures. In this project I used...
Die Cutting - On this project I LOVE the little touch of texture that comes from the die cut I did on the top right and bottom left corners!
Embossed Design - I used embossing on the flowers, background and around the edge! This helps to add layers of texture and color to the whole page!
How To Use Embossing In Your Magazine Collage
Doing a successful magazine collage requires that you use lots of different layers and textures. Adding embossing is a super fun way to add dimension AND color to your pages. Here are 3 ways to use embossing in your project!
Materials
- Distress Embossing Dauber
- Distress Embossing Pen
- Zing Green Embossing Powder
- Distress Glaze Fossilized Amber
- Distress Glaze Weathered Wood
- Tim Holtz Stamps - Faded Type
- Liquitex Matte Medium
- Sizzix Thinlits Die Set 2PK - Pattern Repeat
- Posca Paint Pen
- Stabilo Aquarelle
Tools
- Embossing Gun
- Sizzix Sidekick
- Waterpen
- Fussy Cut Scissors
Instructions
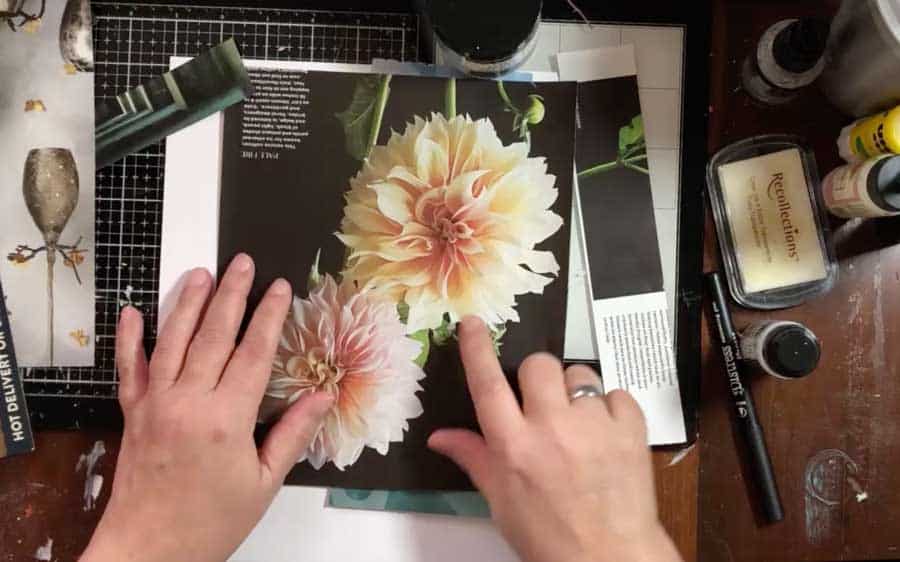
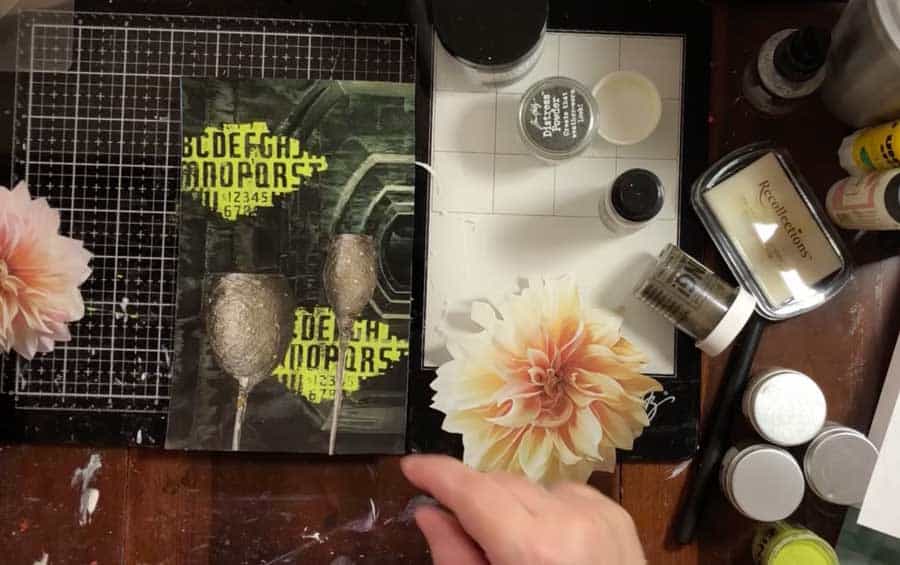
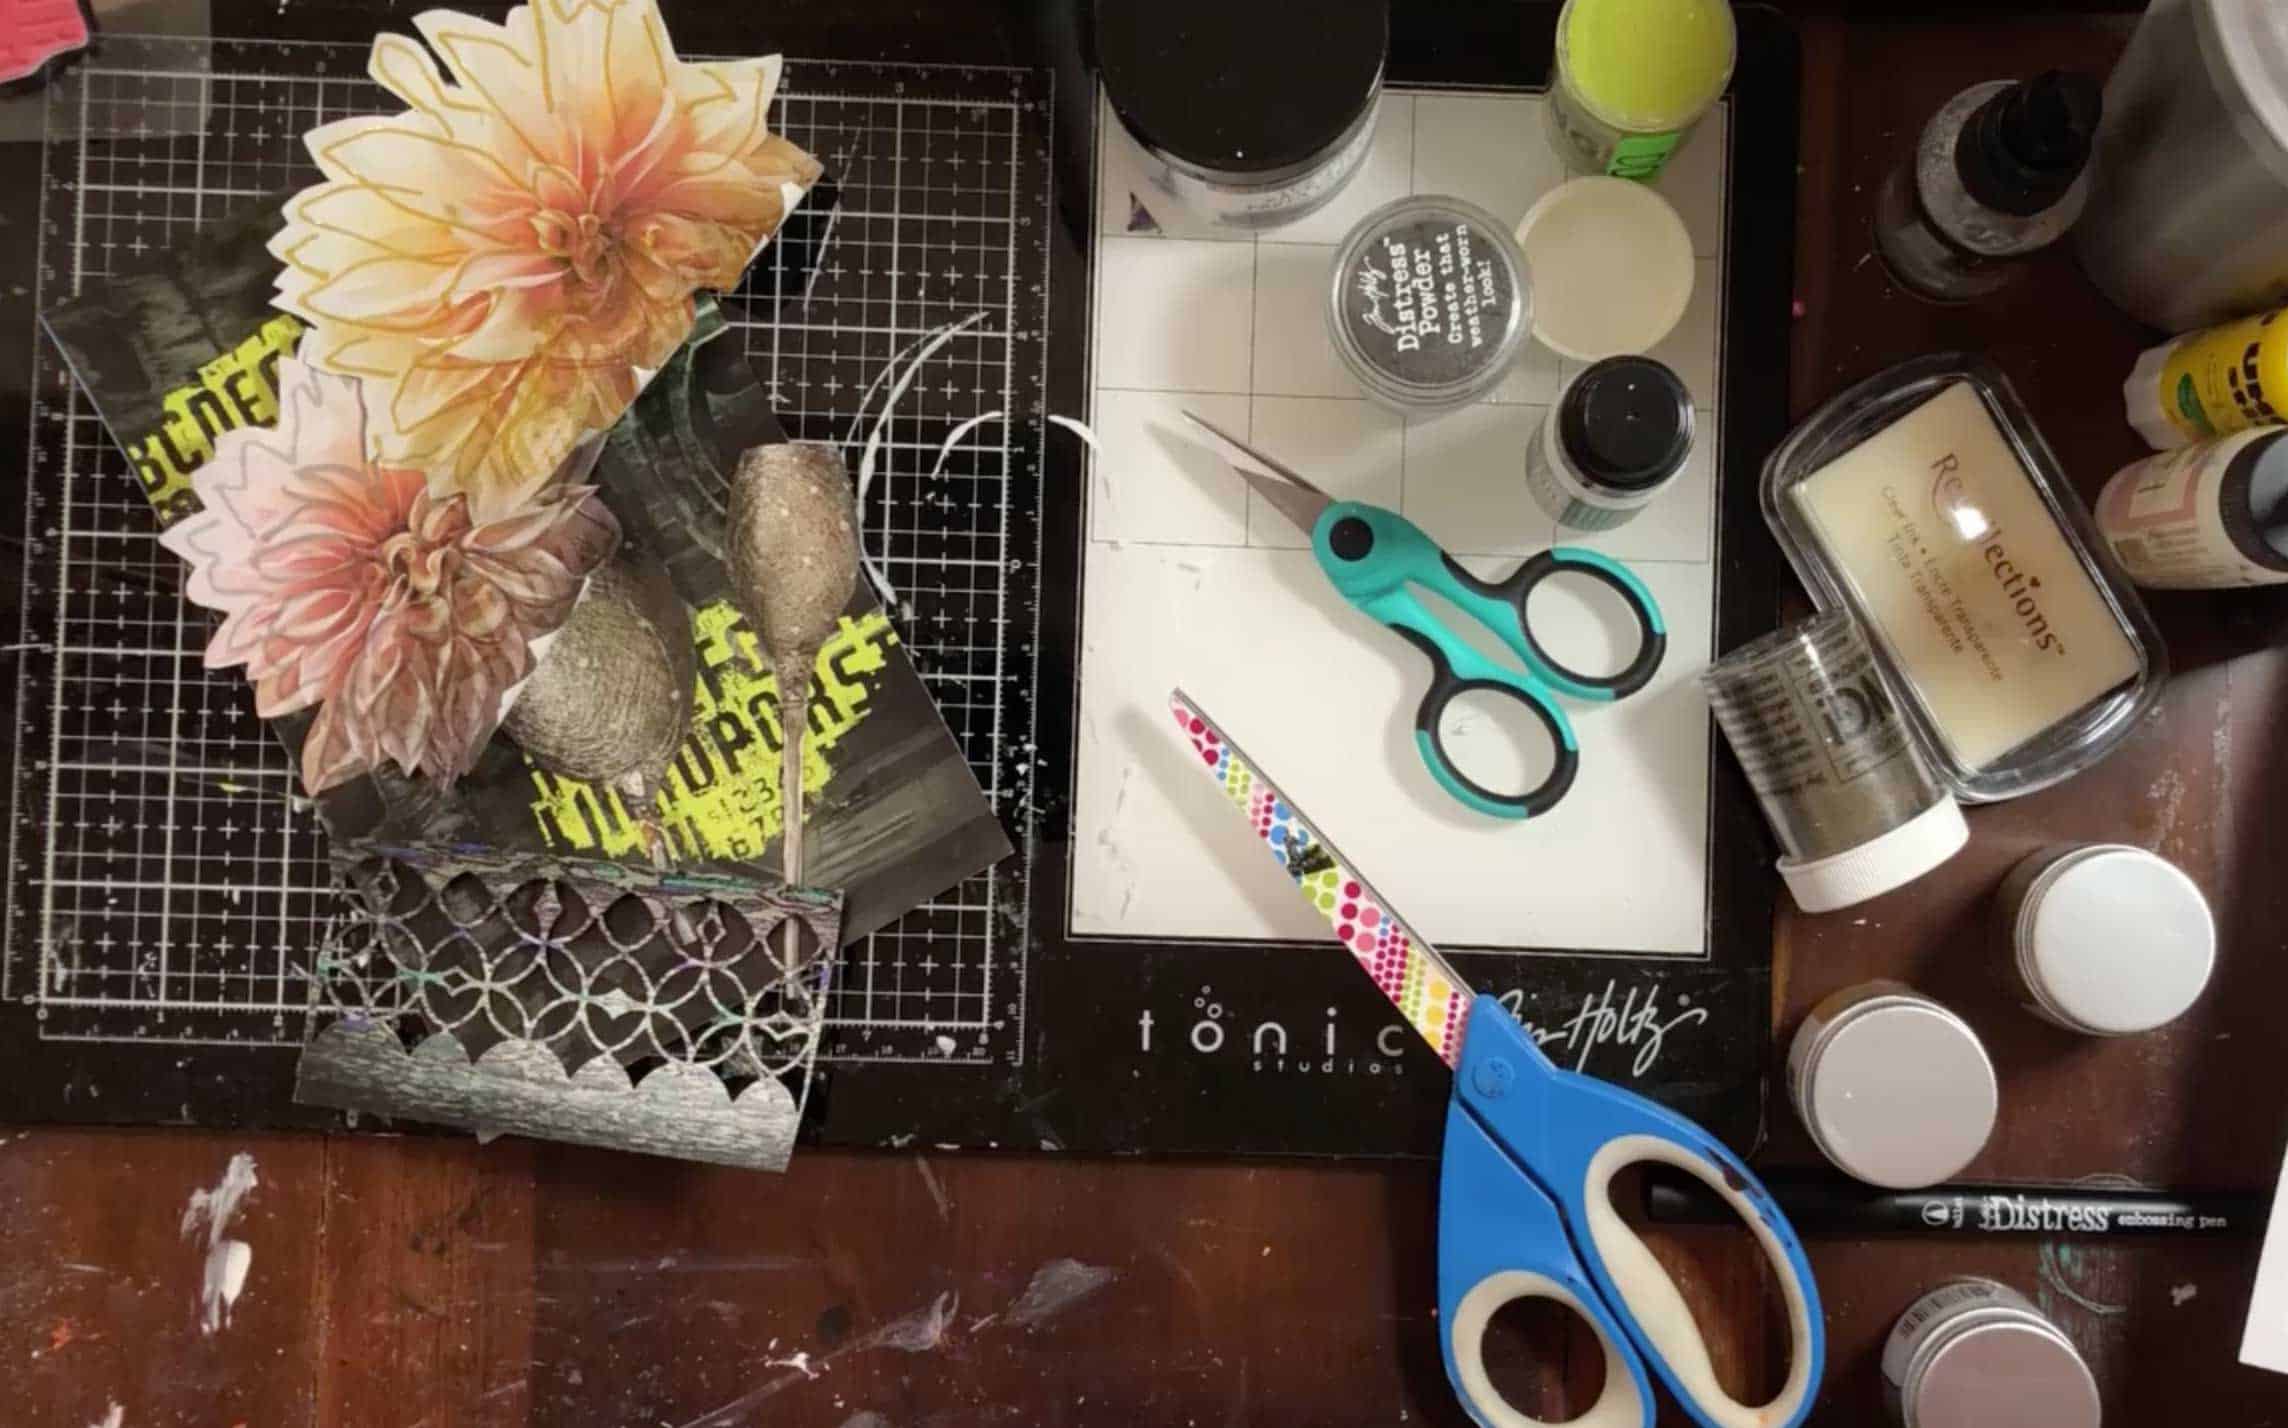
- Pick some cool pictures to use in your collage. My main pictures for this project are the two big flowers and then the decorative lights that I am going to be using as "stems" for my flowers.
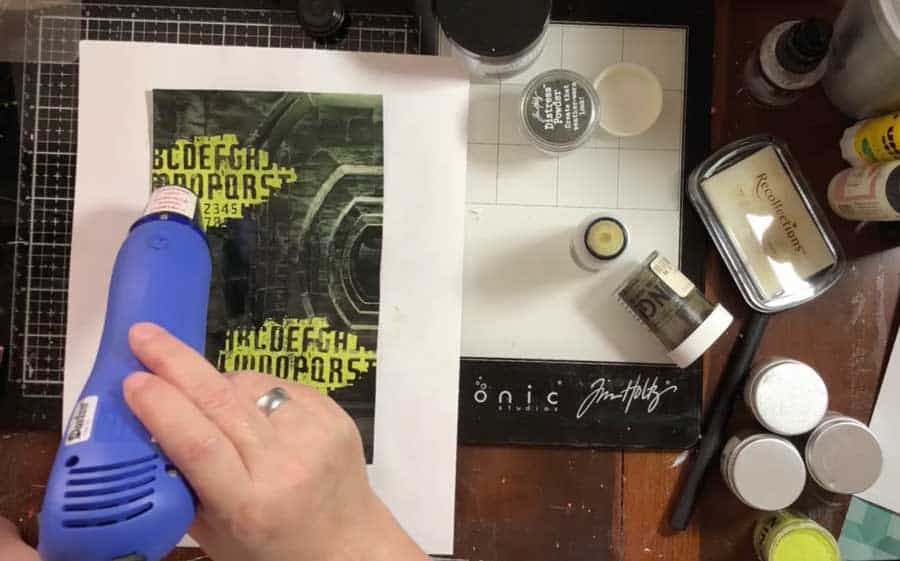
- I used the Distress Embossing Dauber to coat my stamp (I LOVE this Faded Text stamp set! It is new to me and just my grungy look!)
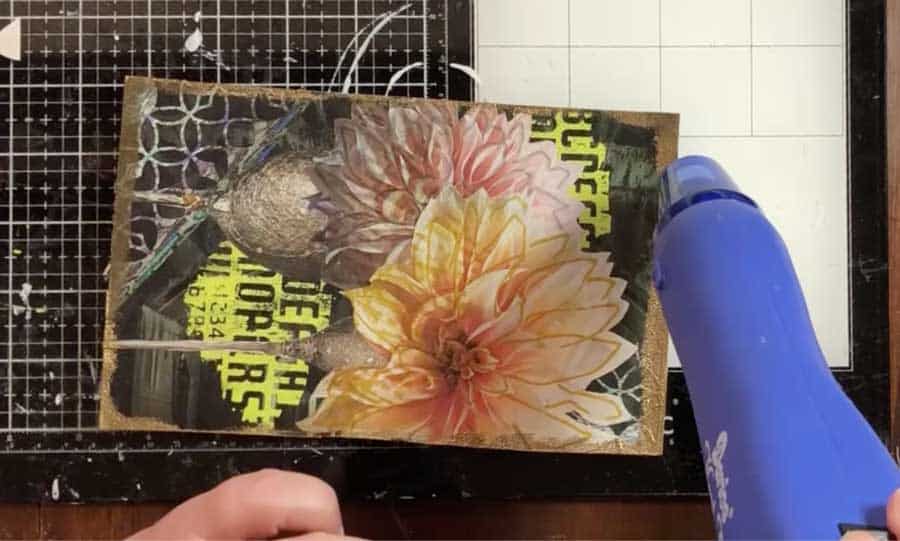
- To melt the embossing powder you need to use really focused heat. You need to use an embossing gun to make the powder melt! (mine is SUPER cheap, I know there are fancy ones but if this one dies I will just get a new one!)
- One thing you want to do periodically as you go is to check and see how your project is going! Do a layer and then lay out your elements again and see how they are working!
- The second way I added embossing was to use the Ranger Embossing marker to highlight some of the petals on the flowers.
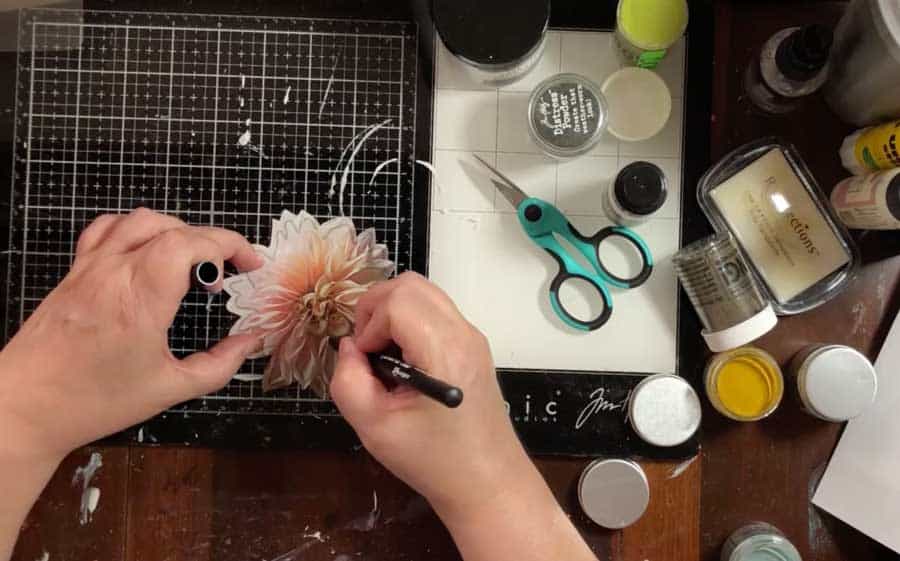
- As you will see in the video, I tested embossing super thin magazine paper before messing up my design. It is really amazing that you can even do super thin lines with the embossing marker.
- Adding texture with magazine die cuts! I love using the colors from magazine pages with the Sidekick die cutting machine to add more color and texture. Additional Resource: Sizzix Sidekick … Perfect Die Cutting Machine For Small Craft Rooms
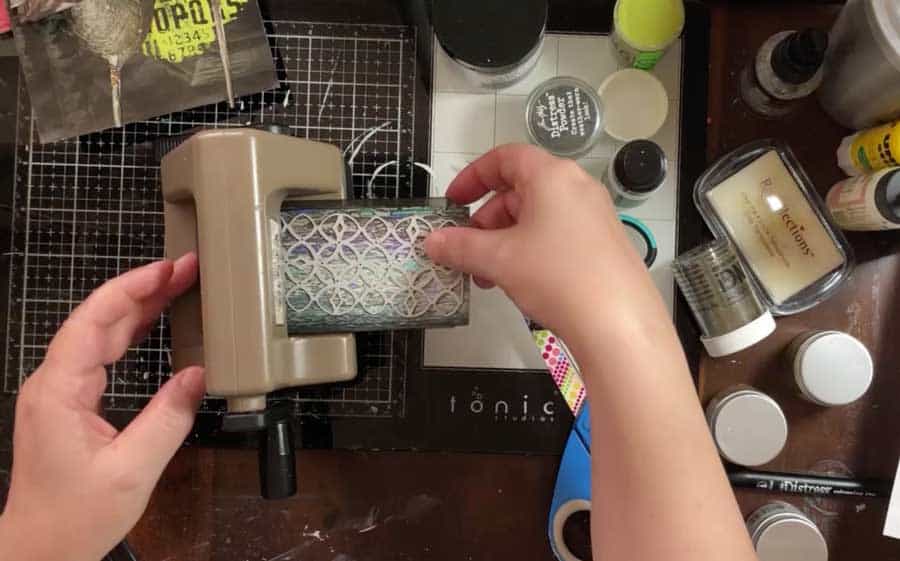
- The key to making your collage look cool is bunches of layers. I added this die cut to "frame" the bottom edge and add some color!
- I watched a super cool video by Seth Apter where he did a border with embossing! The gold was a BIG surprise ... the embossing powder looked brown!
- My final step is always outlining the edges of the magazine elements! I used a Posca Paint pen and the Aquarelle Stabilo Pencil.
Recommended Products
As an Amazon Associate and member of other affiliate programs, I earn from qualifying purchases.
-
 Sizzix Sidekick Starter Kit Manual Die Cutting Machine with Suction Mounting Base and Framelits and Thinlits Dies, 6 Stamps, Embossing Pad and Folder, 2.5 In (6.35 Cm) Opening, Brown by Tim Holtz
 -
 Stabilo 8046 All Coloured Pencil Crayons for Almost All Surfaces, 3.3 mm, Black, Pack of 12
 -
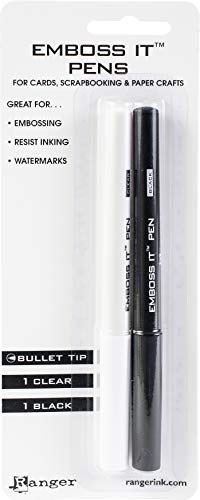 Ranger EMP20653 Inkssentials Embossing Pens, 2-Pack, Black and Clear
 -
 ChgImposs Mini Heat Gun, 110V 300W Portable Hot Air Gun Multi Function Electrical Heat Tool for DIY Embossing, Shrink Wrapping, Drying Paint
 -
 Tim Holtz - Stampers Anon CLING RBBR STAMP SET FADED TYPE
 -
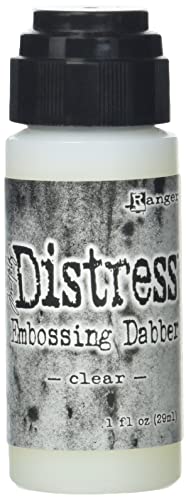 Tim Holtz - Ranger EMBOSSING DABBER