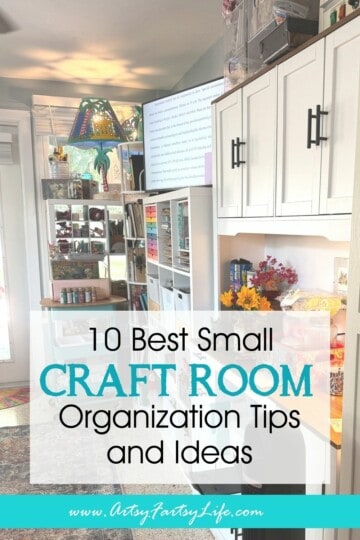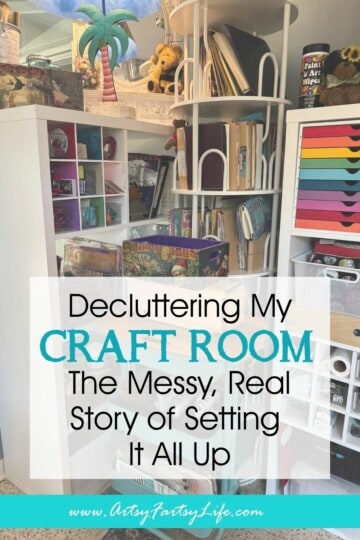
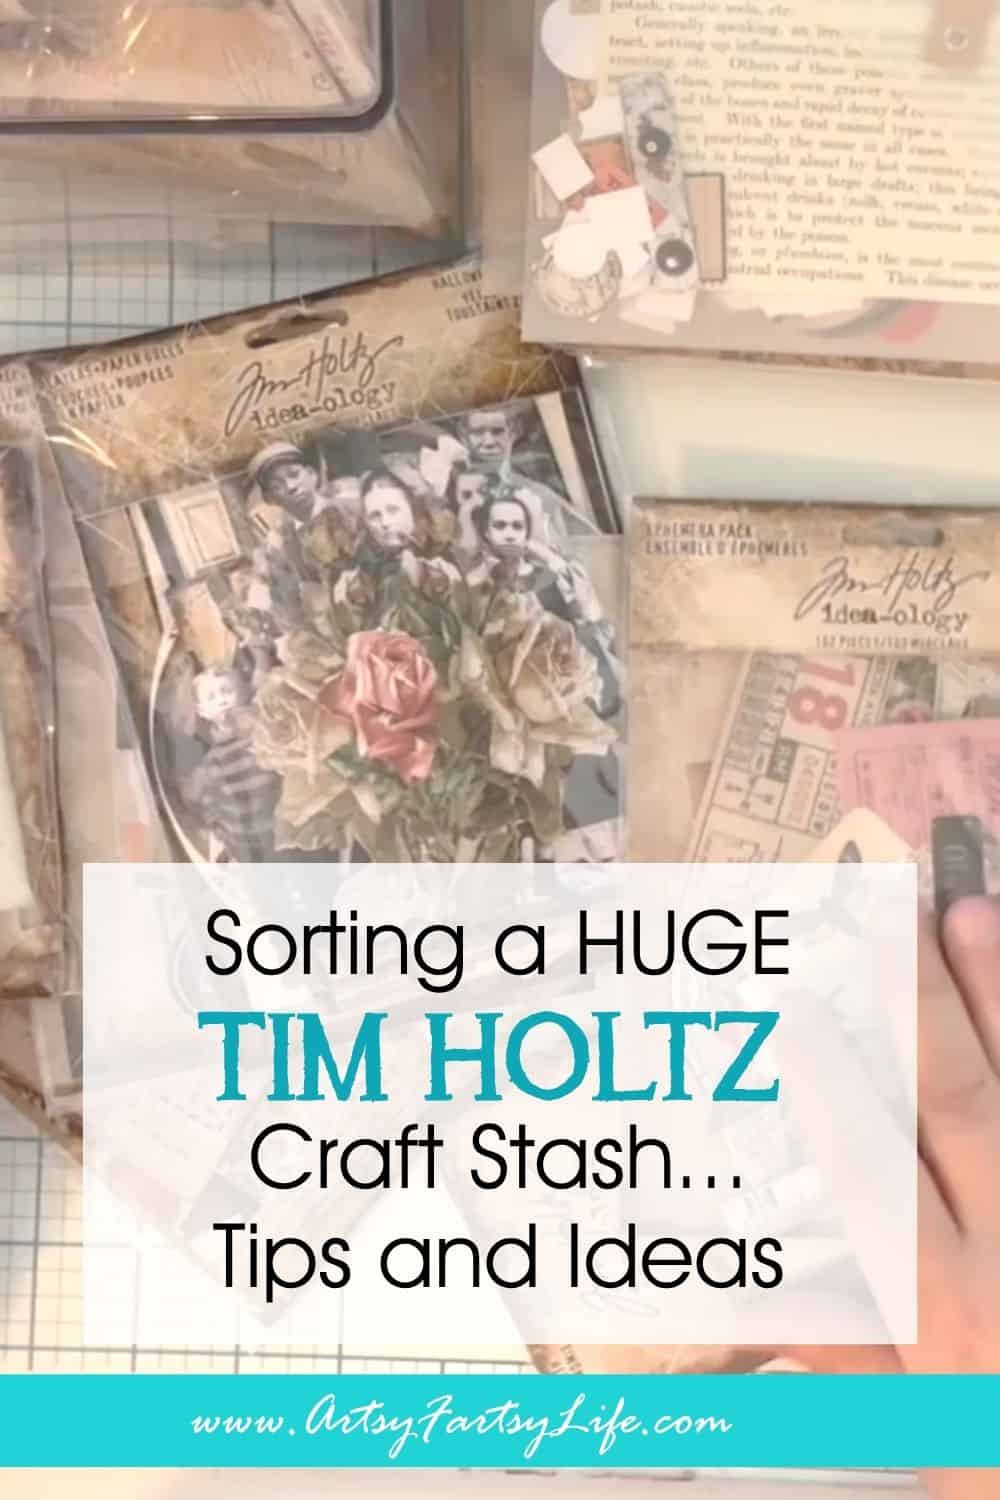
If you've ever opened a craft supply drawer and thought "I have no idea what's in here or why," this post is for you! I recently sat down (on camera, no less) to tackle my entire Tim Holtz stash... years of assemblage pieces, Christmas and Halloween ephemera, metal bits, knobs, ink daubers, and more - and I want to walk you through exactly how I sorted it. Not the Pinterest-perfect version. The real one, mummy tape and all!
Here's what I learned about craft room organization along the way.
Start With One Category, Not the Whole Room
I didn't try to organize my entire craft room in one sitting - I picked one specific stash (my Tim Holtz supplies) and worked through just that. Trying to tackle everything at once is how organizing projects die halfway through. Pick a drawer, a bin, or a brand, and stay there until it's done.
TIM HOLTZ CRAFT STASH SORT VIDEO WALKTHROUGH
Ask Dana K. White's Four Decluttering Questions
I lean on organizing expert Dana K. White's (A Slob Comes Clean) framework constantly, and it made this whole process so much faster:
- Is it trash? (Packaging almost always is.)
- Would I know I had it? If not, you've probably bought a duplicate.
- Would I know where to look for it? If the answer's no, it needs a real home.
- Would I buy it again? If not, it's a strong candidate to let go.
Running items through these four questions took the emotion out of a lot of decisions - especially with things I'd genuinely forgotten I owned!
"If You Know Where It Goes, Take It There"
This one's also from Dana K. White, and it's become my mantra: the second I recognize something belongs somewhere else in the house (or a different drawer in the craft room), I physically walk it there right then - instead of making a "deal with it later" pile. It sounds small, but it's the difference between actually finishing a sort and creating five new piles of chaos.
BONUS... I got so many steps on my watch from schlepping all that stuff around!
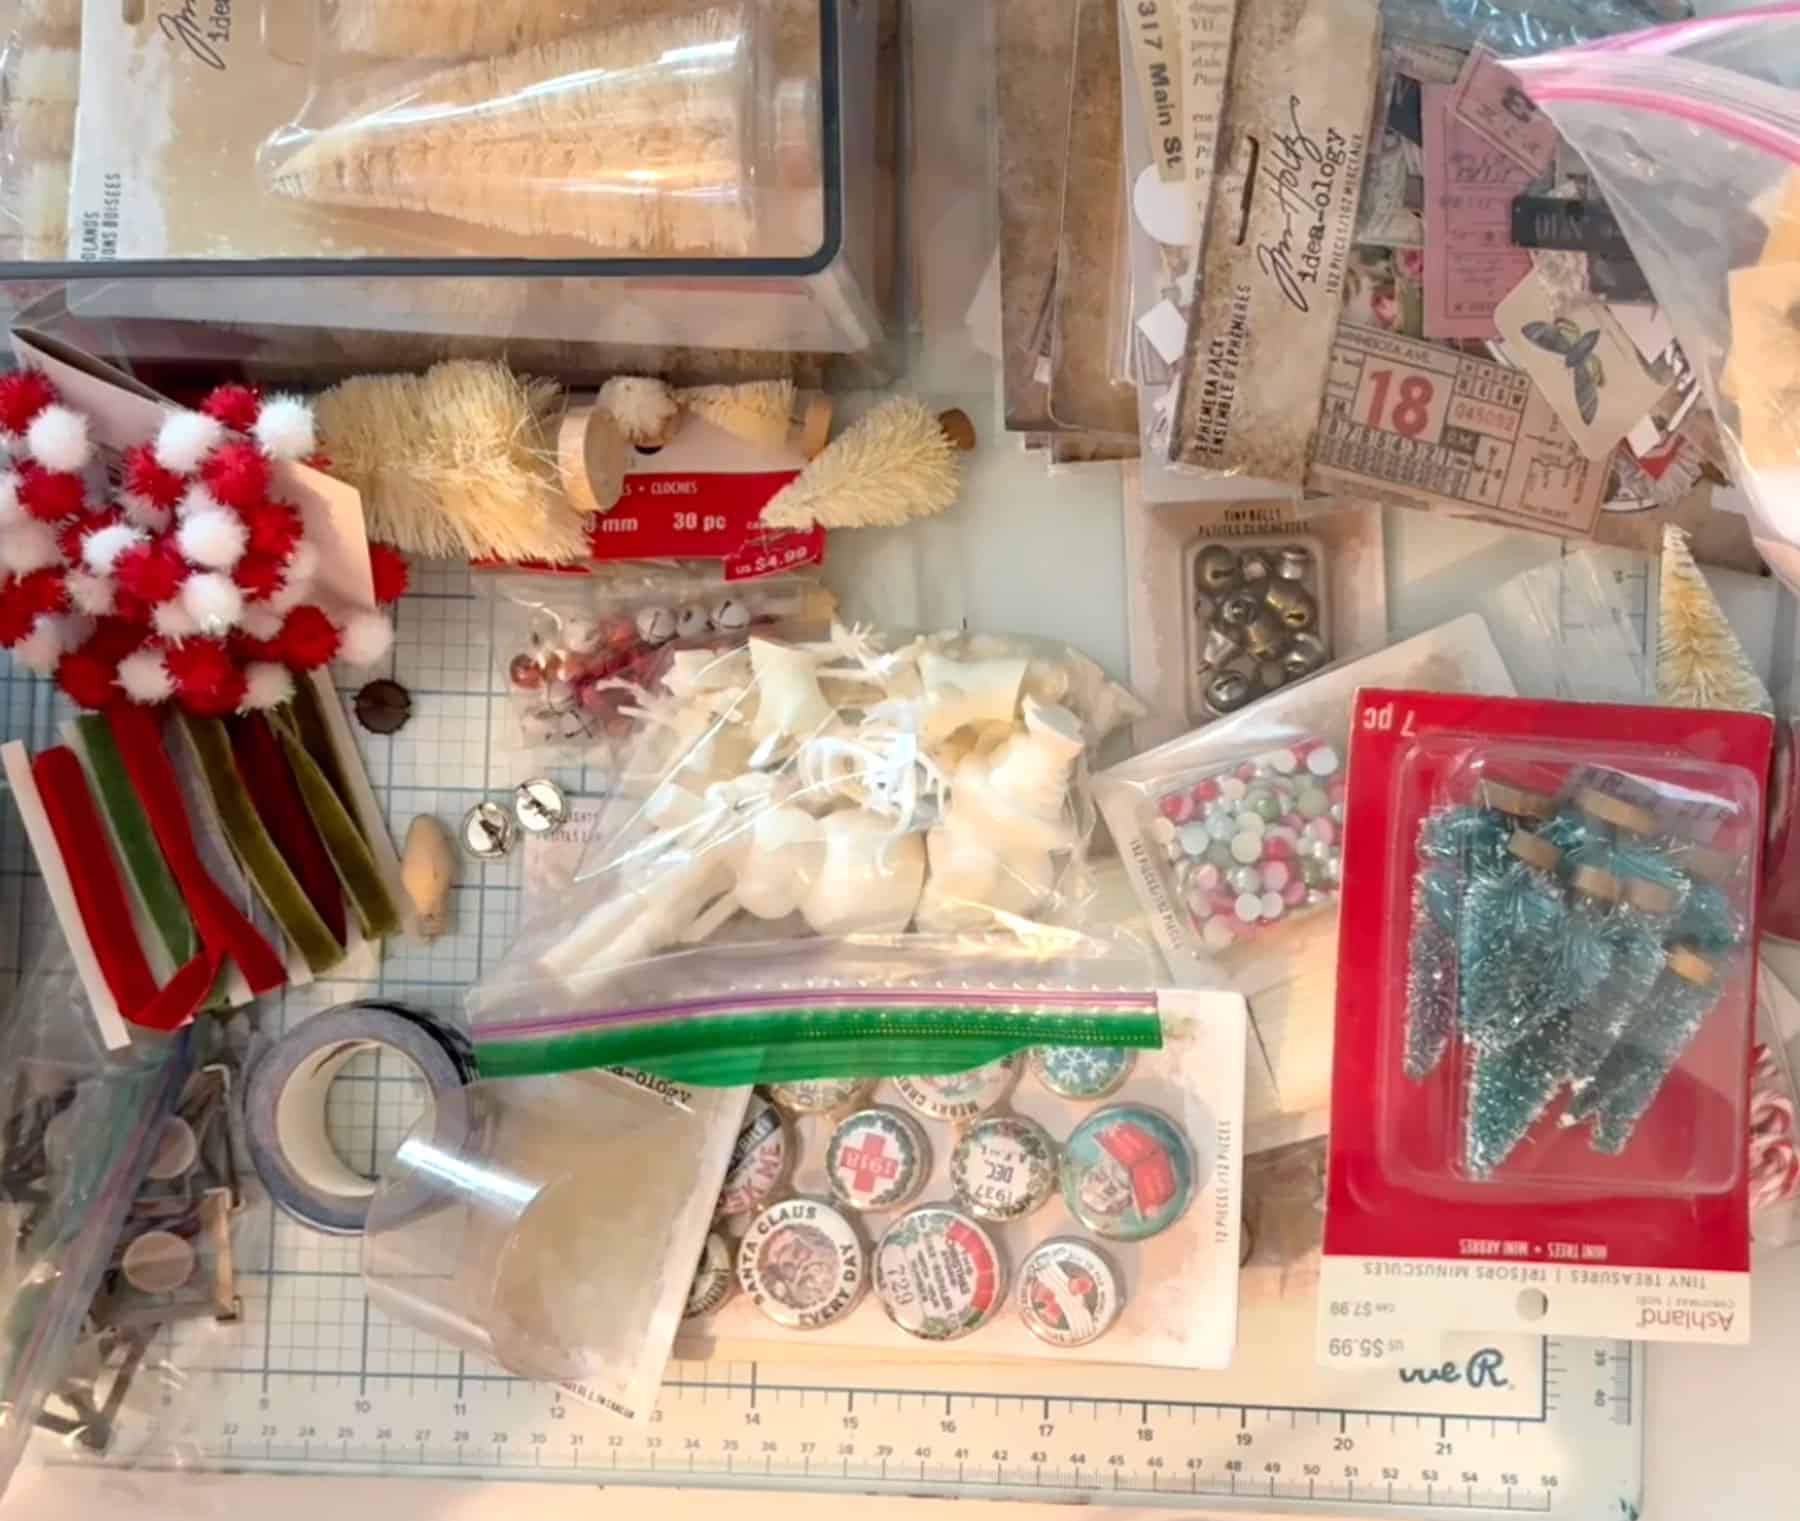
Decant Small Items Into Bags
Packaging is bulky, and if you have pets (I have dogs and kitty), stuff left in open packaging gets dusty or fuzzy fast. My fix... pull small items - ink blending foams, embossing powders, tiny embellishments - out of their original packaging and decant them into small plastic bags. It compresses the space they take up and keeps them clean.
Group by Function or Theme, Not by Brand or Product Line
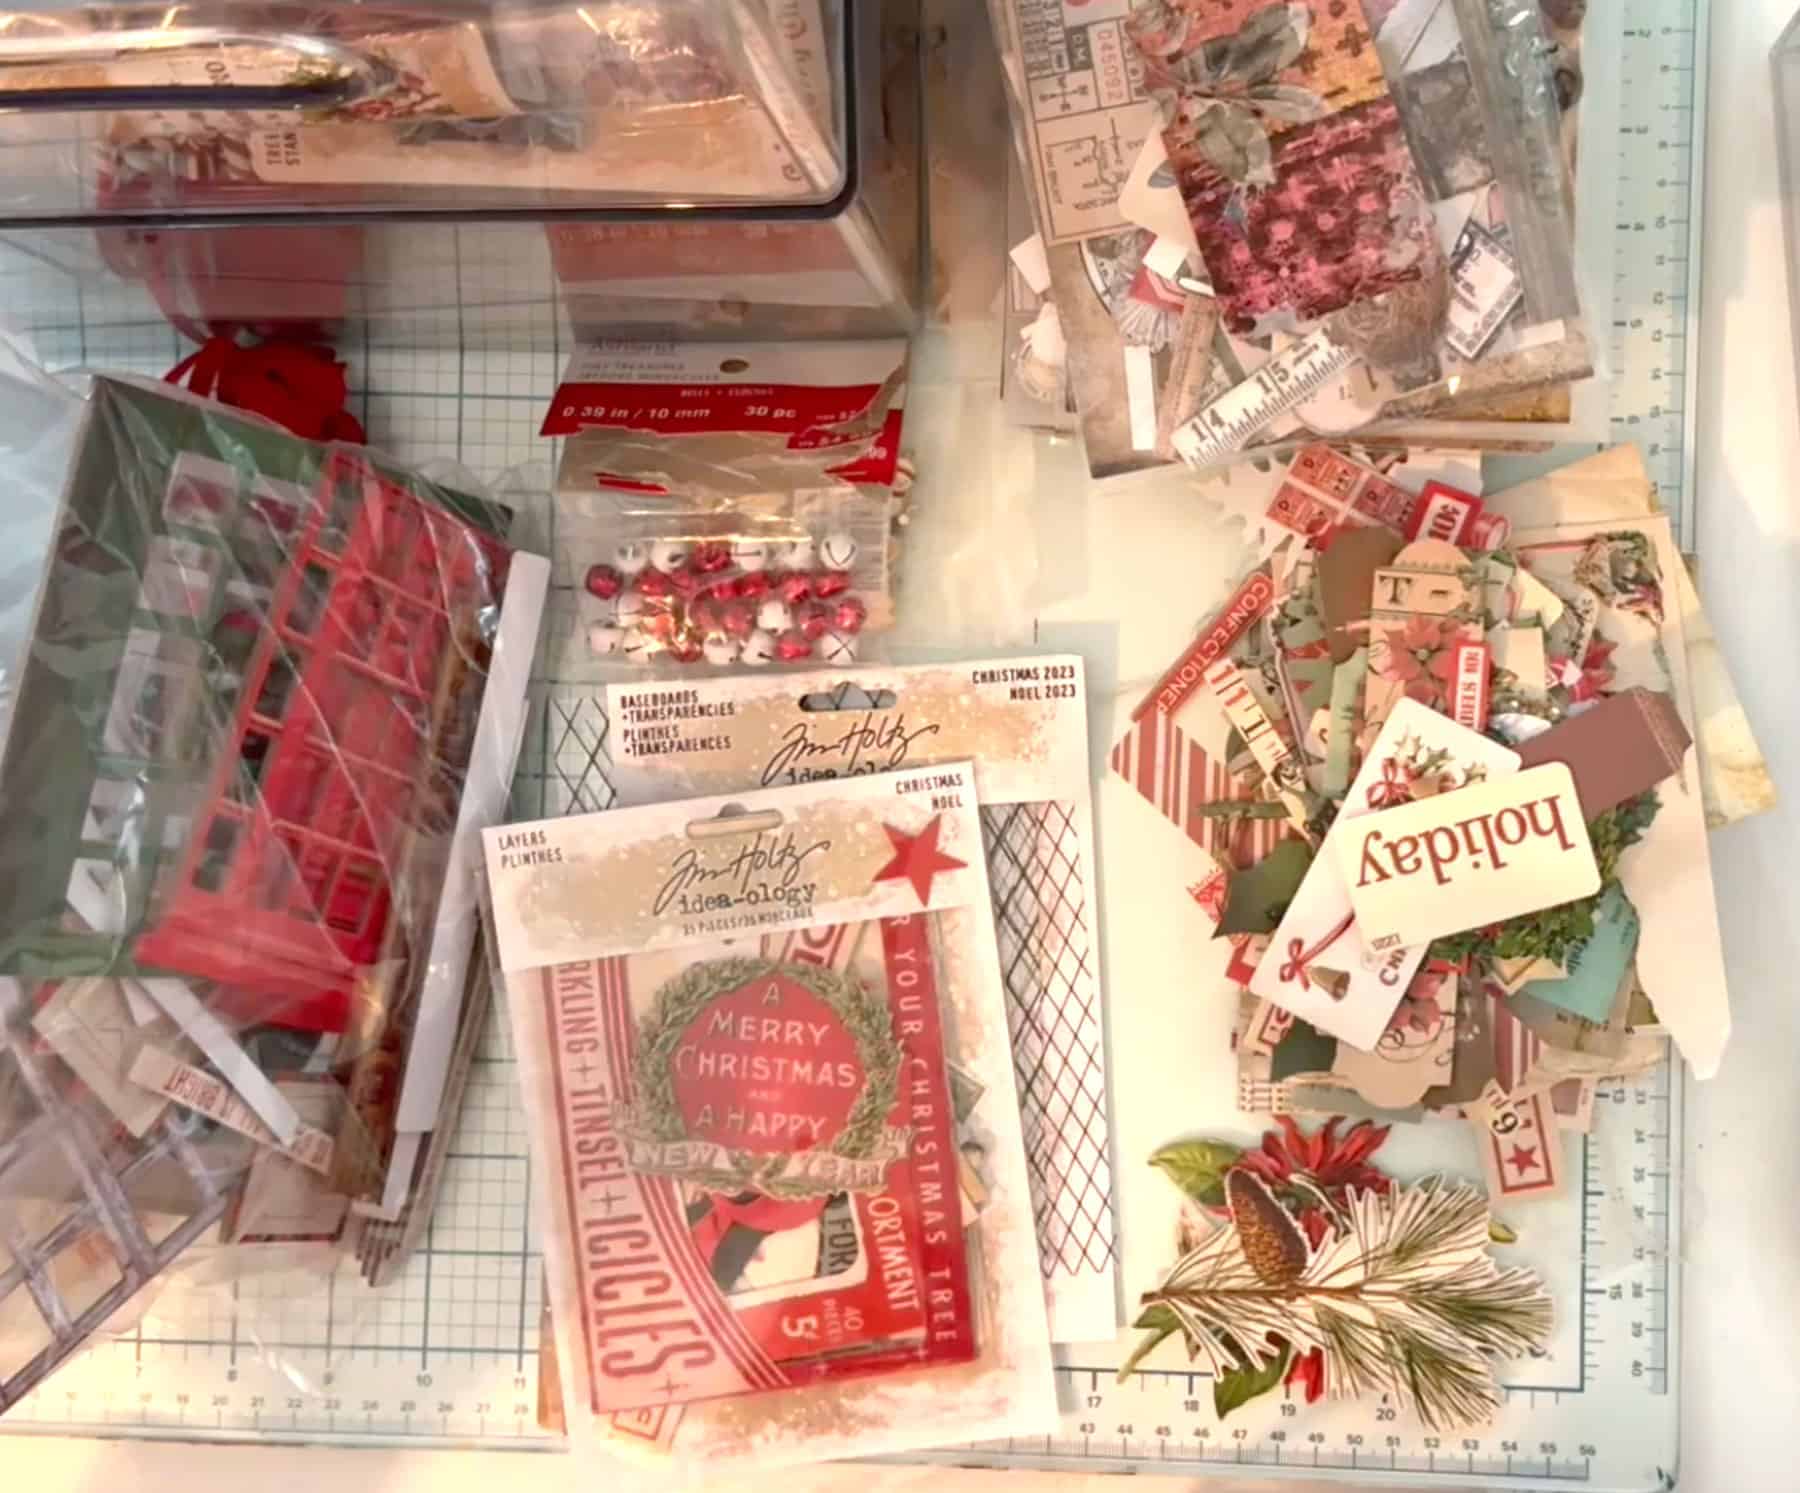
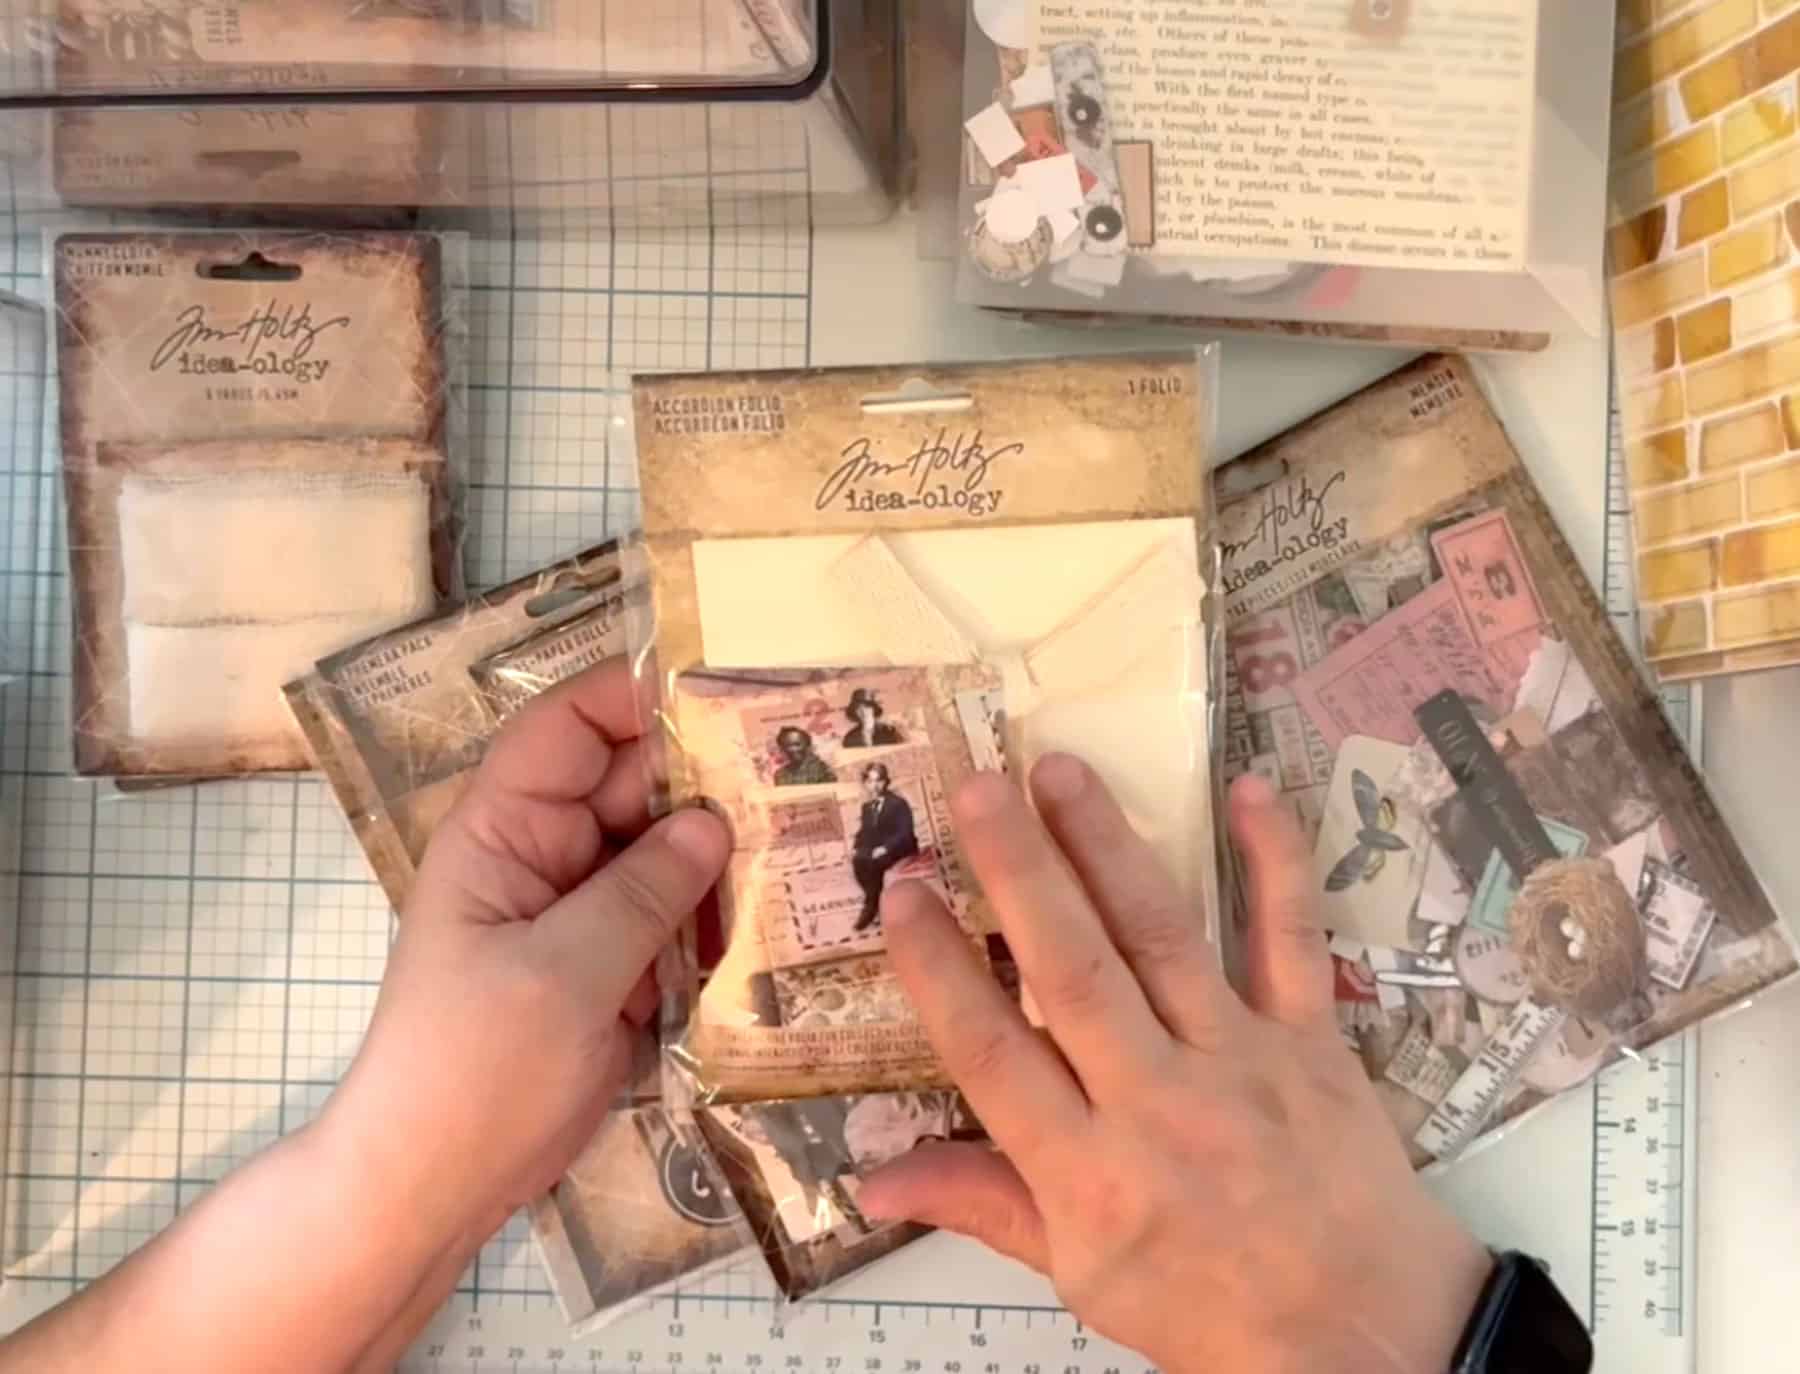
Tim Holtz sells things across dozens of different collections, but I don't organize by collection - I organize by what the item is or what it's for. All my metal bits go together regardless of which pack they came from.
All my knobs go together. Christmas ephemera lives with Christmas ephemera, whether it's from three different product lines or not. Sort by how your brain will actually go looking for it later, not by how the manufacturer packaged it.
Know Whether You're a "Digger" or a "Sorter"
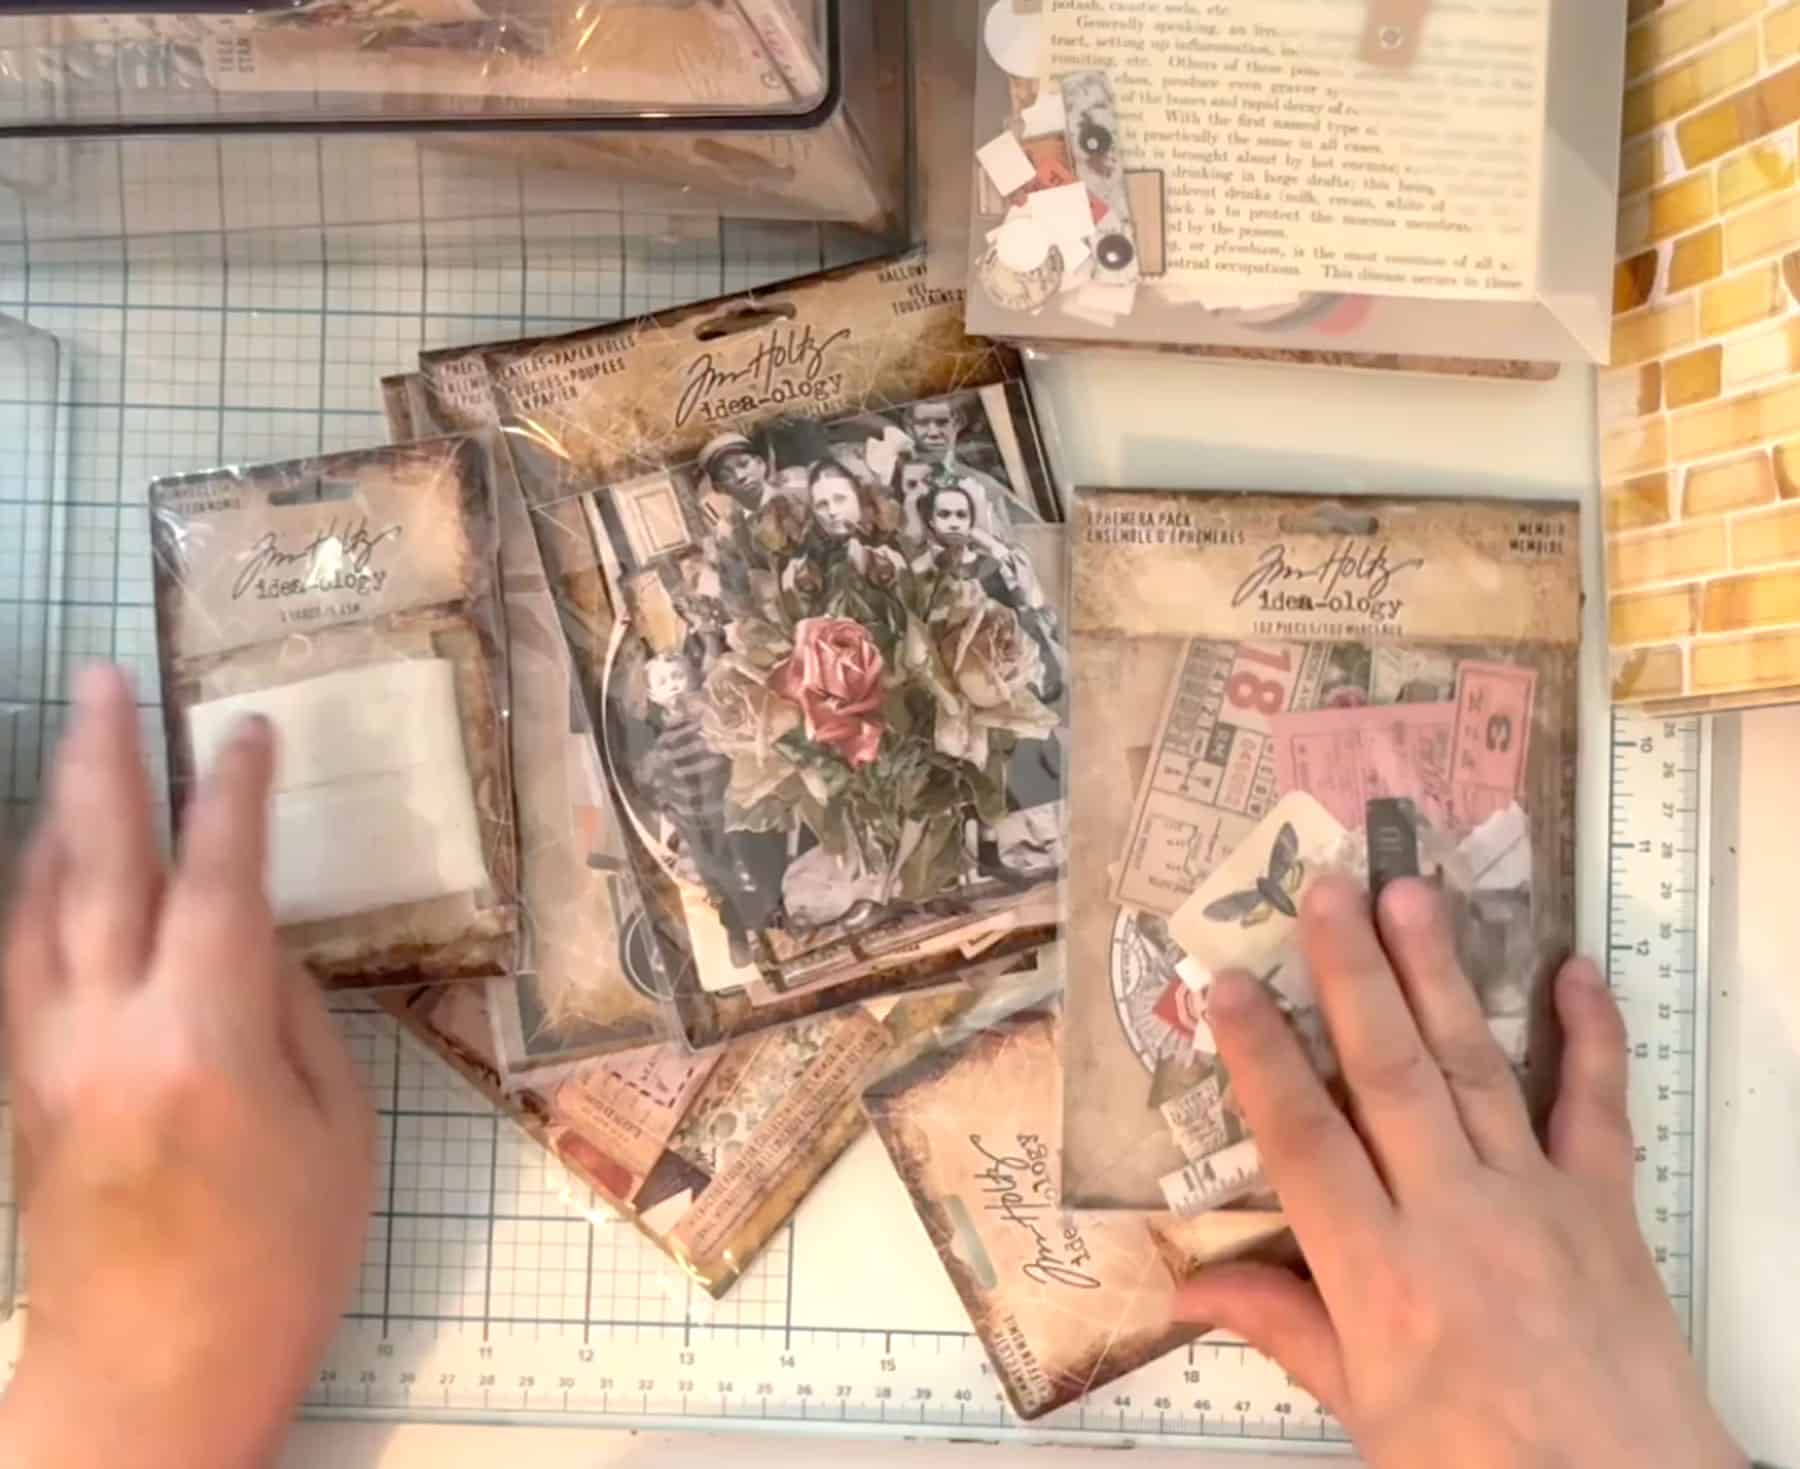
Some categories (like my big bag of heavy baseboards) I'm totally fine just tossing into one bag and digging through when I need one. Other categories need finer sorting.
Neither approach is wrong - the goal isn't a magazine-perfect system, it's a system you'll actually use. Be honest with yourself about which one you are for each category!
Set a "How Many Do I Actually Need" Limit
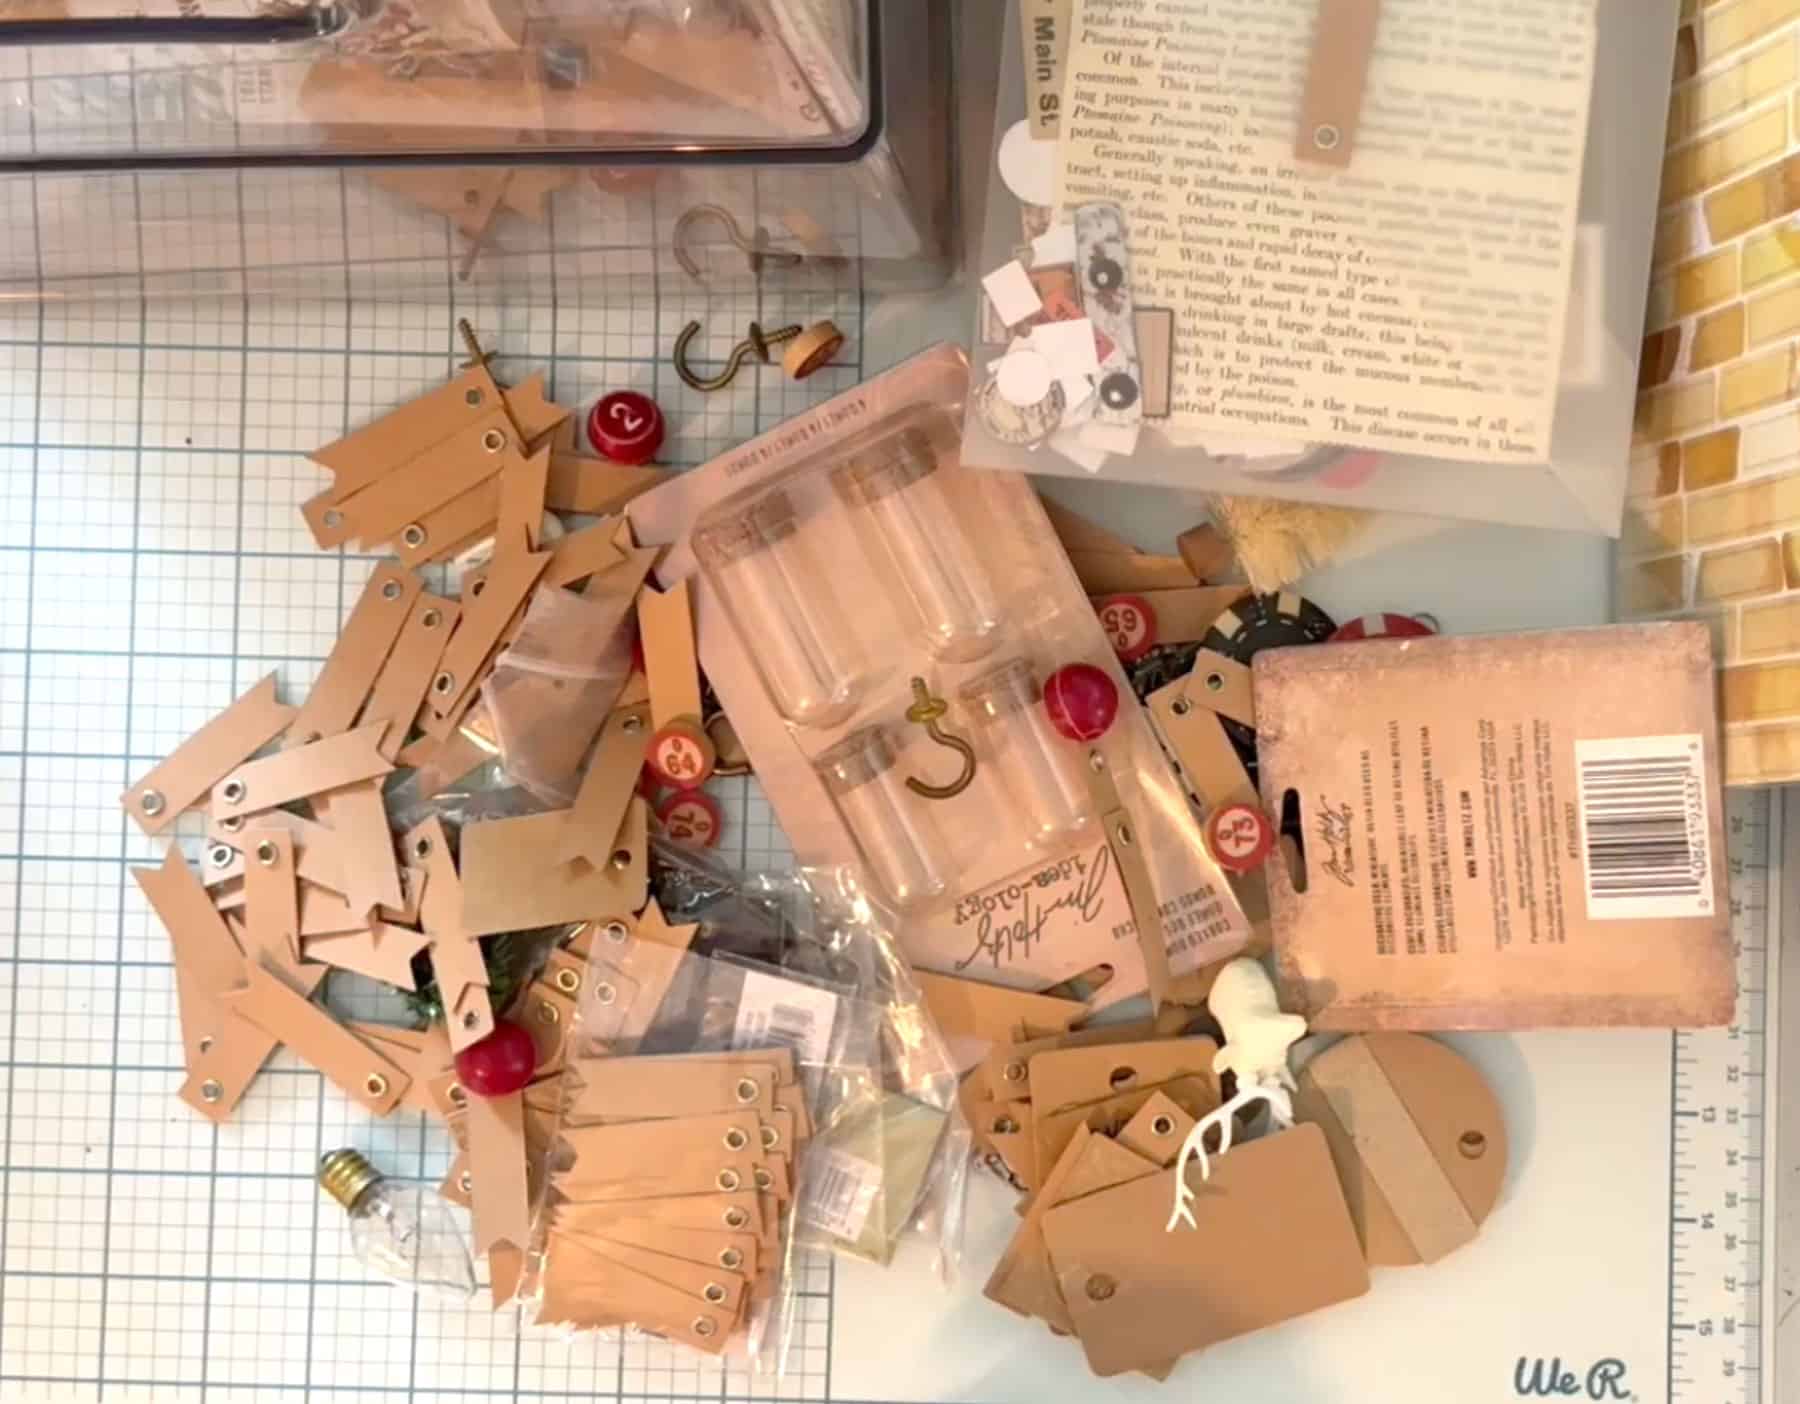
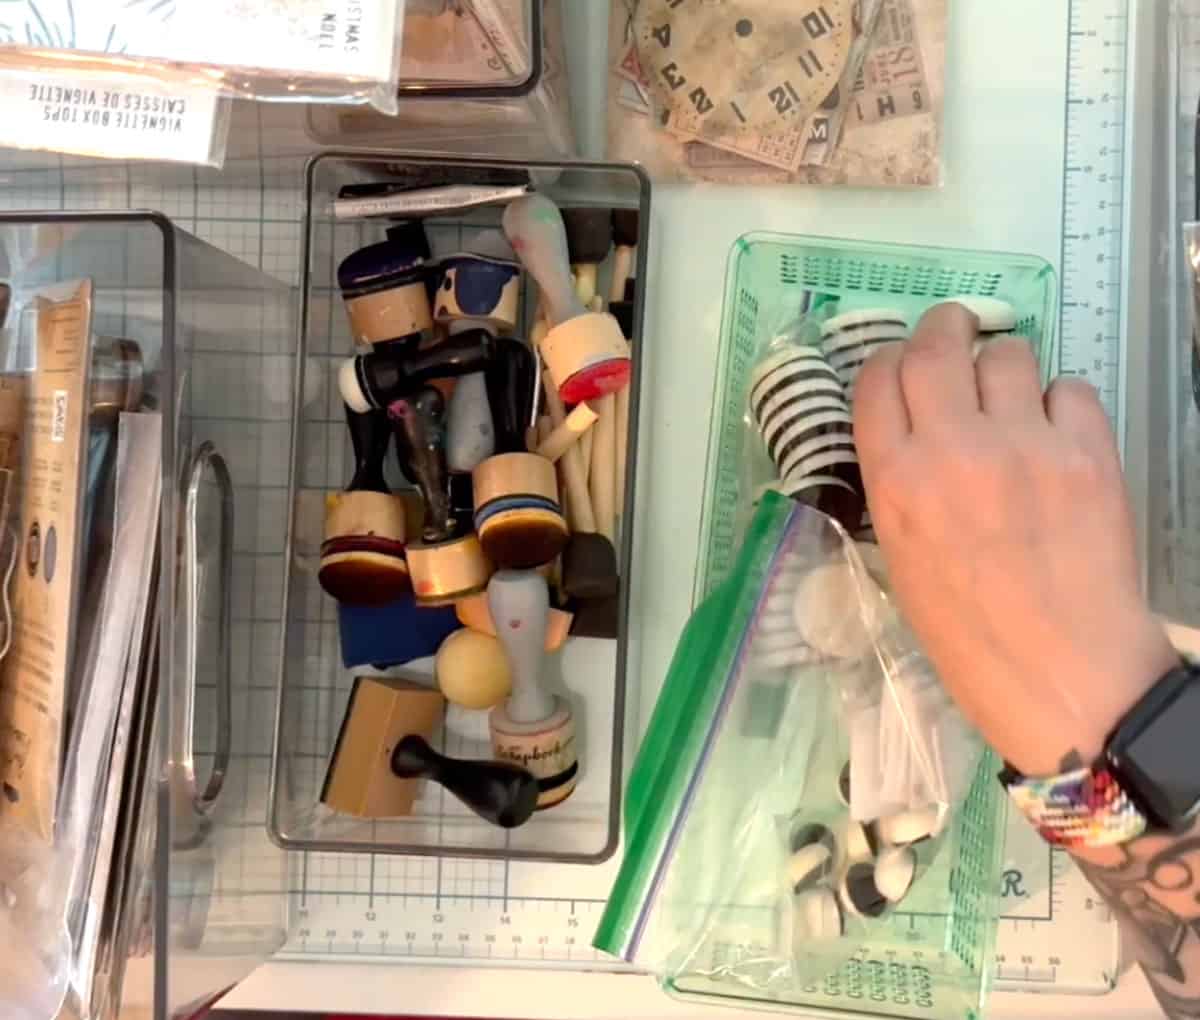
I found out I had five to eight of the same ink dauber tool, simply because I didn't know where they were and kept rebuying them. Same with tiny paper flags - I had hundreds and had never used one... sigh.
Instead of keeping everything, I picked a reasonable quantity (a small baggie's worth) and let the rest go. This single habit, not knowing where something is leads to buying it again, is honestly the best case for organizing I can make.
Give Duplicates and Bulk Buys a Real Home
Once I decided how many of something to keep, I made sure that smaller stash had an actual designated spot - not just "somewhere in the drawer." A tool you can't find is a tool you'll buy again.
Create New Subcategories as You Go
I didn't walk in with a perfect category list. As I sorted, new groupings emerged naturally - "assemblage bits," "book corners," "big metal bits and keys."
Let your system evolve as you see what you actually own, instead of forcing everything into categories you decided on before you started.
Give Sentimental Items Their Own Small Space
Not everything in a craft stash is craft supplies - I found photos, a piece from a keepsake collar, a small item from my dad's time in Vietnam.
These don't get purged with the "would I buy it again" test. I set aside one small dedicated box just for sentimental finds so they're protected but not taking over the whole space.
Downsize Your Storage Containers, Too
Part of my goal wasn't just sorting contents - it was reducing the number of containers I needed. Going from five boxes down to four stackable ones freed up real shelf space. When you're organizing, ask not just "where does this go" but "do I need this many bins in the first place."
Sorting through years of accumulated supplies isn't glamorous, but doing it category by category - with real questions to guide the tough calls - got me so much closer to what I keep calling "Craft Room Nirvana": a space where everything has a home and I actually know where to find it!