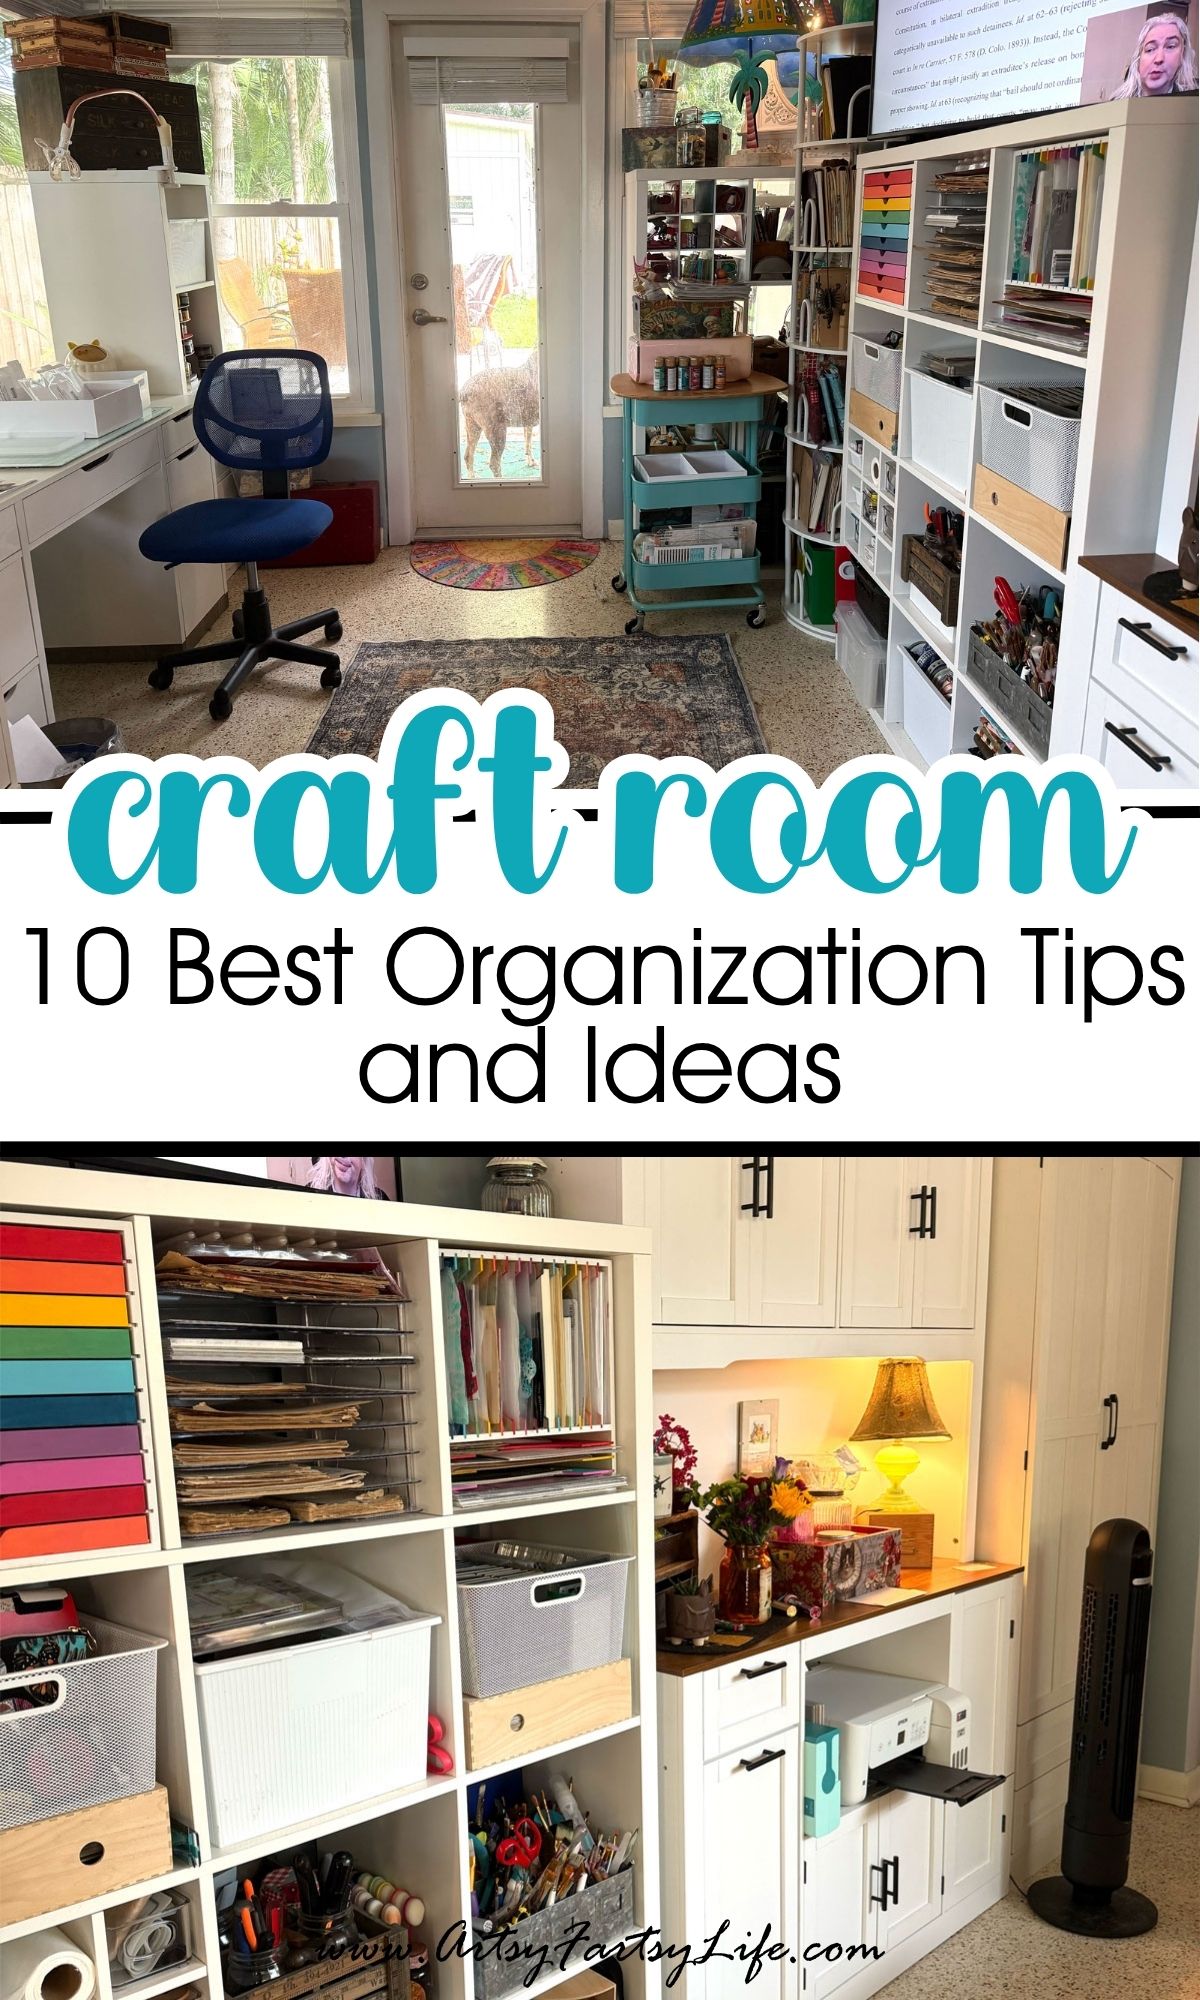
I don't know if you have heard, but I downsized my craftroom and moved into a tiny space!
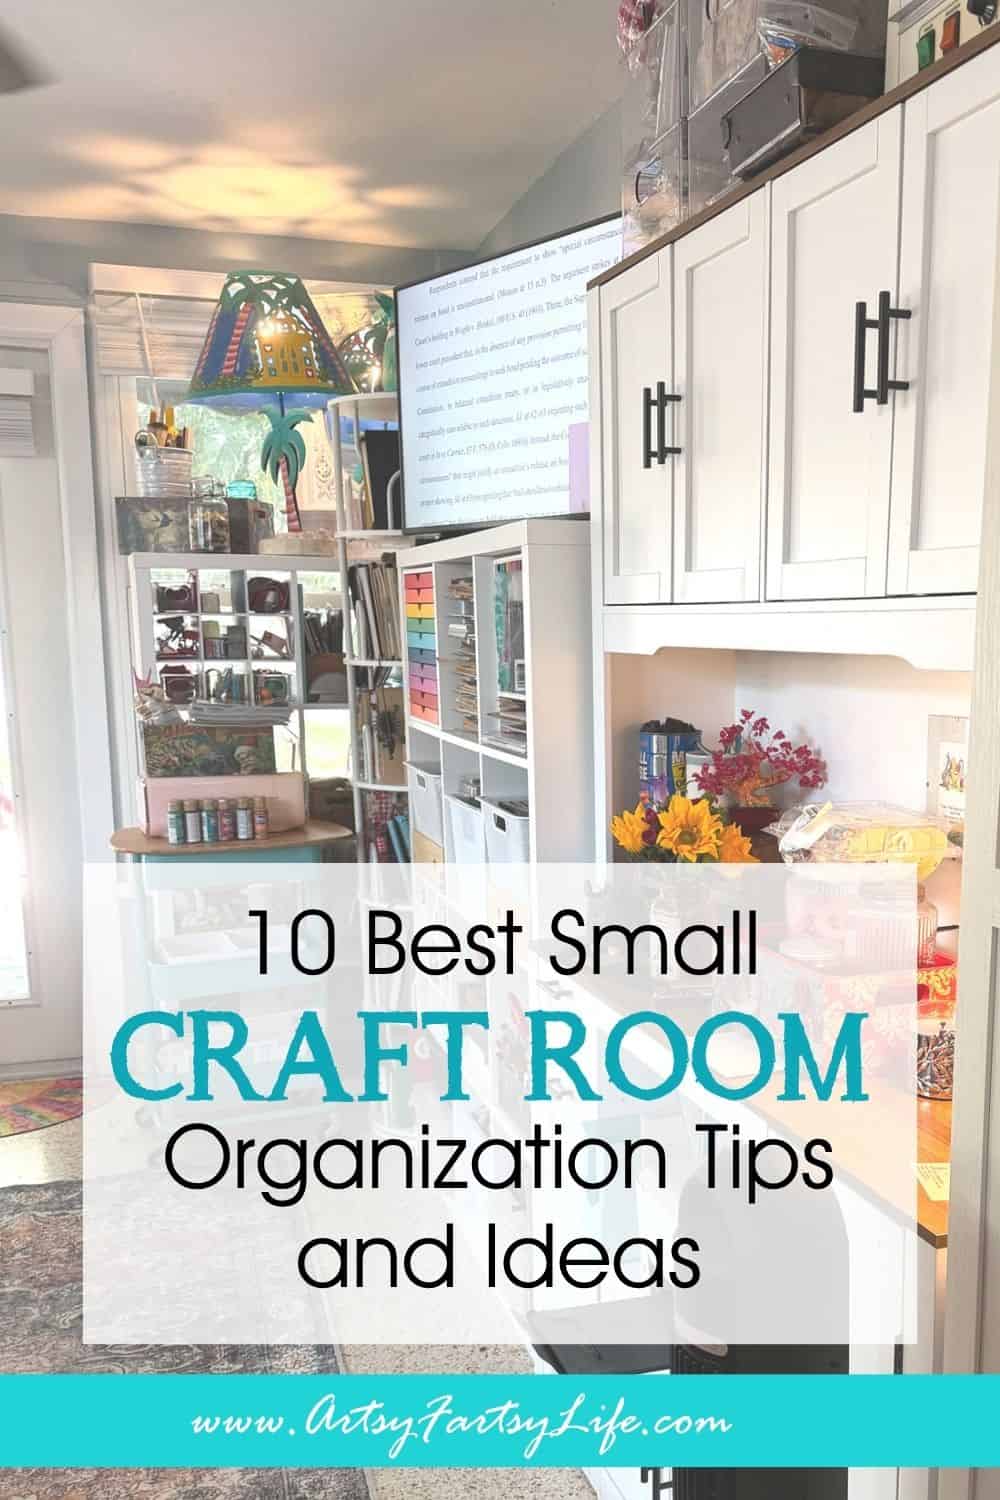
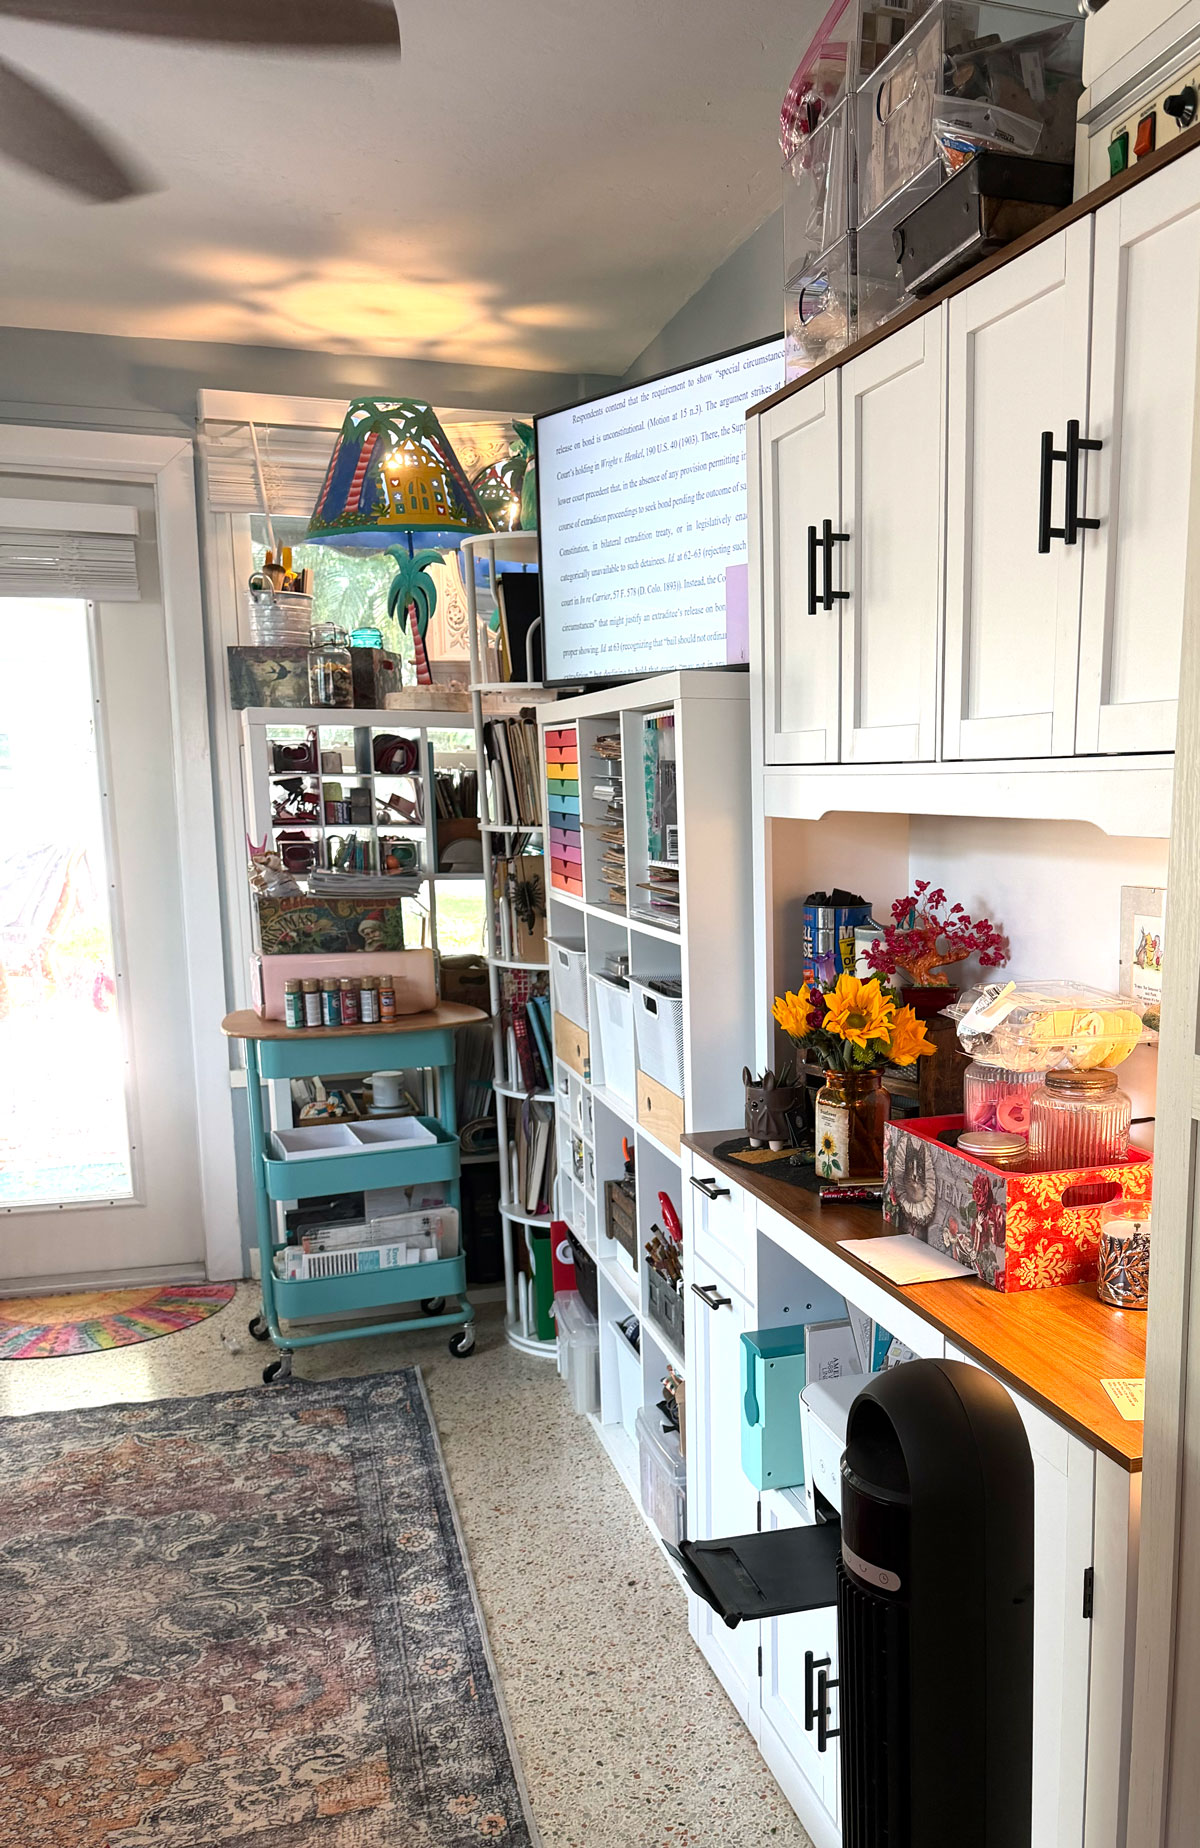
For sure I am working with MUCH less room than before. Let's count it out - I used to have 6 bookshelves, one storage rack, a cute storage system in the closet, my Kallax cubes, and TWO closets. Now I'm down to my Kallax cubes, two new storage cabinets, and a rotating bookshelf (which I LOVE, by the way!) Storage is for sure at a premium these days!
This isn't a styled photo shoot of a craft room that looks like nobody actually crafts in it. This is real trial-and-error from my own downsizing move, and here are the 10 things that actually got me from "bomb went off in here" to a small space that genuinely works.
1. Start With What You Already Have
Before you buy a single new storage bin, take inventory of what you've already got. Having the 3-2-1 Kallax setup saved the day for me here - I went from having them all lined up in a row on the wall to being able to move them around and actually make them fit my new space better (before and after pics coming your way!)
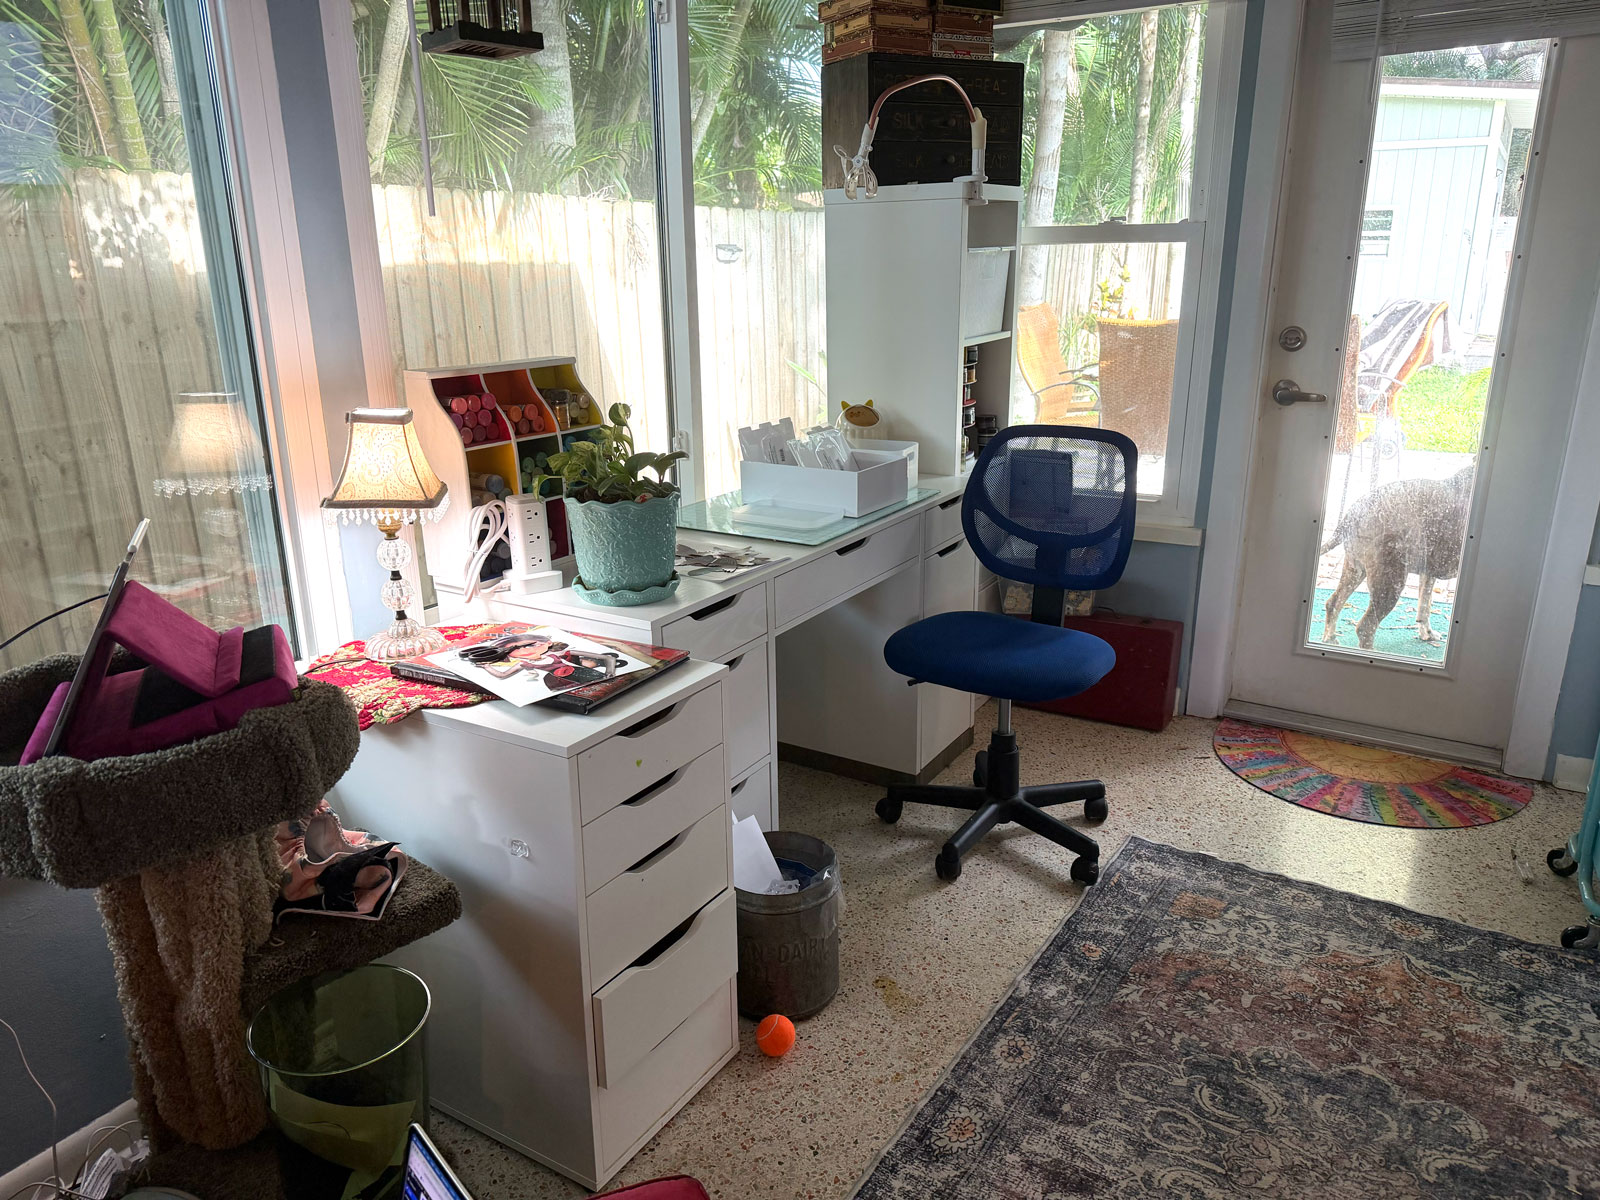
I also rescued one of the Alex drawers from my old desk instead of buying new. Use what you have first - you'll be surprised how far it gets you.
2. Sort Before You Organize
This is the "boxes of boxes" method, and it's a completely different step from organizing. For this one, I FOR SURE had to take a hard look at what kind of crafting I was actually doing these days.
Keeping a box of mosaic glass tiles when I hadn't touched them since two moves ago was NOT a good use of the space I have now.
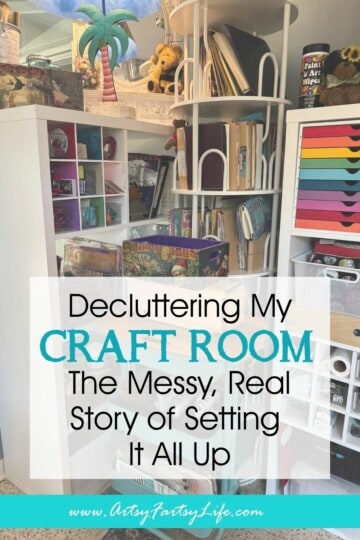
Sorting through my Tim Holtz stash and going through the messy, real story of decluttering my craft room both walk through exactly how I sorted before I ever tried to organize anything!
3. Group by Connection, Trust Closed Storage
Closed cabinets cut down on visual overwhelm, and your grouping logic only has to make sense to YOU!
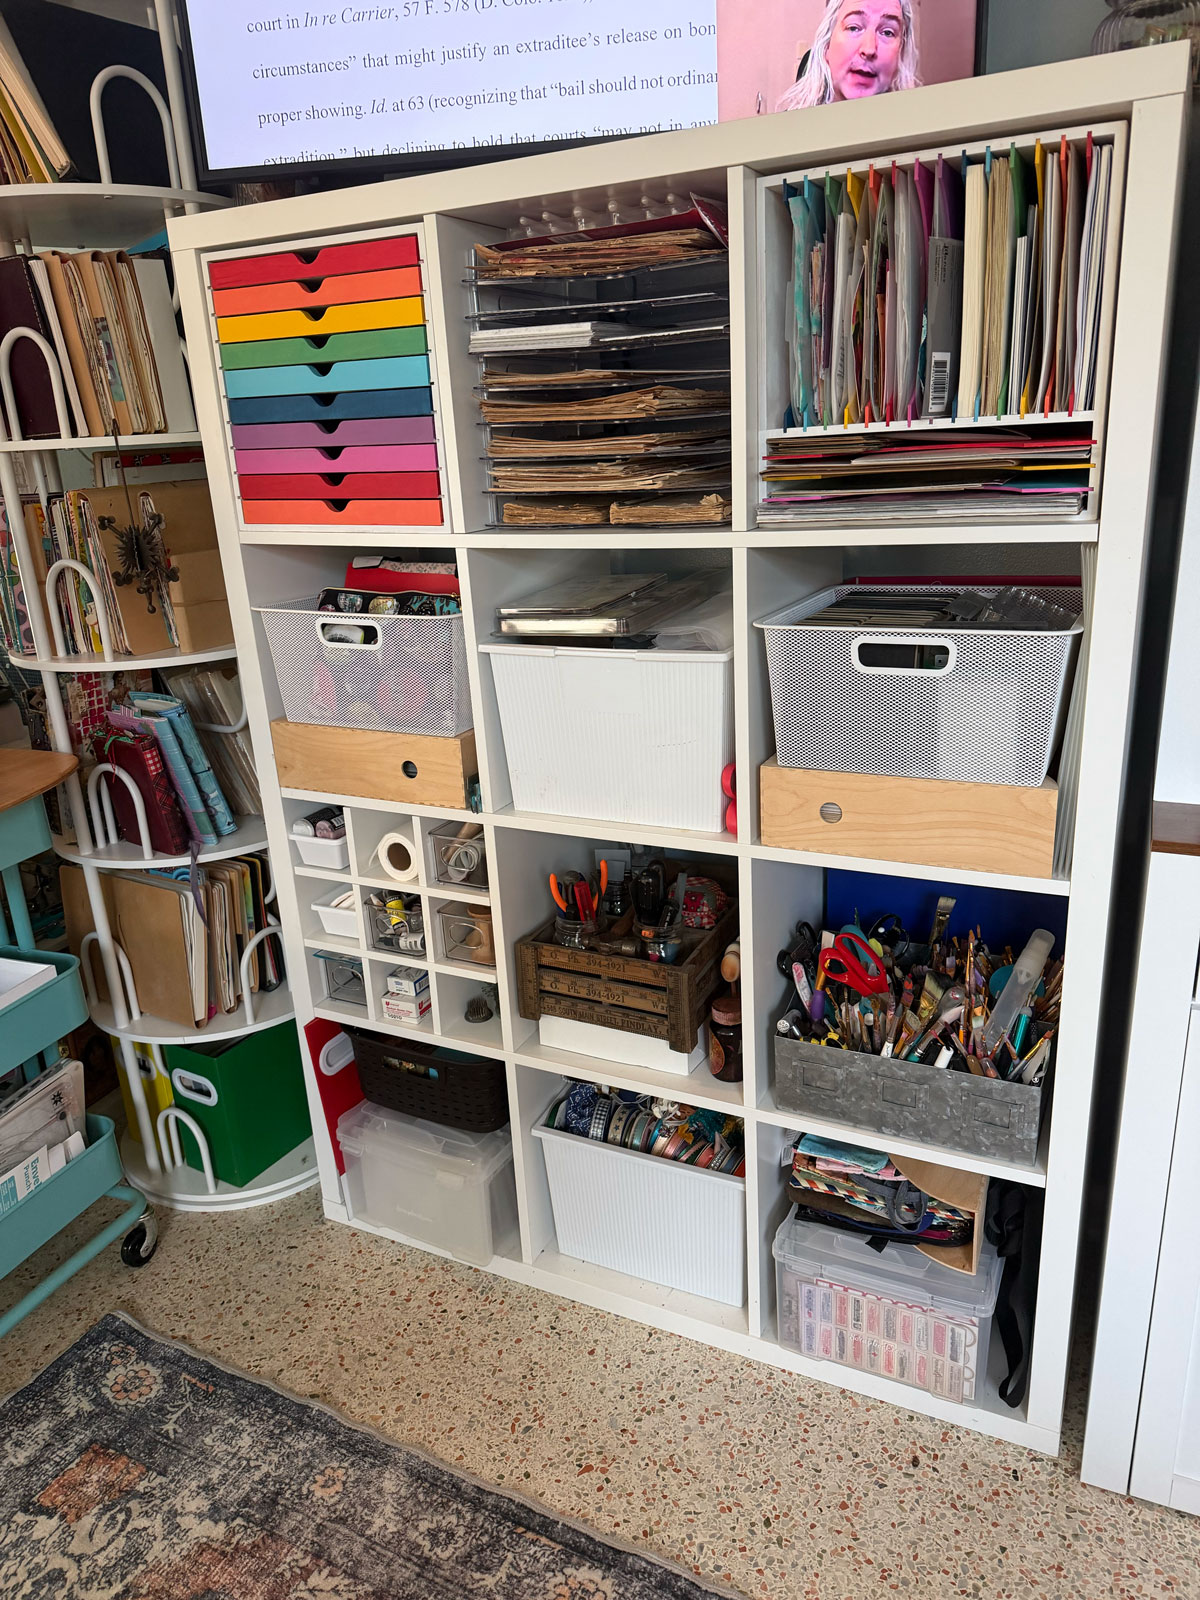
I love my new paper cabinet so much! Since I'm a mixed media artist, paper is my main tool, and it deserves to take up the most space in my room. I also added some fun inserts to my Kallax unit for more "in-cube" storage.
If you're a paper person too, check out my Ikea Kallax paper sorter - it's a game changer.
4. Know What You're Buying, Buy Enough
Acrylic vs. solid bins - decide on your container type before you ever set foot in the store, and buy multiples while you're there (learned that one the hard way at Dollar Tree!)
I also reused some old scrapbook.com storage for medium envelopes, magazine holders, and some white bins I bought from Big Lots at least 15 years ago.
My goal here wasn't aesthetic Pinterest-perfect storage - it was practical storage that's actually conducive to making a lot of art!
5. The Stuff-Shuffling Phase
Whew, daddy. That messy middle is the WORST. My new space genuinely looked like a bomb had gone off in the middle of it, and I thought it would never get done.
But by putting like with like and figuring out how much room each type of craft supply actually needed, I got 'er done. If you're in the middle of this phase right now - it's normal, keep going!
6. Everything Has to Earn Its Place
Purge the aspirational supplies before the move, not after. Dana K. White's four decluttering questions are a great framework to run everything through here.
- is it trash?
- would you buy it again?
- did you know you had it?
- where would you look for it if you did have it?
I also did a full sort of my huge ephemera stash with this exact mindset - everything had to prove it deserved a spot in the new room.
7. Calm It Down Instead of Finishing
FOR SURE you can't organize your entire craft room in one day - although I have absolutely tried that before (hahaha). Some days, "calm" is the win. Give yourself permission to stop there!
8. Zone by Frequency of Use
Put your most-used supplies right at hand. I made sure my embossing tool and the fabric tape I use in almost every project are grab-and-go.
For more on how I zoned by how often I actually reach for things, check out my stamp and die storage system and how I organize my paint.
9. Measure and Plan Your Big Pieces First
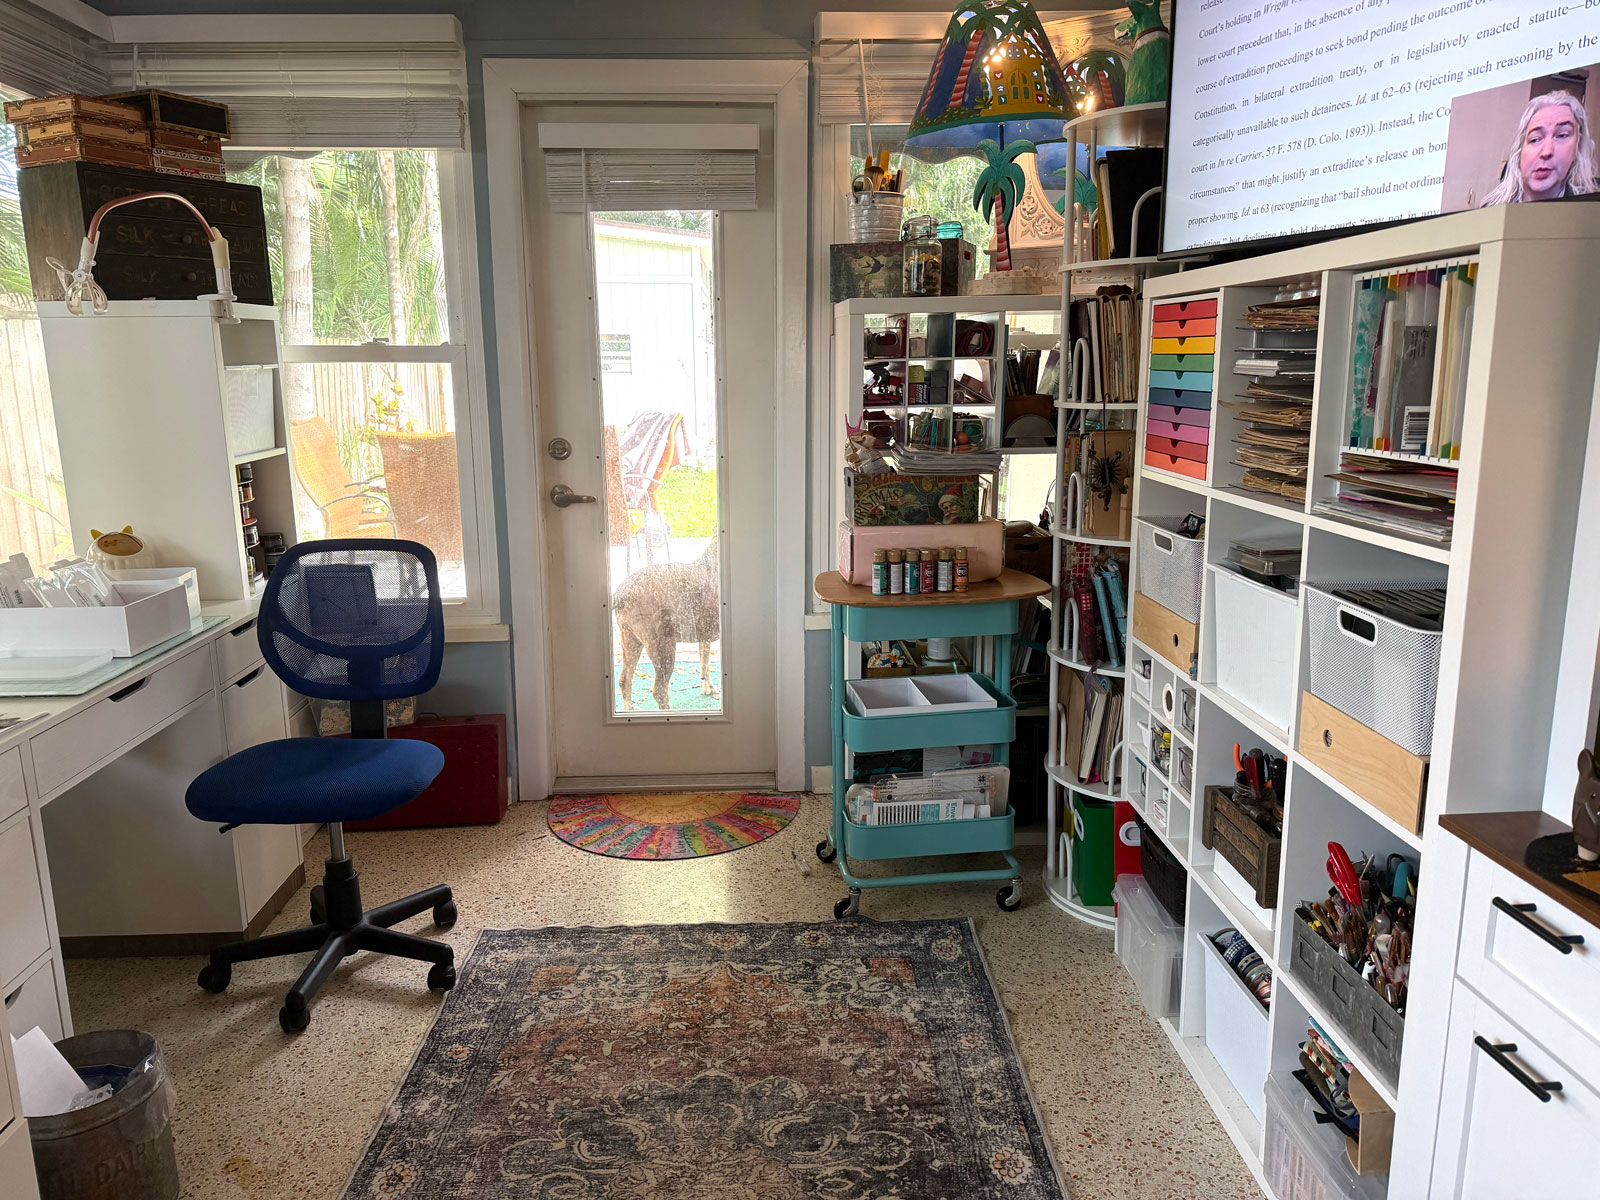
Measure twice, buy once. For this room, I measured the space and put the Kallax units in first.
Then I measured what was left and figured out I could fit two additional storage units while still leaving room for my rotating bookshelf.
I made sure to use every square inch as optimally as I could See how else I laid mine out in designing my Ikea Kallax and Alex craft room and 11 ways I organize my Kallax cubes.
10. Work With the Space You Have
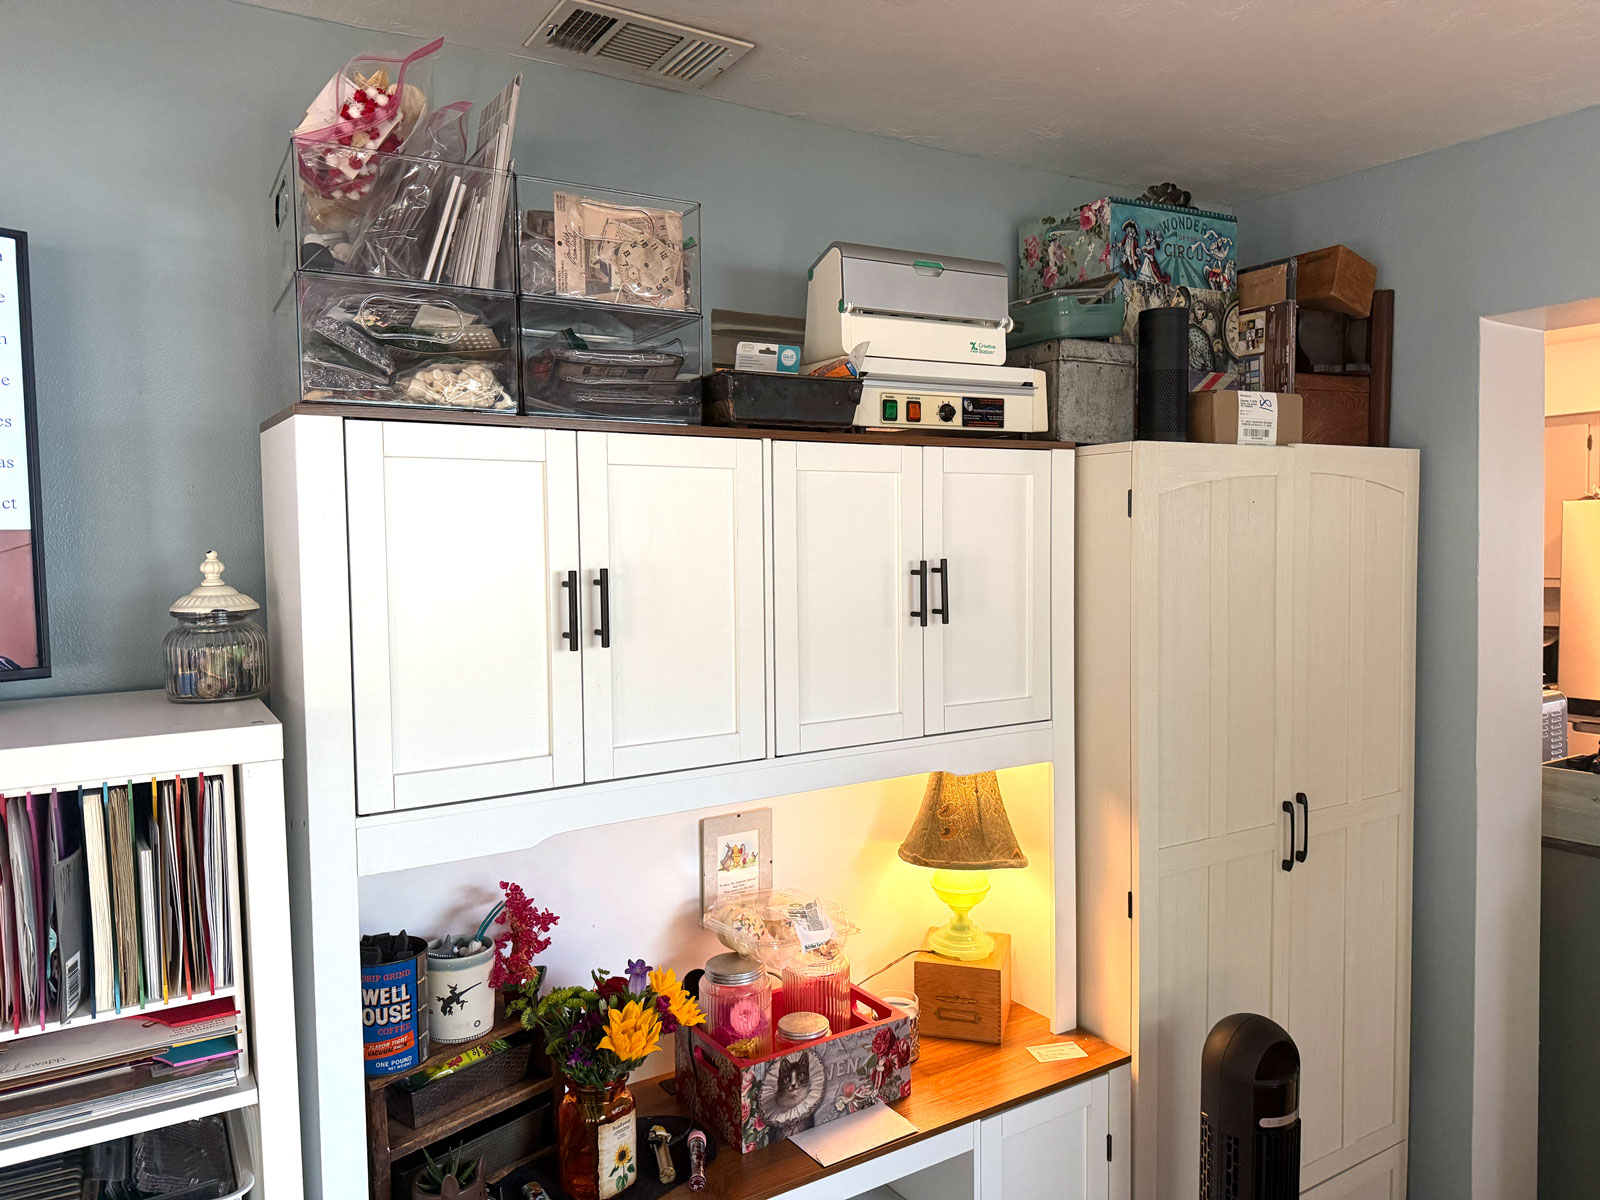
This one is HUGE. I'm so excited to have a little extra storage area above my cabinets - it's perfect for the stuff I don't want to get rid of but don't use very often.
Go vertical, and match your storage to what you actually make, not what looks good in a magazine. For more inspiration on making a small space work, take a look at 23 small craft room ideas.
Wrap-Up
Downsizing a craft room is not for the faint of heart, but it IS possible to end up with a space that's smaller and still fully functional. Start with what you have, sort before you organize, and give yourself grace through the messy middle - you'll get there.
Want more craft room inspiration for your own small space? Head over to my Craft Room Storage archives for everything I've learned along the way. And if you're looking for something to listen to while you sort through your own boxes of boxes, grab an audiobook here - nothing makes decluttering go faster than a good story in your ears.