All my best tips and ideas for how make these super easy and cheap paper mache letters. I got them at Michaels and used gel plate tissue paper to fancy them up! These were the easiest homemade project I have ever made! You could grunge them up to make them look more vintage!
Spooky Halloween Letters Video How To
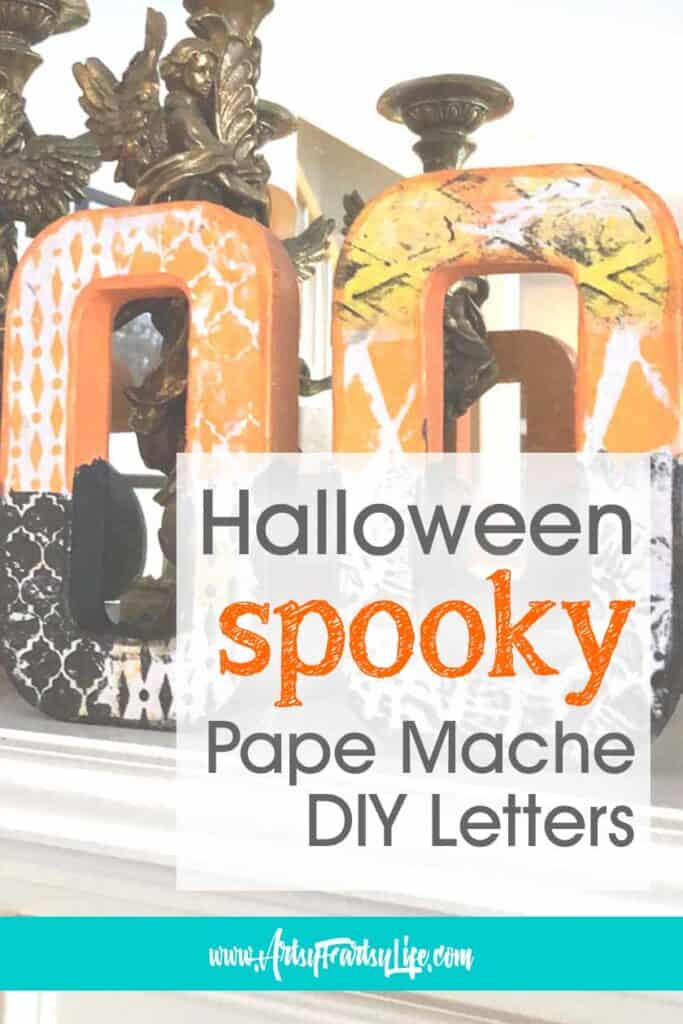
Paper Mache Letters
Okay, maybe you are like me and have seen these letters in Michaels for years and wondered what the heck to do with them! I always thought they were cool, but for some reason this time they just jumped out at me and I figured I would "write" S-P-O-O-K-Y.

Mine are 8 inches tall, but you could do any size, bigger or littler.
You could use words like haunted house, witches, boo, ghost, or any other Halloween theme!
Prepping The Letters
You want to take off any stickers or price tags. I have done other projects before where I left them on and it was a pain later.
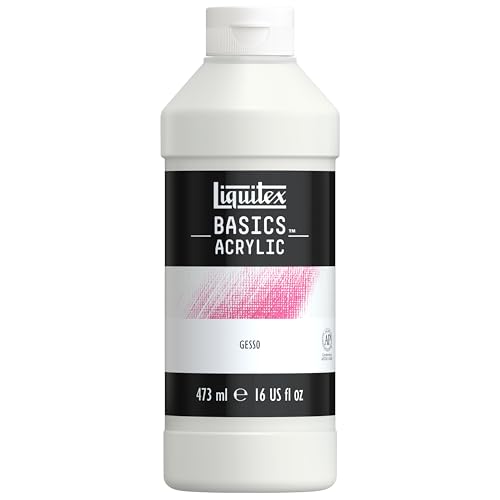
Then cover them, front and back, with gesso. Gesso is a "primer" that will seal your letters AND let the tissue paper stick to them better!
The other nice thing about gesso (especially for a Halloween project) is that it comes in black and white so you can really get the right kind of base color for your tissue papers!

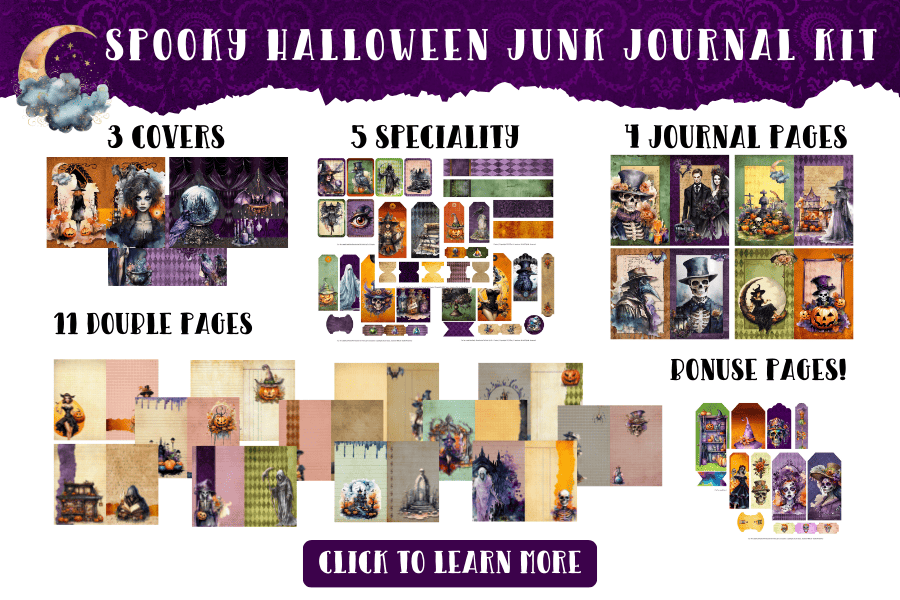
Looking for more? Check out the Wicked Cool Junk Journal Kit!
Halloween Gel Plate Tissue Paper
I made some cool gel plate Halloween tissue paper the other day (video) and thought that I had TONS of it. Come to find out it takes A LOT of tissue paper to cover words.
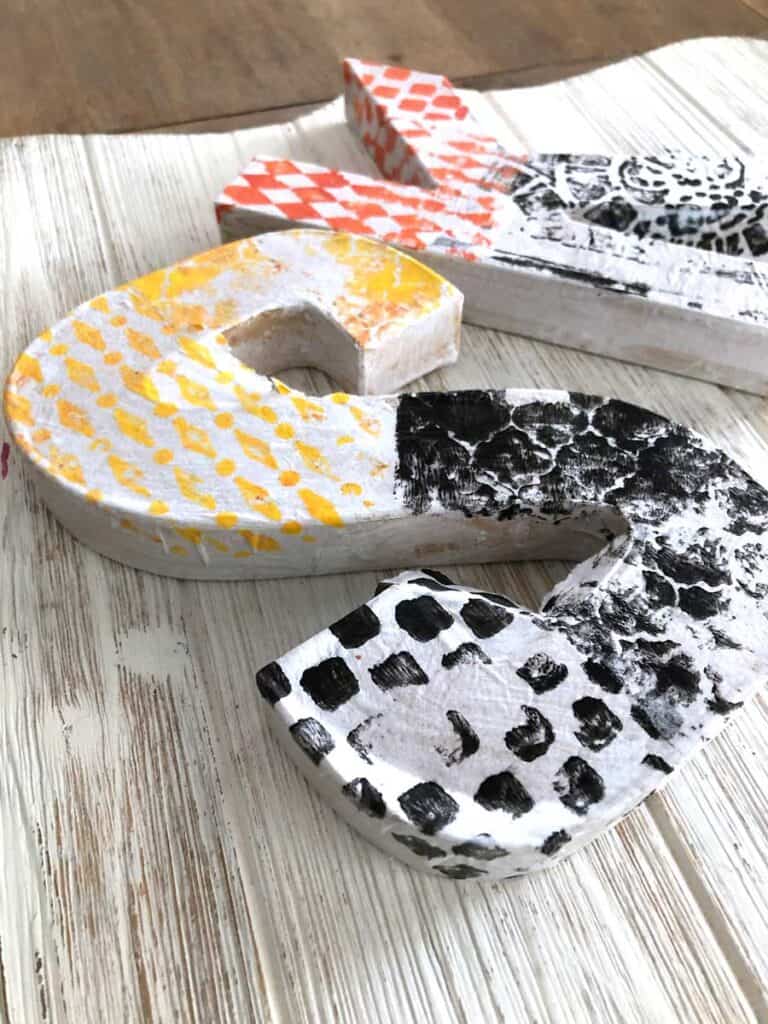
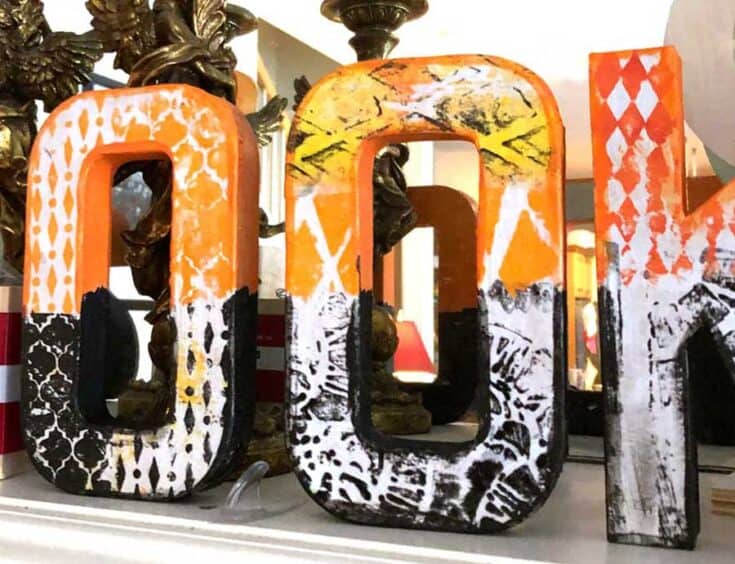
Paint The Edges
The last thing I did (see easy 3 step process!) was to paint the sides and then a wee bit around edges of the letter. This seemed to really make a huge difference and made them look "professional".

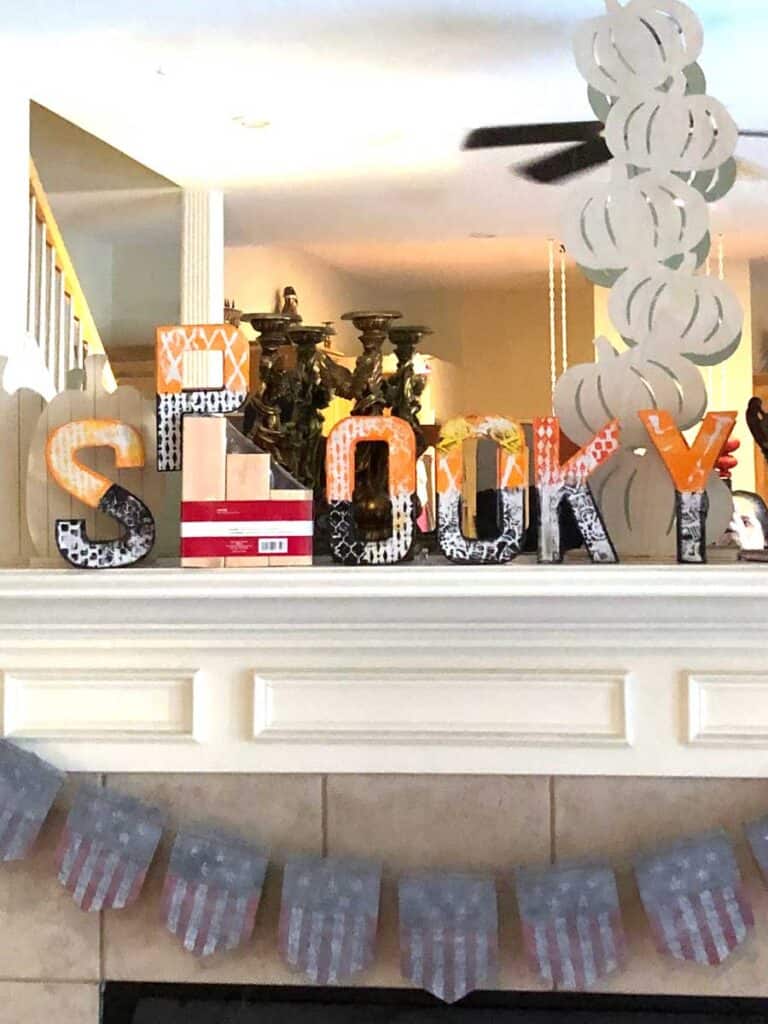
The Final Letters
And this is what they look like on my mantle! I am going through and making all the different project here, but I have to say that this was so easy and fun, I am for sure going to make some Christmas Paper Mache letters too!
Once I get the whole project done I am going to see if I want to grunge them up a little bit, but for now I love how these decoration ideas turned out!
You could also use them as party decorations on your buffet or on a table by the door when trick or treaters come by!
How To Decorate DIY Paper Mache Letters
Tips and ideas for how to decorate paper mache letters. This was such a fast and easy project, using cheap letters from the craft store.
Materials
- Paper Mache Letters
- Gel Plate Tissue Paper
- Acrylic Paint
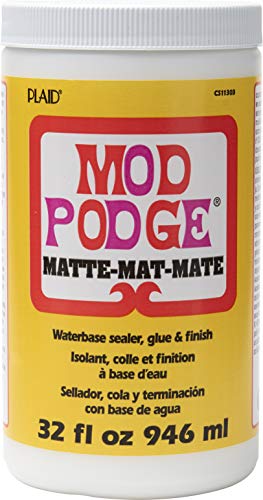
- Mod Podge
- Gesso
Tools
- Paintbrush
Instructions
- Remove any stickers
- Paint primer coat of gesso
- Apply decorative tissue paper (I used gel plate tissue paper) using mod podge
- Paint sides and edges with acrylic paint
Notes
This was a super fun and easy project. It would be great to for your Halloween or Christmas mantle.
Recommended Products
As an Amazon Associate and member of other affiliate programs, I earn from qualifying purchases.