This wooden artist box was crying out for a DIY altered project makeover! I did an upcycle using tissue paper, acrylic paint and Mod Podge to decoupage it. Here are some of my tips and ideas for how to make a fun grungy thrift store find look like a vintage box.
Steampunk Artist Box Video Walkthrough
Thrift Store Finds
I started this project by finding this super cool, artist box on Ebay (you can find them on Etsy, in thrift stores or at Estate sales too!)
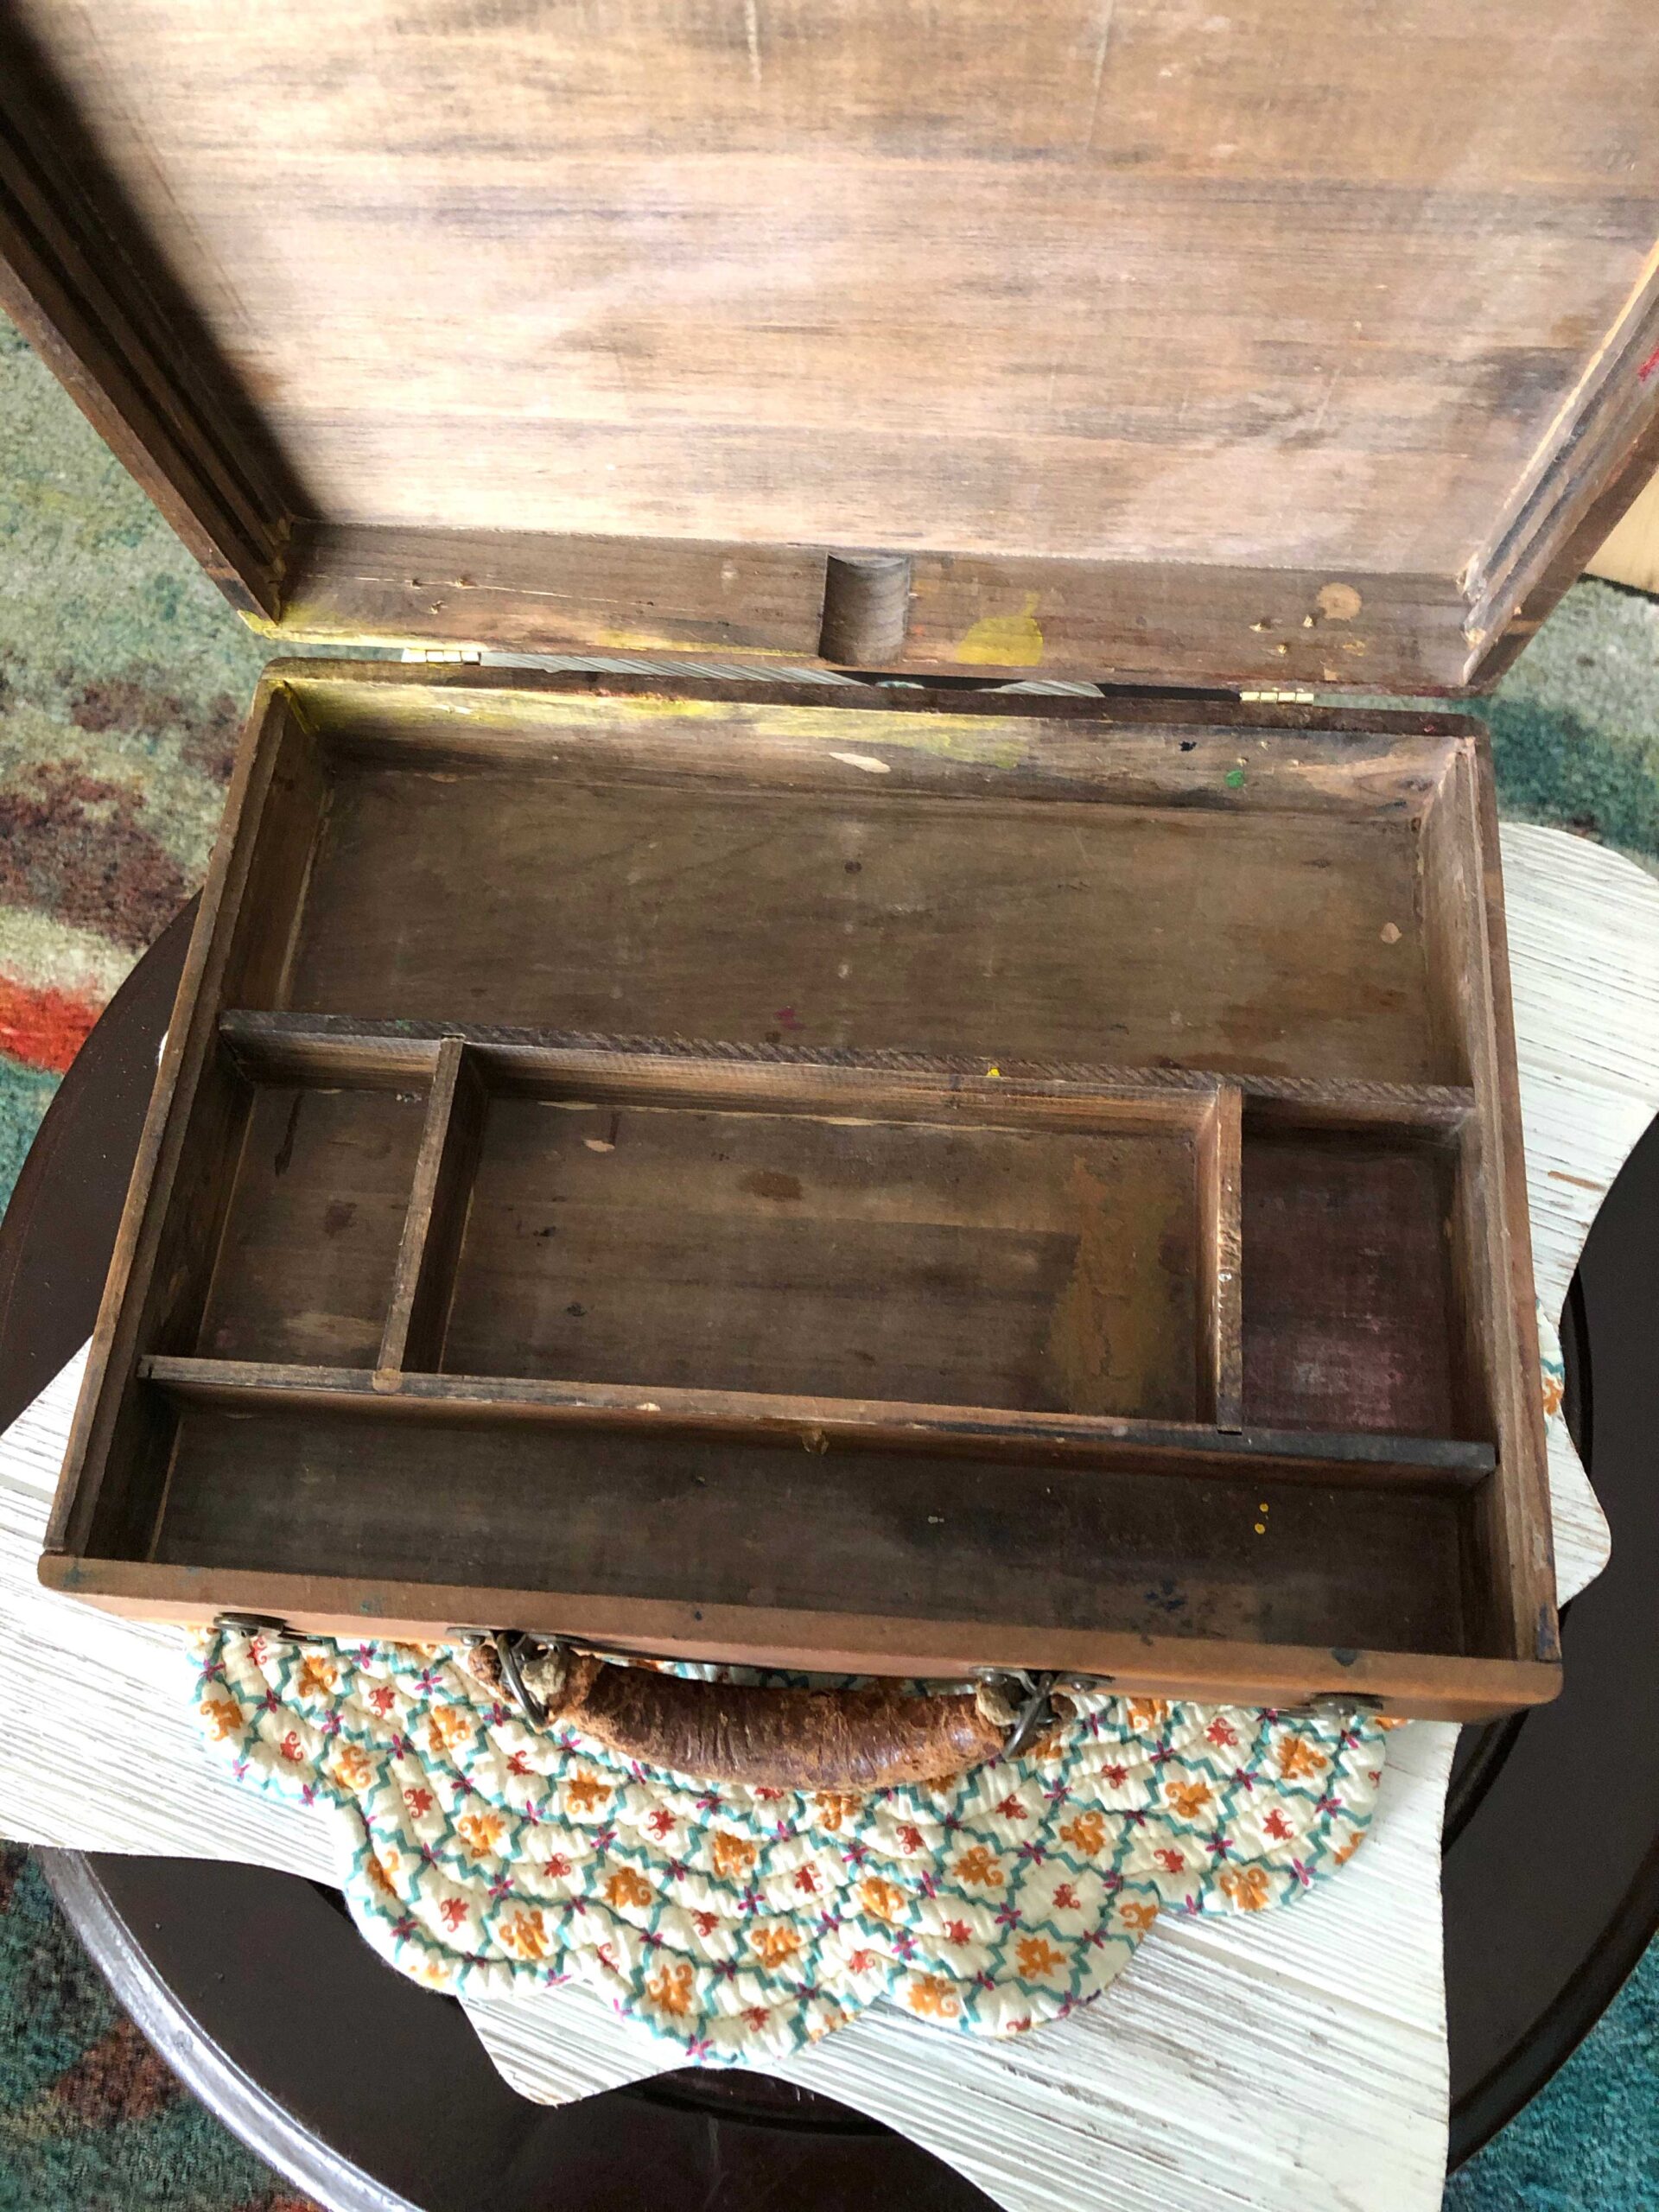
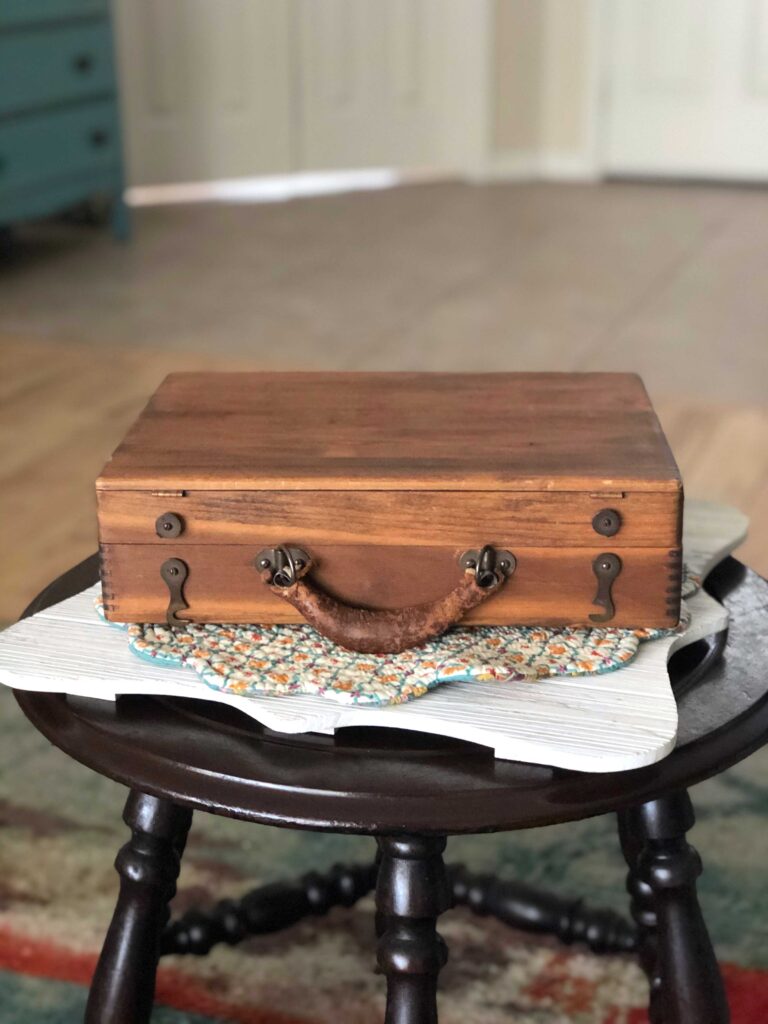
Things I liked about it... I loved that it had a handle and the cool little door flap (I wound up gluing that closed... oops!)
I also loved that there were different sections inside the box since I was actually going to be using this to store craft supplies in.
Things I didn't like about it... it was a little dirty and grungy and had obviously been repaired with new hinges on the back and some new nails. BUT remember, that doesn't matter much because we are going to be doing so much to alter it!
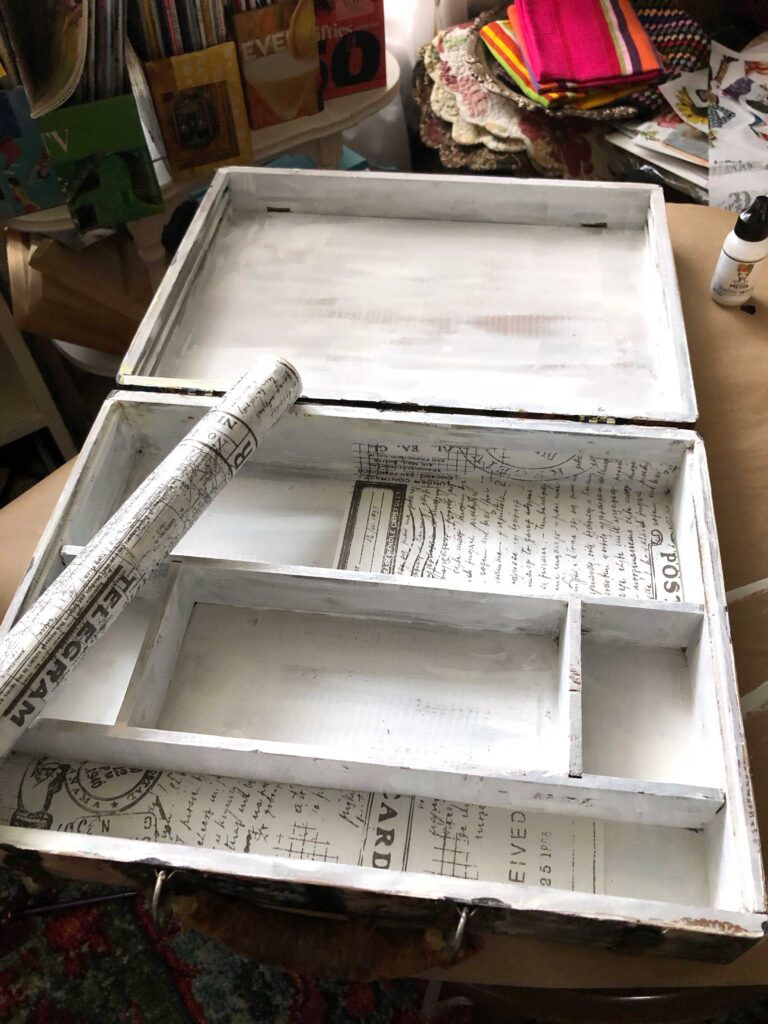
Prime Your Project
The very first step of any wooden project is to prime it! If you don't you will do tons of work and eventually all your hard work will fall off.
First you want to tape off anything that you don't want to be painted. I did some of the hardware with washi tape, but left the new hardware to get painted and grungy.
You can use "regular primer", gesso or chalk paint. I like chalk paint because it doesn't require you to sand and cheesecloth your piece before painting it!
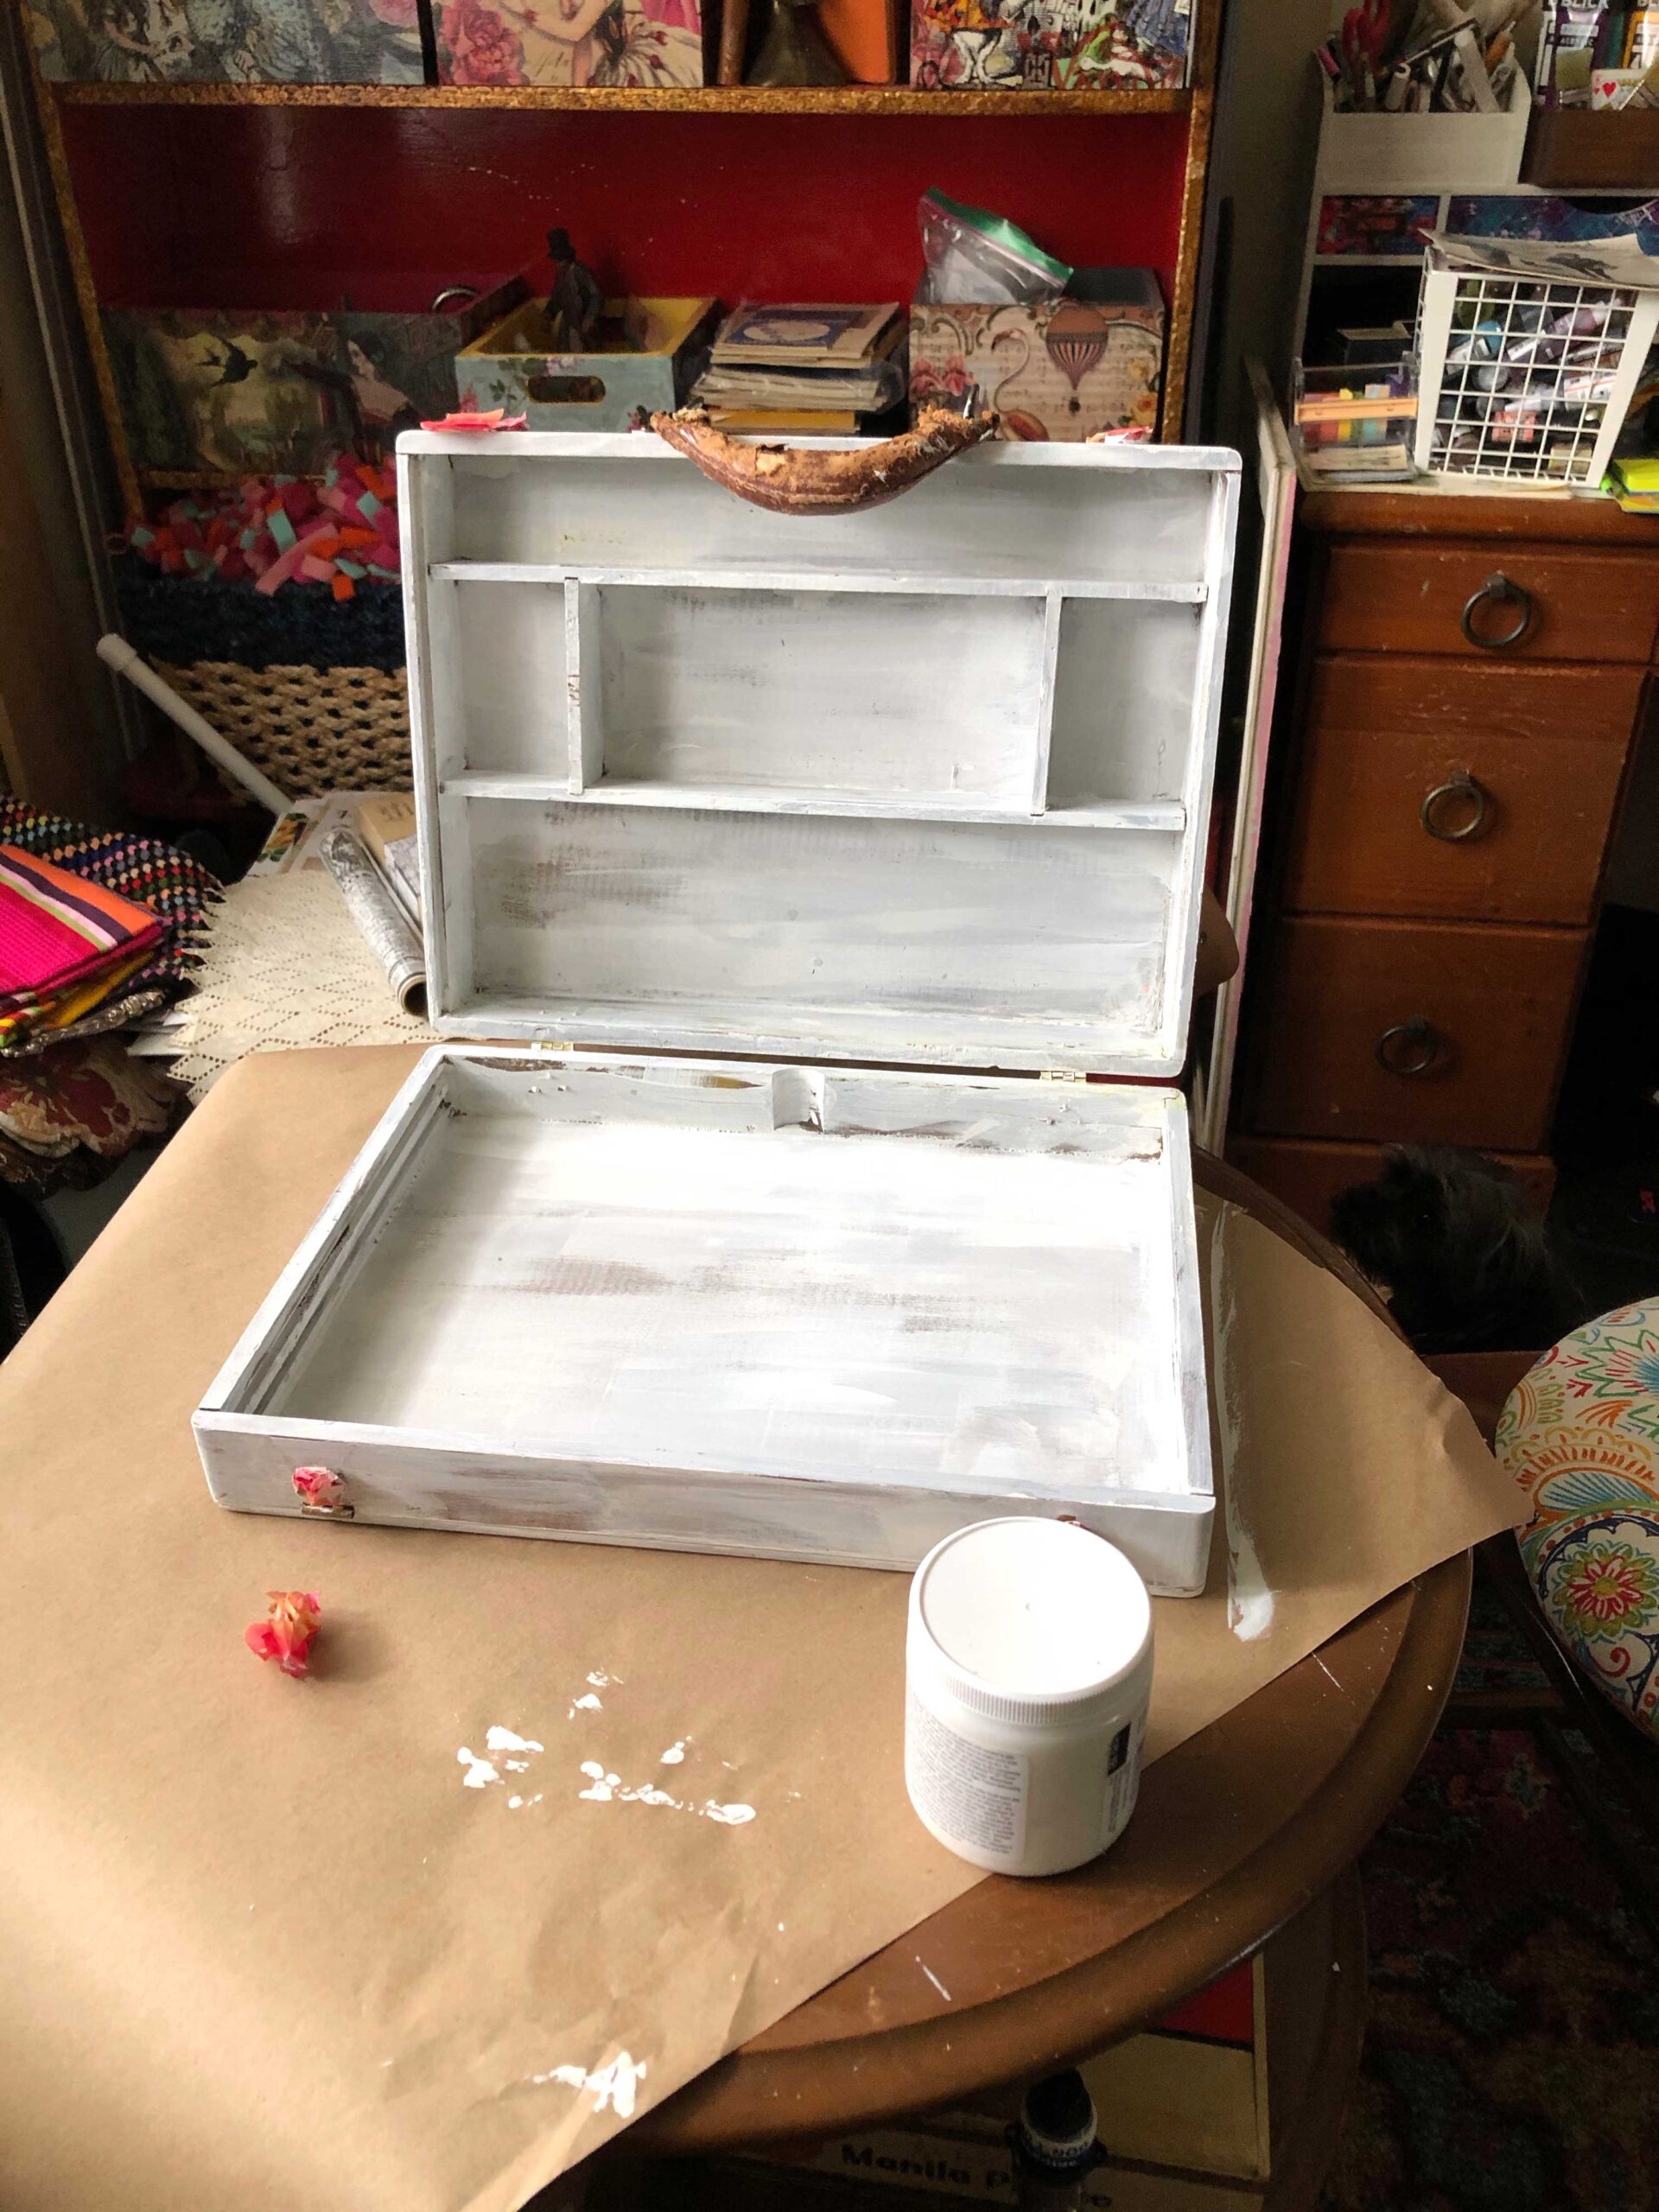
I used cheap chalk paint that I bought from Michels on clearance (you just need the "sticking" properties, not the great finish because you will be painting and decoupaging over it.
Here is a cheap kind that you can get on Amazon!
Painting Dark Lines To Go Behind the Tissue Paper
The next thing that I knew I wanted to do was make sure that I could get a "grungy" old look by having the tissue paper fade into some dark parts.
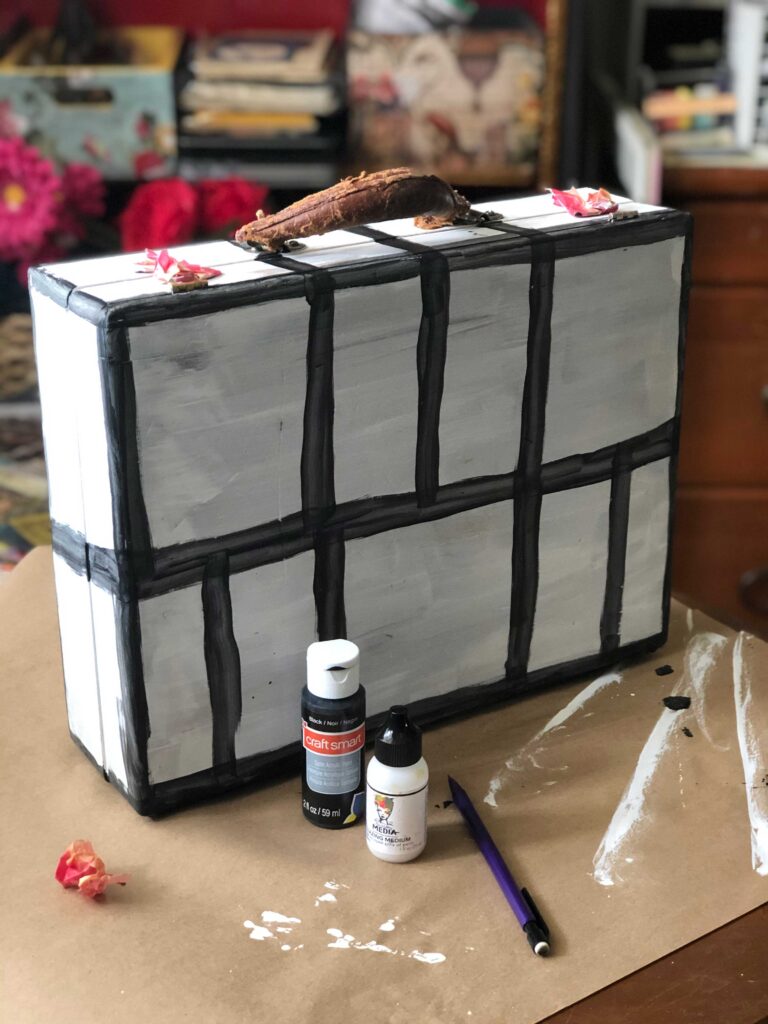
To do this I used Dina Wakely glazing medium which makes the paint more transparent.
Now, you might notice that it looks like child did it (as my husband said when he saw it). That was deliberate as I didn't want sharp lines behind my tissue paper that would look unnatural when I was grunging it up!
Laying Out My Tissue Paper Squares
Okay, this might be the thing I get the most questions about... how to get cool tissue paper like this!
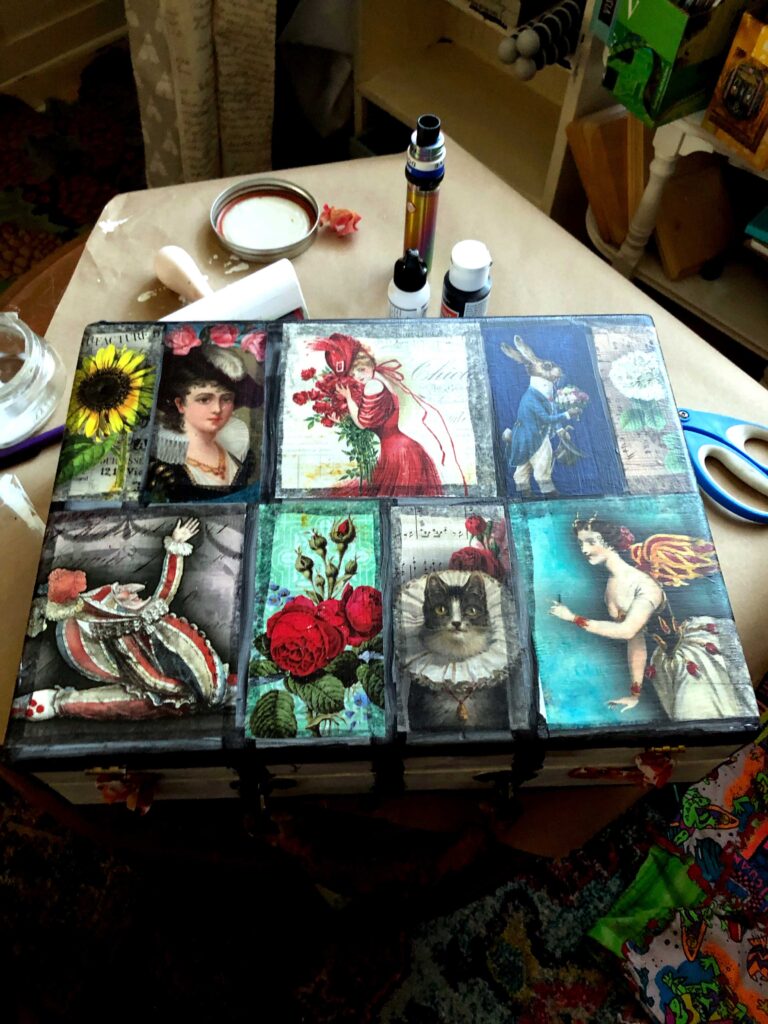
So first off, I have these exact ones in my free tissue paper collage sheets!
You can send them to Zazzle to have them printed out like I do, or just print them on copy paper using a laser printer (you can't decoupage with an inkjet, it will just bleed all over the place!)
I found a great place to get napkins and rice paper... Ninnys Napkins! In case you don't want to have to print your own!
I used regular matte Mod Podge to stick them down. Just put a thin coat of Mod Podge down, place your tissue paper, use a brayer to roll it flat and then add a final top coat of Mod Podge to varnish it (all done while still wet!)
Add Some Grunge
After I added the tissue paper all around, it was REALLY cute, but still looked pretty darn new... I needed to add some grunge to really "sell" the vintage feel!
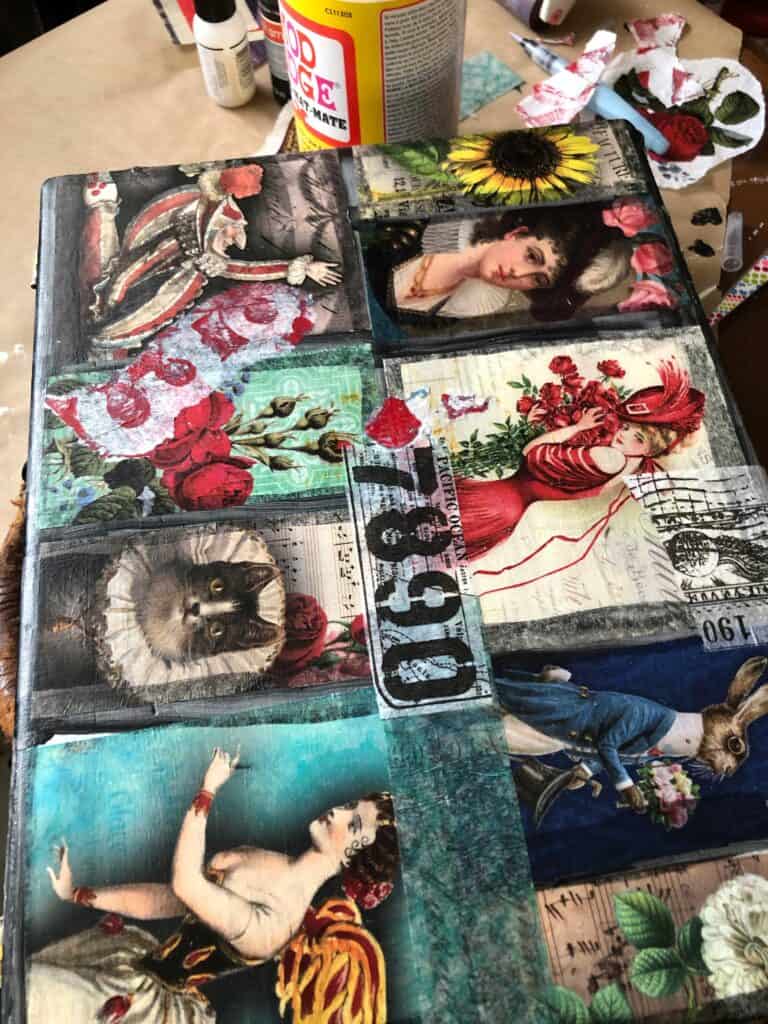
I use some Tim Holtz pre-printed tissue paper to add some numbers, a few tissue paper labels and then some gel plate tissue paper that I had done with my son!
I went over the top of lines with the glaze and black acrylic paint again. I also used an ink blending tool and Archival Ink (permanent) to add some permanent grunge!
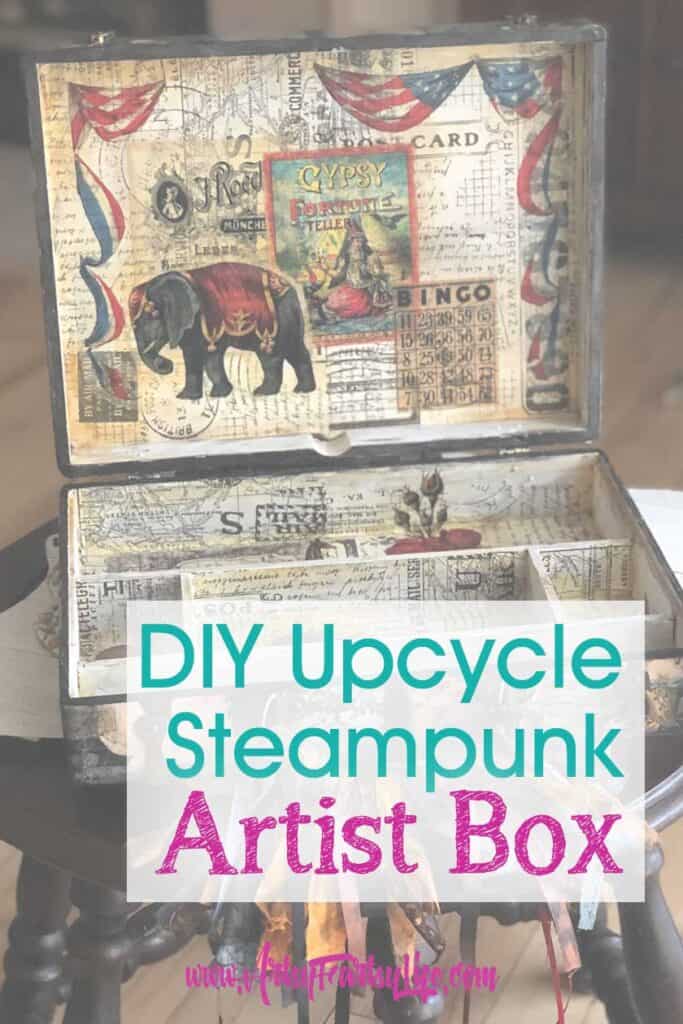
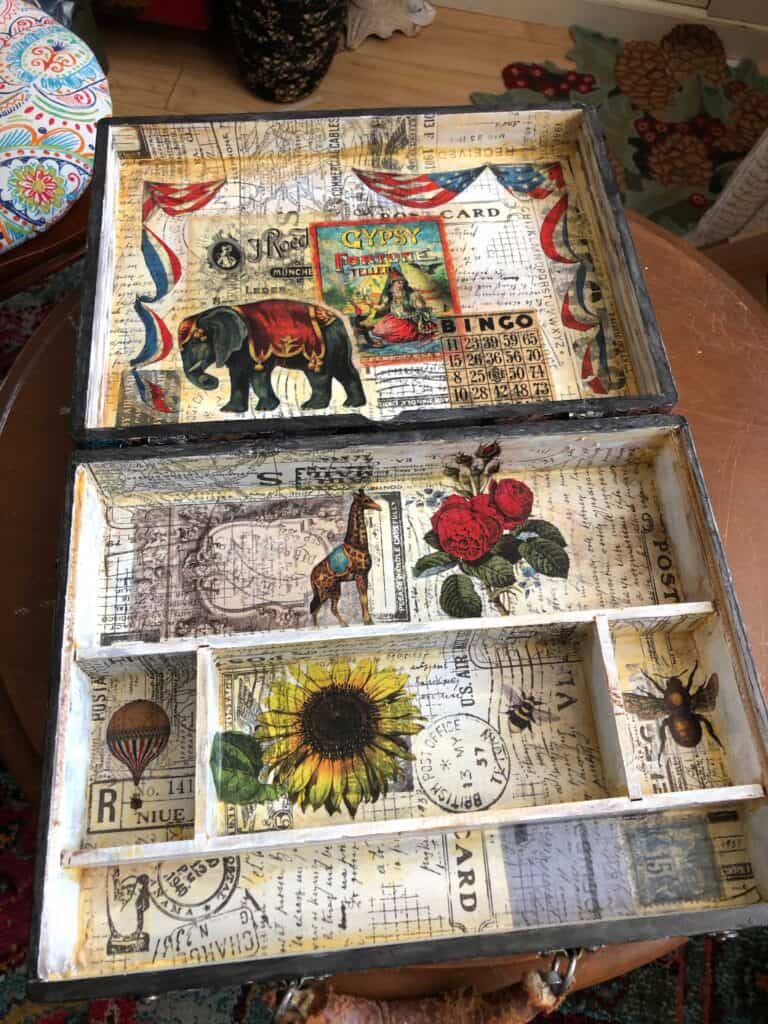
Inside The Artist Box
To do the inside of the box I wanted it to look like it had been in there forever (while still being super clean to keep my art supplies nice...:)
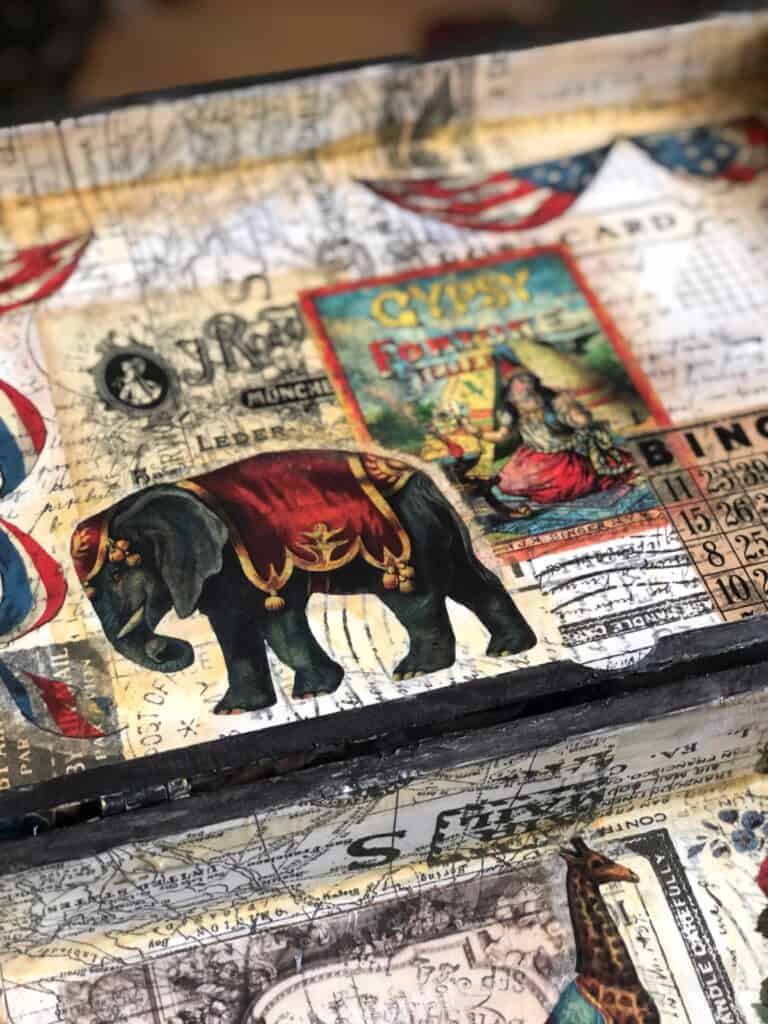
To do this I used more Tim Holtz tissue paper and some printed vintage images from Graphics Fairy. I overlapped it and had some rough edges because a "real" case wouldn't have been perfect either!
While this was super pretty, it didn't look very authentically old, so I used antique Mod Podge, yellow and brown paint mixed in to "grunge" up the edges and corners where normal wear and tear would occur!
The Handle
Last but not least I wanted to make some cool fabric pieces to cover the really ratty old handle.
I ripped up some pieces of fabric I had in my stash and used alcohol ink, distress staind and distress reinkers to make that grunge look!
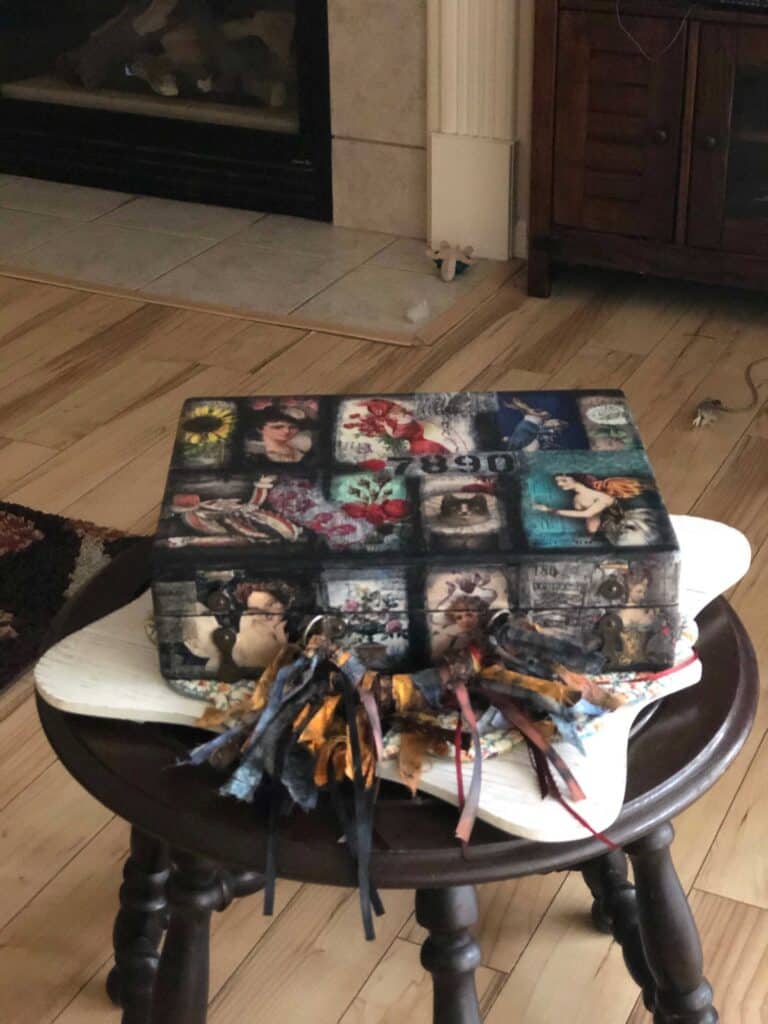
Steampunk Artist Box
I am super excited about how this turned out! It looks cool and funky and old, but is super sturdy and is perfect for storing my art supplies in my craft room.