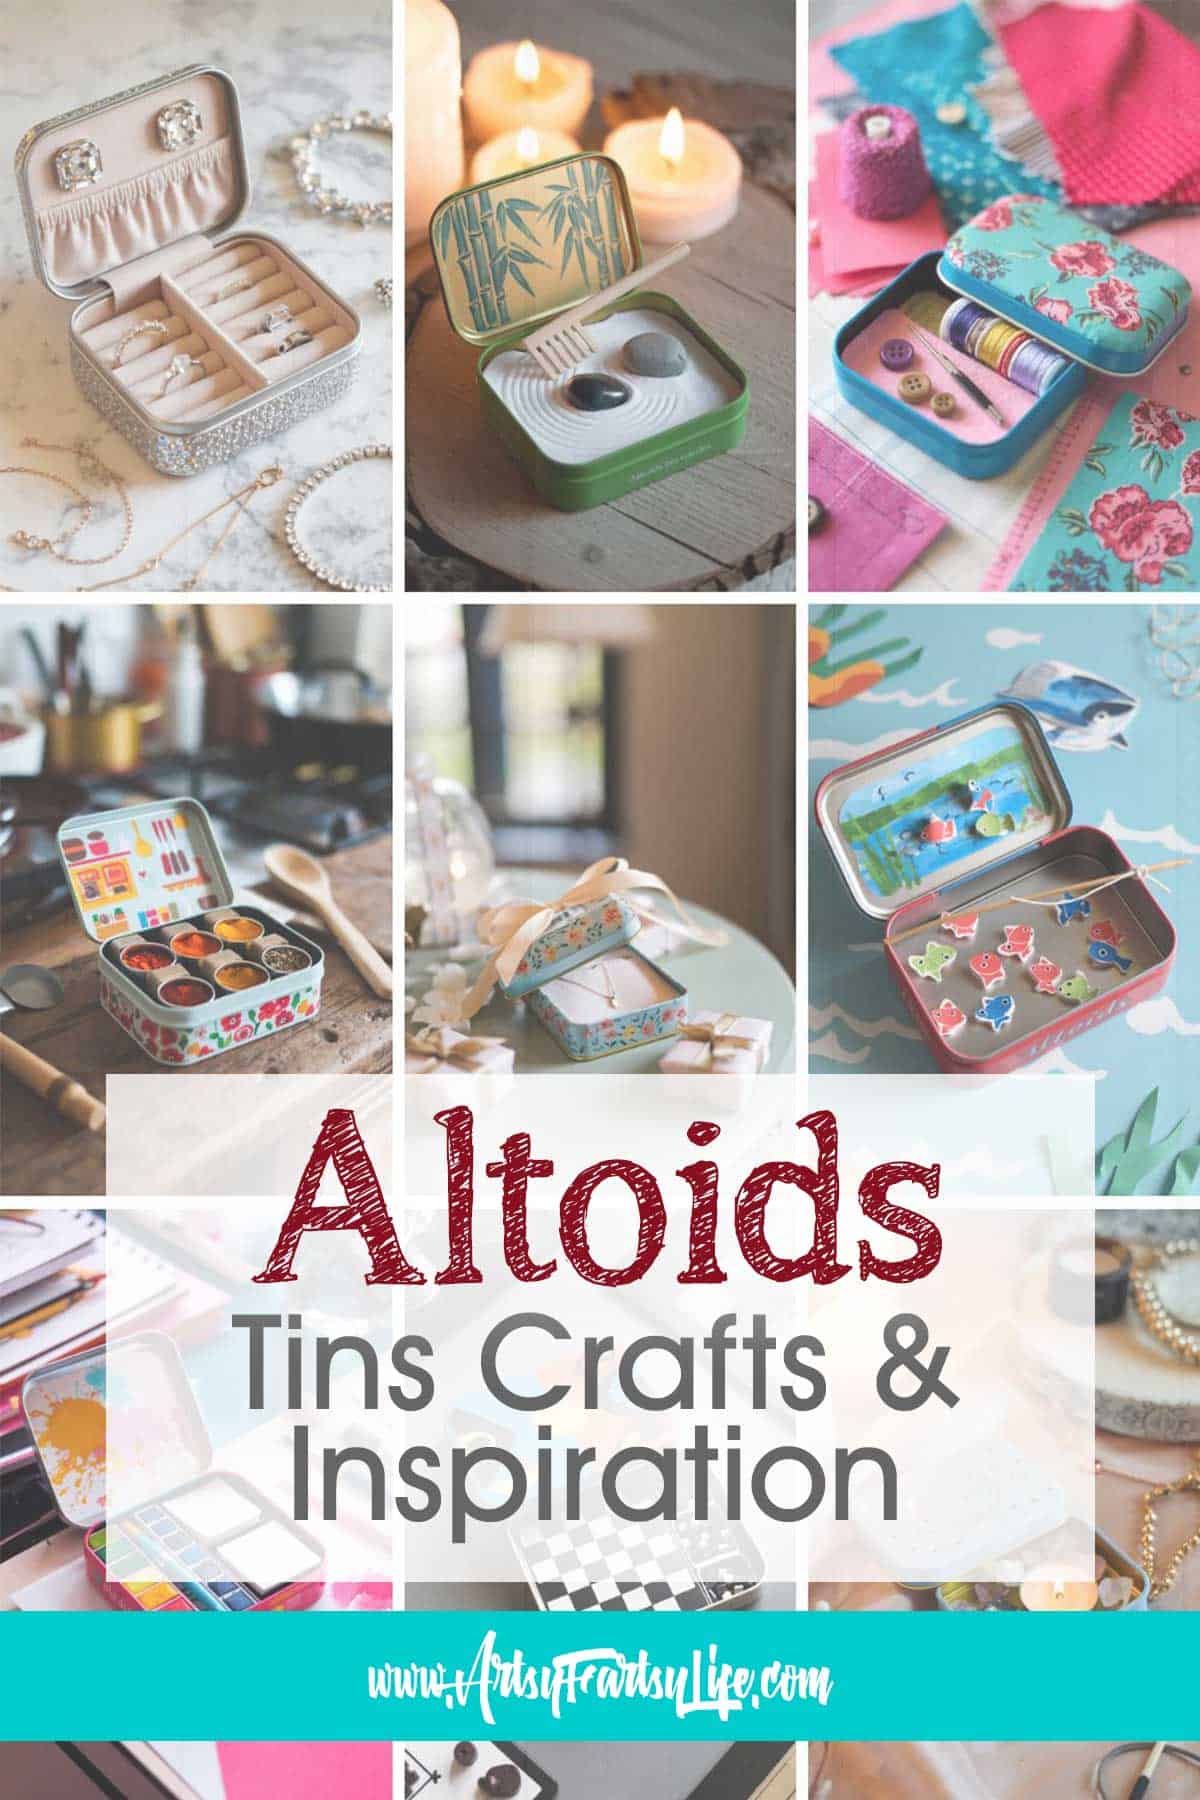
This was FUN project that let me use washi tape, acrylic paint, paint markers and embossing. It is colorful and fun ephemera that will add a pop anywhere I put them! Tips and ideas for how to make these for your junk journals, mixed media or mini albums!

Broken Hearts and Shooting Stars
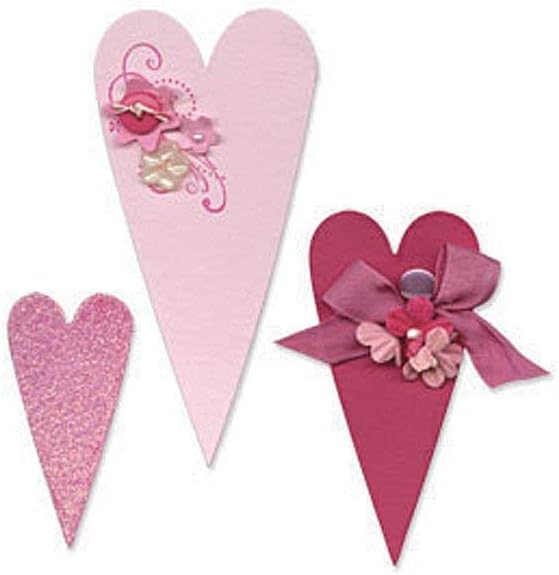
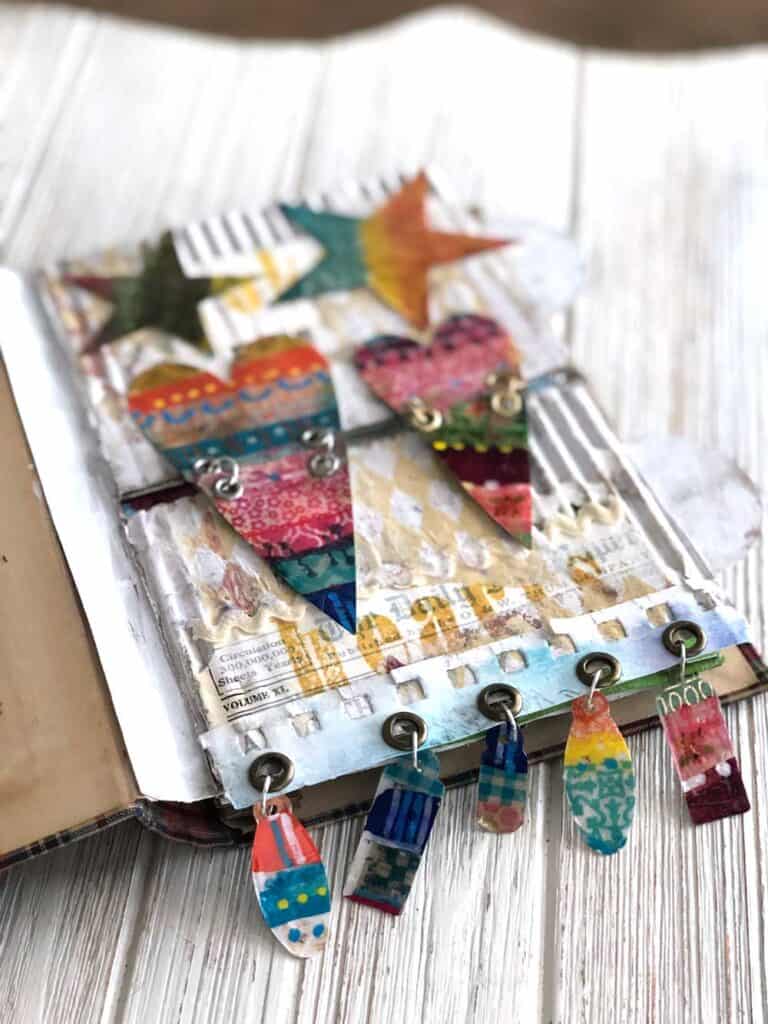
I was just getting ready to fall asleep the other night and had a BRILLIANT idea! Make broken hearts that had a "break" in the middle and then put them back together with grommets (eyelets) and jump rings.
But then I thought, why not make my broken hearts beautiful instead of dark and gloomy (WAY out of my normal mixed media comfort zone!)
These turned out great and were a super cool way to use up some of the washi tape I had laying around gathering dust.
How To Make Broken Hearts Full Video Tutorial
Dies & Stamps Used In The Tutorial
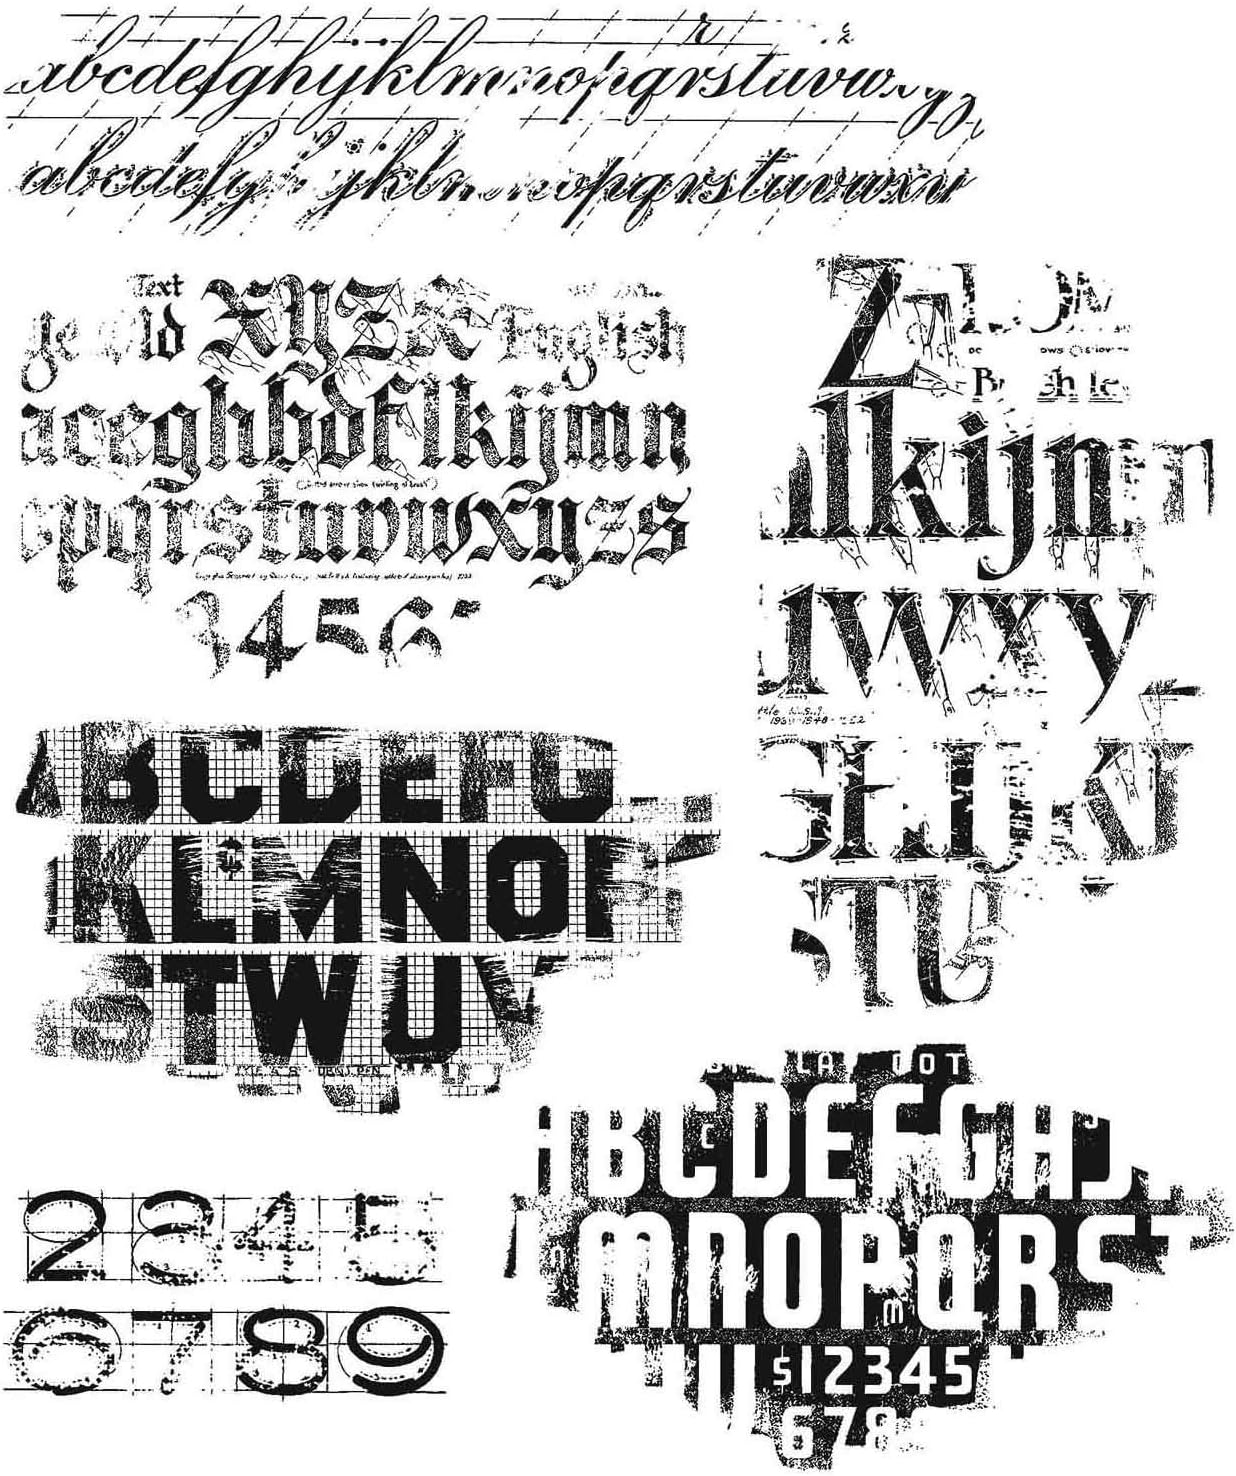
Sizzix Bigz Die 656339, Stars, One Size Tim Holtz - Stampers Anon CLING RBBR STAMP SET FADED TYPESizzix Bigz BIGkick/Big Shot Die, Primitive Hearts

Craft Products Used In The Tutorial
- Dyan Reaveley Dylusions Paint
- Liquitex Glazing Medium
- UHU Glue Stick
- Posco Paint Pens
- Permanent Archival Ink - Faded Jeans, Spiced Marmalade, Picked Raspberry, Mermaid Blue Lagoon
- Ranger Archival Black
- Distress Embossing Pen
- Distress Embossing Glazes - Fossilized Amber, Weathered Wood and Peeled Paint
- Mod Podge Dimensional Magic
And my super fun DIY Washi Tape Holder!
Final Journal Page Using The Broken Hearts and Shining Stars
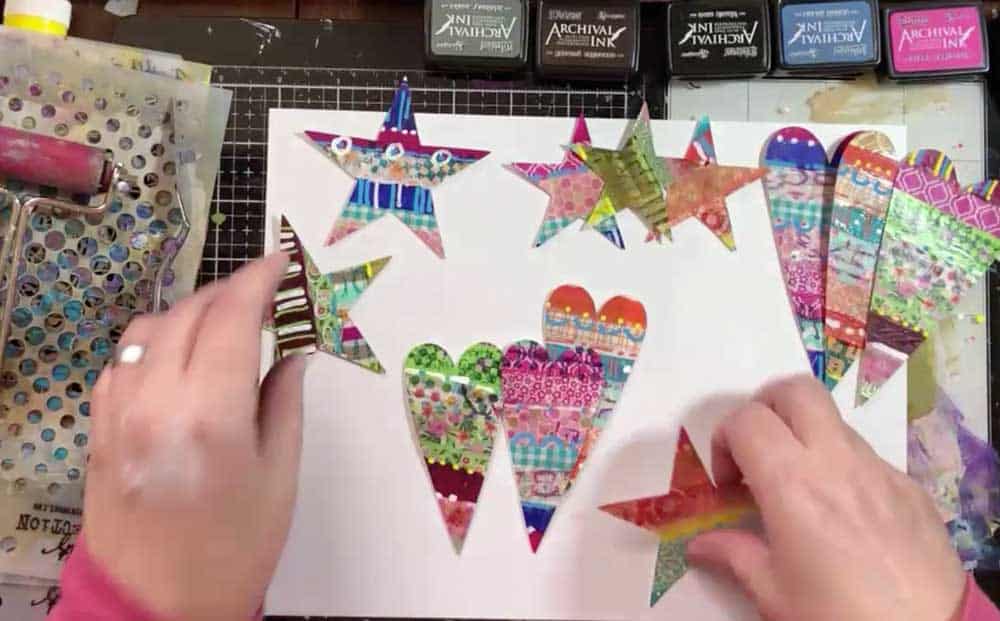
How To Make Colorful Washi Tape Hearts and Stars Ephemera
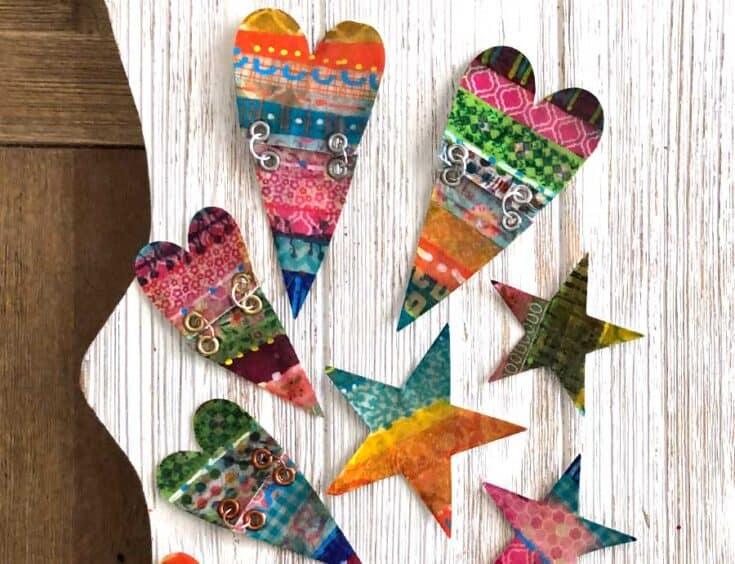
How to make beautiful die cut shapes using washi tape and acrylic paint. Tips and ideas for how to make these colorful ephemera hearts and stars!
Materials
- Acrylic Paint
- Glazing Medium
- Glue Stick
- Paint Pens
- Permanent Archival Ink - Faded Jeans, Spiced Marmalade, Picked Raspberry, Mermaid Blue Lagoon
- Archival Black
- Distress Embossing Pen
- Distress Glazes - Fossilized Amber, Weathered Wood and Peeled Paint
- Mod Podge Dimensional Magic
Tools
- Tim Holtz Tiny Tabs and Tags Die
- Sizzix Bigz Dies Stars
- Sizzix Primitive Hearts Die
- Stampers Anonymous Faded Type Stamp
- Cropadile Grommet Setter
Instructions
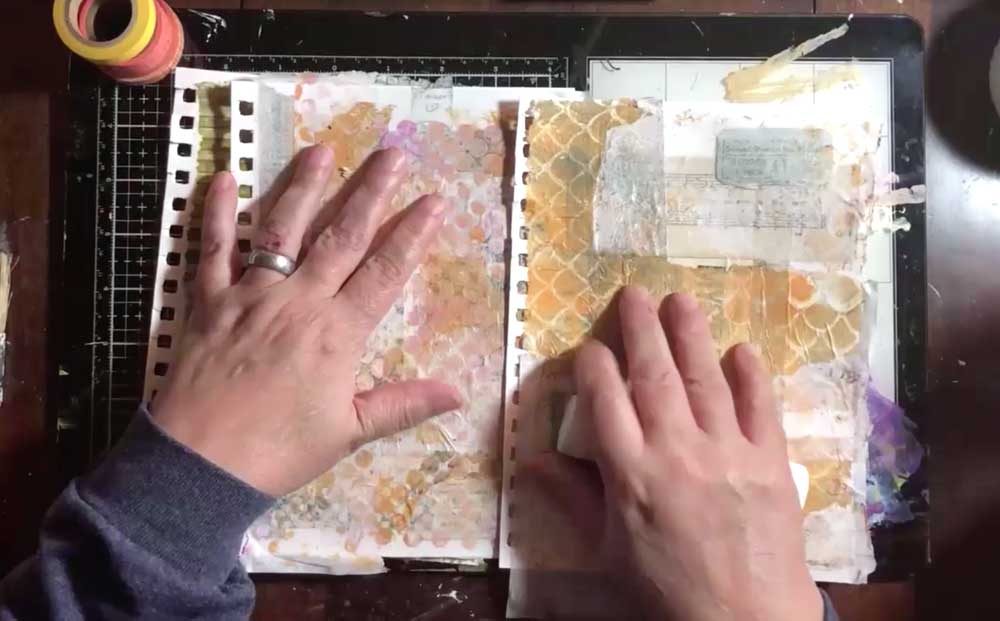
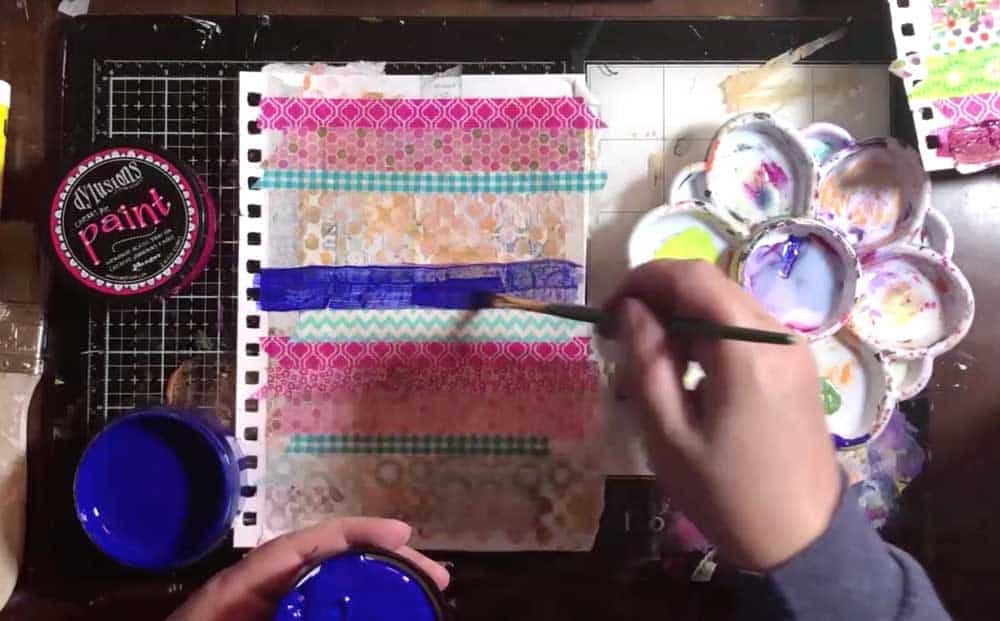
- Make some background papers with different patterns and colors
- Glue colorful washi tape randomly across parts of the paper
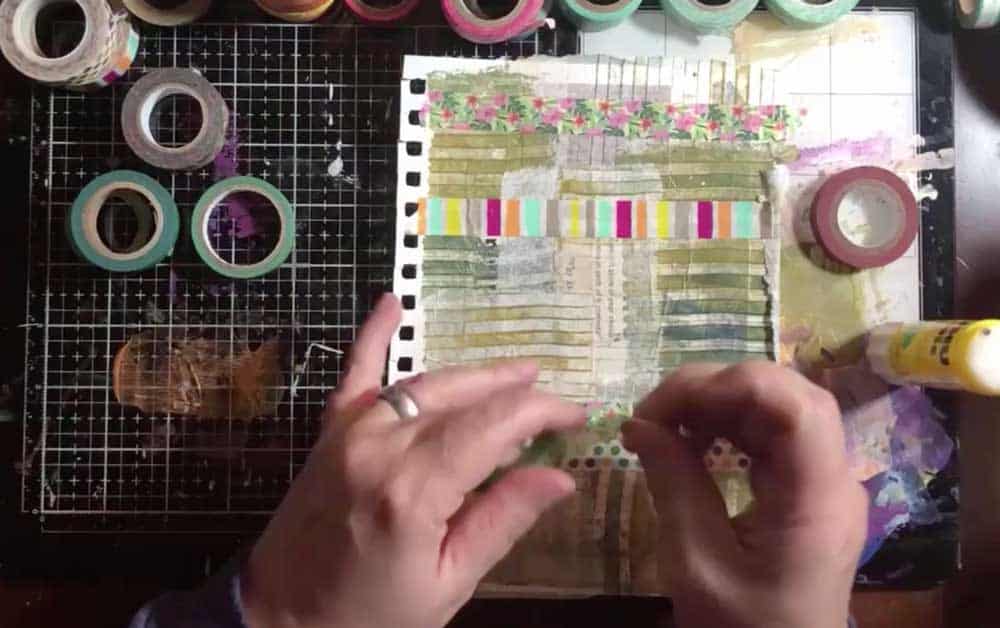
- Paint colorful lines with acrylic paint mixed a glazing medium to make it translucent
- Make a mask so you can stamp the lines with any stamps and permanent ink
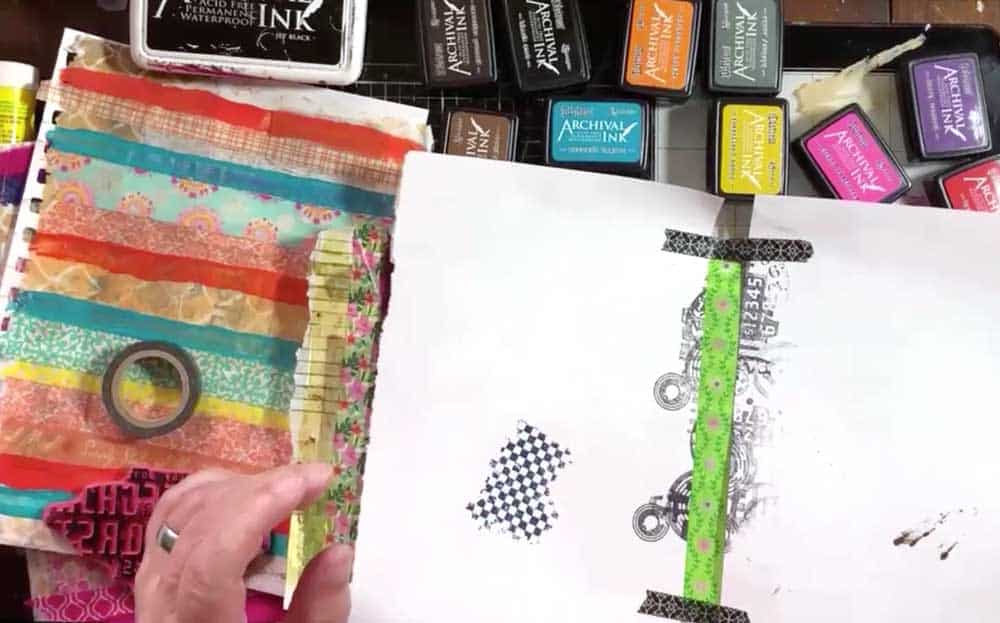
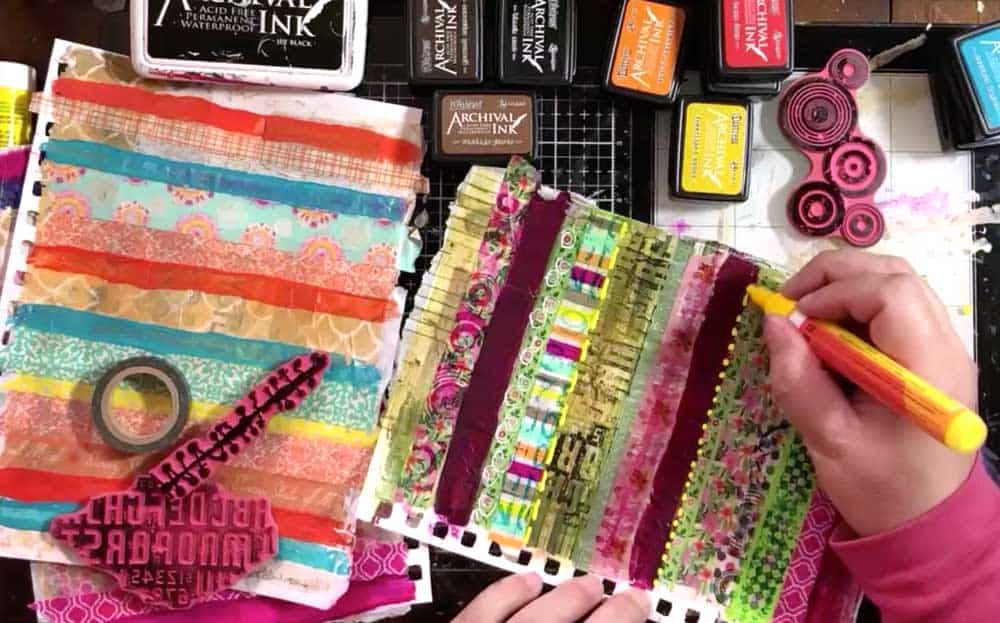
- Use paint pens to make colorful patterns between the washi tape and painted lines
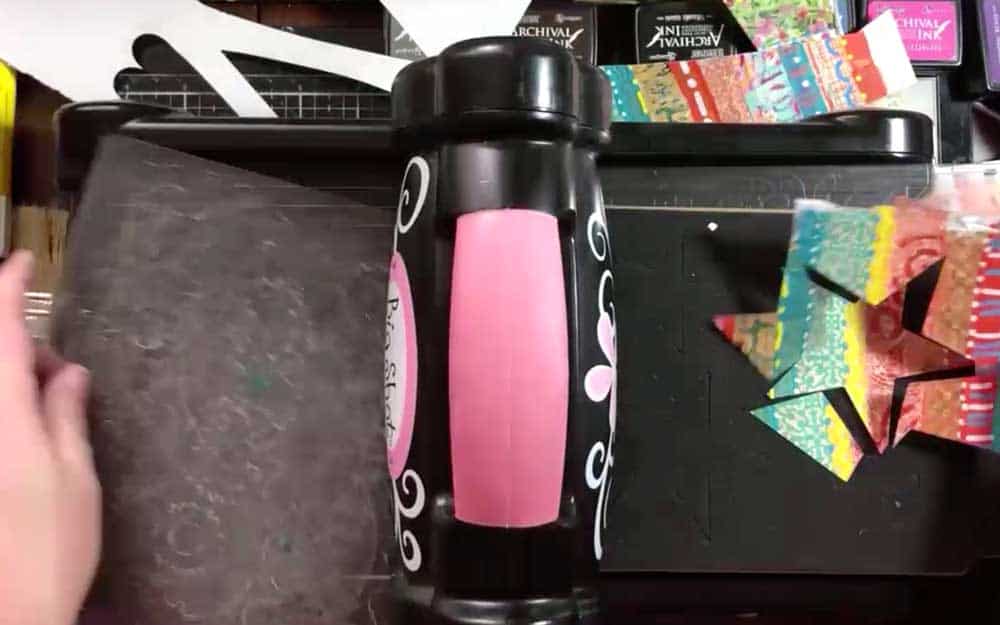
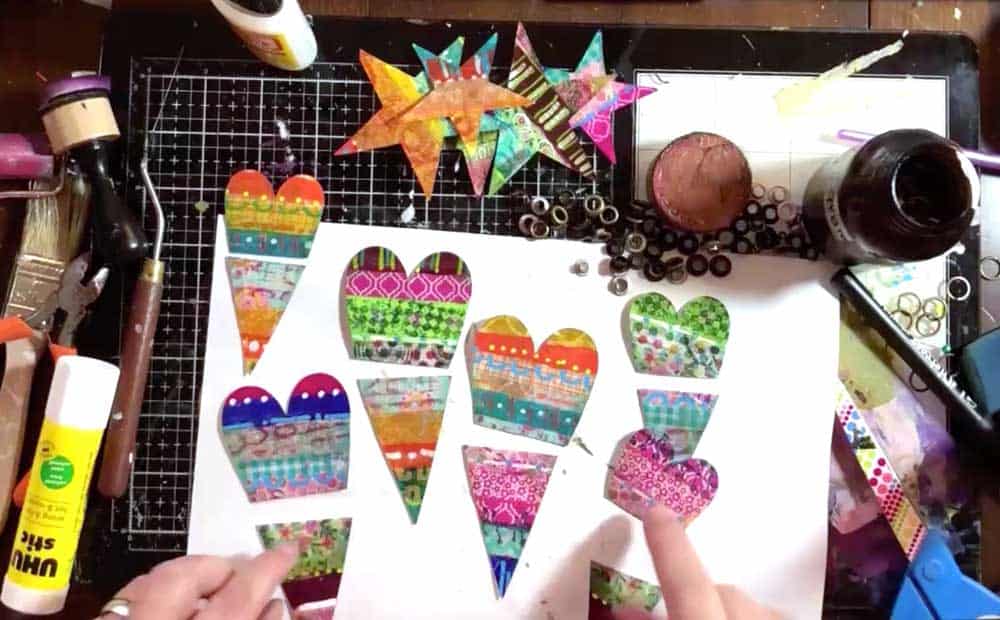
- Cut out shapes using a die cut machine or scissors
- Take a peek at your designs and figure out which ones you are going to "match up"
- Cut your shapes in half (I only did the hearts, not the stars)
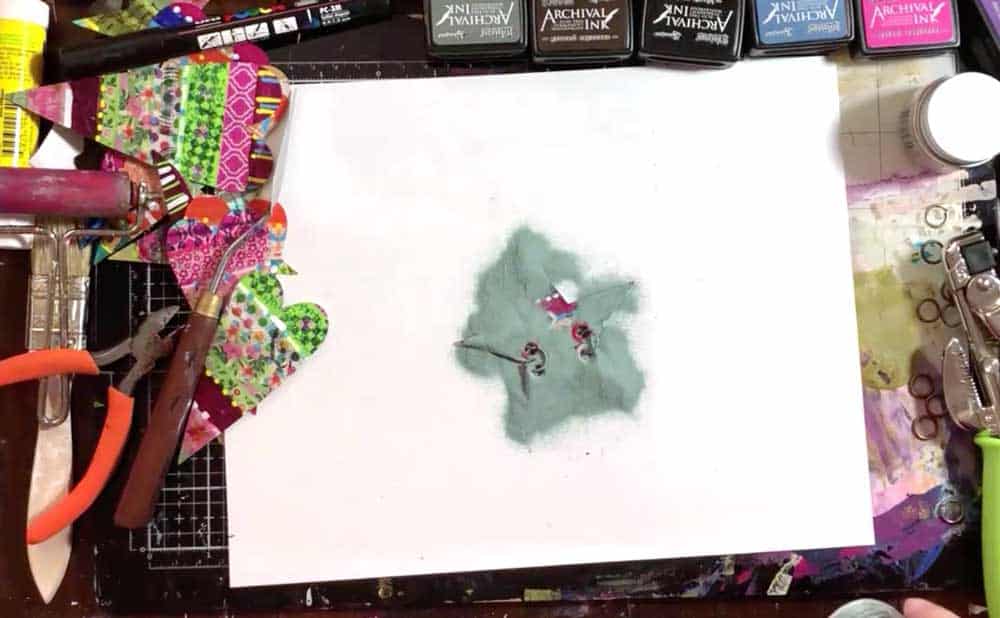
- Emboss your shapes for another layer of pattern and color (you can skip this step)
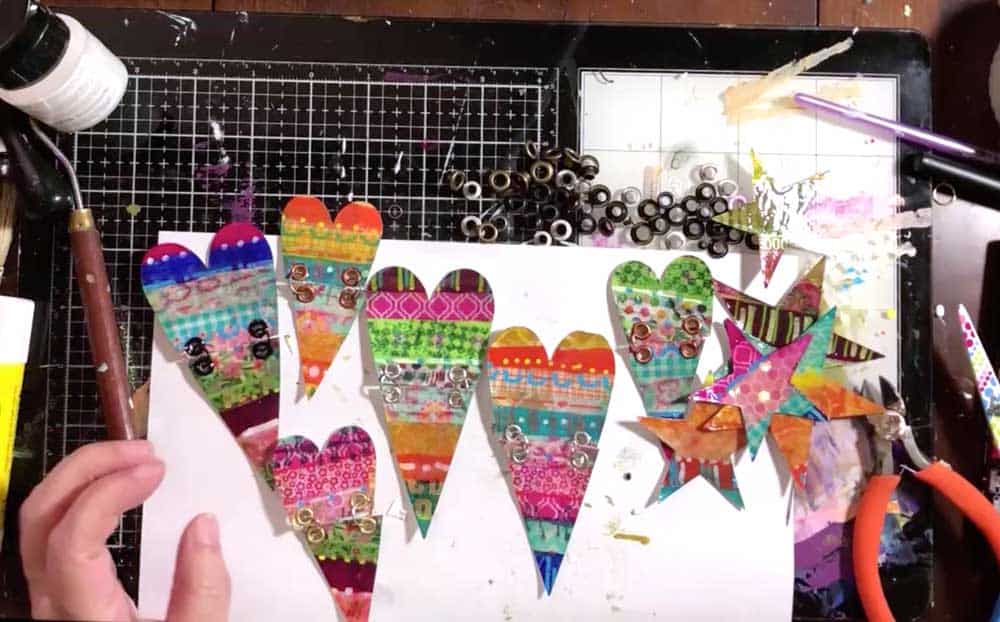
- Use Dimensional Mod Podge or Glossy Accents to make your shapes "hard"

- Add grommets and jump rings to your shapes to hook them together
Notes
Where the brand matters, I included it (for example, you can use any glue stick, although I like the UHU brand.)
Also, you should try and use all permanent dies and inks for this project because of the glossy addition at the end. Plain distress inks will bleed when the moisture hits them.