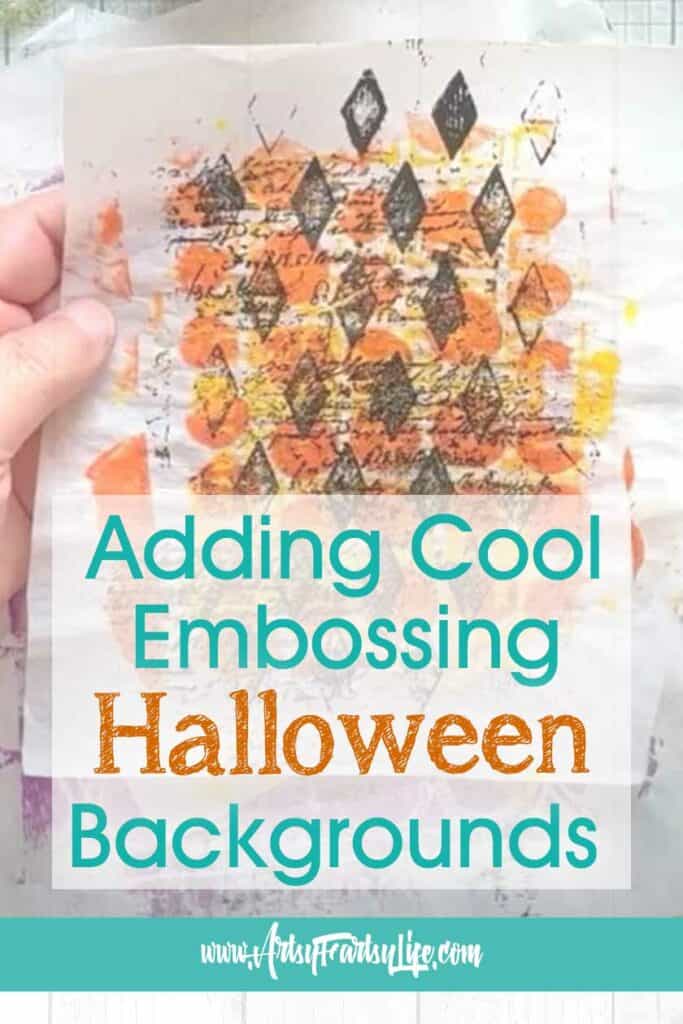
Okay boos, grab your embossing powder and prepare for some serious sparkle - because today we’re haunting up our Halloween tissue paper backgrounds with EMBOSSING! Yes, we’re turning flat ol’ spooky paper into glimmering, ghost-approved masterpieces fit for wrapping our grungy faux candles in haunted elegance!
Please note: This article contains affiliate links, and that means that I may earn a commission if you buy something. Read my full disclosure here.
Tissue Paper Halloween Backgrounds Video Walkthrough
Now, if you’ve been following along on our Halloween candle saga (aka the “I swear I’m not hoarding toilet paper rolls” project), you know we’re layering texture like we’re building a haunted lasagna. And today? We bring the HEAT. Literally. With embossing!
There were powder mishaps (I’m lookin’ at you, Pirate Gold), stamping struggles (cattywampus crosses are a vibe, okay?), and some questionable choices that magically turned into must-use-it masterpieces. Plus! A surprise ghost sighting. Because what’s Halloween crafting without a spooky visitor?
Supplies I Used (aka my crafty coven)
- Halloween Tissue paper backgrounds (already painted and distressed)
- Assorted embossing powders (Simon Says Stamp gold, Pirate Gold, Ranger Black Sparkle, and some random estate-sale magic)
- WOW embossing pad (possibly on its last leg, but still kickin')
- A motley crew of stamps: Xs, ratty lines, vintage text, checkers
- Heat gun (my magic wand)
- Embossing tray to catch powder (truly the $7 MVP of this spellcasting session)
The Embossing Process
Stamping With Soul (and No Blocks)
Couldn’t find a stamping block to save my life. Did that stop me? Nope! I freehanded it like the wild witch I am. Stamping crooked? Called it "cattywampus chic."

Gold Fever (and Gold Fizzles)
First up: Pirate Gold. Big. Fat. NOPE. Looked more like "Sad Sepia." But then came the hero: Simon Says Stamp Gold Ultra Fine. HELLOOO, shimmer magic.

Layer Like a Ghost Story
I went rogue: crosses, scripty fonts, fat stripes, delicate words - all layered to make each paper feel rich and old and mysterious. Like it had stories to tell. Like it might whisper if you held it close.

Tissue Paper Textures
Medical table paper = texture goldmine. Embossing on this surface isn't crisp, but that's okay. It seeps. It blurs. It becomes vintagey perfection.

Black Magic Realness
When I hit that Ranger Black Sparkle? OH. MY. GRAVEYARD. It twinkled like a bat-winged disco ball. I literally gasped. The sparkles embedded themselves into the melted powder and gave a subtle shine that was total Halloween glam.

Tips From the Crypt:
- Test your embossing powder on scratch pieces first. Trust me, some are duds.
- Embrace imperfection. It’s Halloween. Crooked = creepy = cool.
- Don't worry about reusing stamps. Cohesive design trumps stamp variety.
- Glitter gets everywhere. Tim Holtz would cry. I rejoiced.
So... What Are We Doing With These Glorious Grungy Papers?
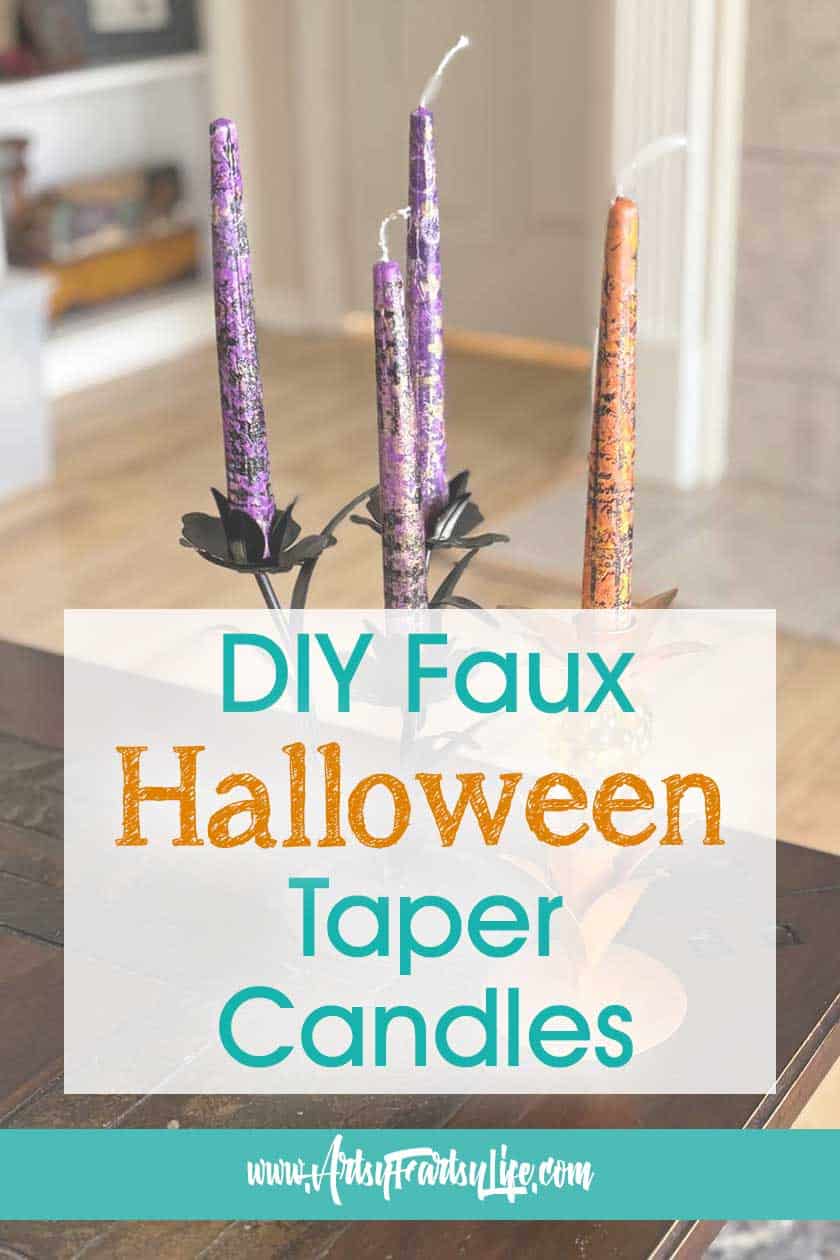
We're going to wrap up our faux candles like little haunted mummies of joy! I’ve got three types in the works:
- TP Roll Test Candles – Great for trial runs. If they flop, no big deal.
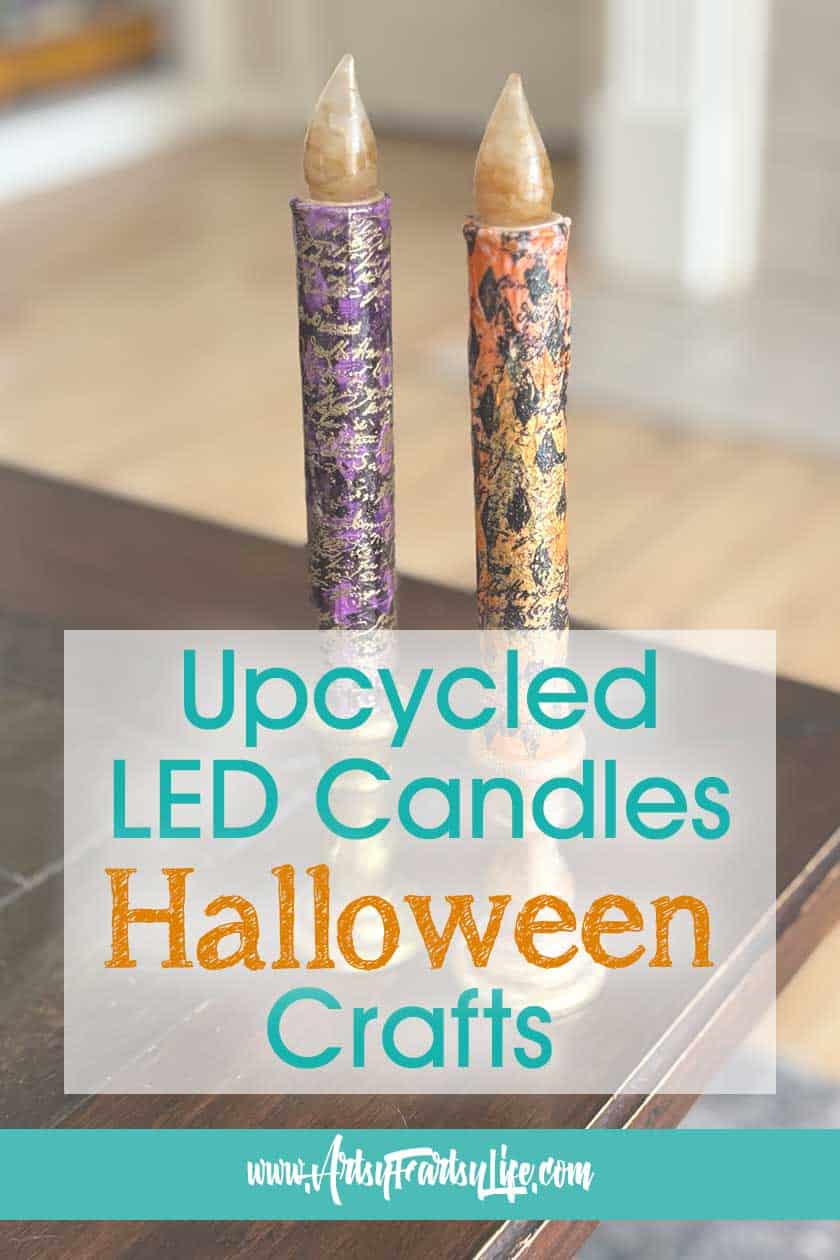
- LED Plastic Candles (HomeGoods haul) – We’re grungifying the clean white into spooky centerpieces.
- Plaster of Paris Taper Candles – Because sometimes you need a whole dang haunted candelabra moment.
These backgrounds? They’re not just cute - they're the layering base of our whole haunted vibe. Sparkly, moody, a little gritty... kind of like the perfect Halloween costume.
Stay tuned for the next step where we wrap these around our candles and bring the whole scene to life. You’re not going to believe the transformation!
Until then, go melt some powder, channel your inner glitter witch, and EMBOSS LIKE A BOSS!
Stay spooky!
Tara
Here are some more great Halloween Crafts you might love!
- How To Make Painted Black, White and Gold Halloween Pumpkins
- Creepy Ancestors Halloween Junk Journal Kit Printables
- Halloween Junk Journal Flip Through