You know that moment when you're standing in the middle of HomeGoods, holding a battery-operated candle in one hand and your dreams of having a haunted mansion aesthetic in the other? Yeah, been there. These little LED faux candles seem like a cute idea—until you get home and realize they’re kind of... meh. But don’t worry, boo. I got you!

Welcome to Stage Two of the Great Faux Candle Glow-Up: where paint peels, embossing powder flies, and your inner goth finally feels seen. Check out the toilet paper Halloween faux candles that were our first DIY project!
Please note: This article contains affiliate links, and that means that I may earn a commission if you buy something. Read my full disclosure here.
Faux LED Candles Upcycle Video Walkthrough
PRODUCTS MENTIONED IN THIS VIDEO:
- Faux LED candles (cheap ones are perfect!)
- Acrylic paint (regular, not Distress)
- Sandpaper (optional but helpful)
- Gloss gel medium (or Gloss Mod Podge if you're in a pinch)
- Embossing powders
- Heat tool
- Gel printed papers or any decorative paper
- Alcohol inks for that flame-y glow (I love carmel!)
STEP ONE: Paint Like You Mean It
So I picked up a couple of faux candles from HomeGoods—somewhere between $4 and $8.

They’re supposed to light up (two batteries), but we’re not here for function. We’re here for VIBES!
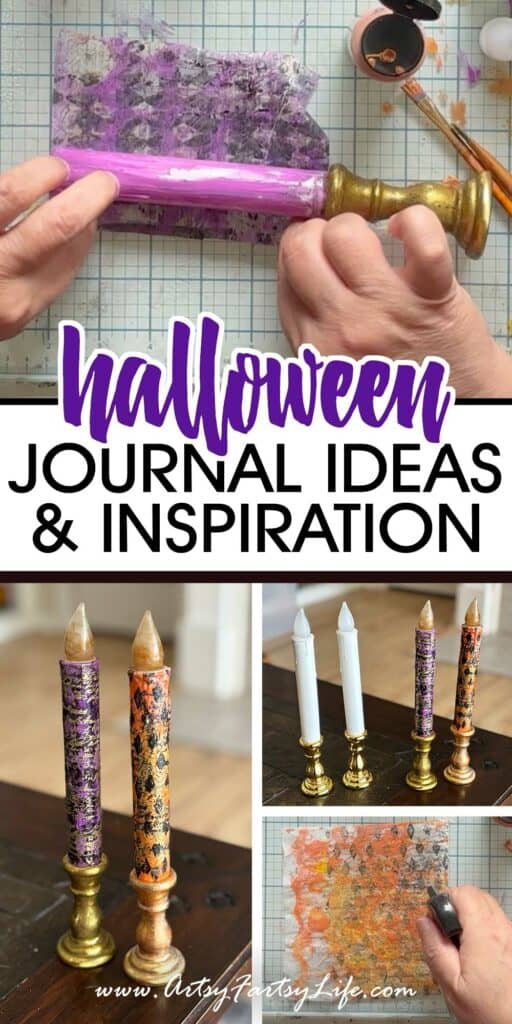
First up: I chose one deep spooky purple and one burnt Halloween orange—both with acrylic paint.
But oh no no, the crafty gods had other plans. The distress paint I tried first (hello, Tim Holtz, love you always) completely betrayed me. It separated on the plastic like a drama queen at a dinner party. The regular acrylic? MUCH better.

But here’s your PSA: Sand that slick plastic, my friends.
It helps the paint stick instead of slide. Learn from me so you don’t end up watching your gorgeous purple dreams peel off mid-project like a bad sunburn!
STEP TWO: Add Some Embossing Drama
Once my paint finally decided to behave (Florida humidity be HUMID-ifying), I moved on to the messy, magical part: EMBOSSING POWDER!
Enter: a GIANT jar of pirate gold embossing powder I scored at an estate sale for $3. (Yes, THREE DOLLARS. Don’t sleep on secondhand magic, y’all.)

I used gloss gel medium to create texture, sprinkled embossing powder like a glitter fairy with a grudge, and hit it with a heat tool like I was summoning the spirit of spooky old castles!
💡 Pro tip: Let your gel medium DRY before you emboss unless you want texture chaos. Trust me.
The end result? A crusty, dusty, perfectly aged candle base that looks like it’s been chilling in Dracula’s study for a couple centuries!
STEP THREE: Grunge Meets Glam
So maybe you're thinking, “Okay but Tara, how do I make it look like part of my actual decor and not like a middle school haunted house project?” Glad you asked!
I dug into my gel printed paper stash (YES, I have a whole video about making those!), picked some moody purple and grungy orange prints, and decoupaged them onto the candle bodies using more gloss medium. Glossy is key here - because it keeps the sparkle from the embossing powder ALIVE!

Then, to finish? I took some alcohol inks in caramel and gold (YES, literal gold) and gave the candle “flames” a flickering glow-up. Not only does it dry onto the plastic better than paint, but it stays translucent and dreamy. Like a magical fall sunset. On fire.

Final Thoughts: Worth the Mess? UH, YEAH!
Let me be clear: these candles are not high-quality to start with. They wobble, the plastic feels cheap, and if you look at them wrong, the paint might sigh dramatically and peel off.
But after all the painting, embossing, gluing, and totally unnecessary experimenting with copper wax?
THEY. LOOK. AMAZING.

Each one now has personality, patina, and that perfect level of spooky sophistication. They're proudly tucked into my Halloween candle collection, and honestly? I feel like a dang decor witch!
Here are some more great Halloween Crafts you might love:
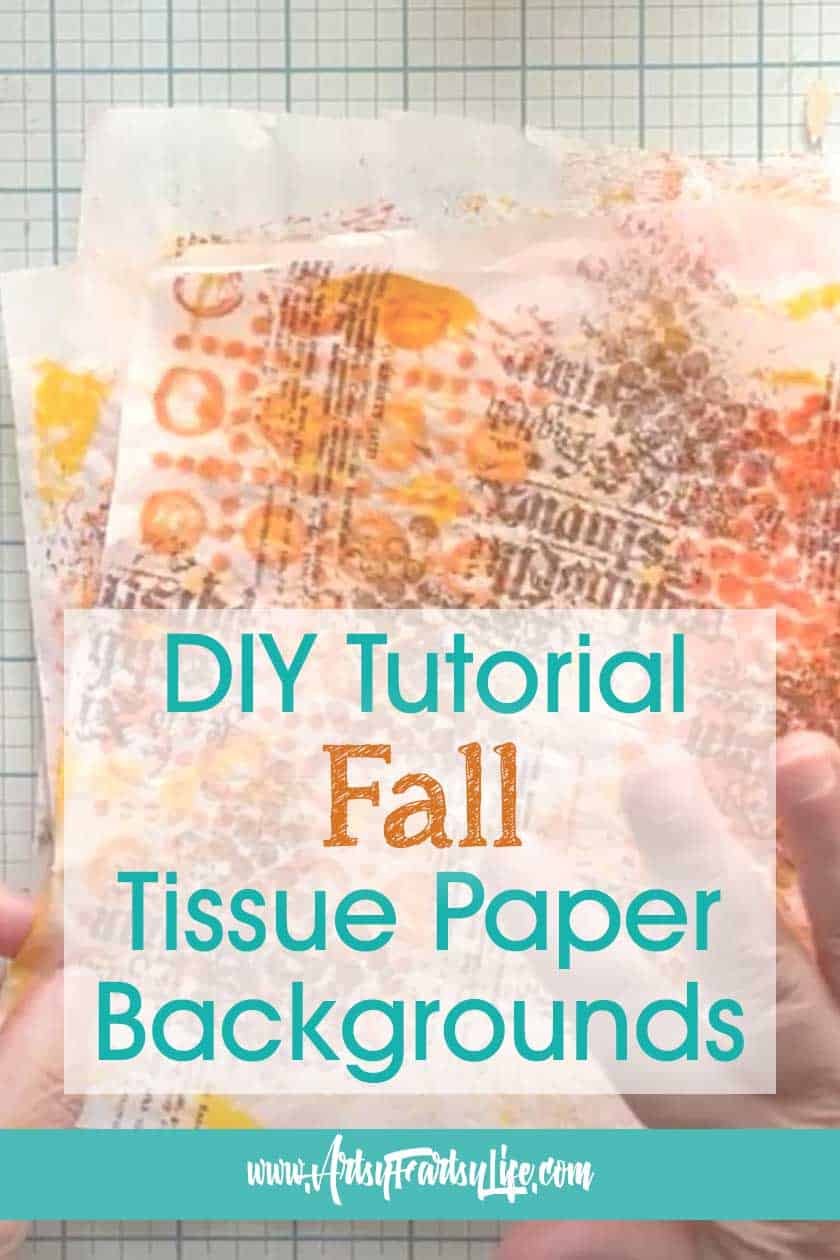
- Haunted & Embossed: Adding Wicked Cool Texture to Halloween Tissue Paper Backgrounds
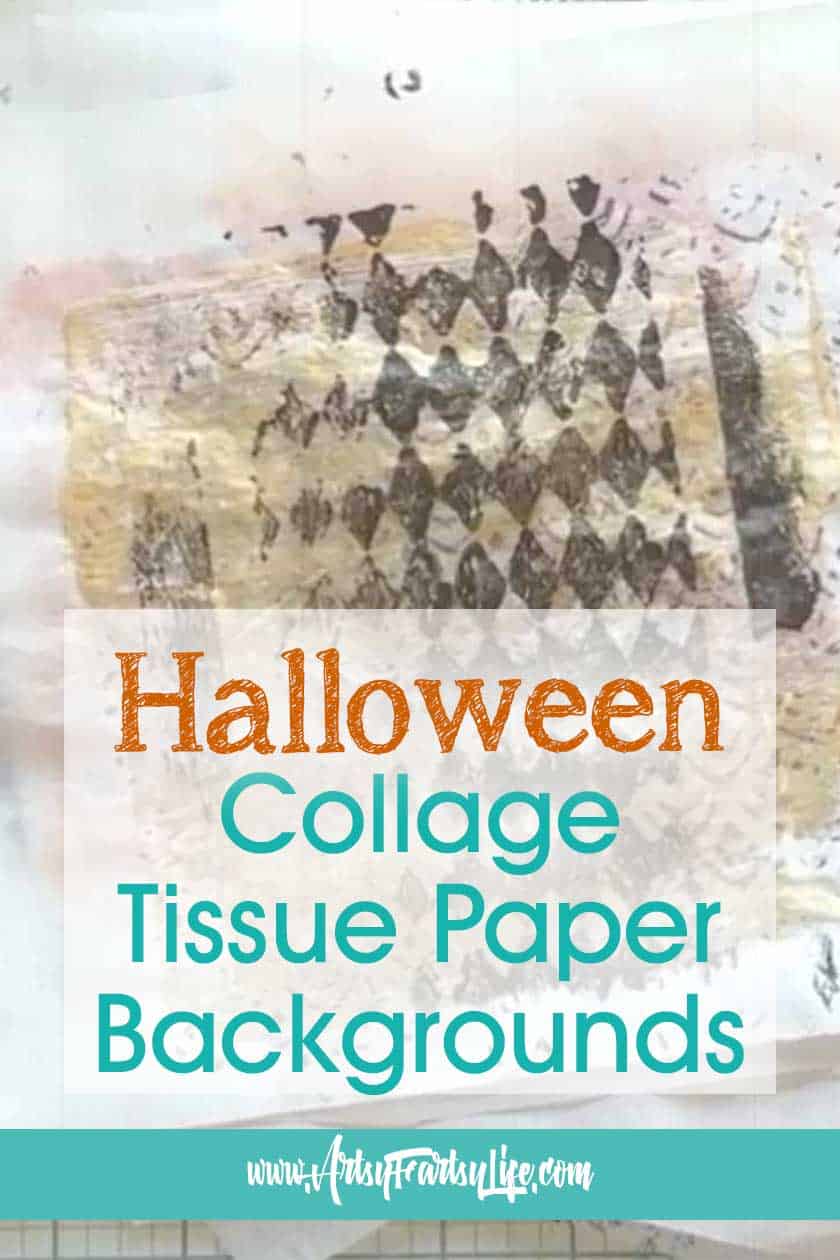
- Spooktacular Halloween Collage Background Papers
- How To Make A JACK Spooky Sign – Halloween DIY Crafts