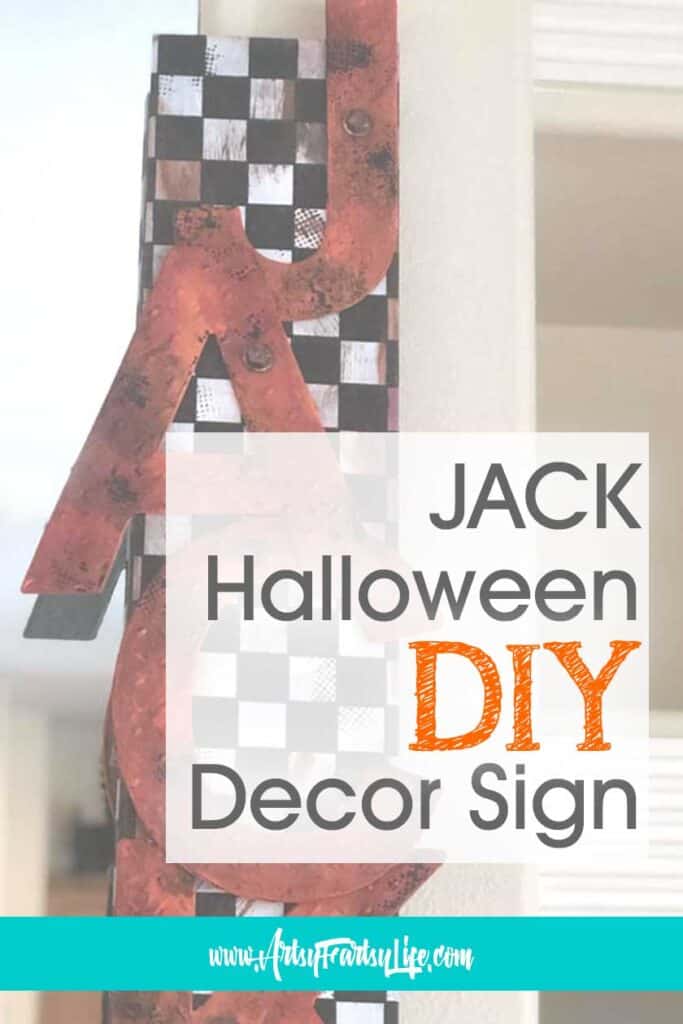
Tips and ideas for how to make a spooky Halloween sign using metal letters and a repurposed old sign. This is one of my favorite Halloween crafts of all time... so cool and super cheap to do! It is so fun that you can use things that are out of season to make stunning DIY Halloween decorations!
How To Make A Halloween Sign Video

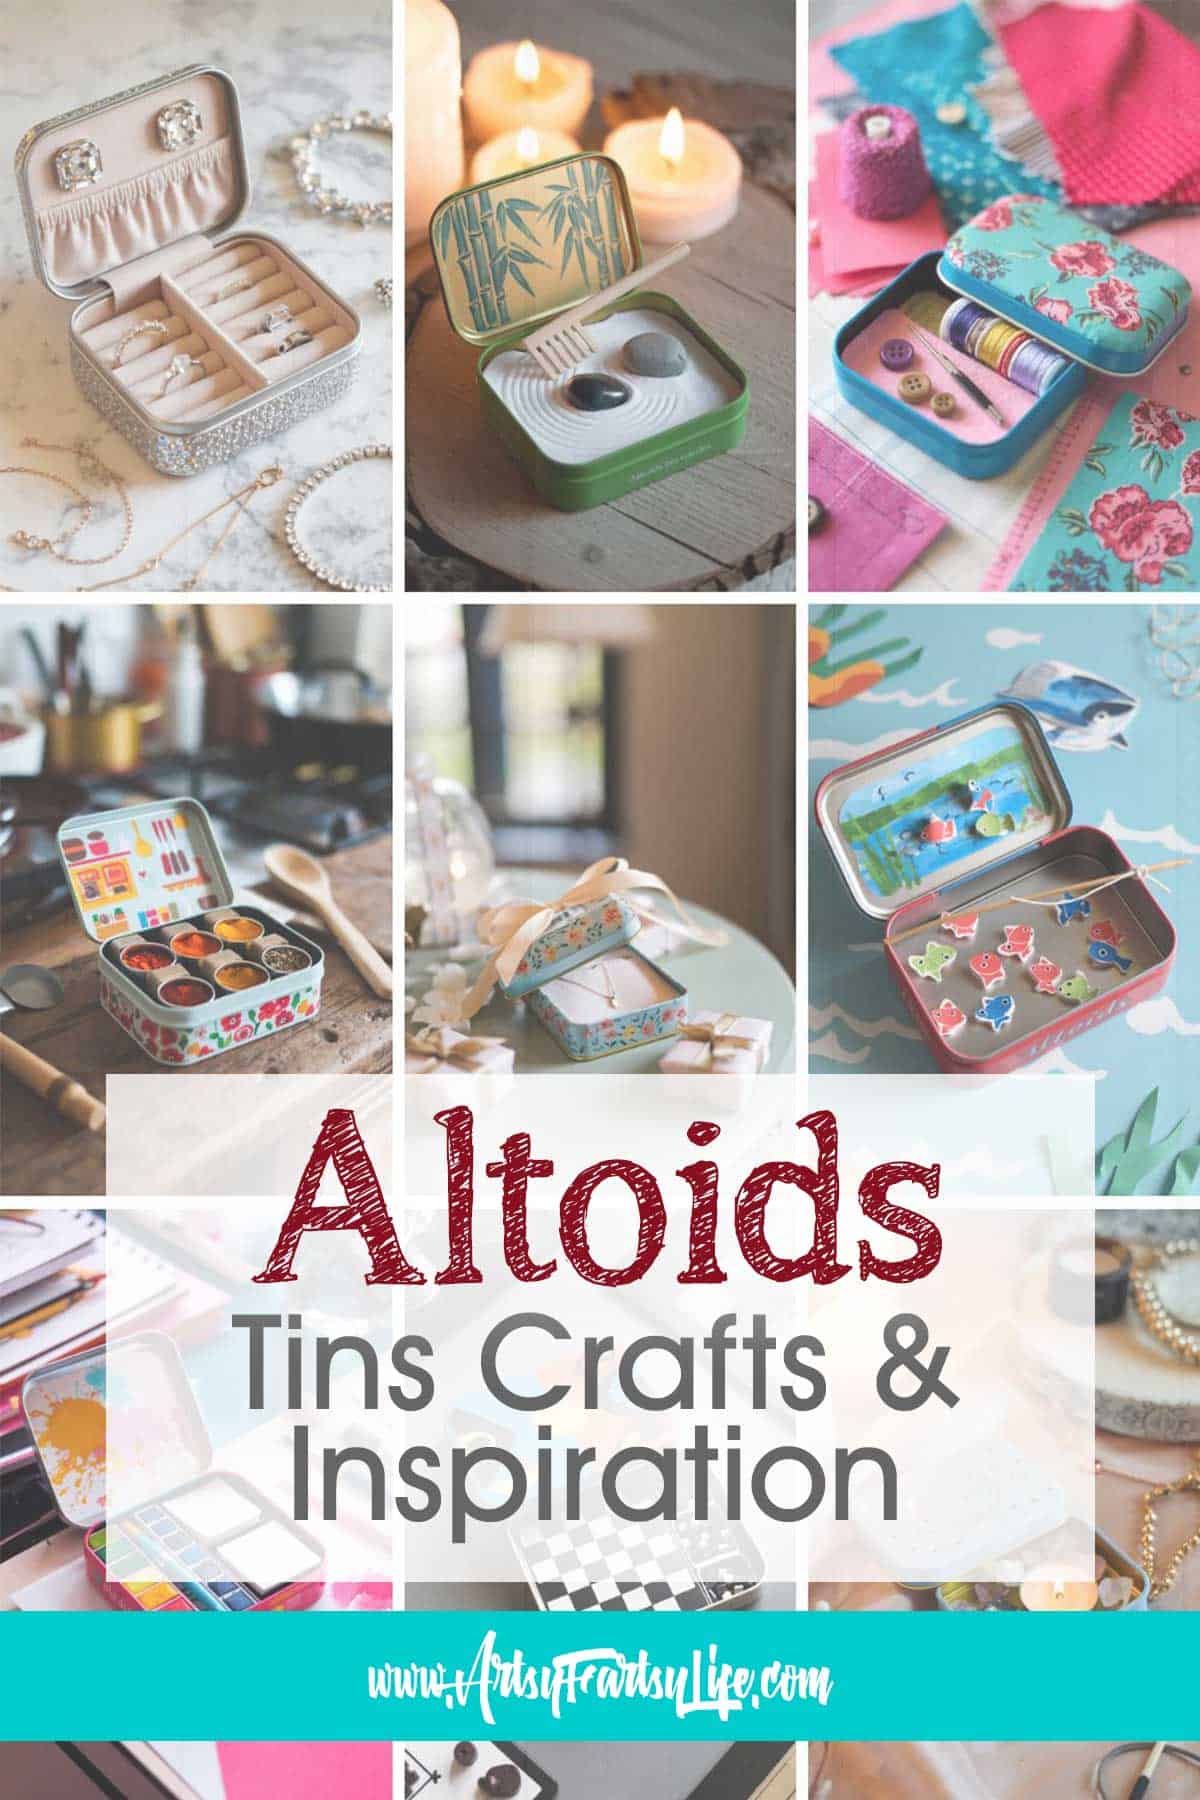
Looking for more? Check out the Wicked Cool Junk Journal Kit!

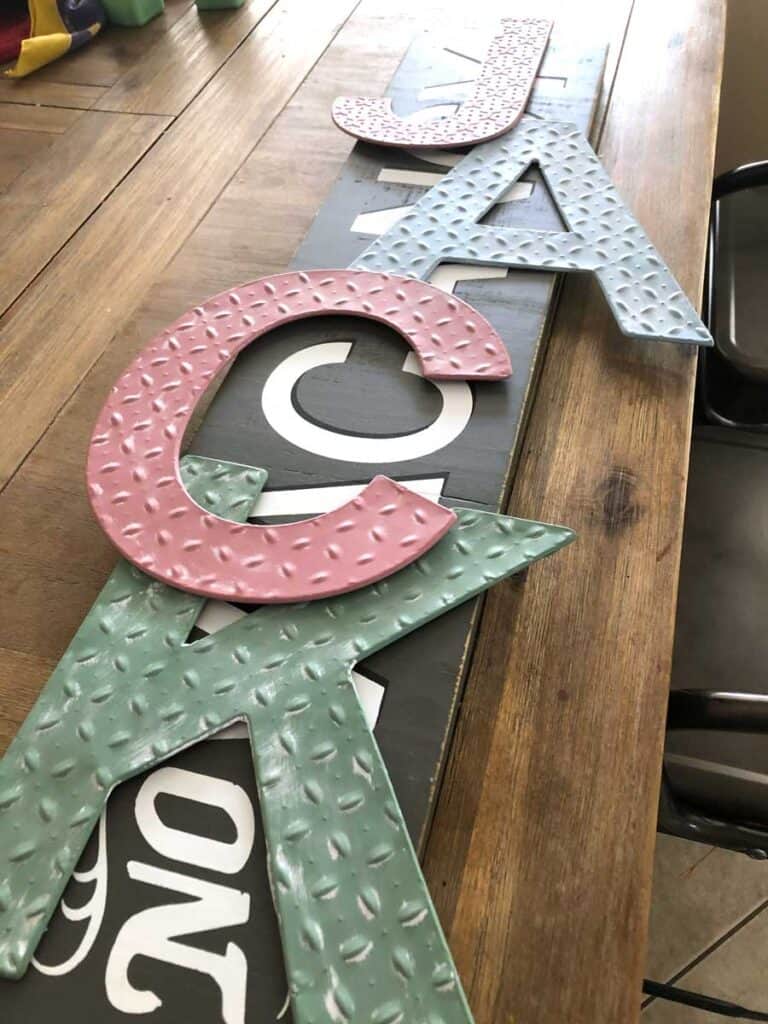
Cheap Michaels Letters & Sign
If you are anything like me, you love cruising those Michaels clearance racks. Well the other day I was shopping around for some cool things to make Halloween decorations and I found these "spring" letters on 70% off... SCORE!
As you can see, they were pretty pastel for a spooky Halloween sign, but I knew I was going to paint them anyways.
I also got this sign that was the exact right shape, even though it wasn't exactly the right sentiment for what I was I was trying to do!
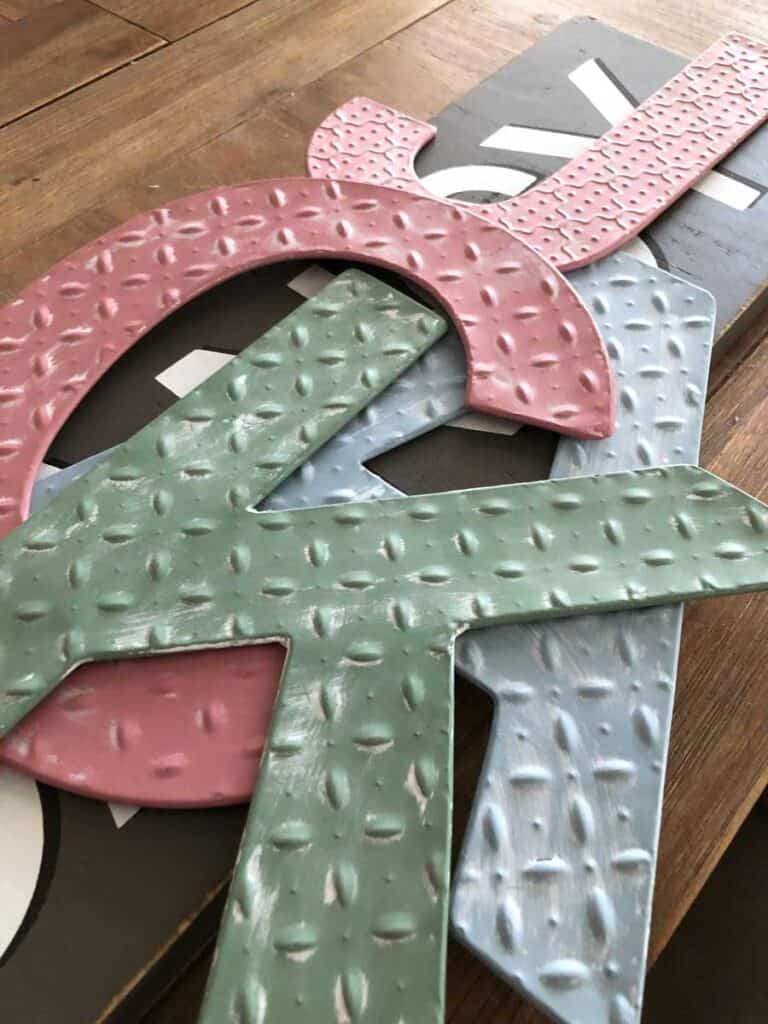
Painting The Letters
Painting the letters was super easy. The first step was to cover them with Gesso (I used a paintbrush, you could use a foam roller too).
Gesso is a great primer that will help acrylic paint stick to surfaces (if you didn't use gesso the paint might just peel off after you get done with all your painting... ask me how I know this!) If you don't have gesso but have regular paint primer from painting your house, this will work too!
Next I used 3 different colors of orange paint in a light, medium and dark version!
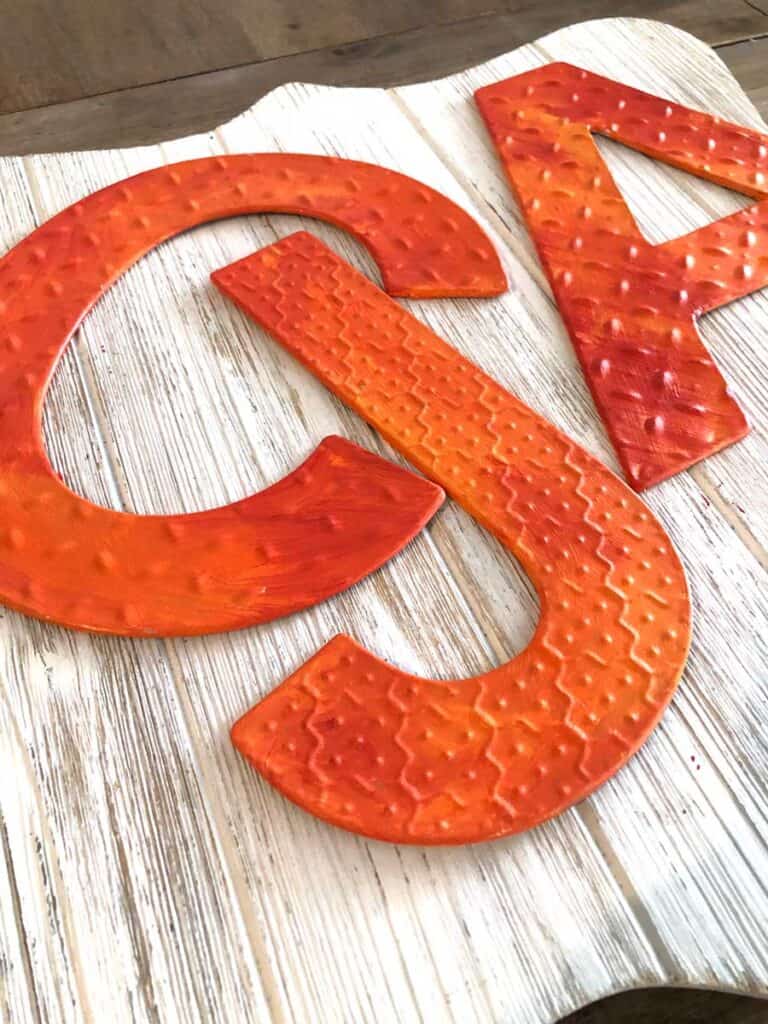
Functionally I just put different colors of the orange on and smooshed them around!
Painting The Sign
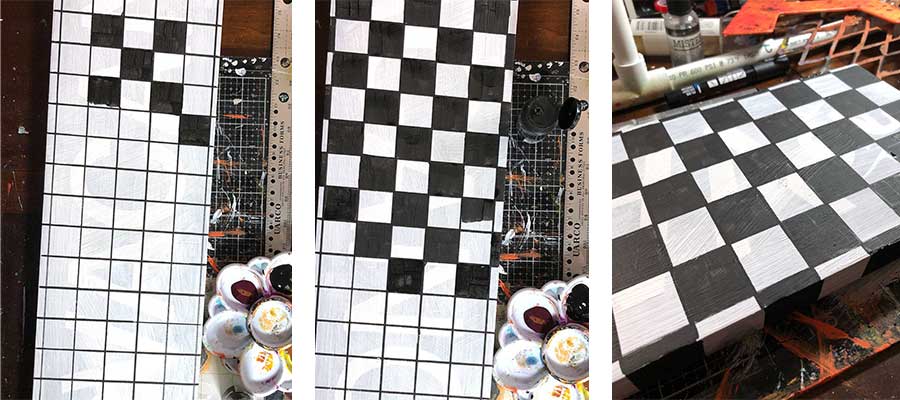
Because I wanted the background of the sign to be black and white checkerboard (I don't know why I find this creepy, but I do!) I did the white gesso as a primer coat again and then painted the board all white.
Then I used a metal ruler with a Posca black acrylic paint marker to mark out the squares (this is a SUPER easy trick, check it out in the video above!)
Lastly I used a paintbrush and cheap acrylic paint to fill in the squares!
Screwing The Letters On
Last, but not least, I knew I wanted to screw the letters on! I got some ⅜" hex nuts and bolts and then used alcohol ink to "grunge them up!"
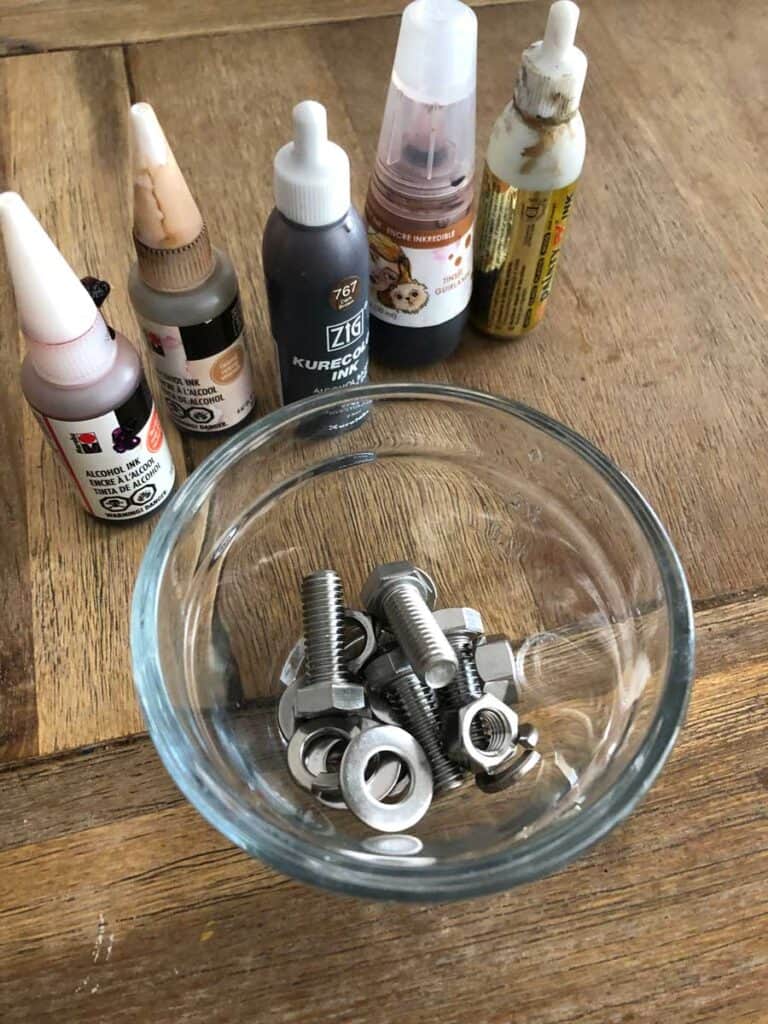
You can use any of the different colors of brown, gold, red or purple that you have.
Grunge Up The Letters and the Sign
Okay, I did two things that worked really well for grunging the sign and letters...
1. I used Liquitex Glaze and brown, black and purple acrylic paint to make the dirty bits. The nice thing about mixing your paint with glaze is that it stays the same with vibrant colors, but becomes translucent instead of solid so you can see things through it.
2. I also used some Ranger texture paste mixed with some Walnut Distress reinker to make the grunge patterns!
The Finished Halloween Sign
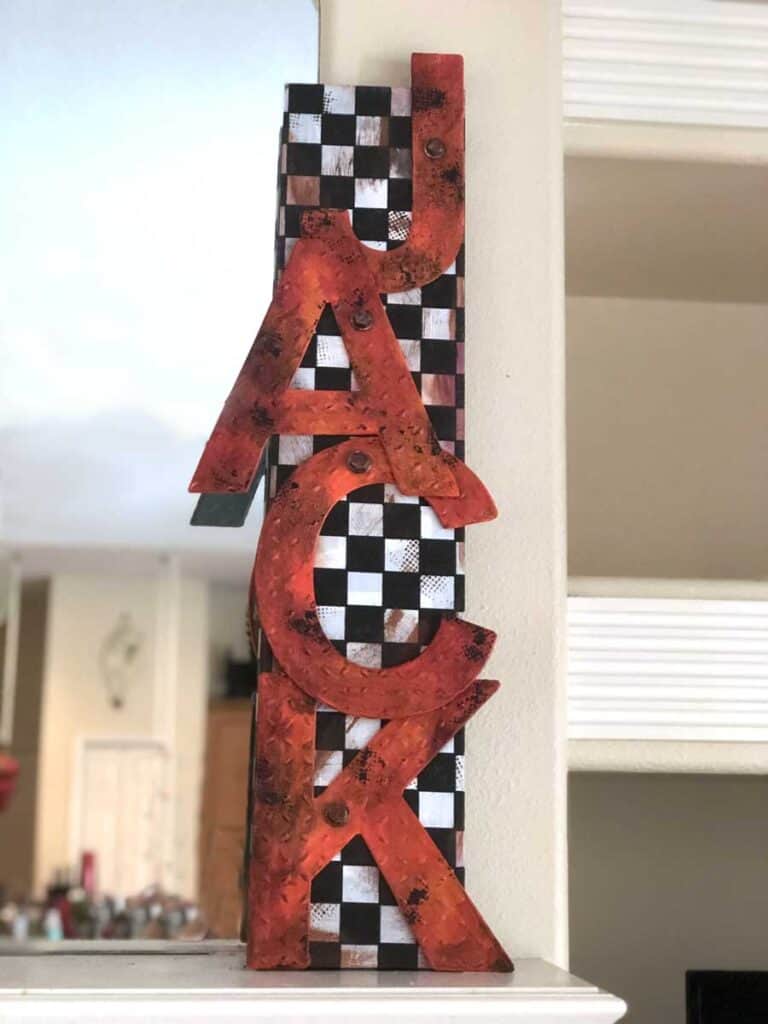
I LOVE how this turned out! It is probably my most favorite home decor item ever and for sure my favorite Halloween craft project!
The Jack Sign Story
I don't know about you, but I always have a story in my head when I am crafting.
For this sign I was thinking that Jack was a very bad man, who had a garage out in the middle of nowhere. This is his sign that was sold at auction after he was arrested and put away for life. Now I use it as Halloween decor in my house!