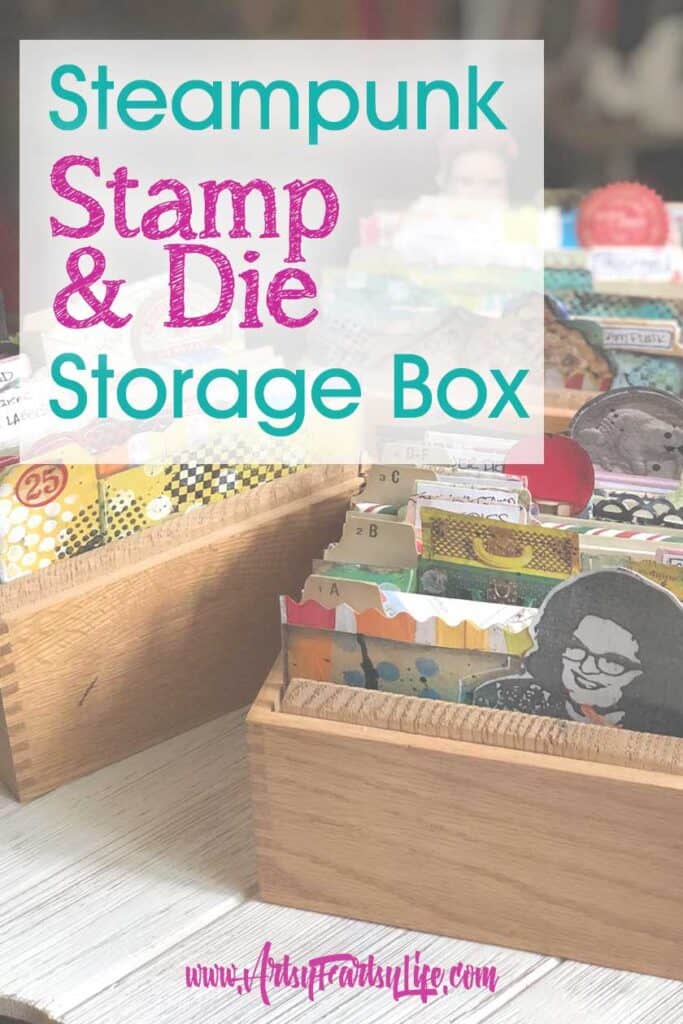
All the tips and ideas that I figured out while organizing my craft supplies into envelopes and storage boxes. This was a super fun and easy modern steampunk DIY project that has made my craft room work so much better!
My Stamp and Die Storage Story
Okay let's start with my stamp storage woes! I have tried SO many solutions over the years from Tim Holtz's stamp storage binder to just boxes with stamps between cardboard pieces (this did NOT work, but did help me to know the direction I should go!)

For my dies I had a super scientific way to store them, all in a lump in a cool metal bowl... another clue! (this did NOT work but I liked that I could carry it around with me!)
Update! I Can Find Things!
Today in the shower (where I get all my best ideas) I thought I should make some fun printables for tag dies. And then I went to the box and found them right away... that would NEVER happen in the past.
I would have had the idea, then realized I had to sort them all out of the mess and then given up... doing a happy dance for organization!
What Is Important To Me?
After the myriads of debacles I had to overcome, I wanted to come to a final solution that addressed the things that I thought were important!
To figure this out I used what worked and didn't work in the past and also did some pretty intense research to see what others found important (I watched a bunch of YouTube videos about stamp and die organization... yep! this is my job... whoo whoo!)
And I came up with 10 criteria that I would use to make my system:
Portability - This was SUPER important to me! I like to carry my art supplies around to different places in my house (my chair, art room, bedroom). And it had two levels... did I want to carry them ALL around like in a binder or just the ones that I was using for a particular project?
Seeing Them - I am a hot mess when it comes to organizing... I have to be able to see my craft supplies or I never use them! But there had to be some way to see them AND have some organization rather than digging through every stamp and die every time I started a project!
Names & Numbers - One thing I found that was super important to the gals on design teams or brand reps was to know the actual names and numbers of stamps. This is not important to me and if I do have to figure it out I just use Google image search.
Can Find Things - I have spent WAY too much time in my life searching for that ONE stamp that I HAVE to have for this project and never finding it. So the solution had to put ALL my stamps in one place (clear ones, red ones and even the wooden stamps), dies too!
Seasonal - Do you have a lot of Christmas or Easter stamps and dies? Maybe put your birthday ones in this category too!
Easy To Add To - Okay this one was crazy pants to me! Some of the gals had numbered their stamp sheets and then had a reference guide that they used to show the stamp and a number. Then they would go to their computer or label maker and do another one when they got a new stamp. I would NEVER do that! So I had to find an easier way to be able to add stamps and dies later.
Can Put Back - Here is another big one for me, I had to be able to put my stamp back where it belonged when I was done (which could sometimes be weeks later!) I know some people use a stamp or die and immediately put it right back, but that is just not me!
Keeping Together - Because I use stamps and dies at the same time in projects, I didn't want to have to go to the "stamp box" and then the "die box". I tend to make art that is "steampunk" or "girly" and want different kinds of materials like gears or flowers. It doesn't matter if it is a die or a stamp, it is more the image that I focus on!
Inventory - Some people (organized people) are terrified of buying the same stamp again. While that does happen from time to time with me, I just don't care that much about having duplicates to keep track of EVERY stamp or die that I have ever bought. You might want to know all your stamps and dies, in that case inventory is important!
Use Often - Of course I have stamps and dies that I use more often! These had to be in a "special" section where i could find them easily!
Creativity - I put this last but it is probably the most important thing to me! My stamp and die organization is NOT the project, my artwork is the project and I don't want to spend all my time messing around with the tools, I want to make pretty artwork!
Picking Stamps and Dies Categories
The next thing I had to think about was how to sort my stamps and dies! I can't believe how many things there are to think about!
Sorting By Manufacturer
The first thing I noticed when I was watching organization videos was that many gals organized by manufacturer. I think they even do it by the actual stamp set or die set. For example, here is a stamp set from 49 and Market that is called Artsy (I love that!)
That seems to work well when you are a designer or brand rep!
But for me, I would never remember that "Selfie" is a certain manufacturer and also would not think to look for a film strip on a card that has words on it.
Sorting By Category
THIS is how I organized my "stuff". Whether it was a stamp, die or even embossing folder, it went into the correct category.
Here are some categories you might want to use!
- Manufacturer
- Season (Spring, Summer, Winter, Fall)
- Holiday (Christmas, Easter)
- Babies/Children
- Words
- Bible
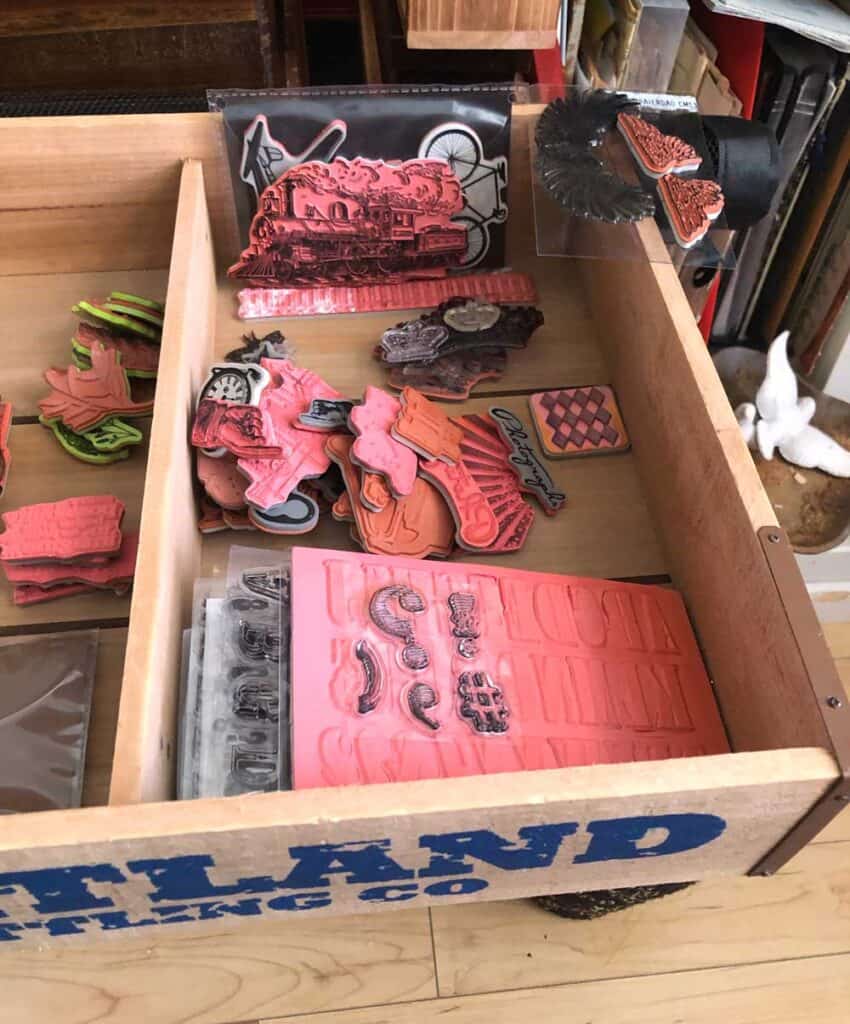
- Steampunk
- People
- Silhouettes
- Hearts
- Alphabets
- Birds
- Backgrounds
- Architecture
- Monsters
- Vehicles
- Blueprints
- Borders
- Animals
- Bugs
- Leaves
- Flowers
- Trees
- Fairies
- Farm
- Arrows
- Patterns
- Numbers
- Travel
- Feathers
- Royal/Crowns
- Wings
- Frames
- Sailing
- Writing
- Labels
- Landscape
- Hobbies (Knitting, Sewing)
- Calendar/Planning
- Tags
- Tabs
- City (Paris, New York)
- Sports
- Western
- Fish/Fishing
- Circus
- Faces
- Skulls/Spooky
- Mermaids
- School
- Sun, Moon, Stars
- Technology
- Coffee
- Cooking
- Banners
- Film/Movies
- Boarders
- Lace/doilies
- Shapes (stars, arrows, circles, squares)
I picked the categories I have now AND ones that I like that I thought I might buy stamps or dies for (this means that I don't have to go back and re-organize or figure out what I did the first time if I add new products!

I am a super nerd and love to make worksheets so I can do things more easily... get this handy dandy Stamps & Dies organization worksheet in my free resource library!
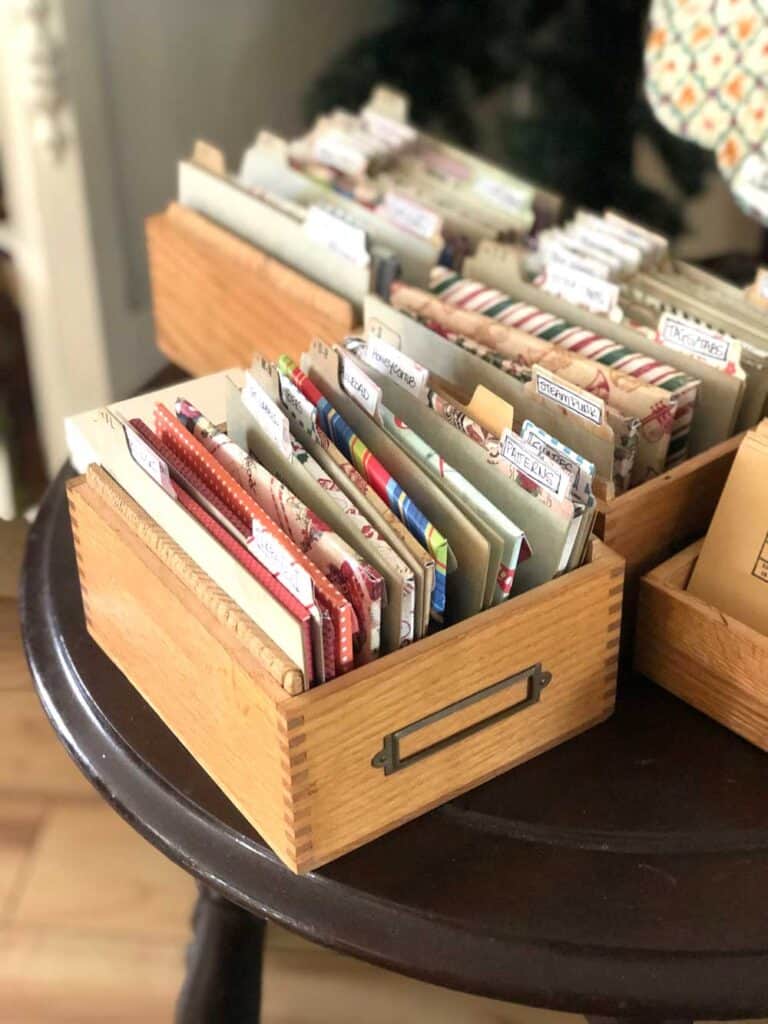
Picking My Storage Solution
The next thing I needed to do was pick where I wanted to store them all! I went onto Ebay and got a set of 4 index card boxes that already had divider tabs (it was for a filing class... how fun is that?) It was about $35 for all four of them including shipping... SCORE!
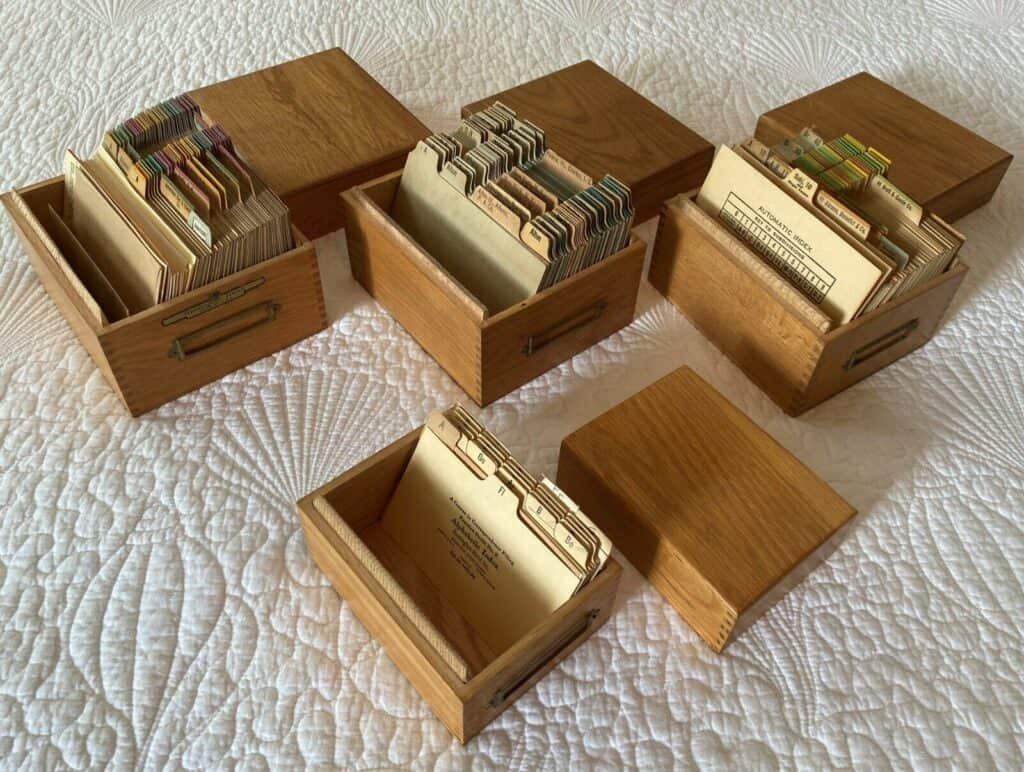
Things that were important to me:
- They could be small enough to move around
- I wanted vintage wooden boxes (you could cure recipe or library boxes too)
- I could easily have a way to separate the stamps and dies according to category
- I liked the little slots in the front that I could use to label the boxes too!
I knew that I was going to have even more dividers that I could write on and make look cute, but having the different ones already made was a cool feature!
I am thinking I will use a cute little wooden recipe box I have to make a smaller one for my "everyday" stamps... will post a how to when it is done!
Size of Storage Solution
Okay, I just want to take a wee minute and talk about the size of the storage solution you need.
I picked the size of the boxes and then was super willing to make my stamps and stencils fit in there (I cut them down!!!)
Now that might be too radical for you... in that case you have to figure out a size that will work for your supplies.
I make art that is more layered than a big pieces so I would never have used that whole sheet of text on one background anyways. You might craft differently so you need to pick a size that works for you!
Throwing Out Craft Supplies
Oh man, here is another one that might make your skin crawl! I took this time to get rid of stamps that were broken or that I would never use.
Because I had some in boxes for years, the clear ones broke down and tore apart. I decided that with a few exceptions, I would only use red cling stamps from now on!
One of my favorite stamps, a clear one with words is basically so fragile at this point that I have to baby it... I decided to buy a new one to replace it (because I made more room by getting rid of the ones that don't work!)
Fitting Your Container
I don't know if you follow Dana from A Slob Comes Clean, but she is super dedicated to only having as much as will fit into a container.
I made my total amount of space for stamps and dies the three boxes I bought, so everything has to fit into there!
That means I can only keep the ones I love and use and then get new ones if I have room for them!
Additional Resource :: 10 Things I Learned About Cleaning My Craft Room
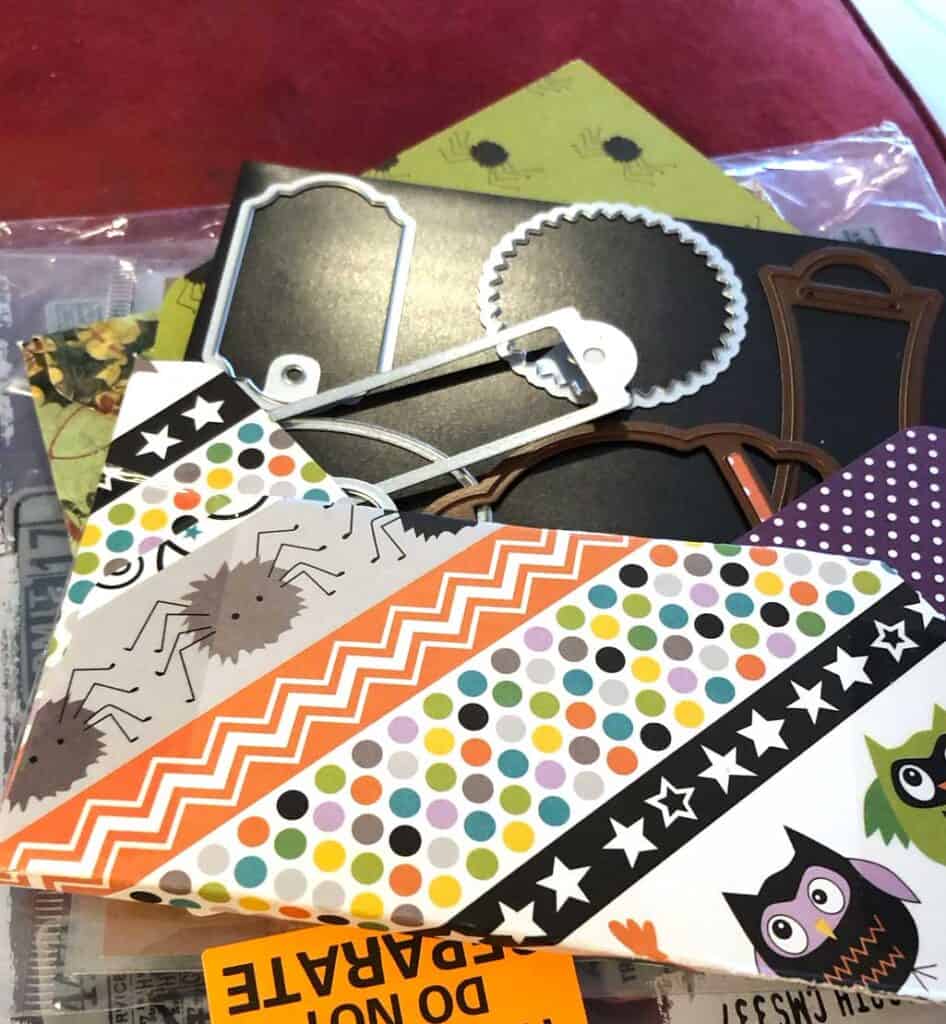
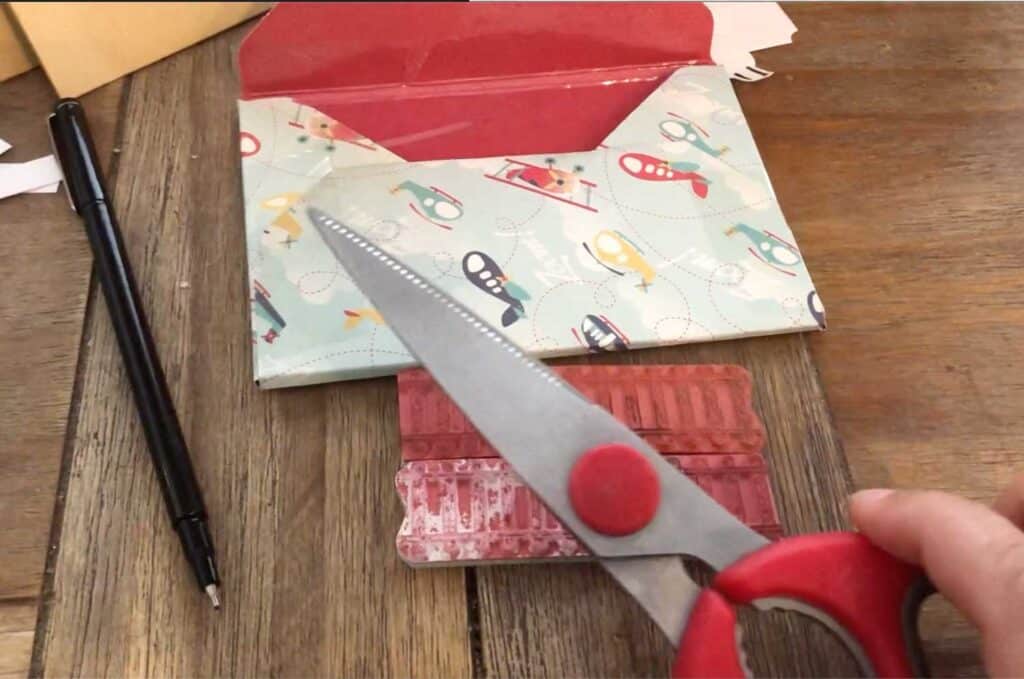
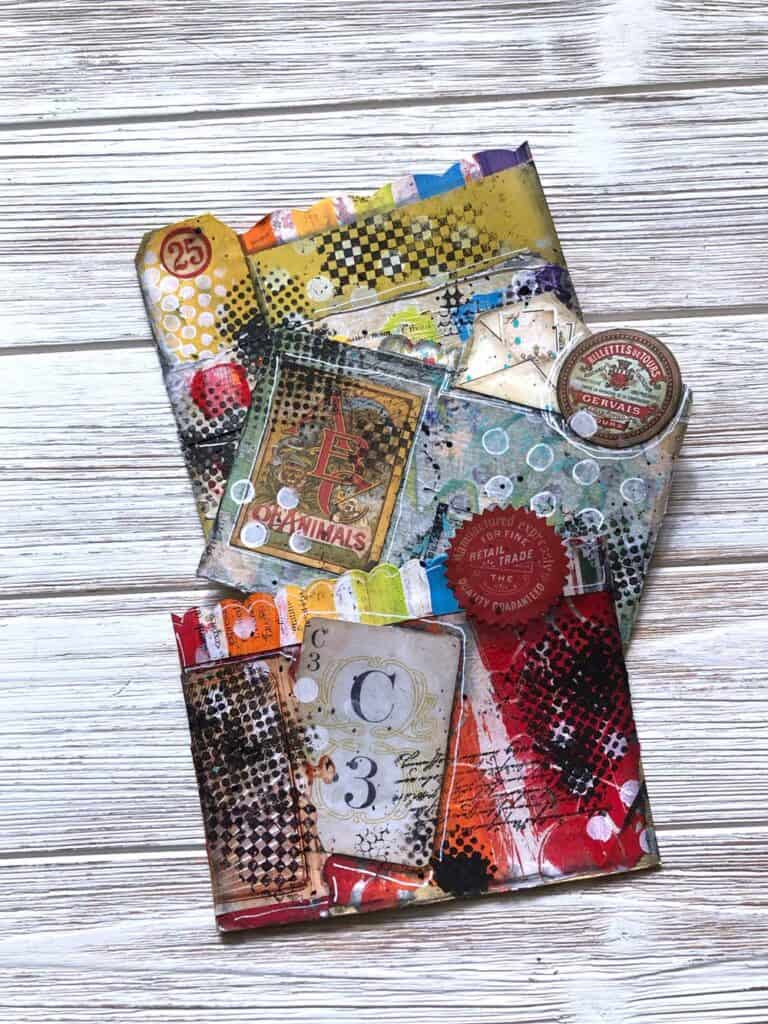
Using Deeper Envelopes
One of the things that made the most difference in this project was making my envelopes about ¼ of an inch deep instead of the mailing kind.
This lets me put the dies onto the envelopes on magnet sheets, the red cling stamps fit perfectly AND I can put cut out dies and ready made tissue paper into the matching envelopes!
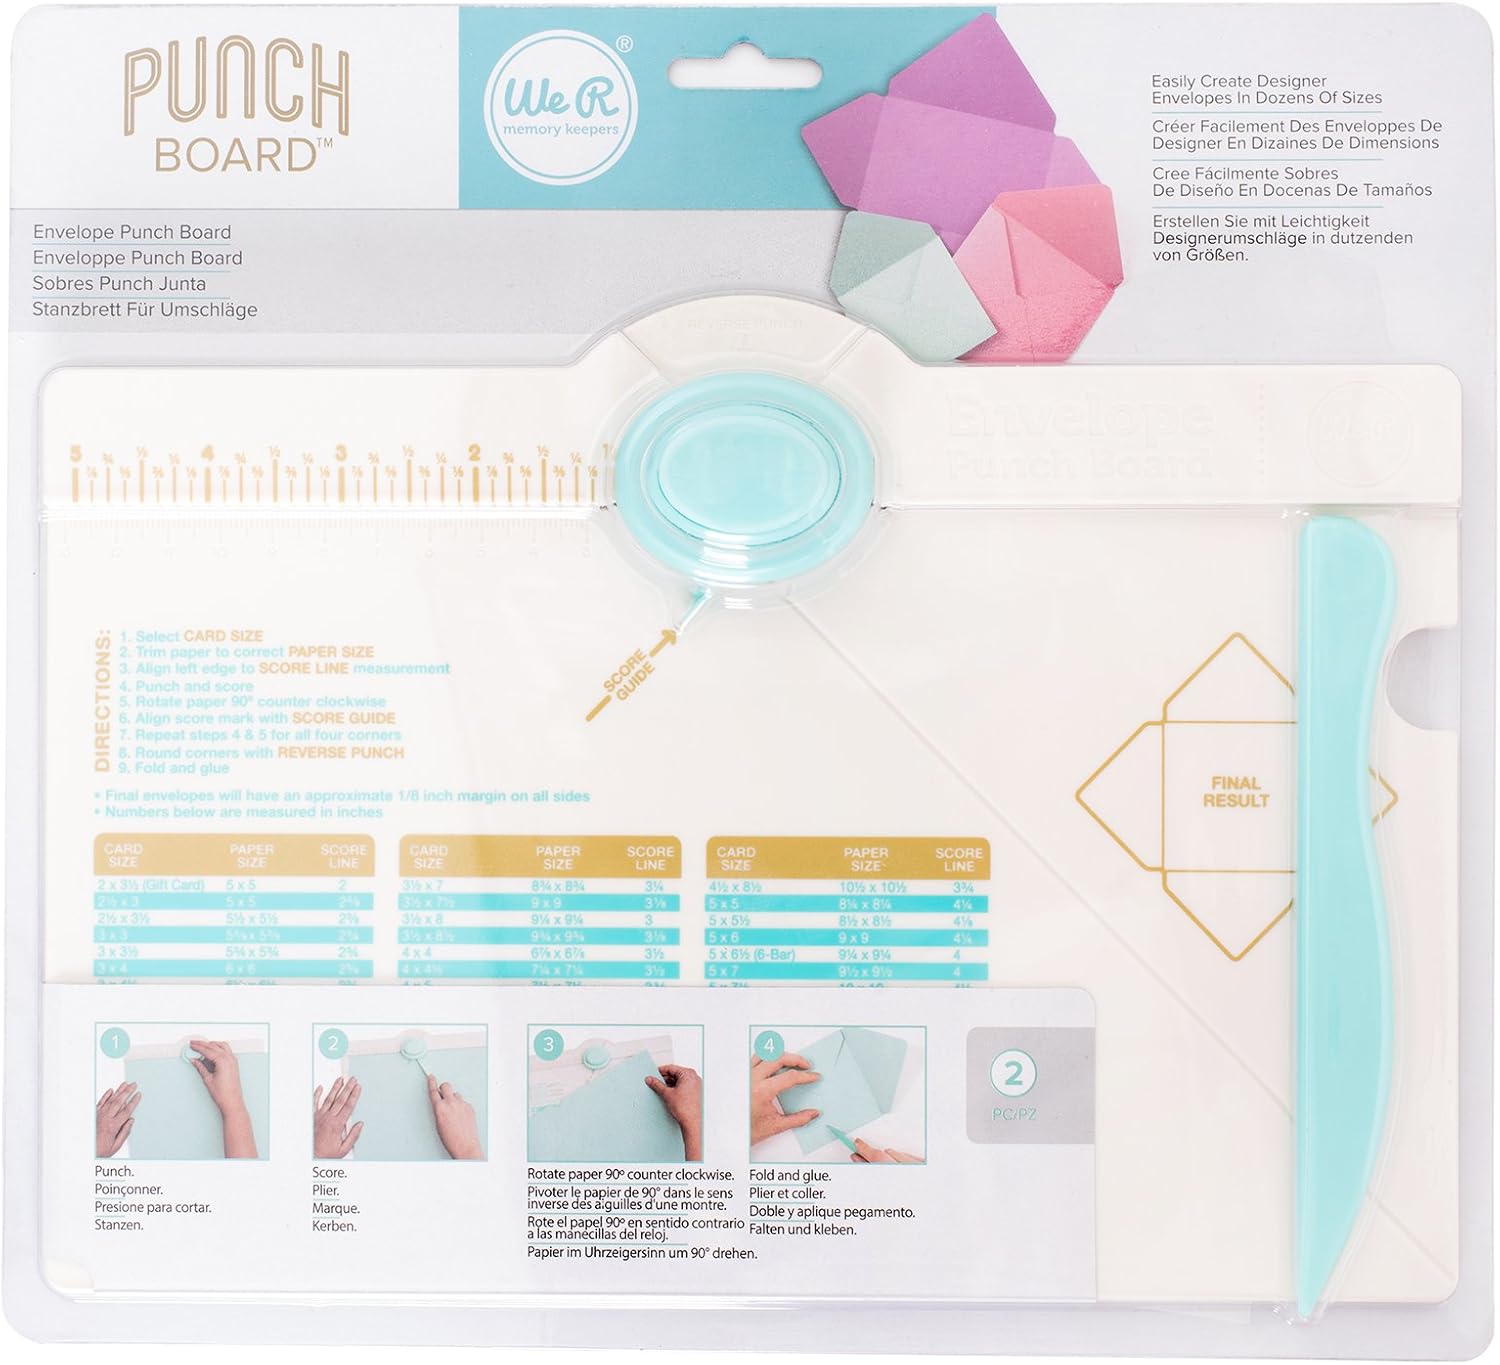
I followed this video from Jennifer McGuire about how to make deep envelopes.
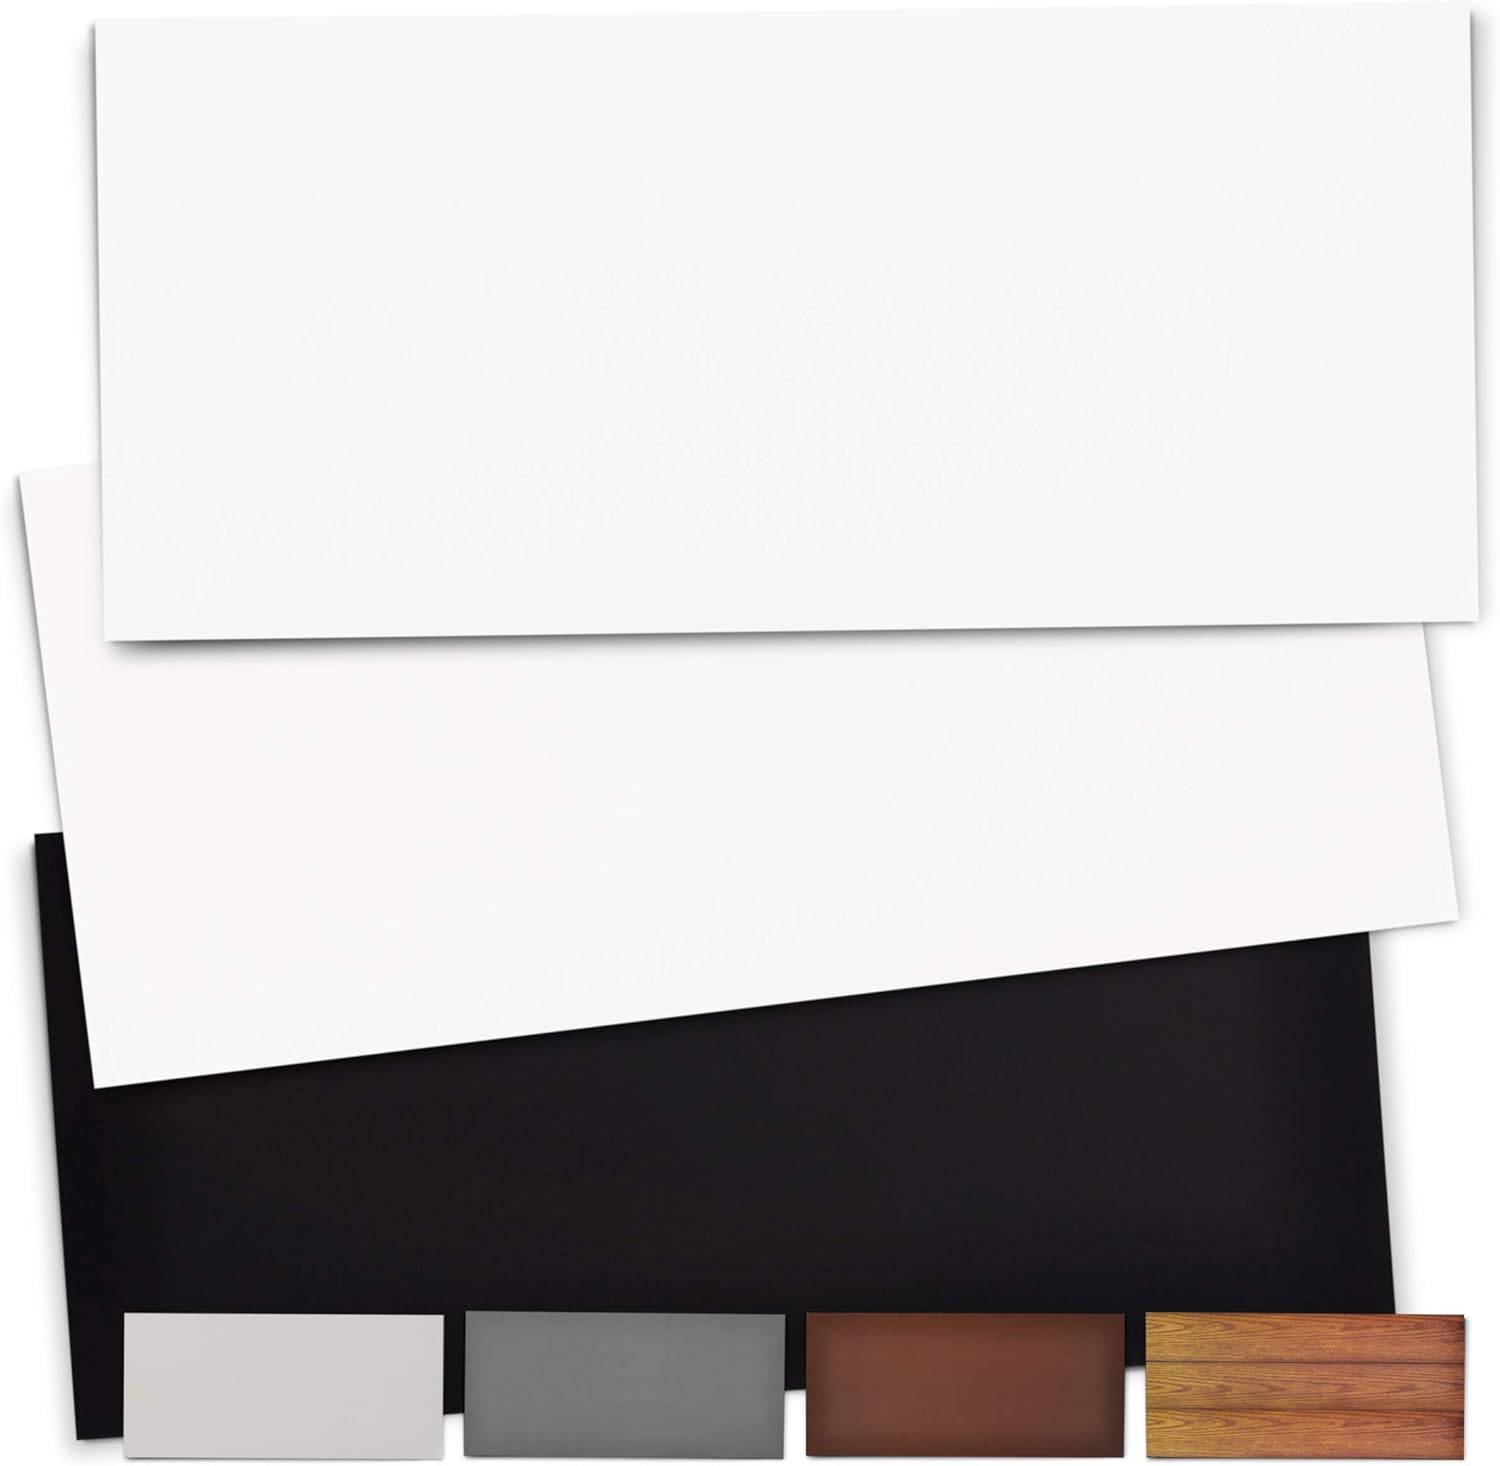
Envelope Punch Board by We R Memory Keepers 5.5” x 12 “ Extra Magnetic Floor Vent Covers
Final Stamp Storage Boxes (Before Fancy Bits)
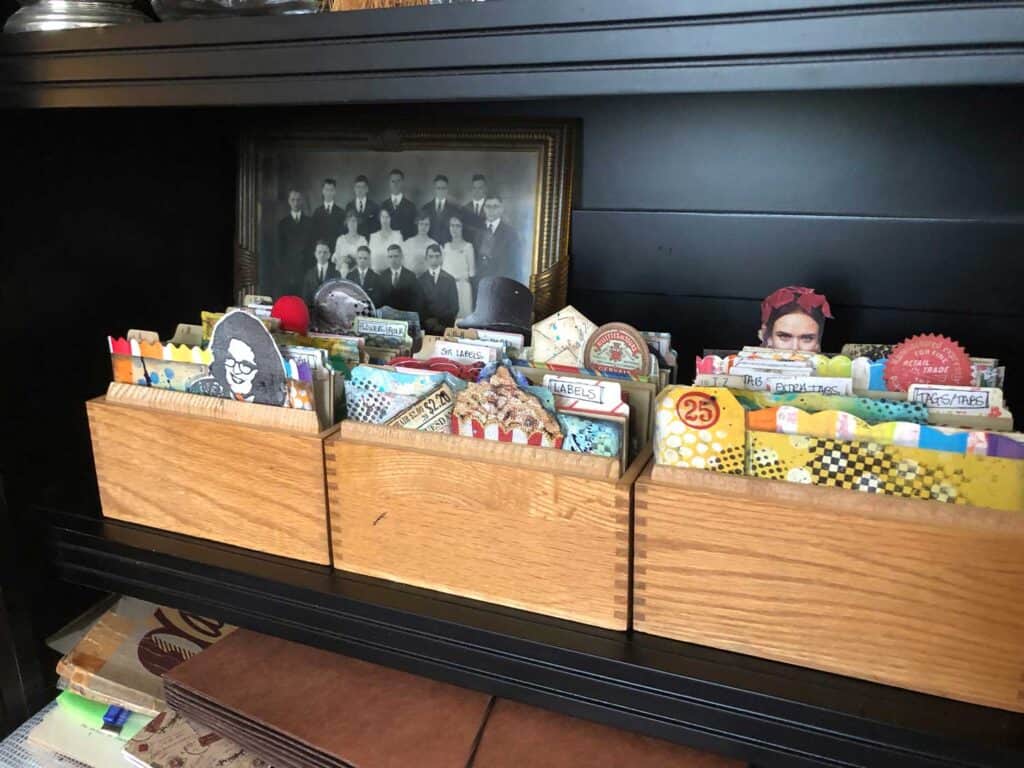
I got the project done (I thought!) I had the right side labels as the main categories and then used the left side labels to say what things were (stamps, dies, etc.)
I had used colored paper for the envelopes and also the tabs of the dividers so I thought it would look super cute... but it was sort of plain... sigh.
So I decided to spiff it up with some..
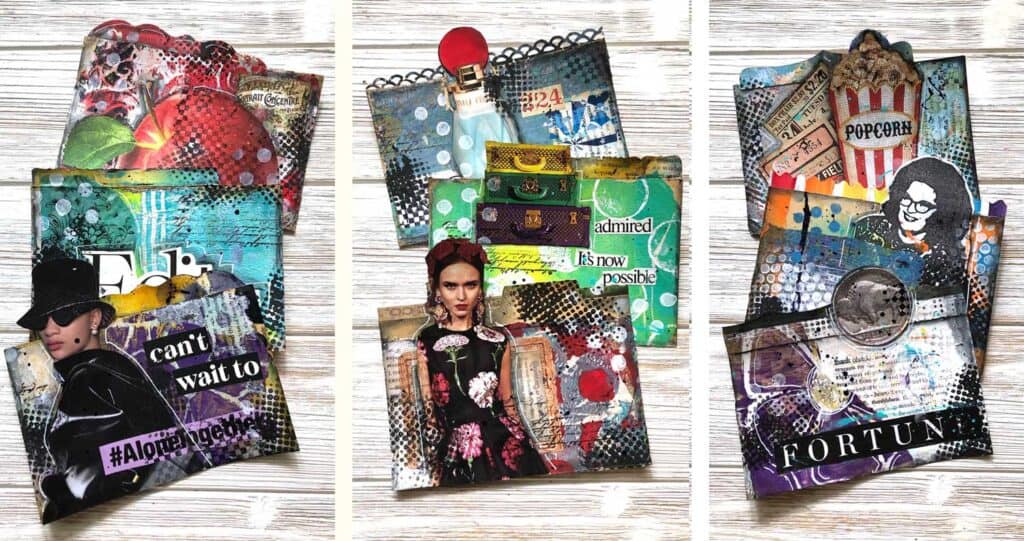
Section Dividers
Okay, here is the thing, I wanted this project to be super fun to have in my room in addition to being effective for storing my stamps and dies.
I decided to add some steampunk dividers (you might want flowers or some other kind of thing that is your taste!)
These turned out super cute! The fun thing is that the one on the right is my Mom from the 60s that I made an outline in Illustrator.
And here is the final version with with the cool modern Steampunk dividers in it!
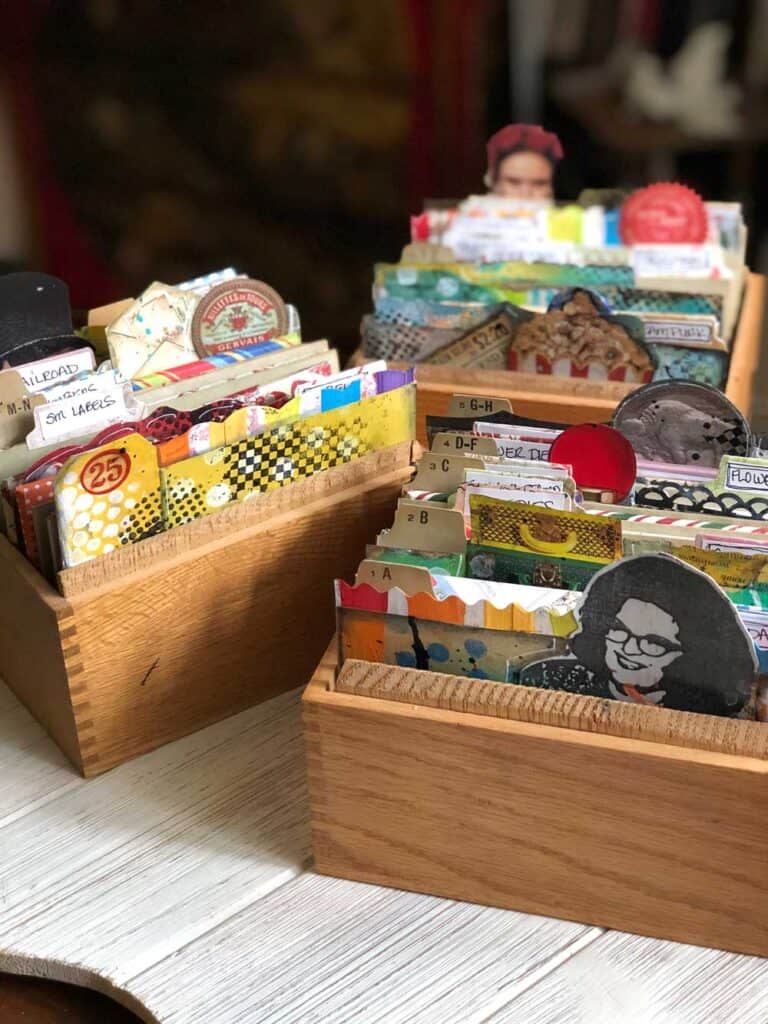
And what it looks like in my bookcase! I am truly in love!