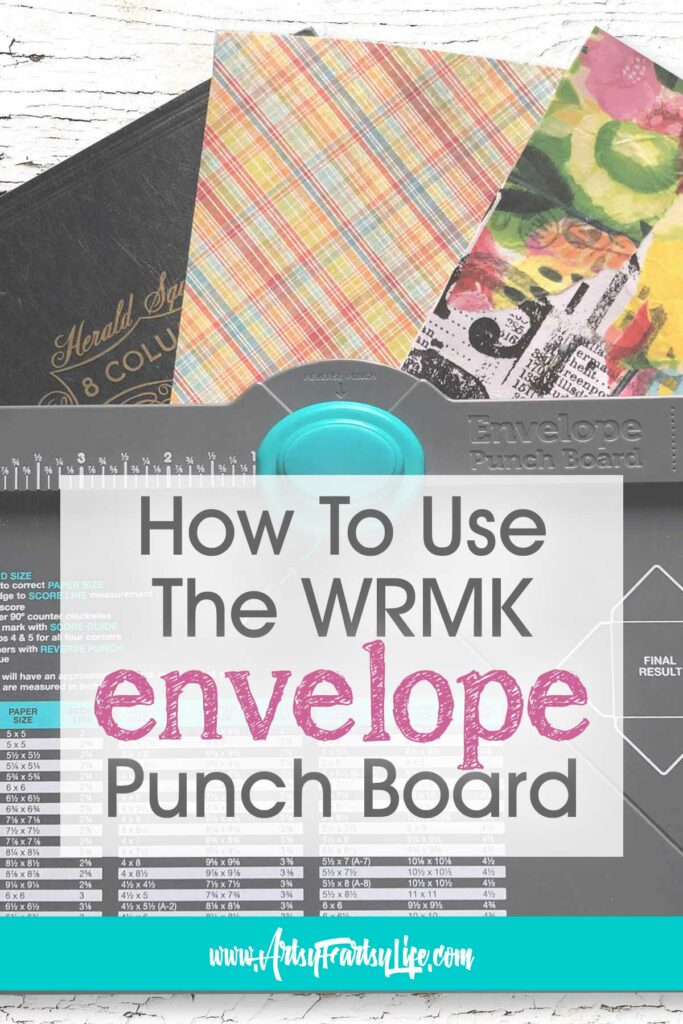
How make backgrounds, tag pockets and art journal pages with the the We Are Memory Keepers envelope punch board. I KNOW, it is supposed to be for card makers but mixed media artists can use it too!
How To Use The WRMK Envelope Punch Board Video
Tools You Will Need
This is a super simple project! You NEED the We Are Memory Keepers Envelope Punch board, but having a paper cutter to make sure your envelope paper is the right size comes in handy too!
You also need a bone folder (the tool to make the creases) but that comes included in the punch board!
Art Supplies You Need
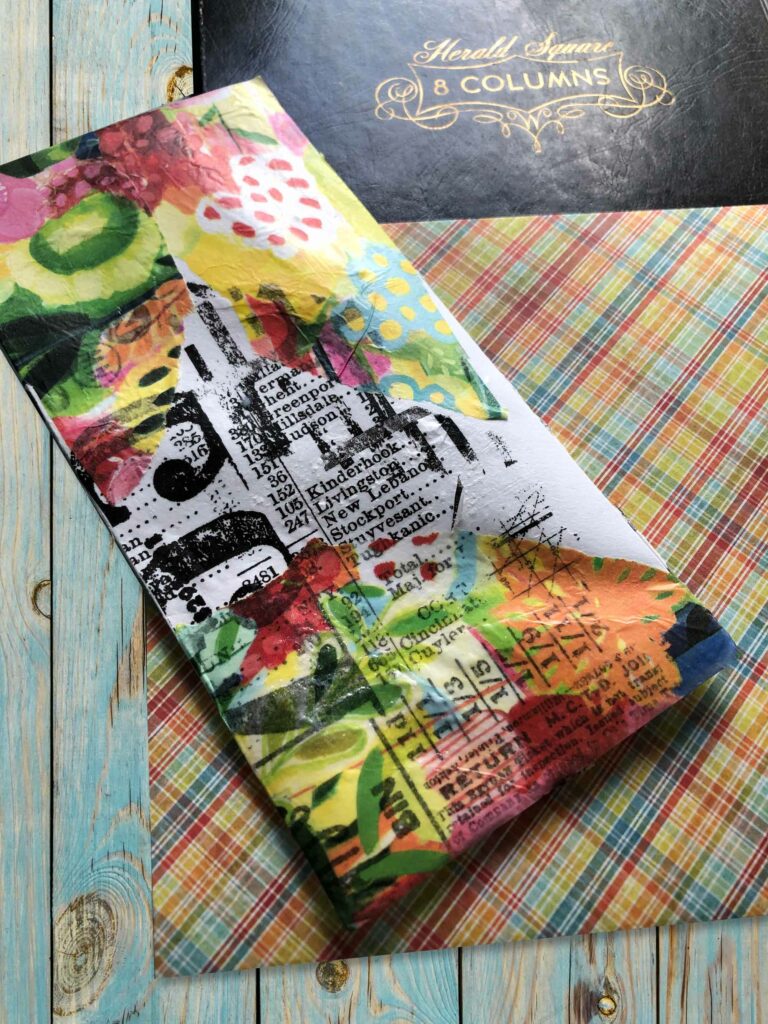
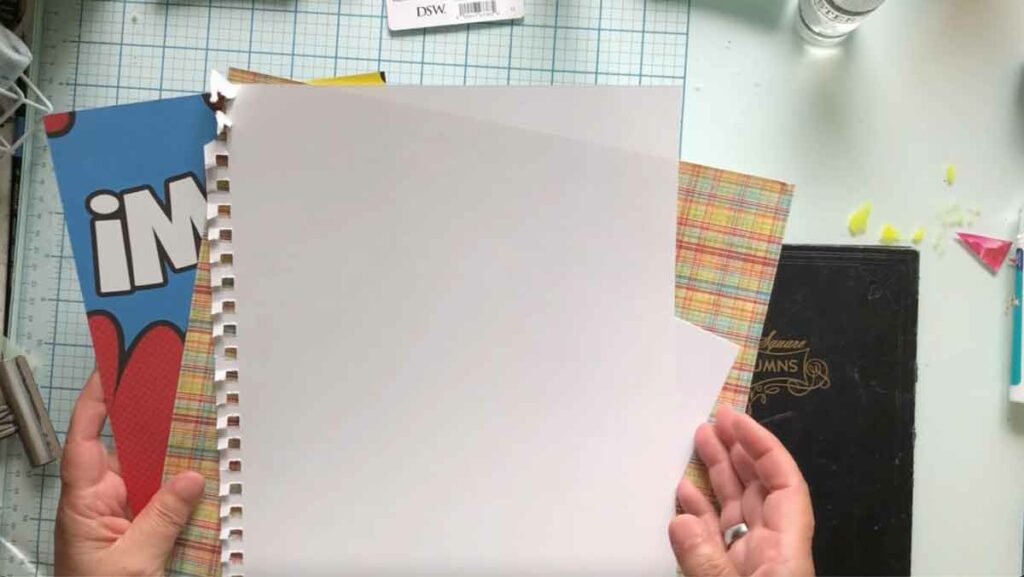
Here is fun thing... you can use ANY of your papers on this project! I used a cheap piece of scrapbook paper and also a heavy piece of Canson mixed media paper!
Some things to consider when choosing your papers...
Scrapbook Paper
If you are like me, you have a HUGE stash of scrapbook paper that is PERFECT for making envelopes. Double sided paper will give you a cute "inside" look or cheap one sided paper is great for making a pouch or pocket because you won't even see the inside.
For scrapbook paper, the more expensive, thicker double sided papers will occasionally "break" around the edges and show the white paper the patterns are printed on.
This doesn't bother me as I can just use a piece of washi tape as a "border" or paint some India ink around to blend it in.
Watercolor or Mixed Media Paper
This one may freak you out a wee bit, but I RECOMMEND using some good paper for your envelopes.
Because I am going to be doing mixed media (collage, painting, textures, etc.), using just scrapbook paper could seriously limit what kinds of media I can use.
Having heavier, better paper is a great way to make a solid, playable art journal base!
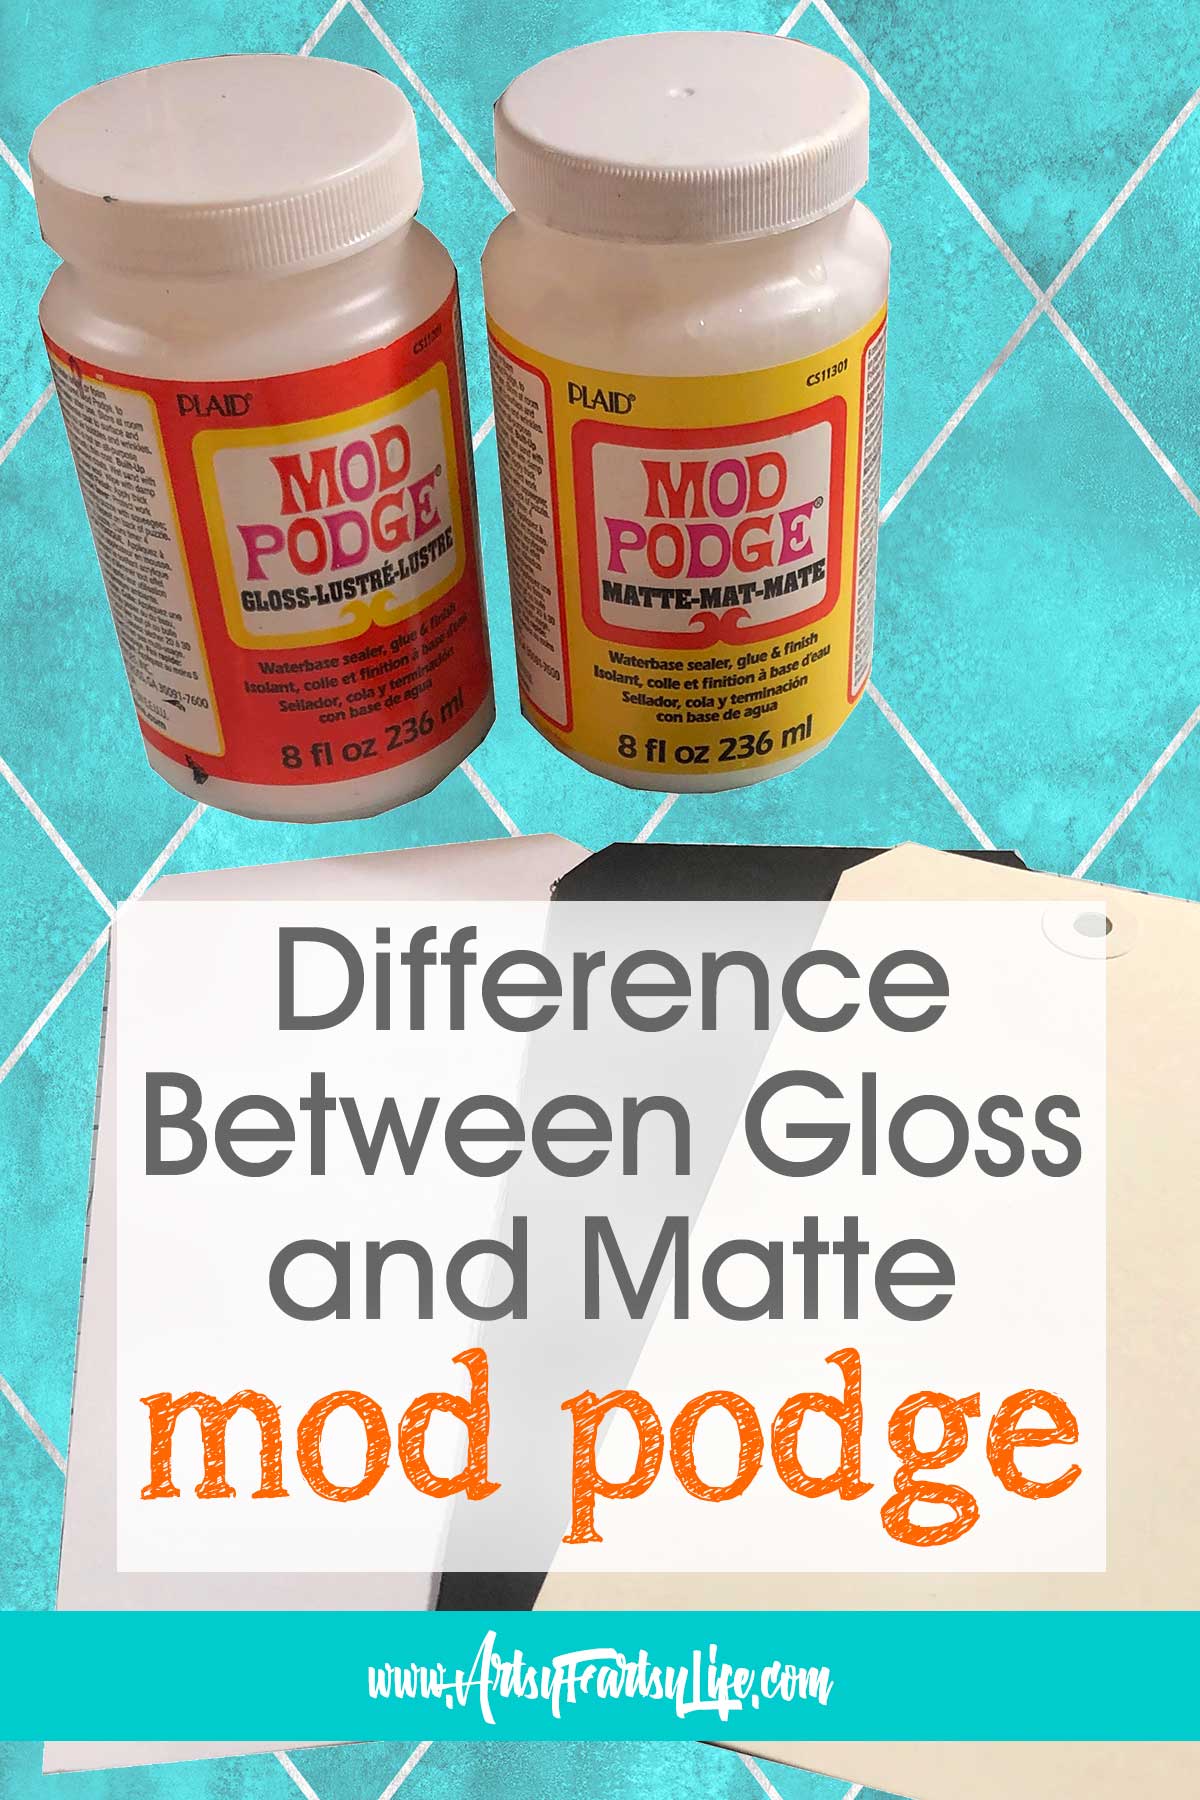
Glue or Double Sided Tape
The last thing you are going to need is some kind of adhesive to stick your envelope together!
I like using Nuvo Glue, which is a wet glue but it dries without wrinkles, but a glue stuck or even elmers glue will work!
Here is a fun post where I go over the best glues for collage!
How To Make An Envelope With A We Are Memory Keepers Punch Board (Step by Step)
Okay, now we are ready to make the envelopes!
Pick Your Envelope Size
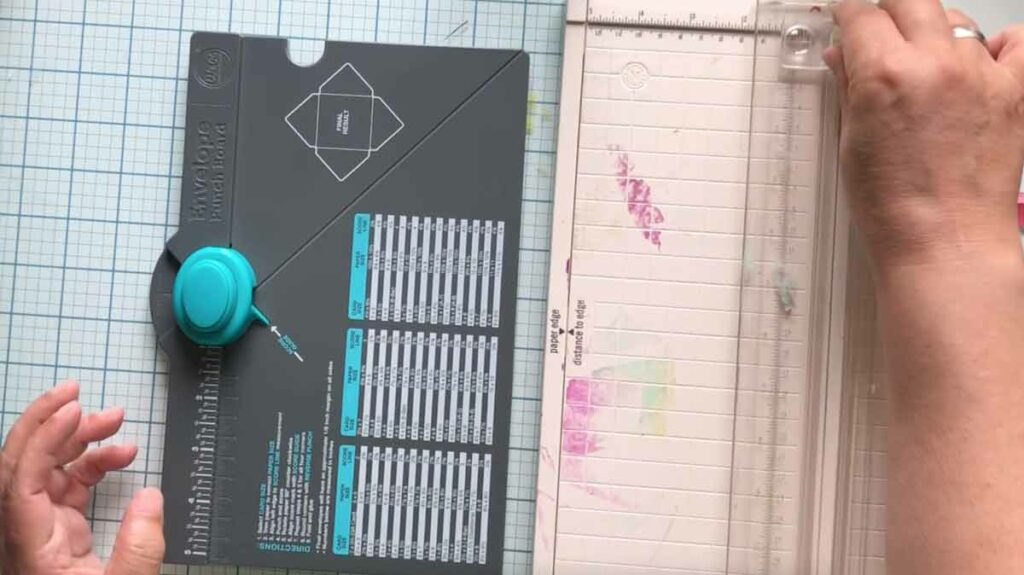
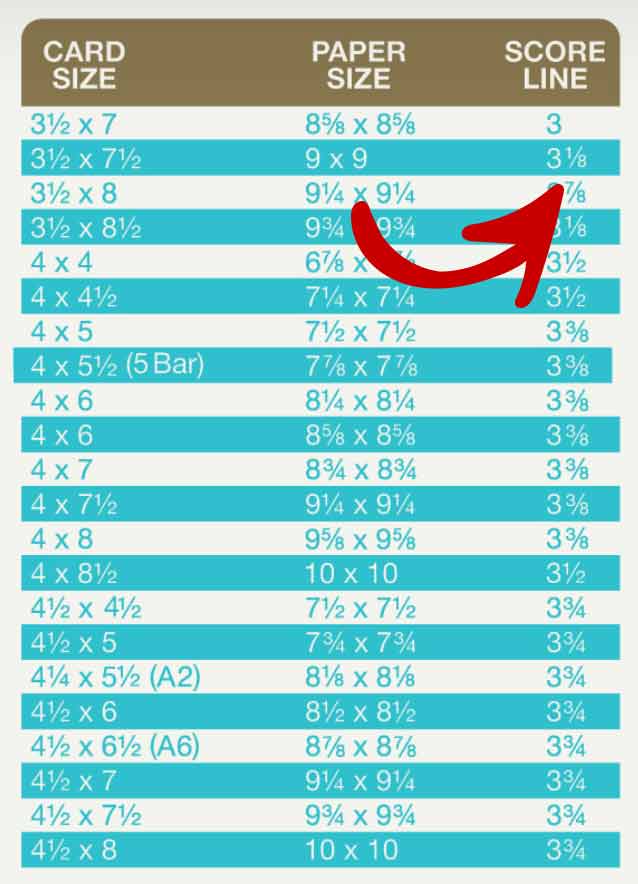
There is a handy chart on the side of the punch board that shows you what size insert you can put in your envelope.
Because I am using my envelopes in an art journal instead of for mailing, I can pick whatever size I want (as long as the paper is big enough to cut!)
My longest edge paper was 9" so I picked to make a 3 ½ X 7 ½ card sized envelope (here is a link to the WRMK envelope size chart in case you don' have one of these for some reason!)

Cut Your Paper To The Right Size
The punch board chart will tell you exactly the right sizes to cut your paper. FOR SURE you can do this with a pencil and scissors, but if you have a paper trimmer you will get much cleaner edges and straighter lines.
Find Score Line Size
Because I picked the 9X9 paper I can slide on over and see what my score line is going to be.
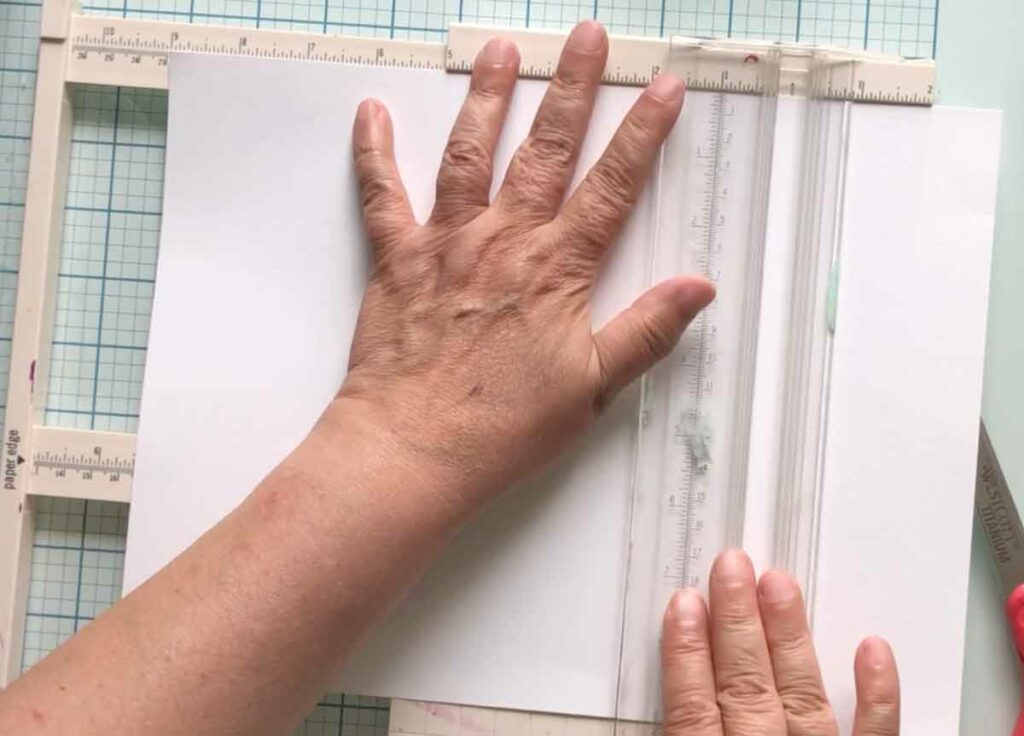
Place Paper and Line Up The Score Line
This is the most important step and sets you up to have a perfect envelope! My score line for this envelope was 3 ⅛.
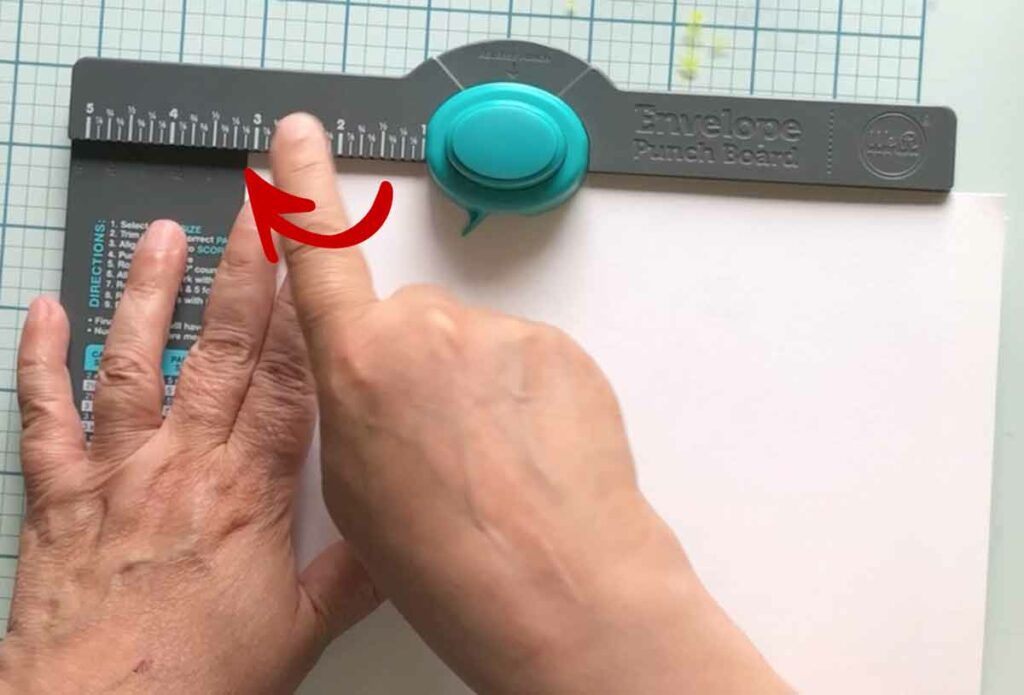
Push The Punch Down To Notch Your Paper
All you need to do at this point is push the punch down! Easy peasy!
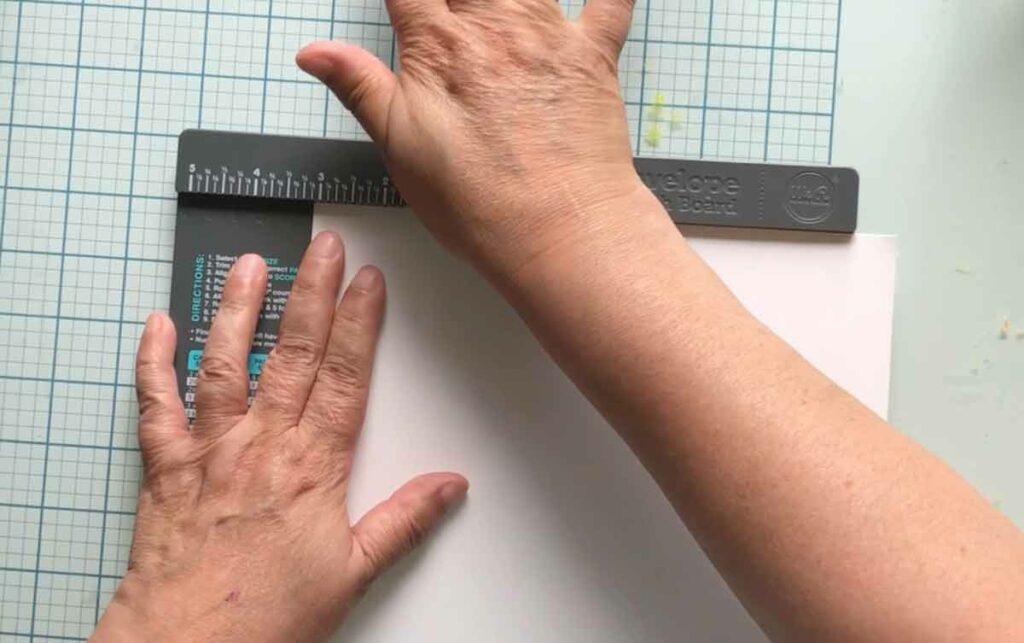
Make A Crease Along The Score Line
The next step is to crease along your score like which starts in the middle of the punch area and radiates out and down to the right.
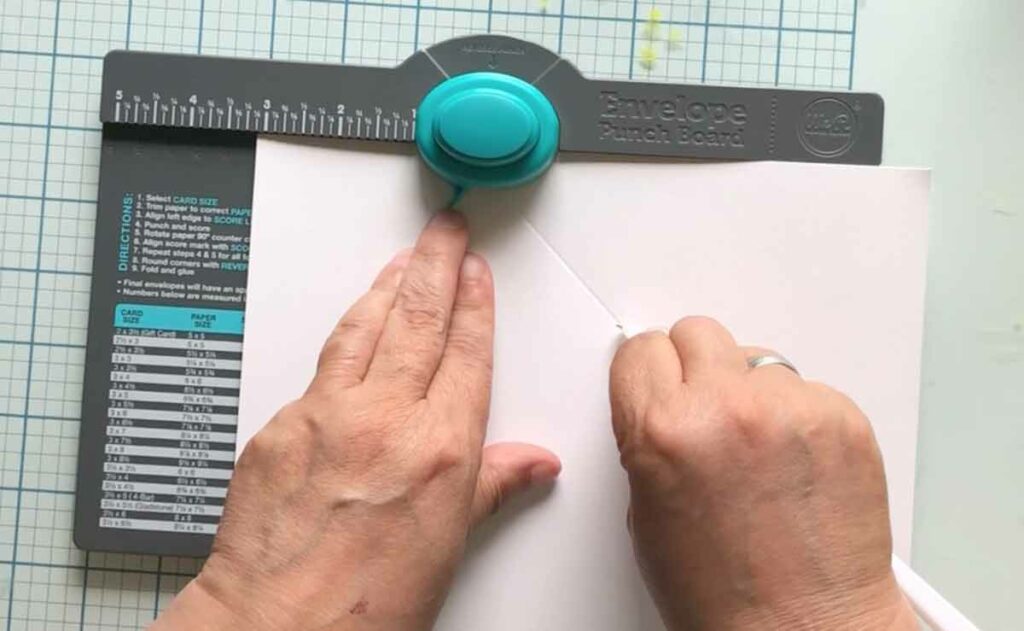
Note: In case you are like me and lose your bone folder (that little blue tool that comes with the punch board), you can use a palette knife too!
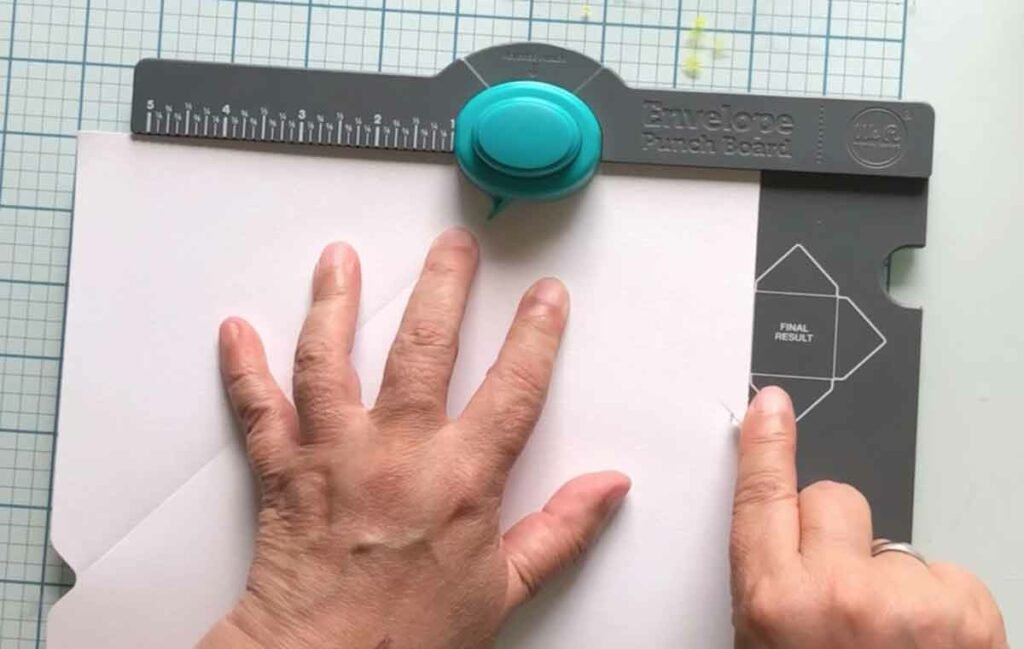
Rotate Envelope So Crease Lines Up With The Pointy Part
You have done all the hard parts and now it is smooth sailing all the way... simply line up the pointy-out bit with your crease
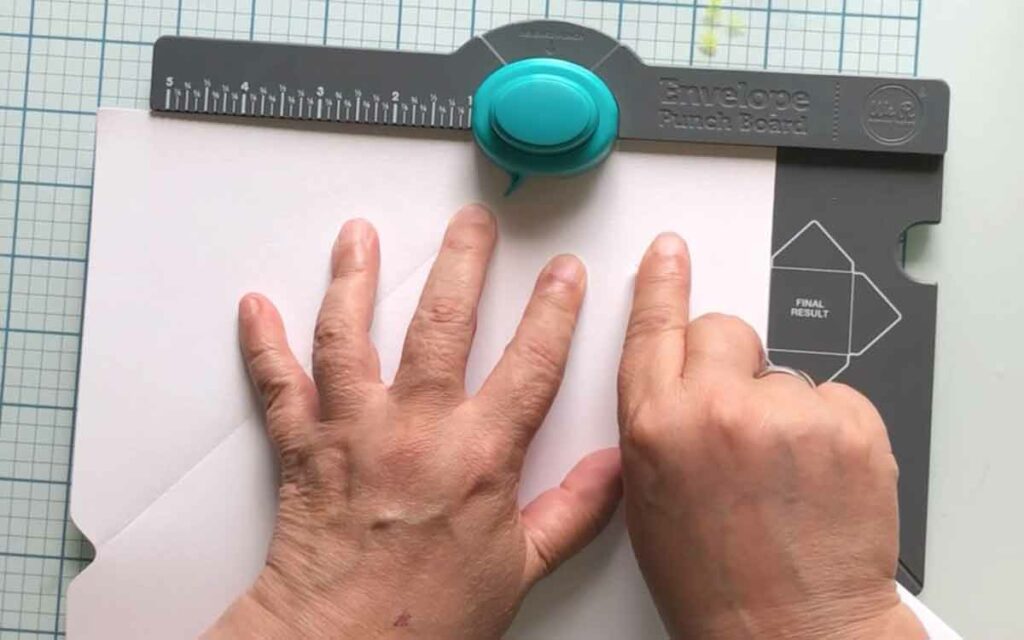
Punch Again....
and score all the way around!
Fold Your Envelope
Next thing you want to do is fold your envelope along the score lines. I don't use the bone folder to make the folds crisp but I have seen others do this.
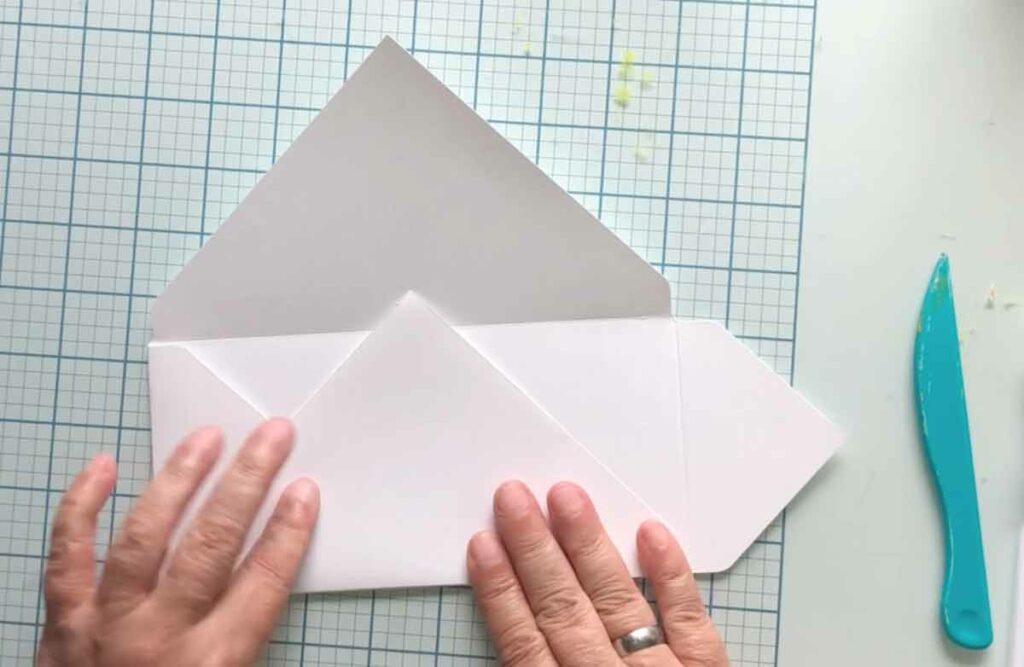
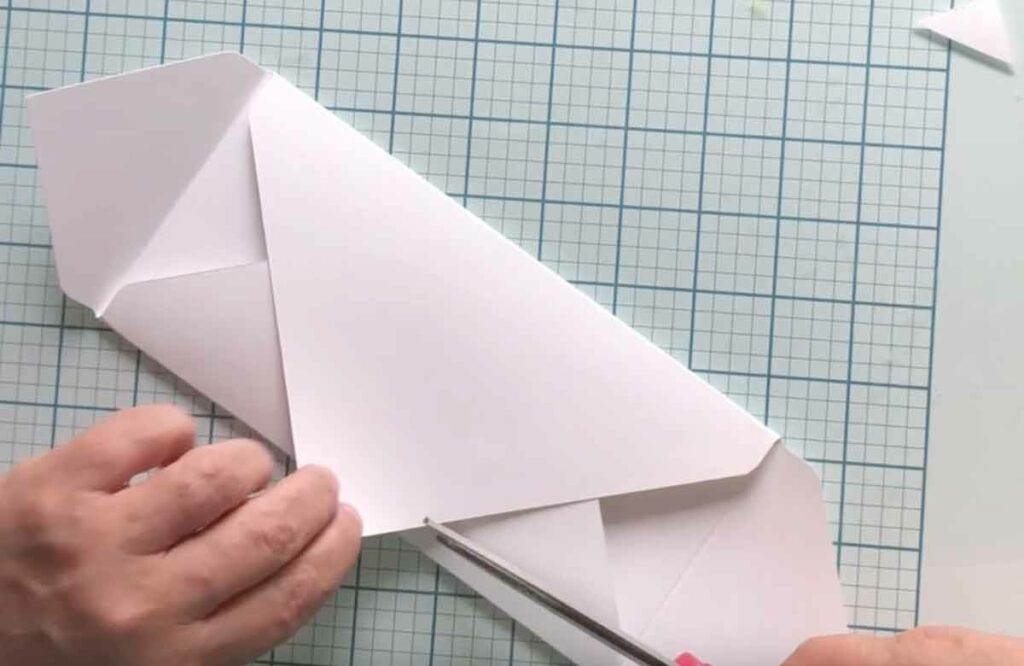
Cut Off Any Bits That Overlap
Sometimes there will be pieces that overlap when you fold your envelope. For mixed media and pouches, make sure you cut those off or your tags and inserts will stick when you try to slide them in.
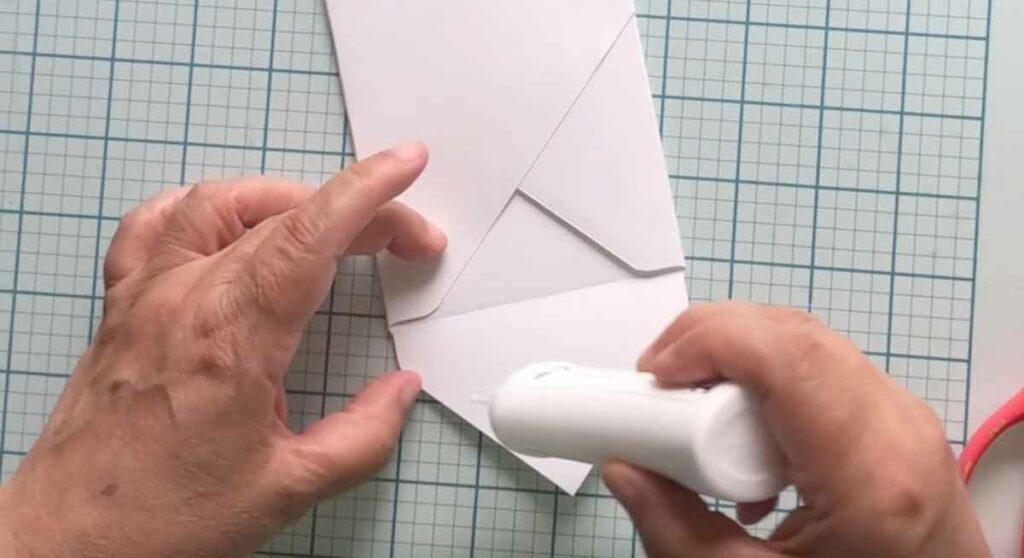
Glue Your Envelope Together
Last but not least, you need to glue your envelope together. I like either Nuvo glue or double sided tape.
Using The WRMK Envelope Punch Wrapup
Okay, that SEEMED like a lot, but honestly, if you pick your size, cut your paper and then just know the first punch place, the rest is just turning the paper around to do the rest of the punches and scores!
I LOVE the connivence of these We Are Memory Keepers tools and am using these envelopes to make a whole WRMK altered book slash art journal!