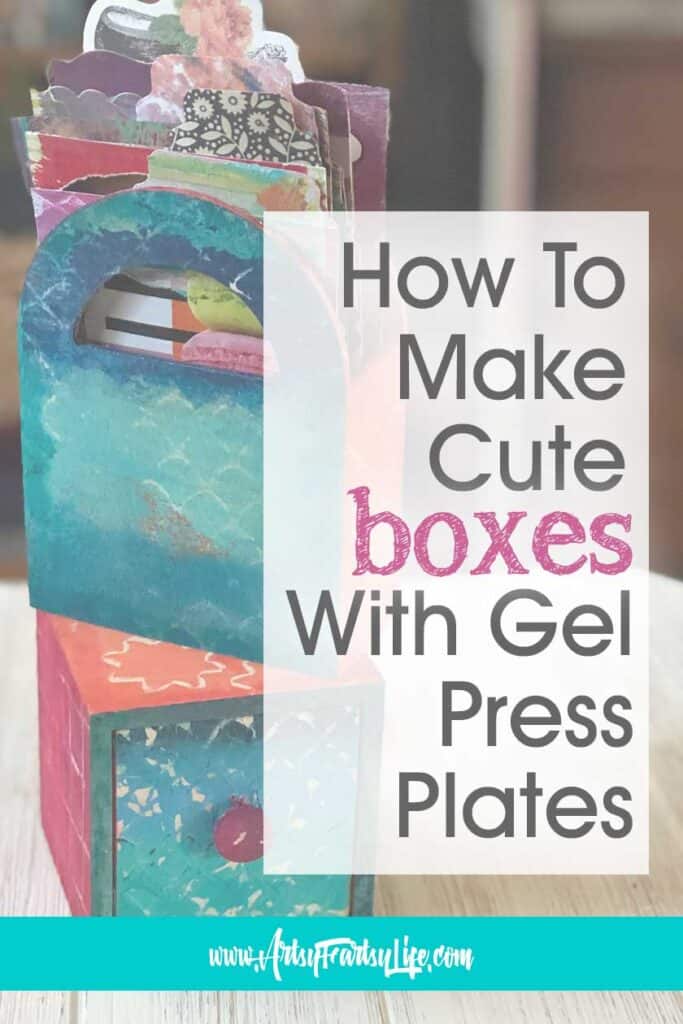
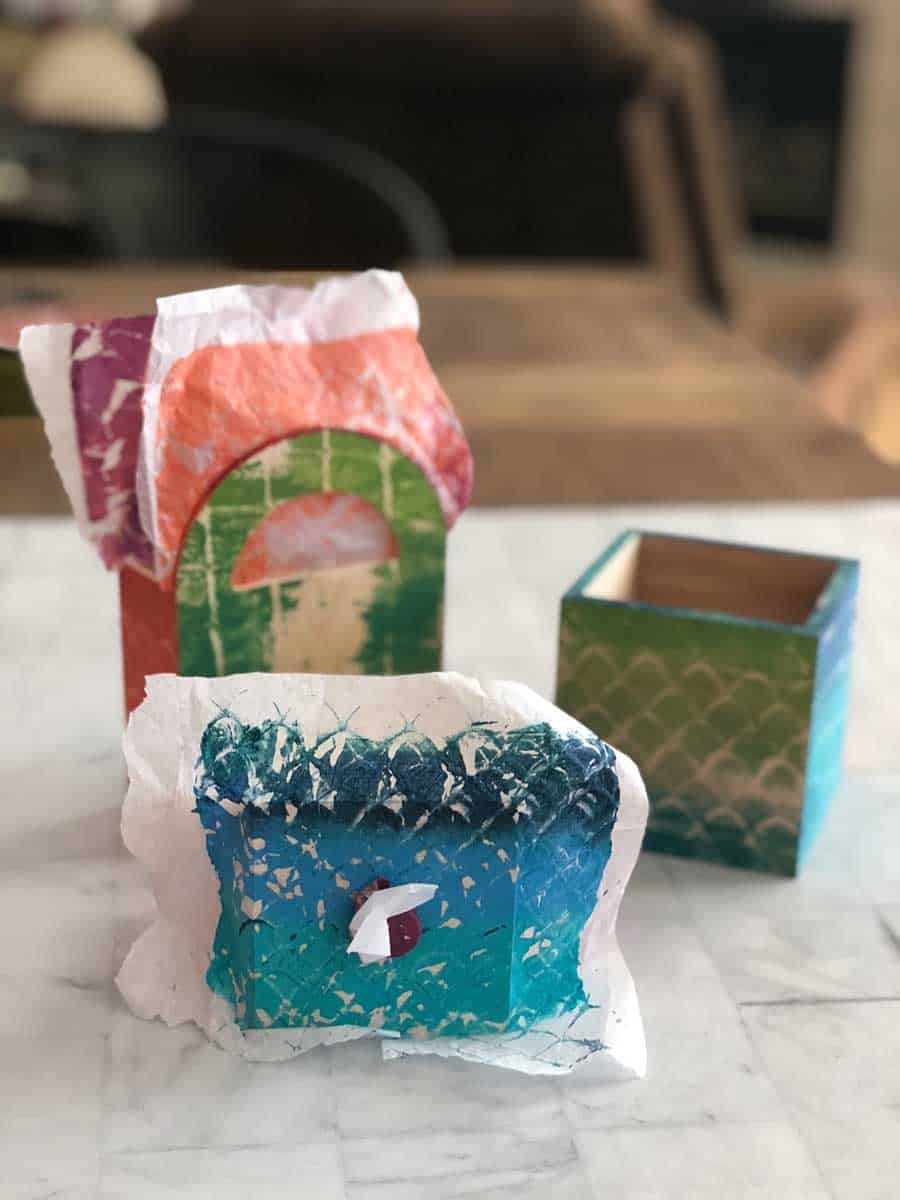
How to make fun DIY storage boxes for your tags or other little craft supplies! A creative way to use your gel press plate to decorate cheap mini wooden boxes from Michaels.
Craft Room Storage
Okay, let's talk about why I LOVE these little storage boxes!
First off, I have things like tags lying around in drawers and cubbies, but I never use them because I can't see them... sigh. Having a cute little storage box like this puts them all together AND reminds me they are there!
Second I am not making a lifelong commitment. I just ordered $100 worth of storage containers for my desktop craft organizer, THAT is a commitment. Doing a tiny little half hour project like this that costs about $3 does not stress me out!

Using The Gel Press To Make Flat Boxes
I LOVE making flat boxes projects... and by that I mean they are not curved surfaces and they don't have lots of "stuff" sticking out so I can decorate them easily!
I did a huge DIY decorative boxes project last year, and I figured out that flat surfaces work best for me! Whoo whoo!
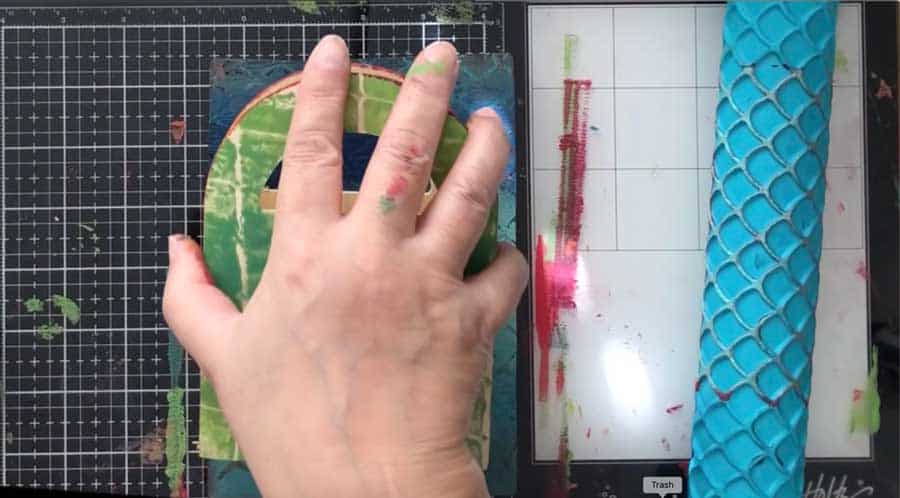
To use the Gel Press on your boxes, just brayer some acrylic paint on the gel press, make a fun pattern and then push the box into the paint (detailed directions below!)
Decoupage The Fiddly Bits
The cool thing about the gel press is you can make patterns on tissue paper!
To go around the front of the box that had a handle, I used a piece of painted tissue paper and just decoupaged it on with a bit of Mod Podge.
Then doing the handle was easy, just form a bit of the tissue paper around it!
Full How To Video Walkthrough
How To Make Decorative Storage Boxes Using A Gel Press Plate
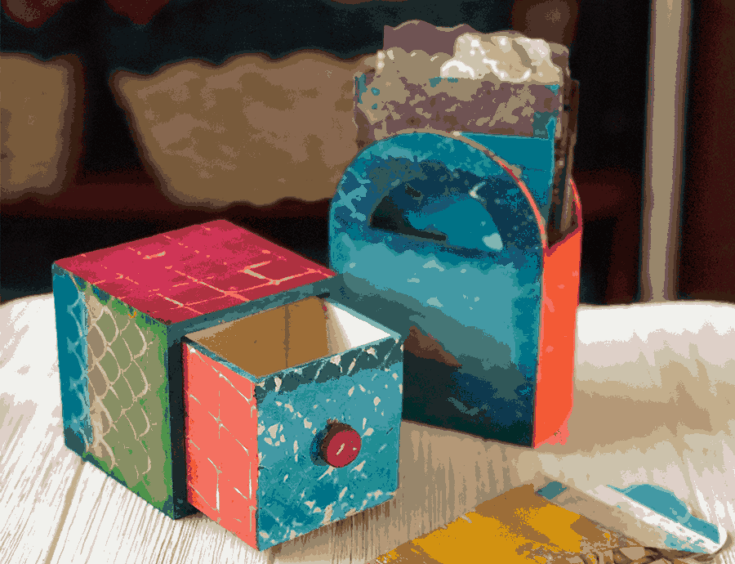
Tips and ideas for how to use a gel press plate to paint a mini decorative craft storage box.
Materials
- Small Wooden Storage Boxes
- Acrylic Paint
Tools
- Gel Press Plate
- Brayer
- Fondant Roller (optional)
Instructions
- Spread Paint On Gel Plate
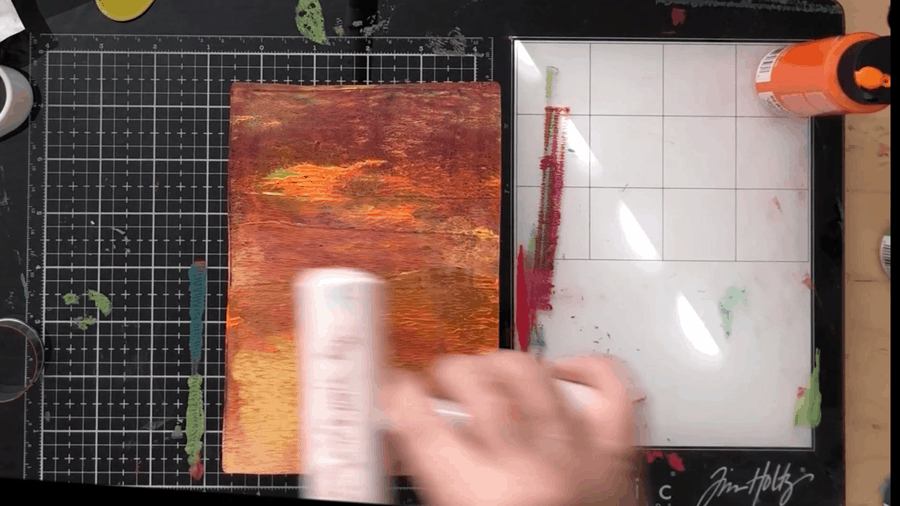
- Use fondant roller or cookie cutters to make patterns
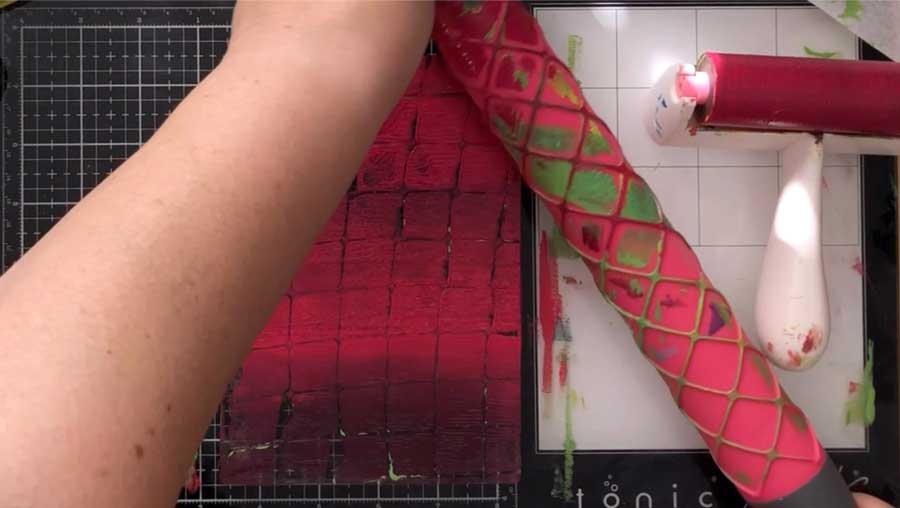
- Push box into patterned paint
- Use patterned tissue paper on front of box (tear "slots" to go around the handle)
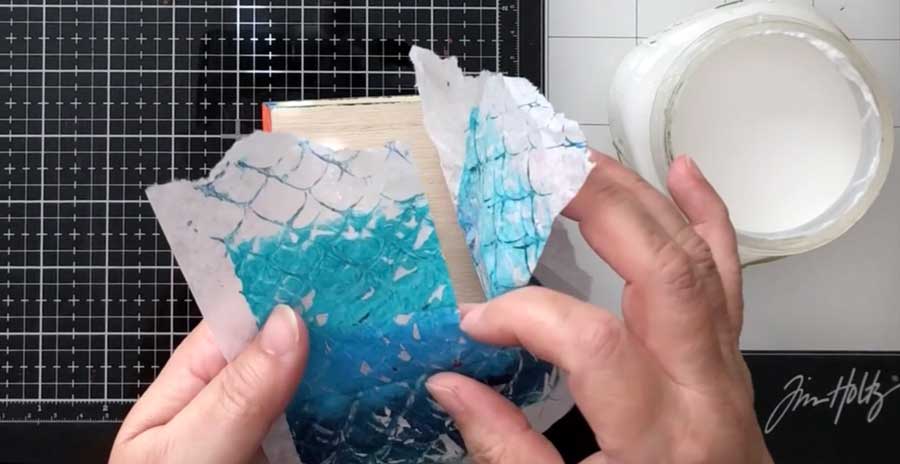
- Decoupage patterned tissue paper on handle
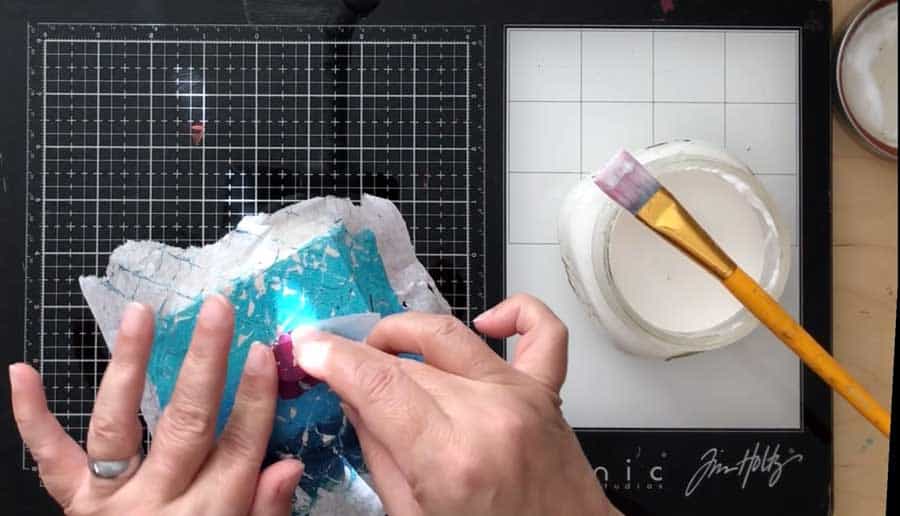
- Wait to dry and cut around sides
Notes
To make patterned tissue paper, just use your Gel Plate like normal and then "pull" prints and let dry. You can make lighter prints by printing the tissue paper a second time without adding more paint.
Recommended Products
As an Amazon Associate and member of other affiliate programs, I earn from qualifying purchases.
-
 Cake Decorating Embossed Rolling Pins,Textured Non-Stick Designs and Patterned,Ideal for Fondant,Pie Crust,Cookie,Pastry,Icing,Clay,Dough - Best Kit 8 Pcs
 -
 Ranger JEP59462 Gel Plate Assortment 3/Pkg, Multi
 -
 4-Inch Rubber Brayer Roller for Printmaking, Great for Gluing Application Also. (Original Version)
Gel Plate Decorative Storage Boxes FAQs
I had a lot of questions when I started this project, here are some that came up!!!
Do you have to sand the boxes?
I used wooden boxes and did not have to sand them because I was using a kind of loosey-goosey texture. If you were planning on having a really smooth paint texture I would probably sand them first.
Do you have to prime the boxes?
To do decoupage, I generally do prime the boxes with white gesso, but on such a little area like this, the acrylic paint stuck on really well and I didn't need to prime.
What kind of gel plate should you use?
I use a couple of different kinds of gel plates... the first one I got was just a plain jane, Michaels version called a Gel Press. It was super affordable... I like to go cheap first to make sure I like doing it!
Now I use the Ranger Dylusions Gel Plate that has a long one, a square one and a round one... LOVE THEM!
What kind of paint can you use?
Acrylic paint works best with the gel press process! The plates "release" it onto your boxes because the paint is really plastic that doesn't stick to the plate.
I used cheap, cheap, cheap Hobby Lobby or Michaels paint and it worked out great!

