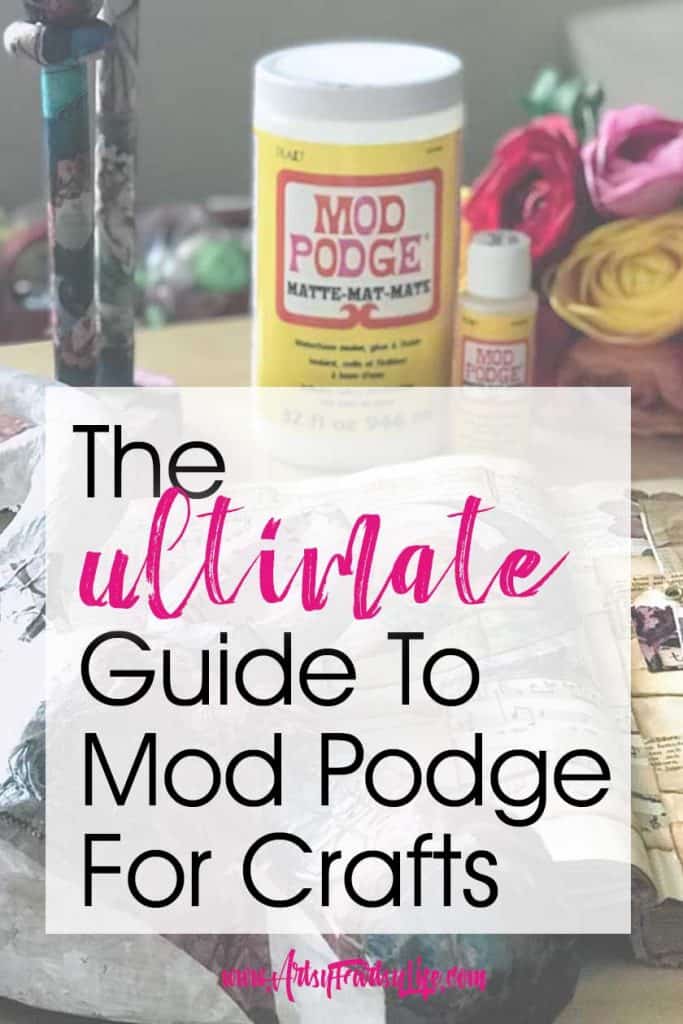
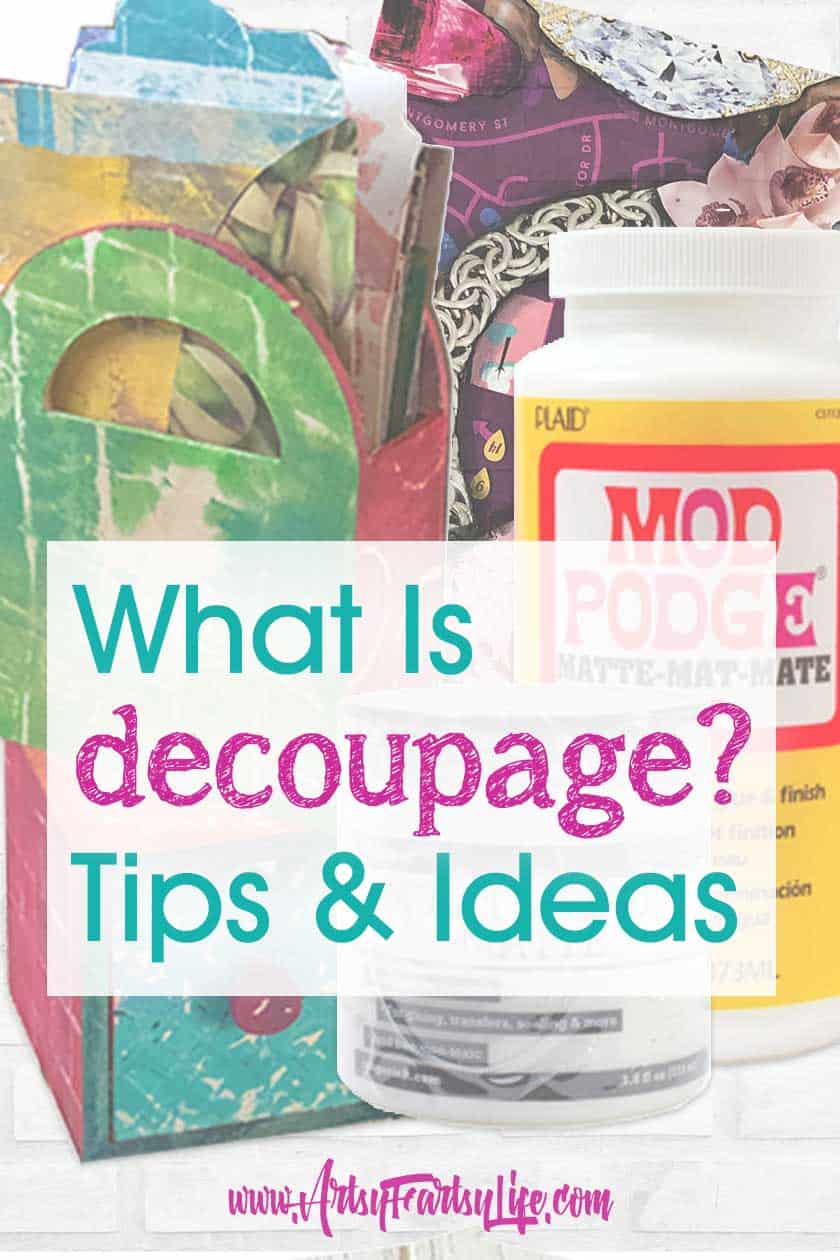
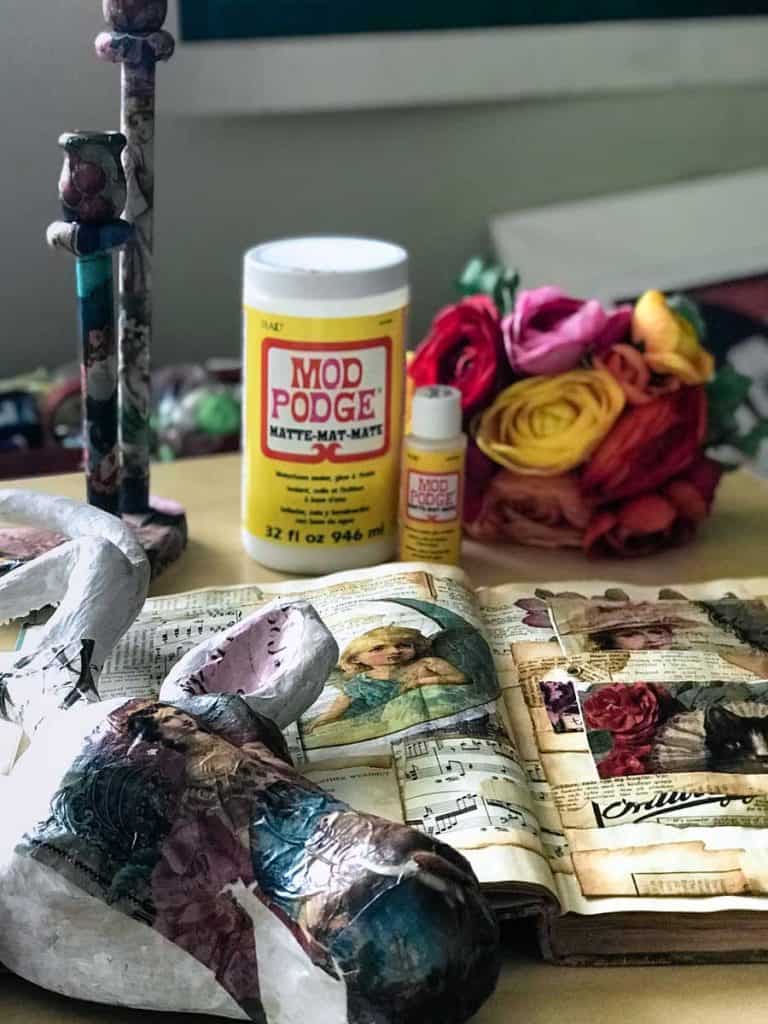
Today we are going to talk about my favorite adult crafting supply... Mod Podge! This is a great product for glueing and varnishing your paper, glass, or wood projects. And of course it is perfect for decoupage or collage!
I have a little Mod Podge issue, my family swears that I would decoupage the cat if she stood still long enough! It is the best all in one glue to use as an adhesive, decoupage medium and brush on sealer finish.
I know when I was starting out I had so many questions about Mod Podge and hopefully this post will help you answer all of yours!
What Is Mod Podge?
Mod Podge is a brand of glue manufactured by Plaid Enterprises, Inc. It’s made with PVA or polyvinyl acetate, which is basically the base for white glue. It can be used as glue, but aside from being an adhesive, Plaid Craft Mod Podge can also be used as an alternative to varnish.

Is Mod Podge A Glue?
When you get started crafting with Mod Podge you might think, this stuff is not going to stick together, but it really is a great glue to hold anything from paper to fabric together.
That said, as with anything the best way to make sure it works is to prepare your surface first. I do this (especially on "dimensional" art like paper mache by priming it with gesso, which give the surface something for the Mod Podge to grip to!
One question I get a lot is "is Mod Podge like Elmer's glue?" And yes, they are same base of glue (PVA) and I see a lot of recipes for making faux Mod Podge by watering down Elmer's glue.
But as a mixed media artist and crafter, adding random moisture to my projects almost never works out for me. I would rather purchase real Mod Podge that has been mixed chemically and is stable than to make a concoction that I have to worry about.
Mod Podge Uses
You may be wondering, "What is Mod Podge used for?" There are a so many things... here are a few to get you started!
- Decoupage
- Collage
- Mixed media
- Paper mache
- Glue
- Varnish
- Fabric sealer (to prevent frayed edges)
- Puzzles
- Terra cotta
- Wood

Is Mod Podge Waterproof?
Hearing all that you may wonder what it can't do. Well, Mod Podge is not waterproof, but can be water resistant.
If you are trying to protect old documents or your artwork from normal wear and tear it will work great. If you are looking for something that can be submerged in water and come out unscathed, not so much!
Does Mod Podge Dry Clear?
If your Mod Podge doesn’t dry clear (other than formulas below that aren’t supposed to be clear), it may be because it isn’t completely dry. Leave the project to dry longer, like overnight, then check on it. It will still look white and streaky before it dries fully.
It could also look "cloudy" depending on the type of paper you use. With some papers, the ink might run or the paper may disintegrate while you are applying coats of Mod Podge. Particles from your paper may then mix into the substance and cause it to cloud the surface of your paper crafts ideas.
Also, if you print things to use on an ink jet printer – big no-no. If you are applying decoupage or Mod Podge to a painted or stained surface like furniture, the paint may rub off and into the Mod Podge.
As you apply your first coat, be sure to keep an eye out for this. One way to avoid this is to apply a layer of sealant between your paint and Mod Podge layers. I like to use clear gesso for this because it seals it AND makes a little rougher surface for the Mod Podge to bind to!
Lastly, old Mod Podge can be problematic. If you are going to use an old container, try it on the bottom or unseen corner of your project first before applying your entire first coat.
How Long Does Mod Podge Take To Dry?
This is going to be a hard one because it depends! For example, I live in Florida where it is super humid (like 90% humidity some days) so it takes a long time for it to completely dry here. When I lived in Colorado it was a much drier climate and it dried much faster.
That said, it dries to the touch relatively quickly and you can actually do layers of it before it is completely dry and it will eventually dry out!
If you are using it on a surface that will have heavy things put on it (like the tops of furniture), I would wait at least a couple of days to let it really set.
The cure time will vary wildly depending on your location and also your own home's humidity level.
Moving Things Around
You might be able to remove decoupaged materials while the glue is still wet by attempting to peel back the edges. If this is tough, try saturating the area with water first.
If the Mod Podge is completely dry when you want to get rid of it, you may need to take extra steps to remove it. You may or may not be able to salvage the project.
I try to be careful when placing my ephemera since I always use vintage or tissue paper and that does not pull up easily once it is sticking on the piece of art.
Removing Mod Podge
Depending on the surface, it can be fairly easy (or not) to remove Mod Podge. I work on pages from current magazines that have a gloss and that I can just tear out and throw away. It is easy to remove Mod Podge from them with a wet paper towel or baby wipe before it dries.
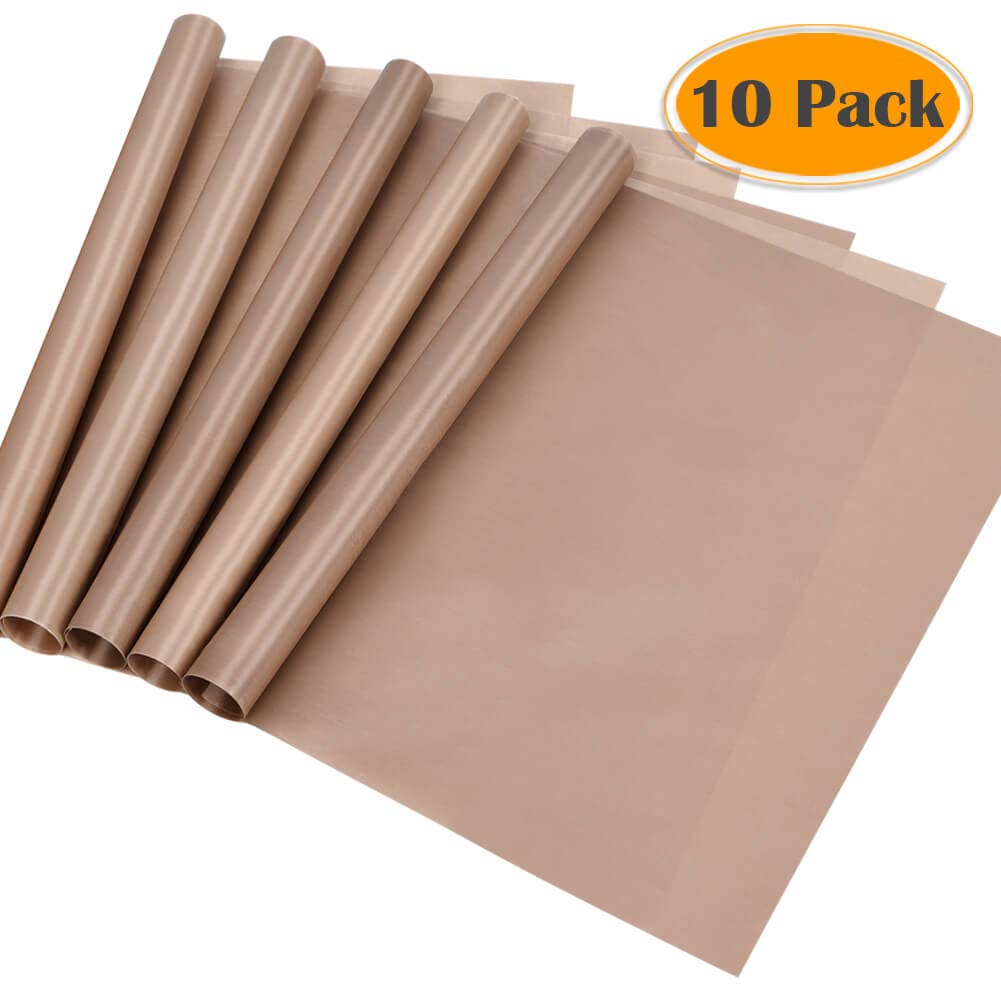
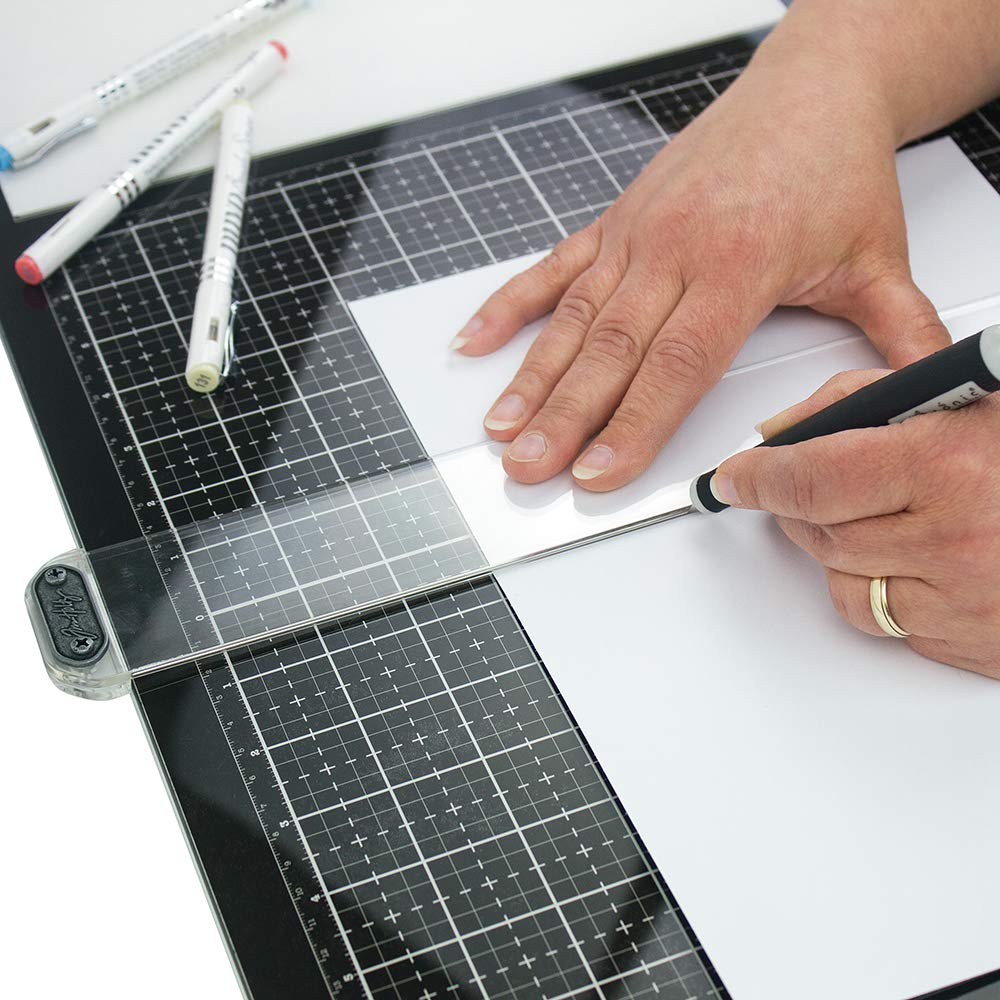
You could also use a craft sheet or Tim Holtz's glass work surface if you want to really protect your desk (or dining room table!)
Selizo 10 Pack Teflon Sheet Tim Holtz Glass Media Ma
Mod Podge Sealer
While Mod Podge is great for glueing things down, I find it works the absolute best as sealer, kind of like spray or paint on varnish, but easier to use and less stinky.
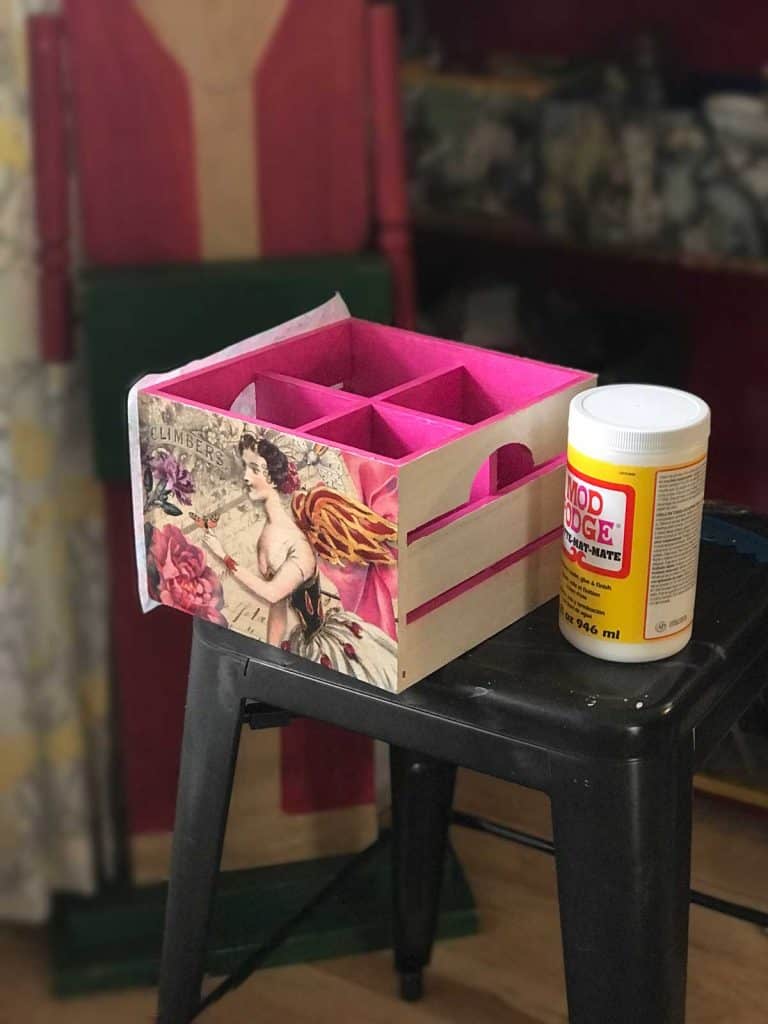
In my envelopes project below I use the Mod Podge to make the envelopes stiffer and more durable for wear. I have also used it to "seal" the graphics on boxes and to protect areas that could receive a lot of use.
Cleaning Up Mod Podge
It is really easy to clean up Mod Podge since it is a water based glue. Simply use a damp cloth if you get a wee bit somewhere you don't want it.
For larger spills on glass or plastic, often I will let it dry and then peel it off, or you can scoop it up with a paper towel and then do the damp cloth bit when there is less to manage.
Don't try to swipe it around to clean it up or you will have a goopy mess on your hands! (ask me how I know)
My Mod Podge Decoupage Project Ideas
I REALLY do love Mod Podge this much and I have done a bunch of different projects with it. Here are a few!
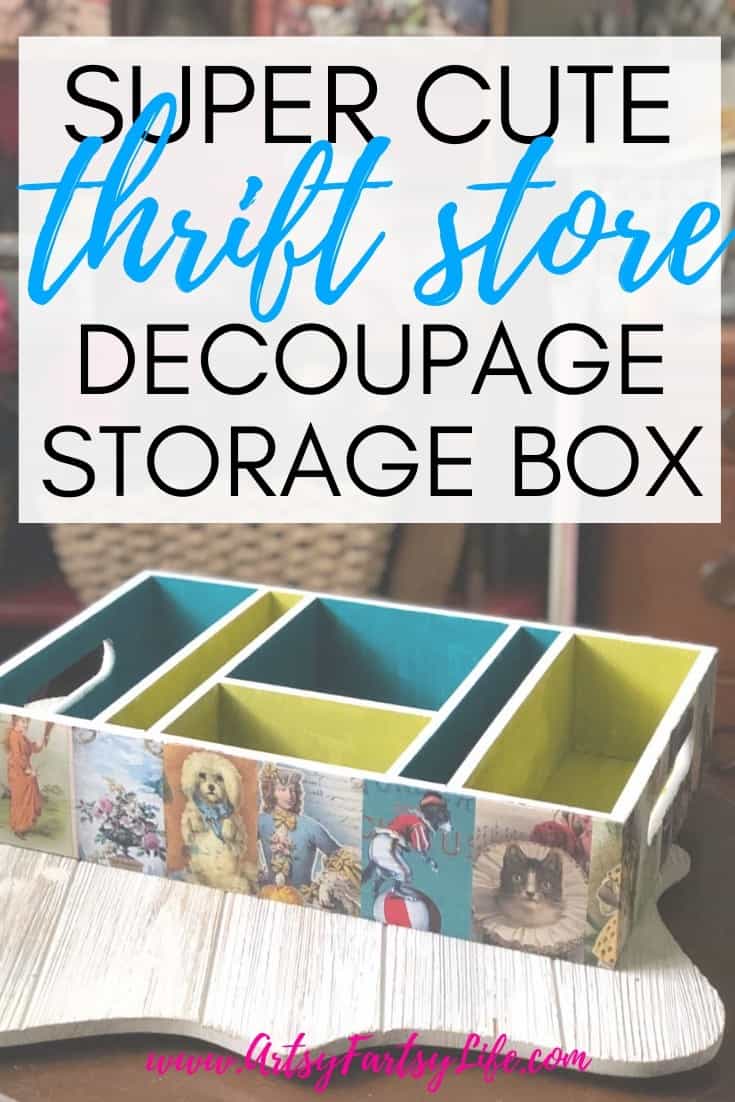
Decoupage Boxes
Maybe my biggest project ever was doing a whole series of decoupage boxes for a bookcase in my house where I store my Etsy items I have for sale!
Decoupage Envelopes
My next obsession was doing junk journals or altered books. Because I am me, I can't just do a project, it has to have a "reason" so I am making an ephemera folio to save all my papers in! These decoupaged envelopes are a part of that!

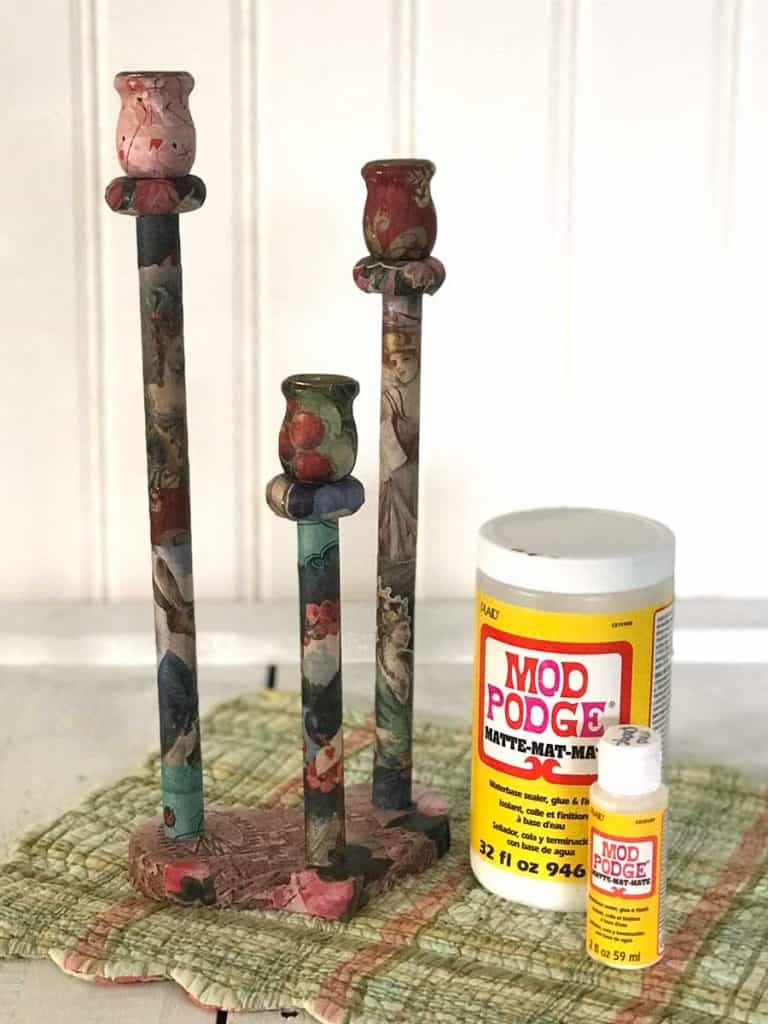
Altered Candle Holders
Another fun project was doing altered candle holders! For this I bought a 1980s vintage wooden candle holder and gave it the decoupage treatment with Mod Podge on wood (I gessoed them first to give the paper a good base to stick to!)
I love taking thrift store finds and making them cool to use in my house. A bonus was that it was half priced day at the thrift store so I got it for $2.50!
What Kinds of Modge Podge Are There For Crafting?
So, what kinds of Mod Podge are there? Oh, I’m so very glad you asked that question. Per the Plaid Enterprises website, there are 17 different types of Mod Podge...
Classic Mod Podge Gloss
This is one of the original formulas that were developed in the 1960’s. It dries shiny (gloss) . If you live in a climate that is humid, these may feel “sticky” after it dries. If that happens, spray the project with several coats of a clear Mod Podge acrylic sealer. It’s perfectly fine for most surfaces.
Classic Mod Podge Matte
This is my kind of Mod Podge (in the yellow bottle!) It dries with a dull, non shiny surface (matte). It is great for any project where you want the design to be the star.
For example, I have fancy decoupage tissue paper I use and want to have the designs be the focus rathe than the finish on the piece.

Paper Mod Podge
Think scrapbooking. This is archival quality which means it will keep photos and papers from yellowing. Comes in a gloss and matte finish. You can use this or the "regular" Mod Podge for scrapbooks, junk journals or altered books.
Antique Mod Podge
If you like a vintage look to your projects, use this Mod Podge. It makes your project have an aged look just by painting it on. It has a slight brown tint and comes in a matte finish. Much easier than trying to use paint or using tea bags to “age” paper.
I am super excited to try this one sometime, but haven't gotten there yet!
Mod Podge Fabric
This formula is a must for any project you need to use fabric. No matter the project, the best part about this one is that you can prepare fabric for crafting ahead of time by lightly brushing on and allowing to dry before cutting. It eliminates fraying. So if you want to use fabric for decoupaging to surfaces and for decoupaging things onto fabric use this one.
Dishwasher Safe Mod Podge
If you are making a craft that you will eat off of, having a formula that is sage to wash by hand, or in the top rack of the dishwasher is in order.
Remember that any formula should be kept away from food and your mouth (¾″ from the top of a glass), but now you can add items to cups, plates and have a beautiful gloss finish that is safe to wash. This is one of the ways that you can use Mod Podge on glass!
Mod Podge is not food safe but is non-toxic. What’s the difference? Food safe requires an FDA approval. Non-toxic means if it gets eaten accidentally it isn’t going to kill you. That said, don’t use on a surface where food will be put on it.
Brushstroke Mod Podge
This formula gives the look of a hand painted image without the hefty price tag. Just paint it on and it leaves a very textured dimensional finish. It comes in gloss or matte and dries clear with a hand painted look.
Sparkle Mod Podge
Need a touch of sparkle on your project? Use this. It has hologram glitter pieces in a gloss base. Use one coat for a touch of glitz, more coats for more sparkle.
Extreme Mod Podge Glitter
This formula is Sparkle Mod Podge on steroids. It contains a LOT of ultra-fine glitter which is great for projects needing that extra something, but not projects that have fine details you want to see. It’s especially great on darker colors.
Furniture Mod Podge
This formula is similar to Hard Coat, but was specifically developed for furniture. It comes in larger sizes (you know, furniture is big) and in gloss, matte or satin.
Glow-in-the-Dark Mod Podge
This is the perfect solution to your kid’s last minute planet science project! No, seriously, if you need something to glow in the dark, a few coats of this will do the trick. It just needs light to recharge the glow after it dries.
Hard Coat Mod Podge
If you need some extra protection for projects that will be used a lot, use this formula. It comes in a satin finish, is very durable and the satin finish doesn’t show scratches like a matte or gloss would. Also great for furniture.
Kids Wash Out Mod Podge
Mod Podge is designed to stick to stuff, so getting it out of clothing or off surfaces can be challenging. Now, who is messy with projects? Kids. Use this with your kid projects for a quick clean up. It has a glossy finish.
Mod Podge Outdoor
Let’s face it, some projects just scream to be used outside. Like terra cotta pots. This formula protects from moisture and the elements.
Pearl Mod Podge
Think Christmas ornaments. This formula leaves a pearlescent finish on your projects. Works best on dark colors.
Mod Podge Puzzle Saver
If you’re one of those who loves to do puzzles and wants to keep them to display? This is the Mod Podge for you. It comes in a 2 oz. bottle of and has a brush on a card. Comes in gloss finish.
Satin Mod Podge
This is the same as the two classic formulas, but the finish is satin. A satin finish is somewhere between gloss and matte, but because of its finish, scratches are harder to see. It’s great for projects where you want a non-glossy, soft appearance that wears well.
Sheer Colors
You know that antique finish above? Well now there are more colors. It’s perfect for glass. It comes in aqua, blue, brown, green, orange, pink, purple, red, and yellow.
Ultra Matte Chalk Mod Podge
Chalk paint projects are all the rage so now instead of having to use a separate paint, just use this. It’s also great for a vintage item that you want to protect. The finish is VERY flat and soft to the touch, with no brush strokes.
Non Glueing Mod Podges
There are a few special Mod Podge formulas that don’t do the gluing, but they add special finishes:
Mod Podge Clear Chalkboard Topcoat: Use this on TOP of your project to turn it into a chalkboard! It leaves a clear matte finish that you'll be able to write on with chalk. Please note that you can only use real chalk with this, no chalk pens.
Mod Podge Crackle Medium: Add a crackled coat to your project. You'll need to add a contrasting paint color over the top to make it show up, but the result is an ultra fine, eggshell crackle. Doing research for this article it seems like you can do crackle with regular Matte Mod Podge too by painting over it is when it is wet!
Mod Podge Dimensional Magic: If you want a traditional resin look (think hard, varnish finish) without the toxins and mixing, this one is perfect. It adds an epoxy-like finish to jewelry and paper crafts and dries clear. You can layer Dimensional Magic on top of itself. It comes in clean, gold glitter and silver glitter.
Mod Podge Photo Transfer Medium: Use this to to create decals or appliques from any original photo to transfer images to fabric or wood. It dries white, so the transfer will have a white background, but it leaves an opaque photo transfer with a slick feel to the surface (you can decoupage over the top). You can use this to make Mod Podge pictures on wood.
Mod Podge Stiffy: Yes, really…stiffy. It's not used for decoupaging or gluing or as a topcoat, it stiffens items. You simply dip items into Stiffy and it stiffens them. Great for making fabrics into 3D shapes.
Mod Podge Super Thick Gloss: This is used to leave a smooth, epoxy-like finish over a large area after it has been decoupaged. It's self-leveling and thicker than regular Mod Podge and leaves a very shiny, clear finish.
Now go get those projects done!!