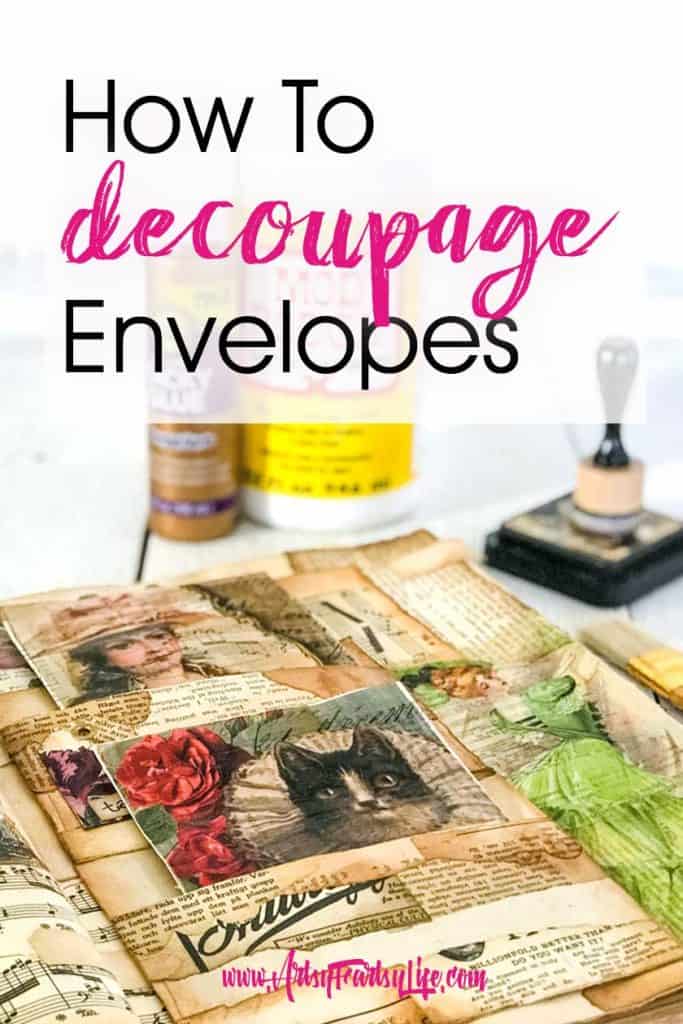
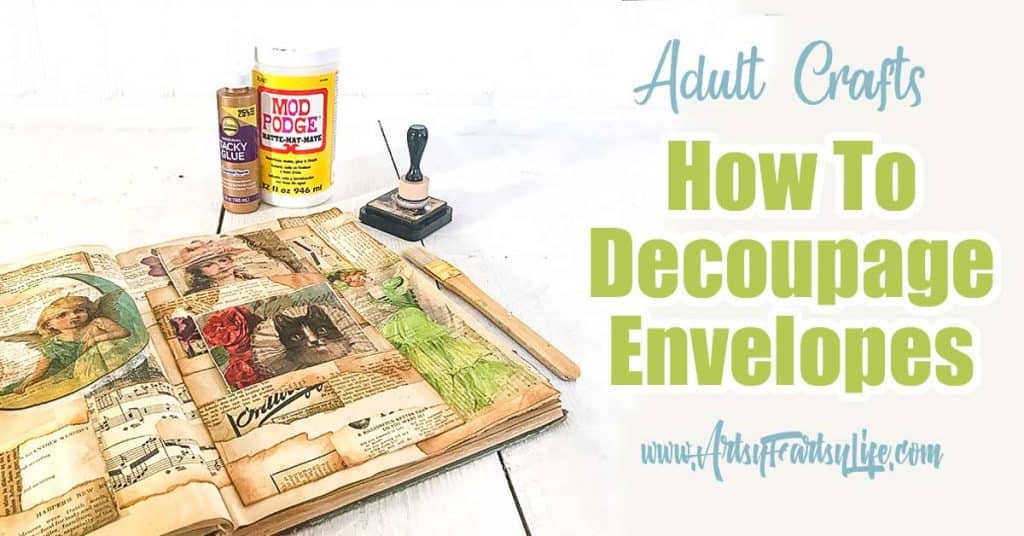
These decoupaged envelopes are perfect for your junk journal or altered books! They are reinforced and sturdy, but still super cute vintage embellishments to add to your project. I am using mine as an ephemera folio to hold all my decoupage supplies.
Picking Your Envelope
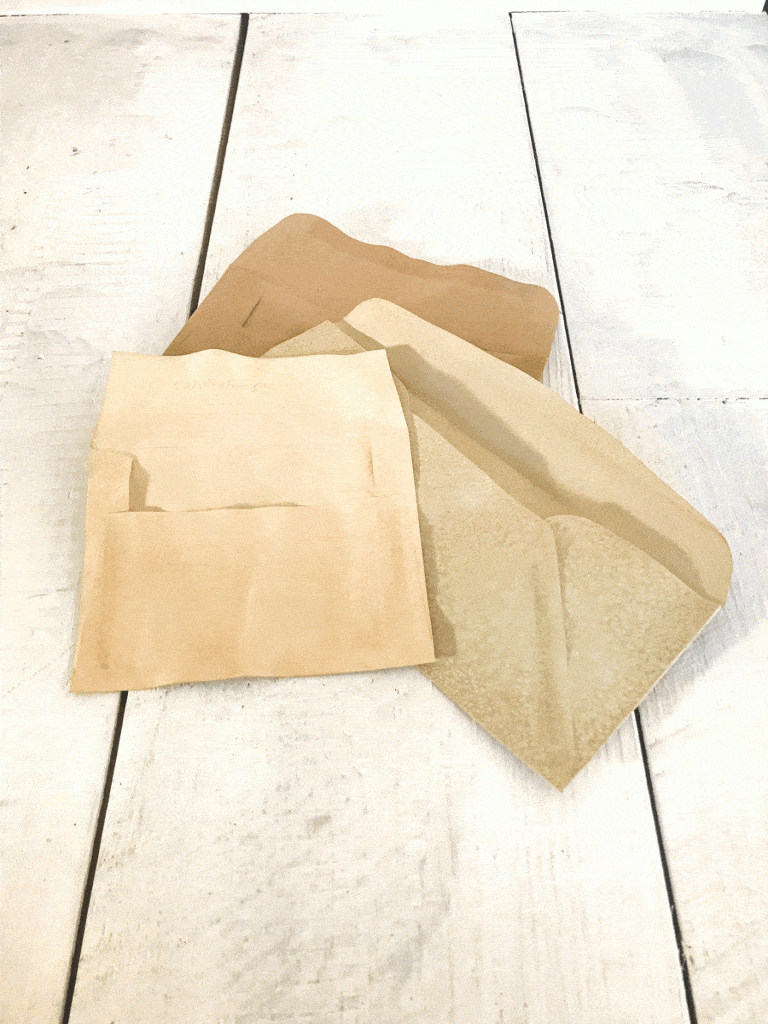
The first thing you want to do it pick an envelope. I would love to use exclusively vintage envelopes but their paper isn't always sturdy enough to hold up to any kind of real use.
For my altered book I just used different envelopes I had laying around. There were smaller note sized card envelopes, larger craft envelopes and then a couple of the tall resume style envelopes.
The more solid an envelope you pick the better since I will be using these as functional containers for craft supplies.
Coffee or Tea Dying Your Envelope
I like the look of coffee or tea dying the envelopes for ascetic reasons, but I have also found that the process of dying them and then drying them in the oven makes them a little more stiff and sturdy.
How To Coffee or Tea Dye Envelopes
I would make a whole post for you about this, but honestly it takes about 10 minutes and it is stupid simple to do!
Simply get a low flat dish or tray, place your envelopes in there and pour brewed coffee or tea on them.
I cover the whole envelope with other papers for the most part so I am just looking to make them not bright white. If you are going to leave some spots blank in your artwork you can put some coffee grounds around to add more dark spots and dimension.
Pat them dry with paper towels and then put them on cookie sheets to "bake". If you overlap them you will have some darker and lighter parts. I fit more by putting the base on the bottom and the flaps up against the sides of the cookie sheets.
Then bake in the oven on low for about 10 minutes. You will know they are getting done when they start to curl up and crinkle. I don't completely dry them, I take them out and let them air dry fully.
Reinforcing The Envelopes With Papers
The next thing to do is reinforce your envelopes with paper around the edges. I like the overall look of having old papers on them, but you could just do around the sides if you wanted to!
It is best to use old book pages, sheet music or other thinner paper for this, rather than using scrapbook paper which would be too stiff and would break when you folded it over the edges.
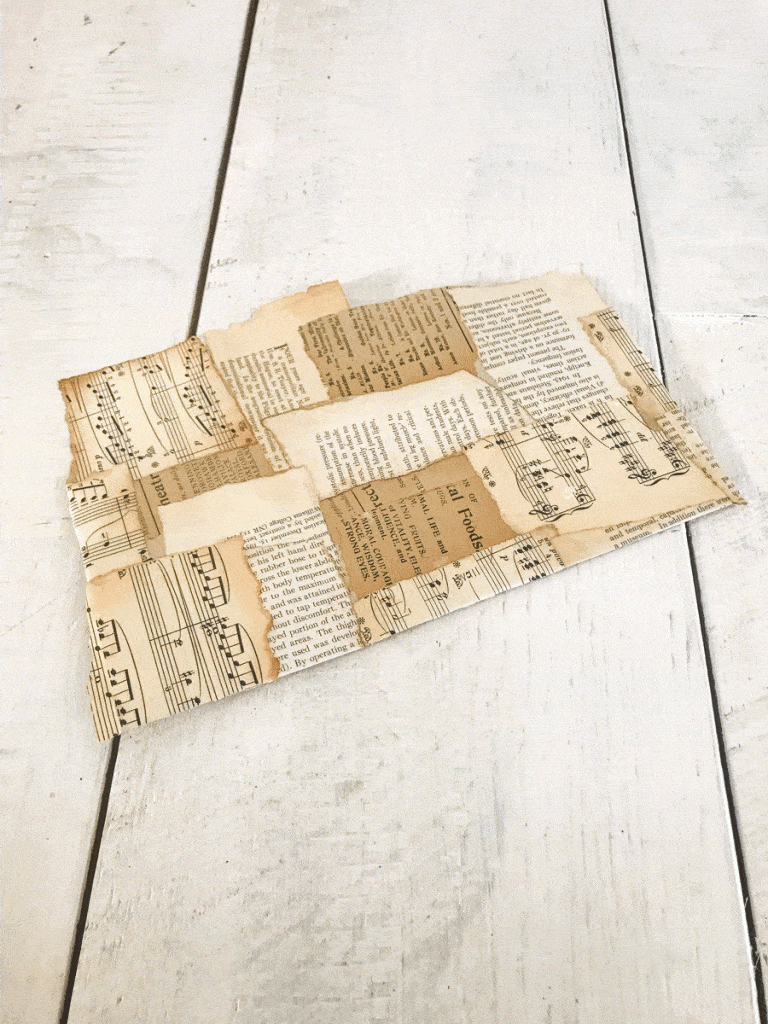
I like to "vintage" them up using a distress ink pad... my favorite ink combo is Vintage Photo with a touch of Antique Linen.
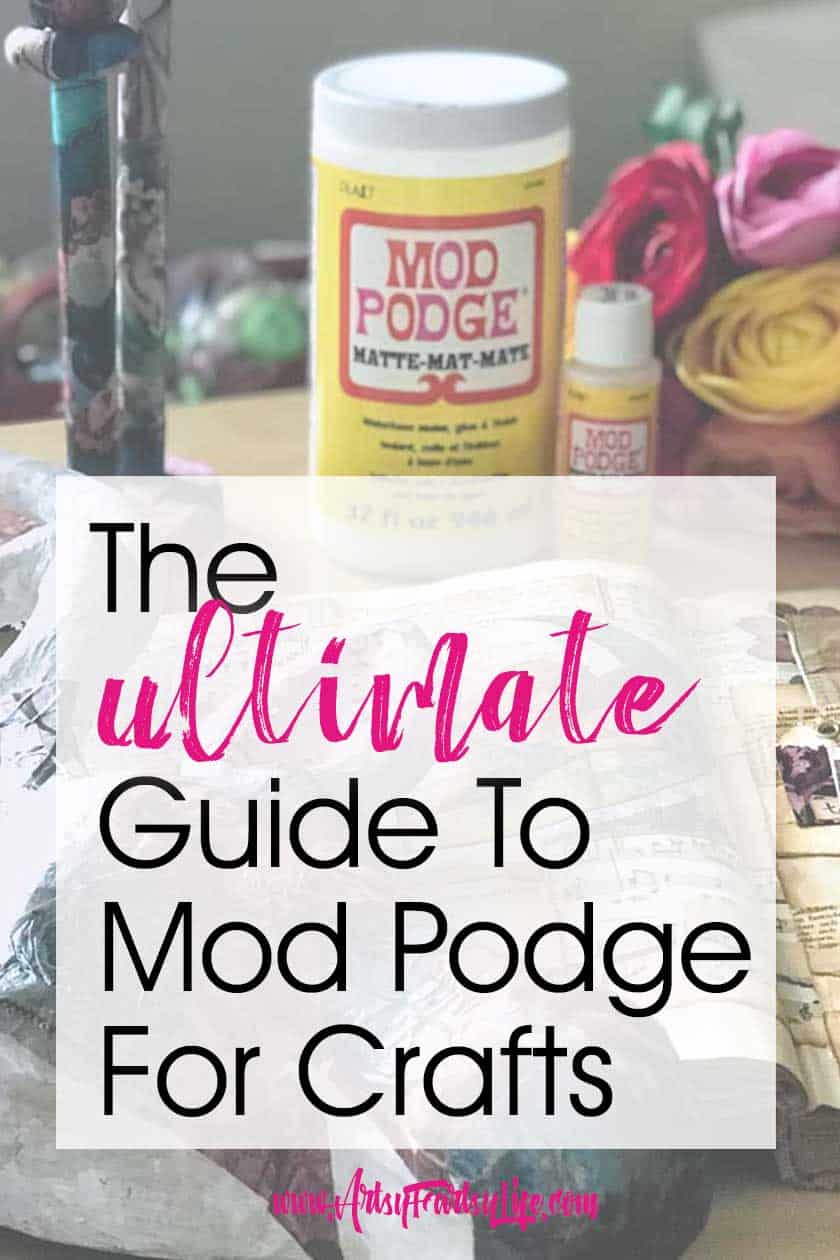
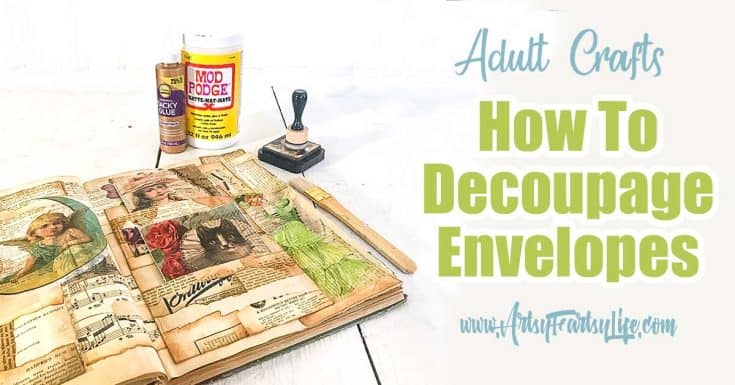
I use Mod Podge to put the papers on. For this step you only want to put Mod Podge under the papers not on top so that your decoupage will have something to "stick" to with the roughness of the papers.
If you get a little on the tops, no worries, but try to wipe it off if it squishes out so you have paper to decoupage on.
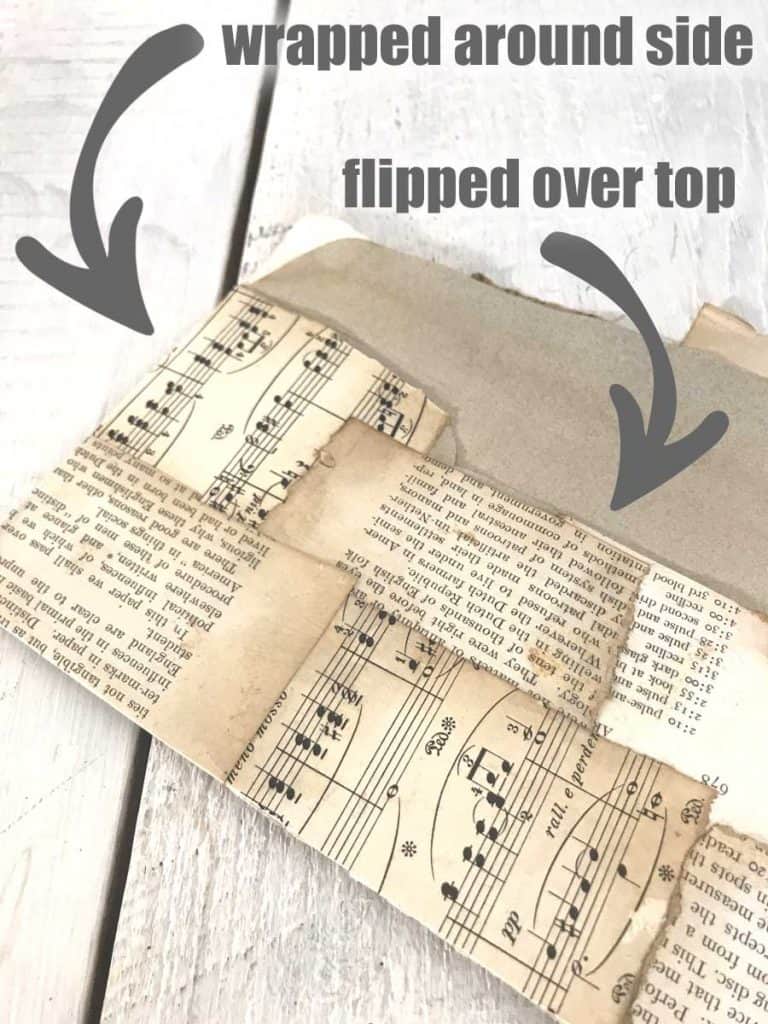
Make sure to reinforce where the paper will be weakest. I usually try to put a fairly large piece where the opening is so that I can use it over and over again without the paper ripping.
Decoupage The Envelopes
I KNOW, this step is going to soooo short, but really, you just want to find something cool to put on your envelopes.
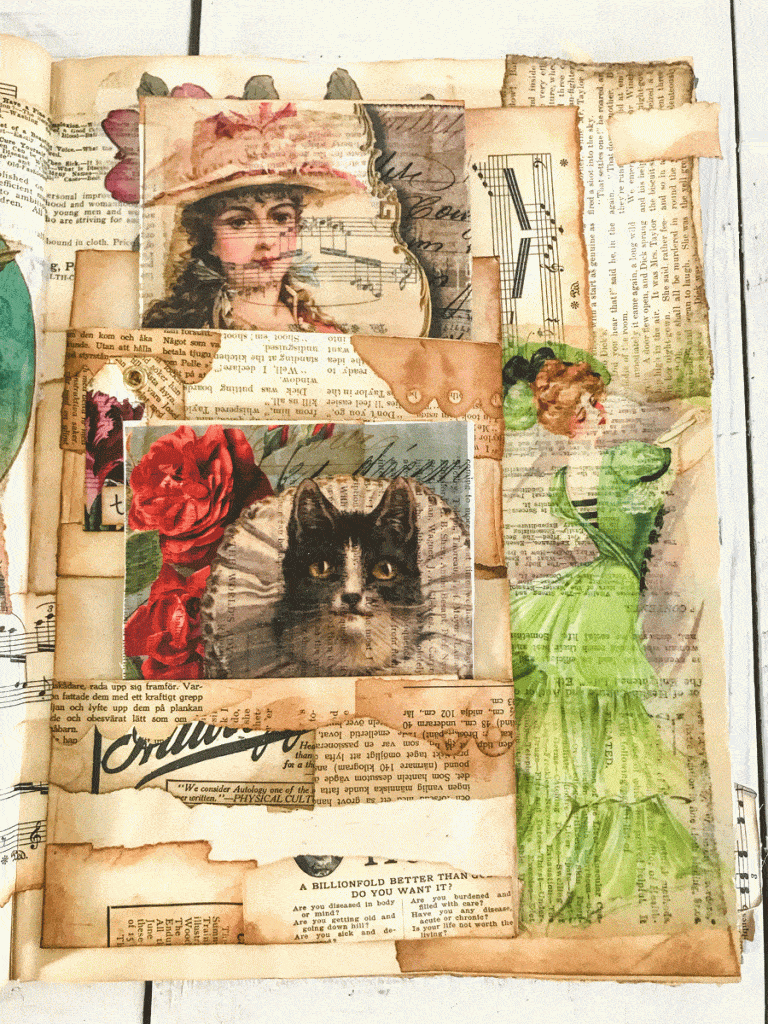
You can use paper napkins with the layers pulled off or tissue paper designs like I do.
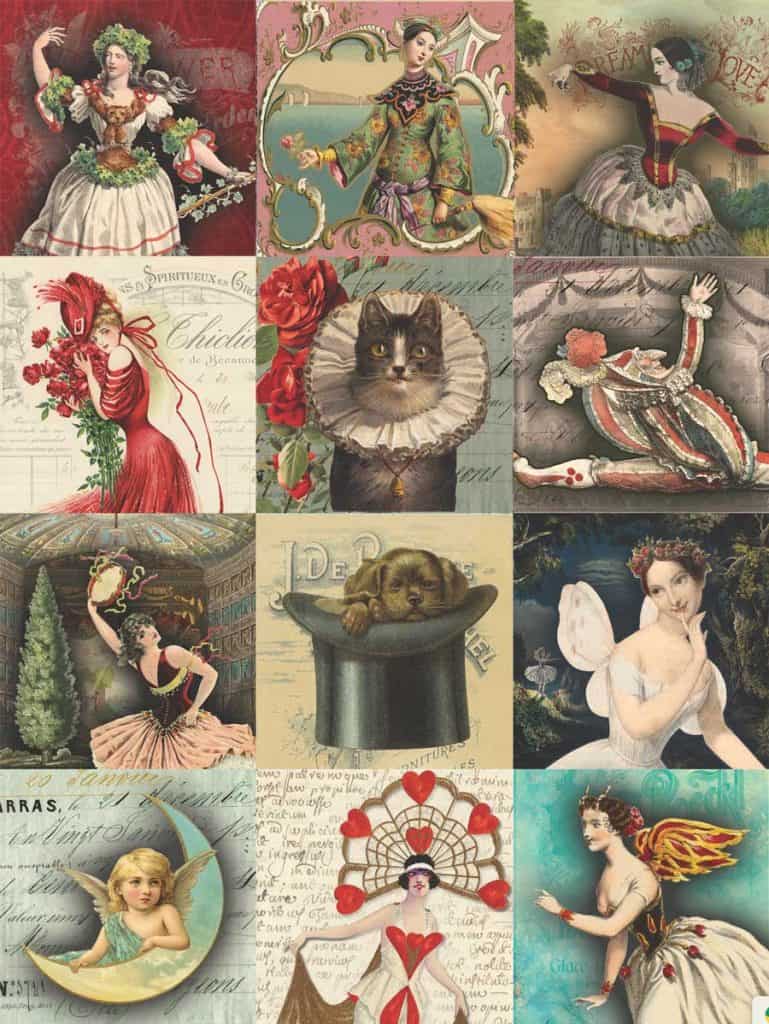
I order these tissue paper sheets through Zazzle using designs that I made from Graphics Fairy.
I knew for this project that I wanted to have the cat peeking out from behind the bottom envelope and the cutout was perfect! The bit I had to take from the side was just the right size to put across the bottom and finish off the rest!

It is super easy to get the tissue paper to stick, just "paint" the whole front of the envelope with Mod Podge and then lay your tissue paper on it. Because the tissue paper is thin I gently pat it down with my hands rather than doing a brayer since doing that has pulled some of the colors up in the past.
After that starts to dry, paint over the image with Mod Podge to finish it off and you are done!
I like using plainer envelopes to hold my other fancy envelopes! Sticking those to the page requires a heavier glue like Glitter Glue or Tacky Glue.
How To Decoupage Envelopes For Altered Books or Junk Journals
Create decoupage envelopes for your junk journal or altered books using tea or coffee stained envelopes and tissue paper.
Materials
- Paper Envelope
- Vintage Papers
- Decoupage Tissue Paper
- Mod Podge
Tools
- Tim Holtz Distress Ink Pads
- Ranger Inkssentials Mini Ink Blending Tool
- Paintbrush for Mod Podge
Instructions
- Tea or coffee stain envelopes, let dry
- Tear up pieces of old book pages, sheet music or magazines
- Distress edges with Distress Ink Pads & Mini Blending Tool
- Stick vintage ephemera papers on envelope reinforcing edges using Mod Podge
- Decoupage napkins or tissue paper designs on envelope
Recommended Products
As an Amazon Associate and member of other affiliate programs, I earn from qualifying purchases.