I have been doing Etsy and Ebay for a while now and honestly my husband and kids are right to complain that my inventory is getting a bit out of control. I have stock in the garage, two offices and it was starting to creep into the upstairs closet.
There are affiliate links in this post. Recommending products I love is how I keep this blog free for my readers.
And then I bought a huge, beautiful, 10 foot tall bookcase and thought that I would just fill it all randomly with all my treasures. Soon I figured out that would be just as much of a mess as having them lay around my office randomly.
Sigh.
So what quickly figured out was that I needed to have some kind of boxes to contain things. So I headed to the internet thinking that I could get wooden boxes for a few bucks. OMG, they were like $20 PLUS $15 shipping. Since I needed about 20 of them, that would NEVER work.
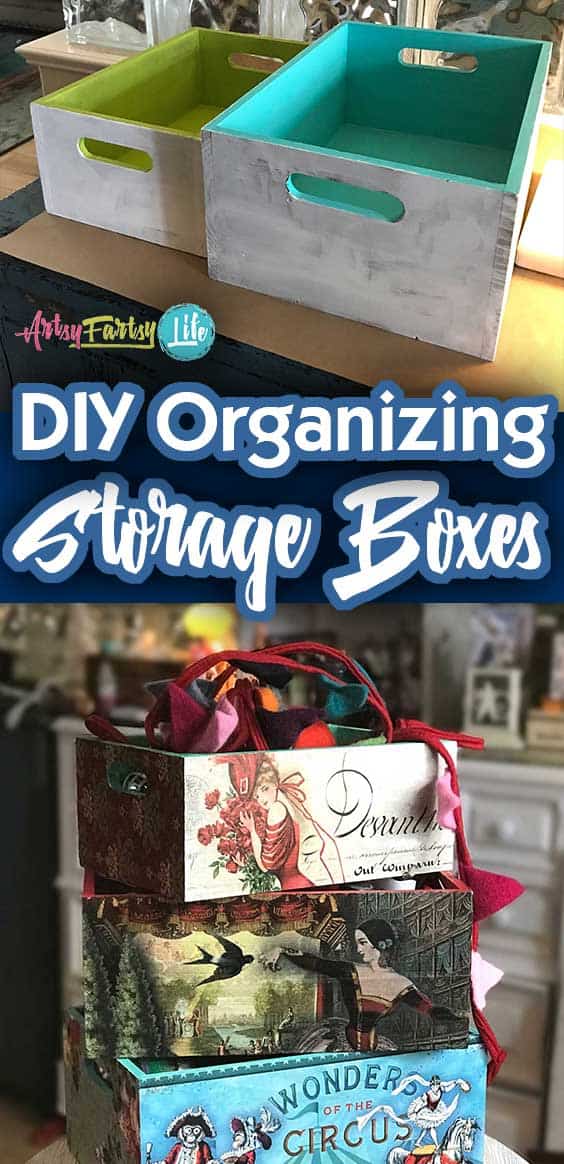
And then I headed to Michaels craft stores and they had a 70% sale off of wooden boxes... shazam! So I bought a whole variety of boxes. Big, little, dividers inside, cloth inside, slatted, not slatted and got to work.
Note: Some links in this post are affiliate links, which means I receive a commission if you make a purchase. I try to find amazing things that my readers will love as much as I do!
Preparing the boxes
The first box I tried to do was a debacle. I tried using straight acrylic paint on bare wood and it sucked it right up with terrible coverage.
So I decided that I would use white gesso as the base. It worked GREAT! Not only did it do a good base but it made it a wee bit rough that would help later.
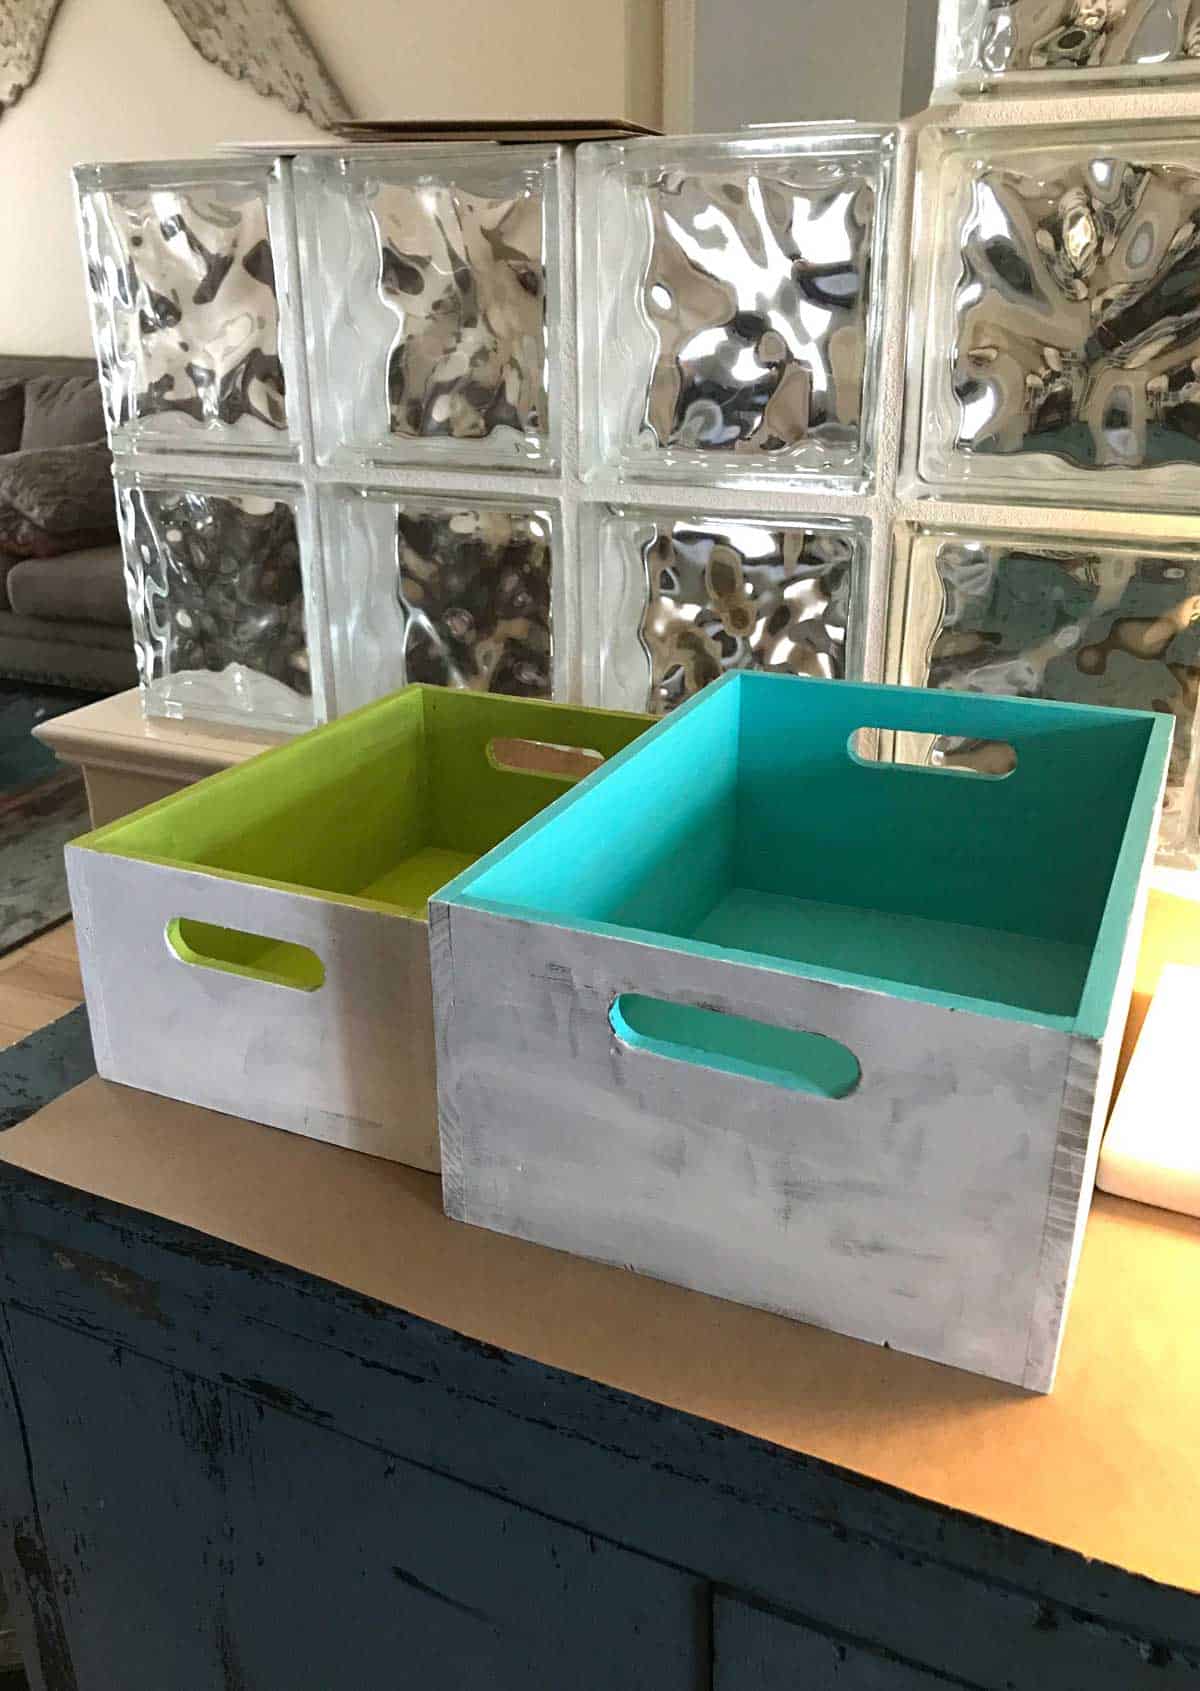
Then I used acrylic paint inside the boxes and on the bottoms. I would up doing this in 4 steps... 1. inside & partway down the outside with gesso 2. turn it over and do the bottom and rest of the sides with gesso 3. paint the inside with acrylic and 4. paint the bottom with the same color.


When I started I was using up all my old acrylic paint bottles all willy-nilly. But then I started to notice that the Americana acrylic paint was head and shoulders above the rest of them (and didn't cost that much more).
With it I could do one coat with a wee bit of touch ups and with all the others it took two coats with touchups.
Not only was cost a factor but I hated taking the time to do two and sometimes 3 coats.
Finding The Decoupage
Years ago I had tried to do a decoupage project that was heinous. I was tearing up little pieces of napkins and generally making an ugly mess. So this time I wanted to make something myself that would be pretty (you can skip this step if you are not a graphic artist, there are lots of great designs there already made).
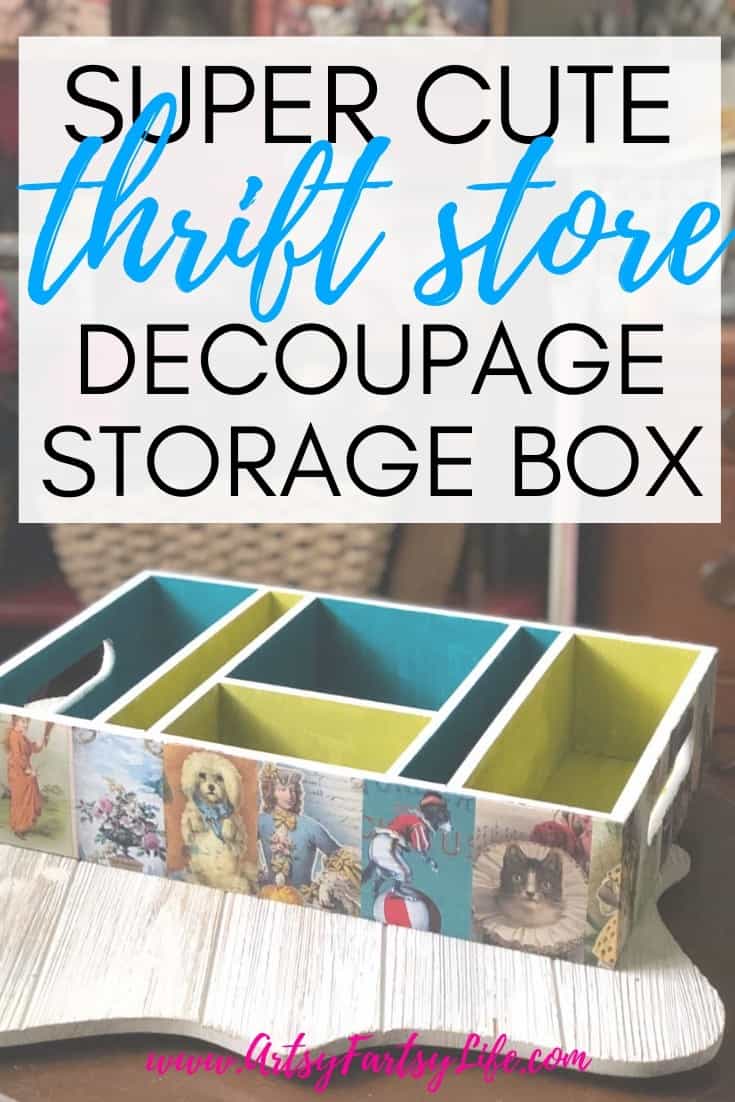
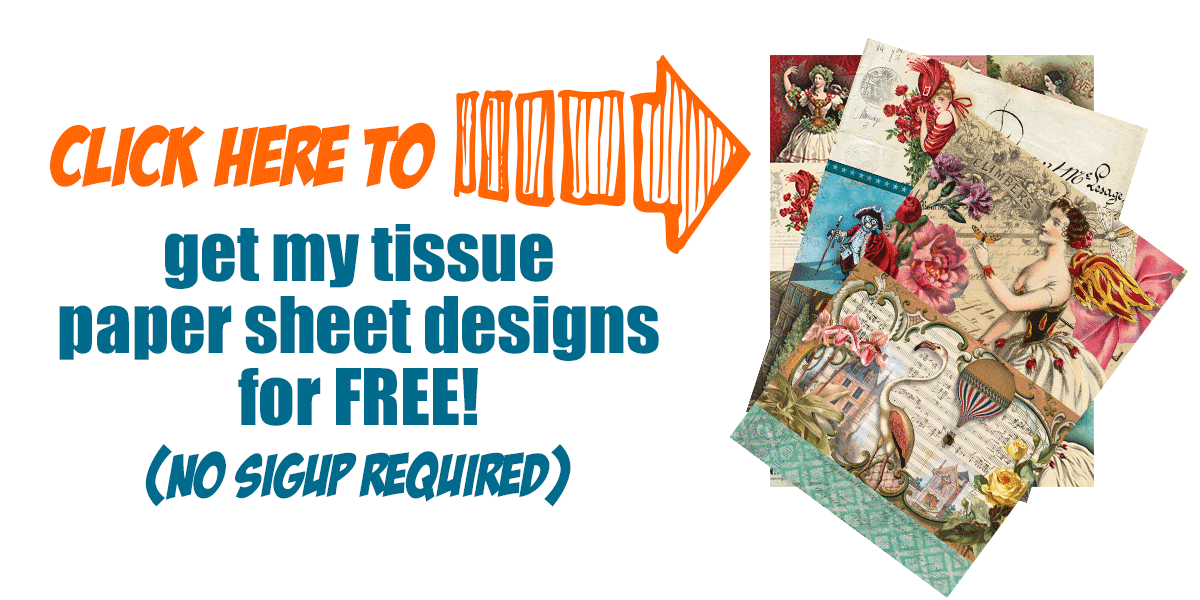
So first I made some cool custom designs using images from the Graphics Fairy website. I made my own designs and was thrilled with how they came out!
Next I headed over to the Zazzle website and printed them out on custom sized tissue paper. It was super affordable and the Zazzle vendor delivered them really quickly. get my decoupage printable tissue paper designs for Free!


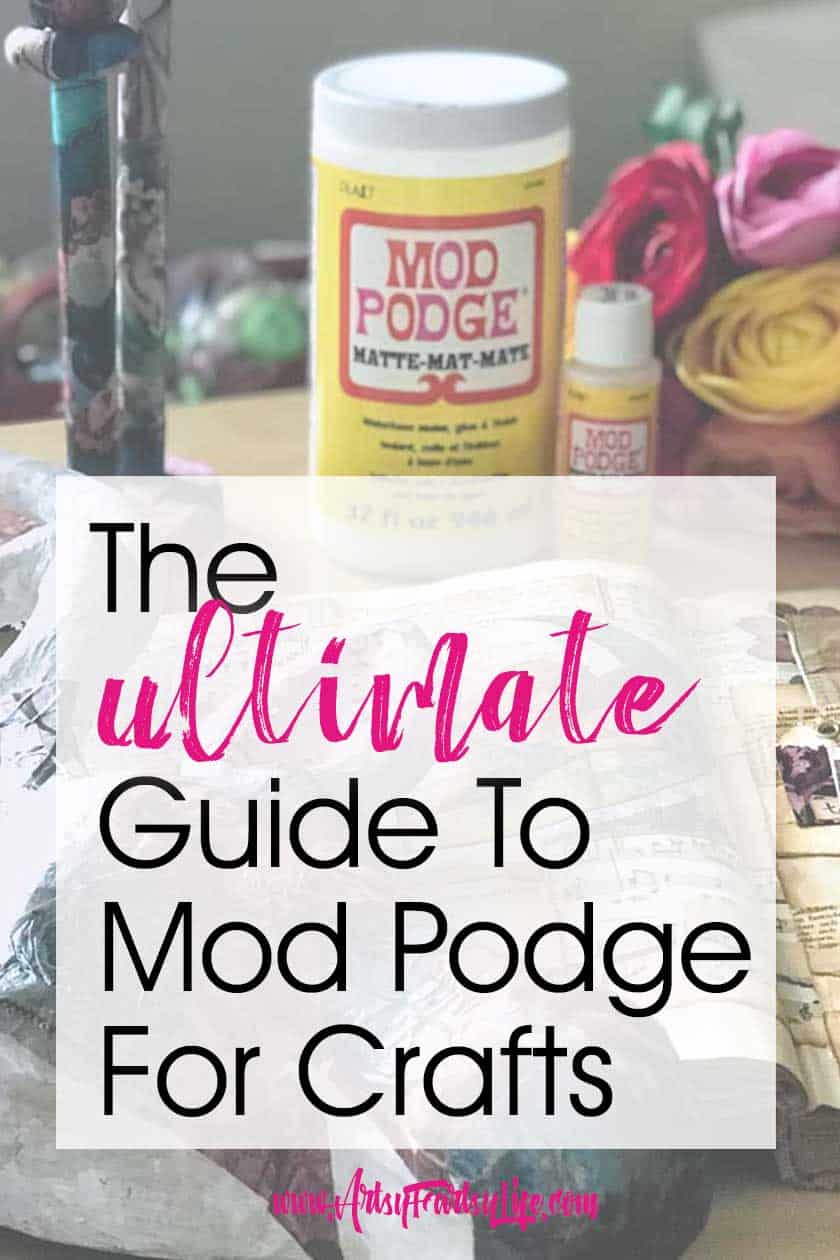
The next step was to use Mod Podge to stick it on. I picked the matte version so that it wouldn't be all shiny and I could take pictures of them! I used a Michaels coupon and bought the giant tub because of how many boxes I was going to be doing!

I put a coat of Mod Podge on and then stuck the paper on tamping it with my hands and then used the Tim Holtz/Ranger Brayer.
The one thing you have to make sure of is that you get the little resty legs UP when you are rolling so it doesn't tear the tissue paper (happened to me!)

I did NOT Mod Podge the insides of the boxes that I had painted. I worried that that many layers would never really set in the humidity of Florida.
I used fancy designs for the "fronts" of the boxes (the long sides) and then did complimentary papers on the sides.
Last but not least I filled up my boxes with all my craft supplies and Etsy stock!

I couldn't be happier with how they all turned out! They look amazing and I love using them as backdrops for my picture and in my product photography!
I will be posting about how I do my Etsy inventory system in another post so keep your peepers open for that one!