If you have ever wondered how to make one of those cool pieces of art using magazine clippings, this is the post for you! Tips, ideas and inspiration for using cutout images to make neat combined artwork. Mixed media collage tutorial.
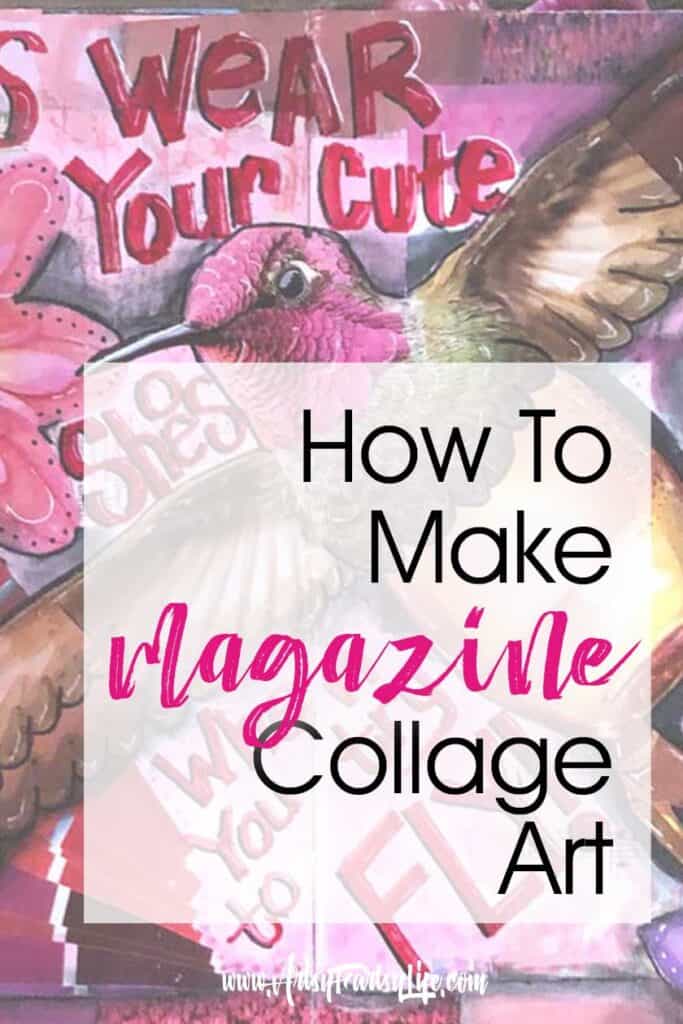
Magazine Collage How To Video
What Is Magazine Collage?
When I started doing this kind of artwork in my daily journal pages I thought that I had to use only pictures from magazines, but I found that having all kinds of materials gives it depth and dimension (more about this later).
There is NO wrong way to do collage art!
I tend to make things that are "sort of" normal looking, but have weird bits about them.
Magazine collage is also sometimes called mixed media art, because of the different elements you can use to create texture and dimension in your artwork!
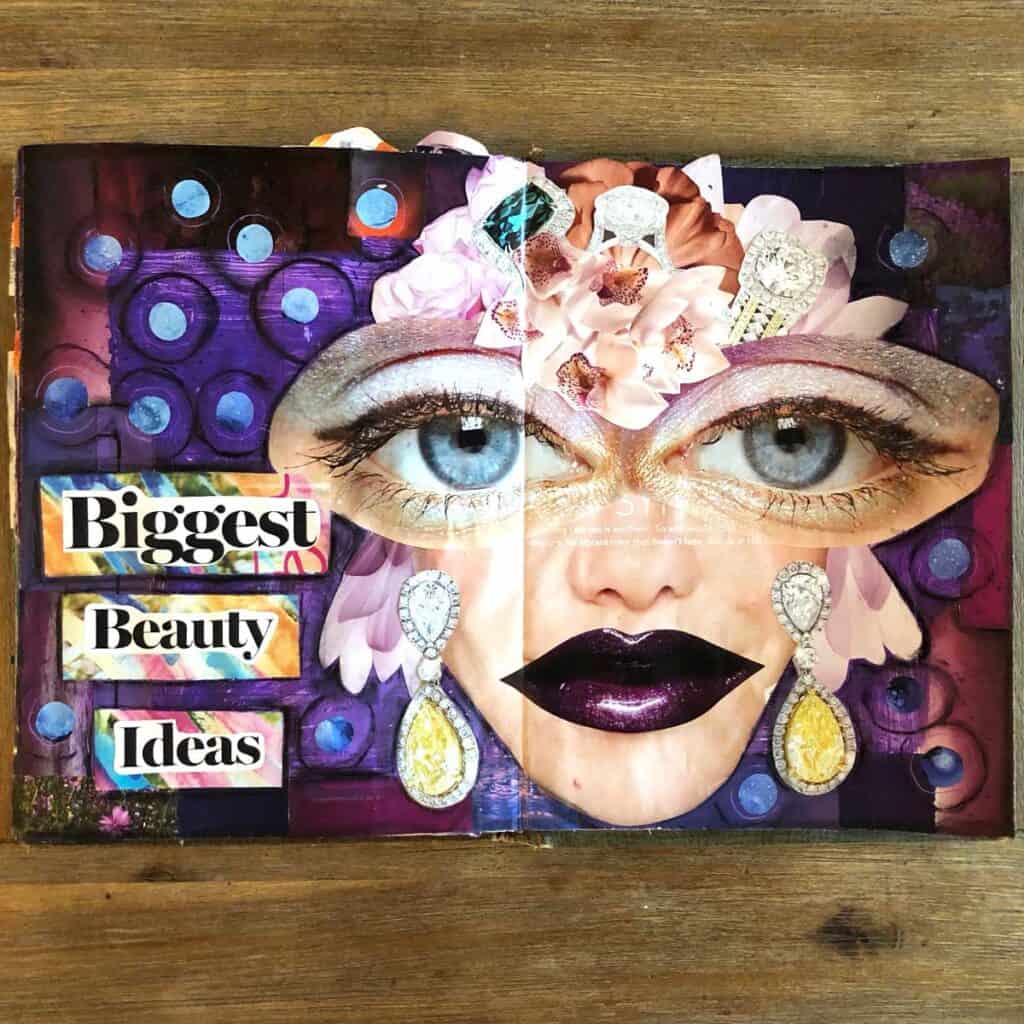
Some people make realistic looking scenes that are pieced together and some artists mix some magazine parts with cutouts of other paper.
You will develop your style as you go along by doing lots of pieces and figuring out what YOU like to do the most! While it is good to copy other collage artists or get inspiration when you start, over time you should start to get a feel for what YOU like to create.
The Art I Made
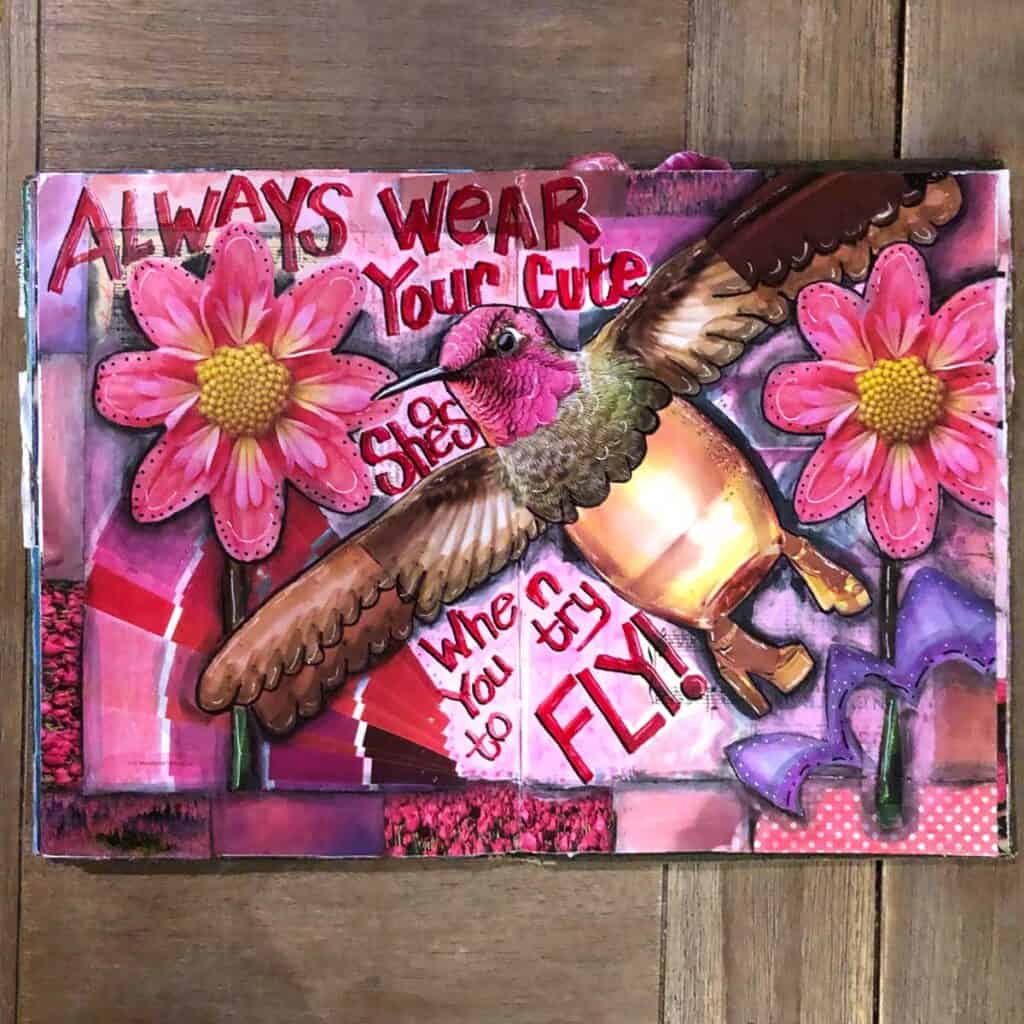
This is going to be the piece that I break down and show you how I did it from start to finish. She turned out SO DARN CUTE!
Want more? Check out my Magazine Collage Gallery to see all my art!
Step 1 - Collect Magazine Pictures That You Like
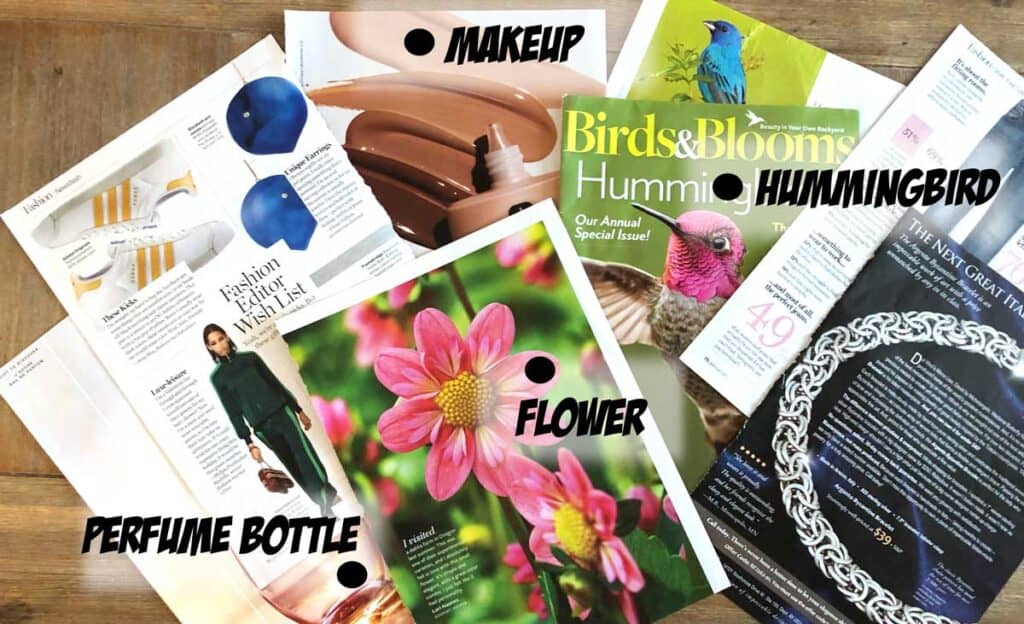
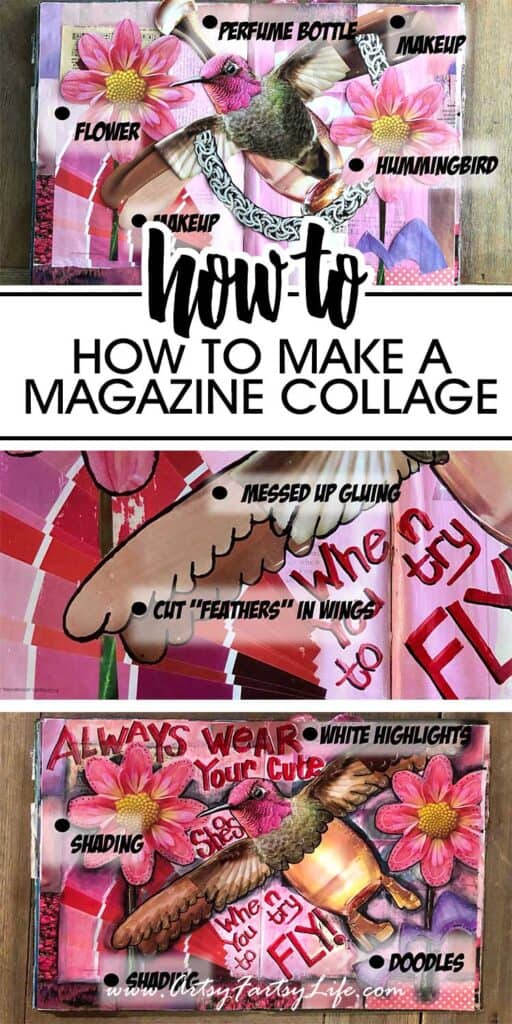
I knew that the humming bird was going to be a focus of the piece but since her wings got cut off I knew I needed to find a way to extend them. I used the makeup schmears to do the ends of her wings.
I also found another flower just like this one. Having repeating elements in your work gives it cohesion. The perfume bottle is hiding behind the sneakers that I didn't end up using.
Art Supplies Used
- Fun magazine cutouts
Step 2 - Fussy Cut Out Your Elements
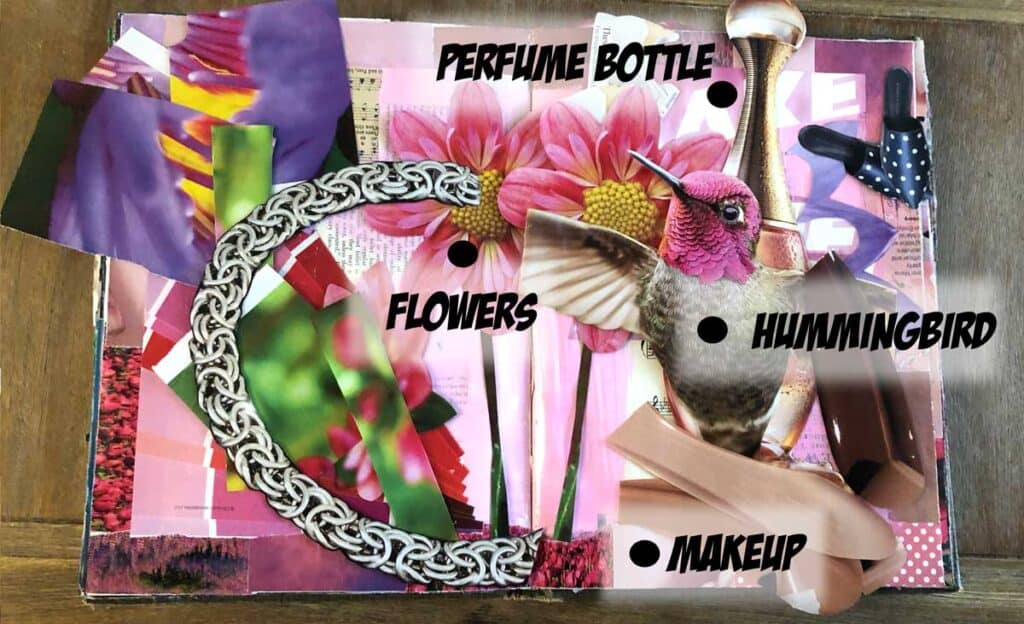
Cut out a lot of different things that you might use in your artwork. As you can see I have my main elements, but also blue slippers and a big bold silver necklace that I thought I might use for this one.
It is better to have too much than to have too little when you are designing your art!
Art Supplies Used
- Large scissors, I like the Tim Holtz Tonic scissors
- Small scissors for fussy cutting, I like these little ones
Step 3 - Lay Out Your Design
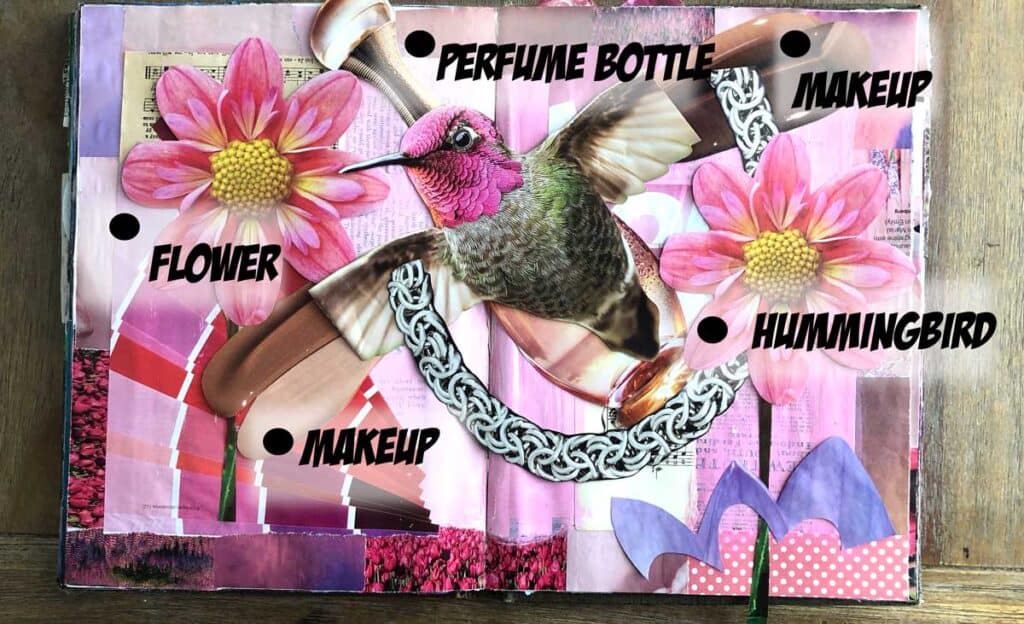
At this stage we are getting closer and closer to what the final design will look like!
I still thought that the necklace might stay in, but I knew I didn't want the neck of the perfume bottle sticking out of the top of my bird's head. I also didn't like the way that the bird's tail looked on the bottle so I cut it off!
Step 4 - Fix All The Little Bits... Sell It!
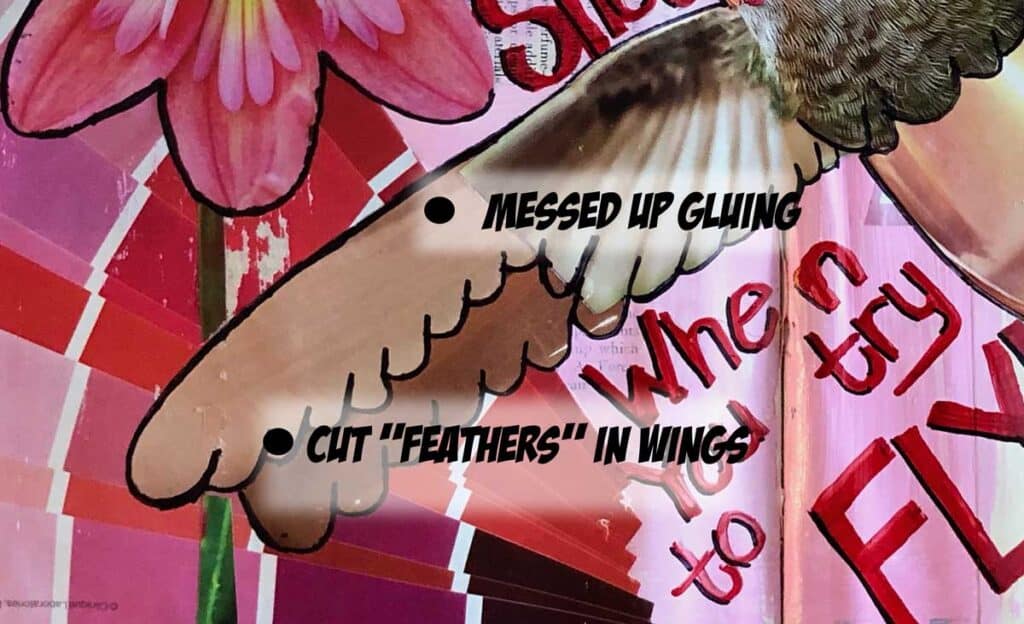
Okay, I have all the pieces stuck down, but I wanted to show you that at this stage you still have a lot of work to do to "sell it" and make it look "real".
For example, I cut wing shapes into the makeup to make it look more wing-like. I also messed up gluing down the makeup and the edge of the wing. That is the kind of thing that will drive you crazy, but really won't matter at all when the piece is done.
I like to outline everything with black sharpie marker (the middle sized one). This also helps to bring the different pieces together.
Art Supplies Used
- Art Glitter Glue With A Fine Tip Applicator
- My current favorite glue is Nuvo Glue!
Step 5 - Add Words Or Other Features
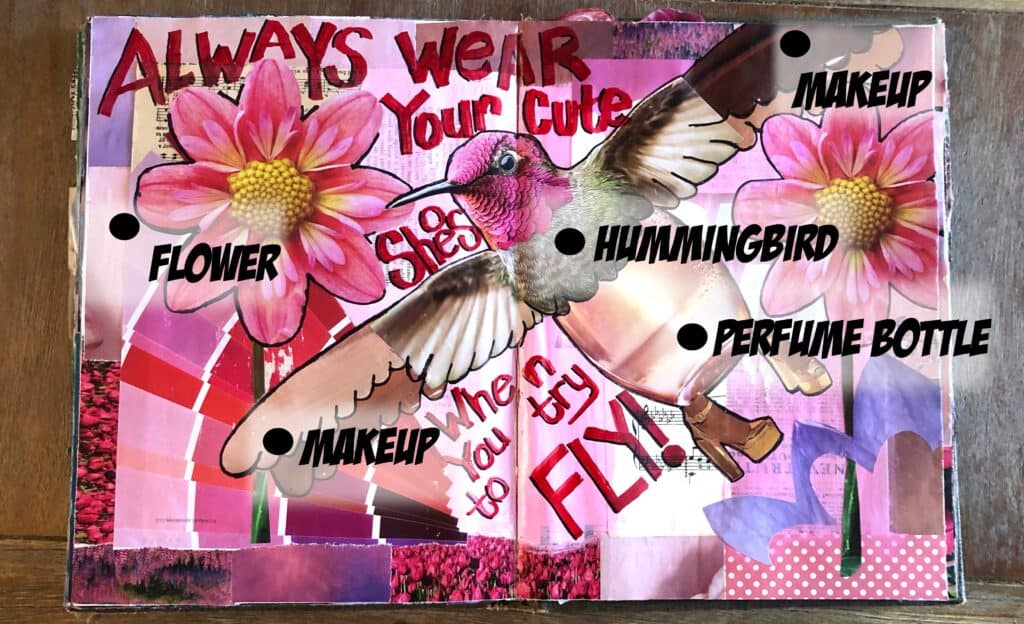
As you can see, I am almost done here. I was out with my Mother In Law and did the writing parts. I always pencil them in first to make sure they will fit the way I want them.
What I wanted you to see here is that it still doesn't look that good! There are sort of bits and pieces all over that don't seem to be connected in any way and the "problems" are still jumping out all over the place!
Art Supplies Used
Step 6 - Add Final Details, Shading and Doodles
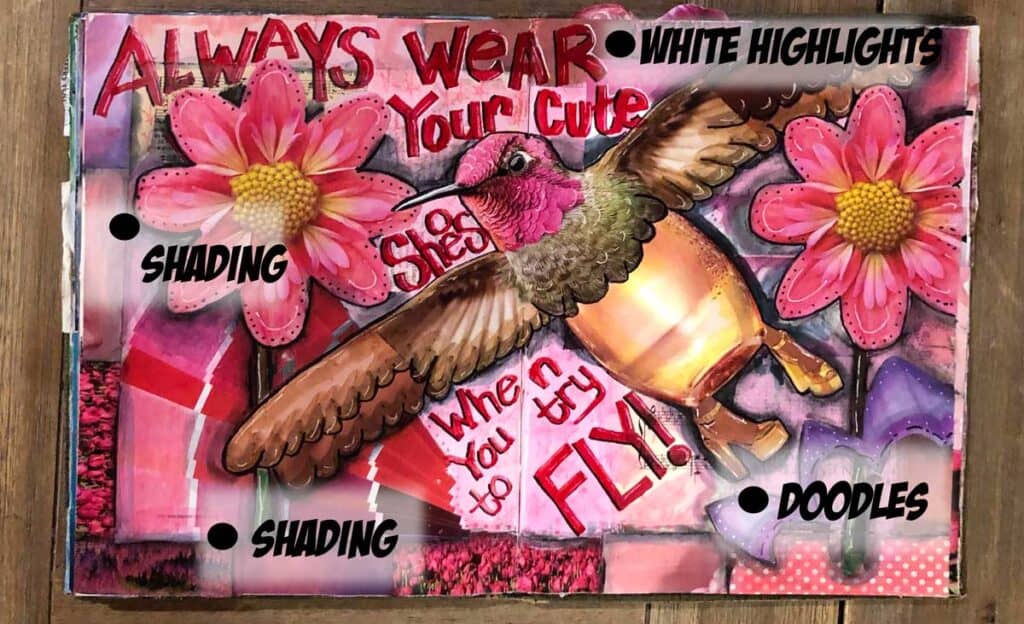
The success of your final artwork will depend on this step! By adding little doodles, highlights and shading you can add dimension to your work!
I use Stabilo pencil to add the shading around the the bottoms of the wings, the boarder and the flower. By shading it the way sun would shine from the top of the page, it makes for a more realistic looking picture (even one made out of perfume bottles, people feet and makeup!)
Doing a little bit of doodling here and there adds interest to things that are not as fancy, like the flowers and the purple swoop in the bottom right.
White highlights make things more prominent and dark shading make thinds seem to be more in the background!
Art Supplies Used
Magazine Collage FAQs
I get a lot of questions about doing this kind of art! Here are some of the main ones.
I get most of my images from magazines I source from Ebay. I shoot for spending less than $1 a magazine including shipping. I also subscribe to bunch of magazines... that brings your cost down considerably!
First off, I like using current women's magazines like Elle and Glamour. They have great pictures of women and fun clothing. I also use vintage womens magazine for cool clothing like the old fancy shoes I used here. I also like Birds and Blooms for flowers and birds.
This one probably took about 2 hours total, not counting doing the background. This is part of my "rainbow book" where I am using an old yearbook to make layouts the colors of the rainbow.
First off you need a big pair of scissors to cut out the main pictures. Then you need a small pair of super sharp scissors to fussy cut around the pictures. I like using Sharpies and Stablio pencils because they write over anything. Also you will need glue, I like Art Glitter Glue because it has a really fine point. Last but not least I have a set of Arteza brush watercolors that I use for shading and highlighting.
Do you have to have ALL of those supplies?
Heck no! I use what I have laying around! For example, on one of my pages I need a background color paint I didn't have so I put my thinking cap on and figured out how to make purple from red and blue paint! I especially like when I can use up my stash in my artwork.
