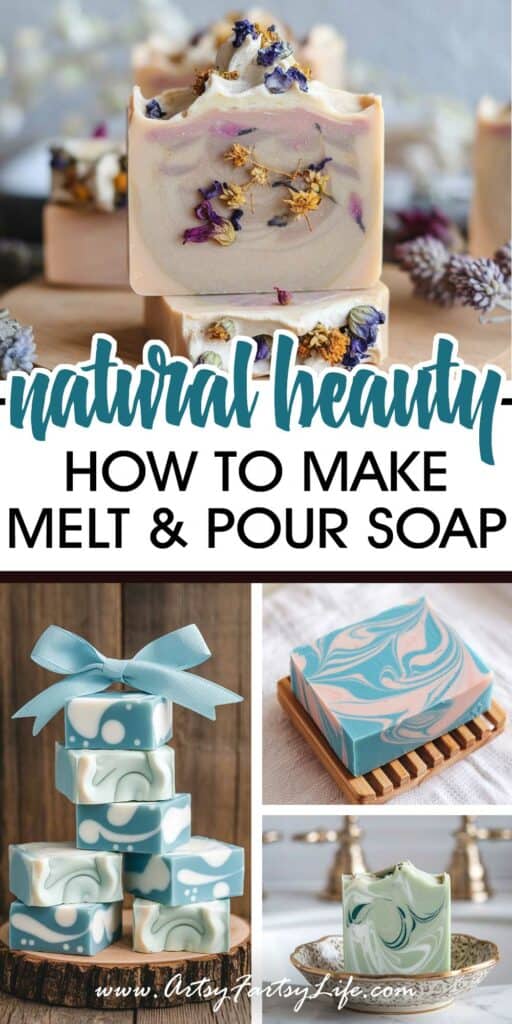
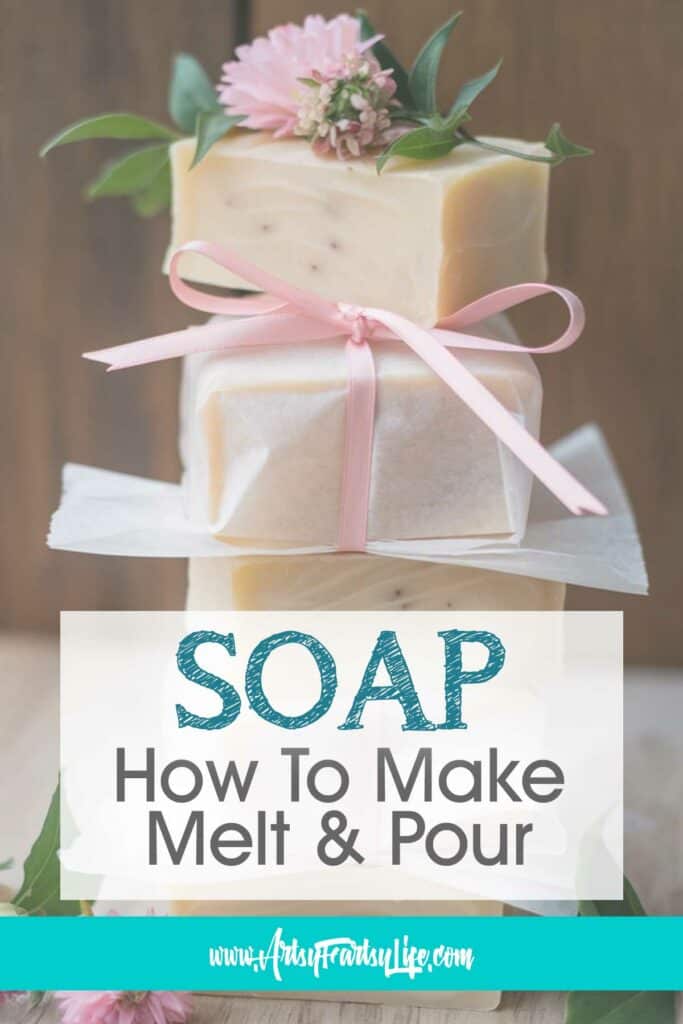
If you're anything like me, you love a good DIY project that’s both fun and rewarding—and making melt-and-pour soap is exactly that! I’ve been making soap for a while now, and melt-and-pour is one of my favorite ways to get creative with my self-care routine!
Please note: This article contains affiliate links, and that means that I may earn a commission if you buy something. Read my full disclosure here.
The best part? It's super easy and doesn’t require handling lye, which makes it perfect for beginners (or anyone who just wants to make something awesome without too much hassle!)
In this post, I’ll walk you through the simple process of making melt-and-pour soap. Whether you’re new to soap-making or just looking for a fun new project, this guide will have you creating beautiful, customized soaps in no time!
AI Image Disclaimer: Real talk: I make my own beauty recipes by hand, but sometimes my pictures aren’t exactly “Pinterest perfect.” So instead of stressing over lighting and angles, I’ve started using AI to create images—kind of like how we all used stock photos back in the day.
What is Melt-and-Pour Soap?
Melt-and-pour soap is exactly what it sounds like—you buy a pre-made soap base, melt it down, and then add whatever fun stuff you want to make it uniquely yours! There’s no need to work with lye (which can be a bit intimidating), so it’s a much easier way to make soap without sacrificing quality.
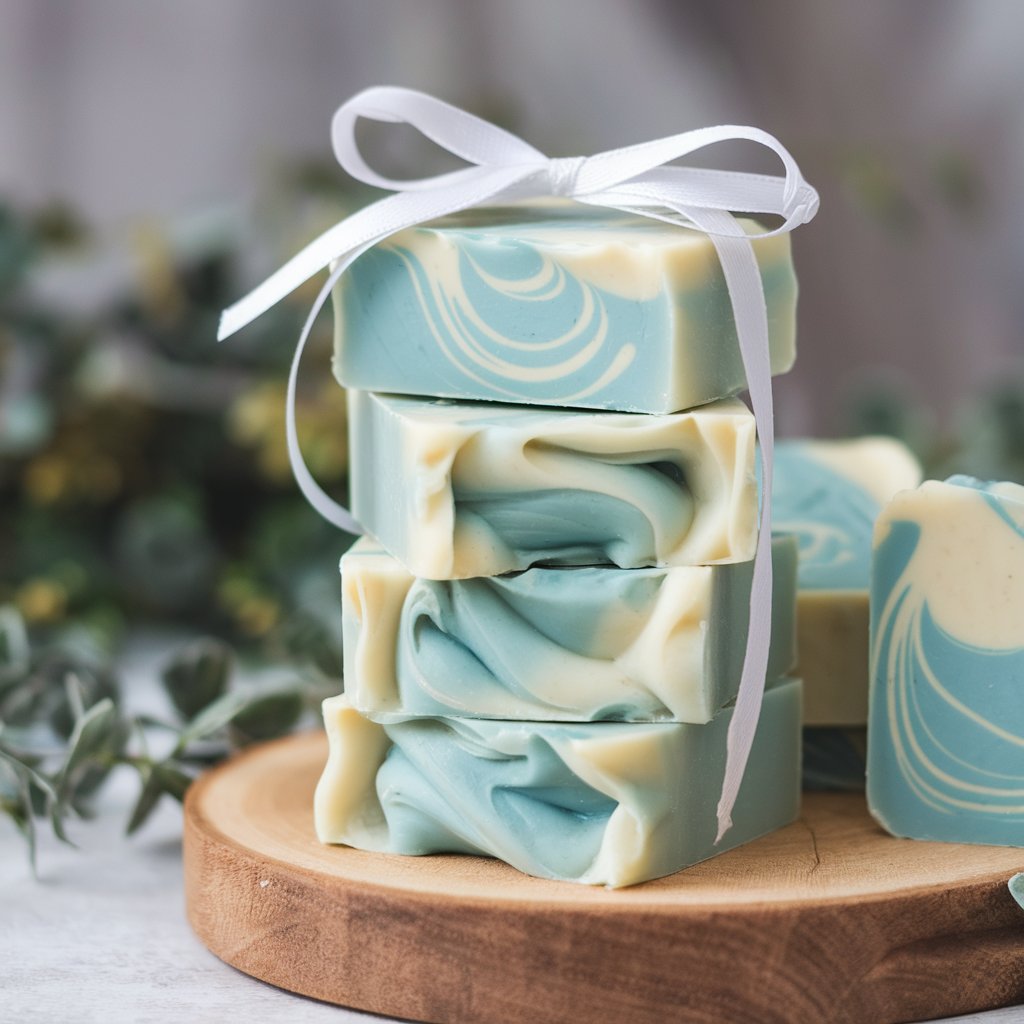
One of the things I love most about melt-and-pour soap is how customizable it is. You can choose from different soap bases—like glycerin, shea butter, or goat’s milk—and add your favorite scents, colors, and even fun add-ins like dried flowers or exfoliants. It’s like a mini spa project that you can tailor to your skin’s needs or your mood!
What You’ll Need For Melt and Pour Soap
Here’s what I typically use when I make melt-and-pour soap. It’s not a long list, but having the right tools and ingredients will make the whole process so much smoother!
Tools:
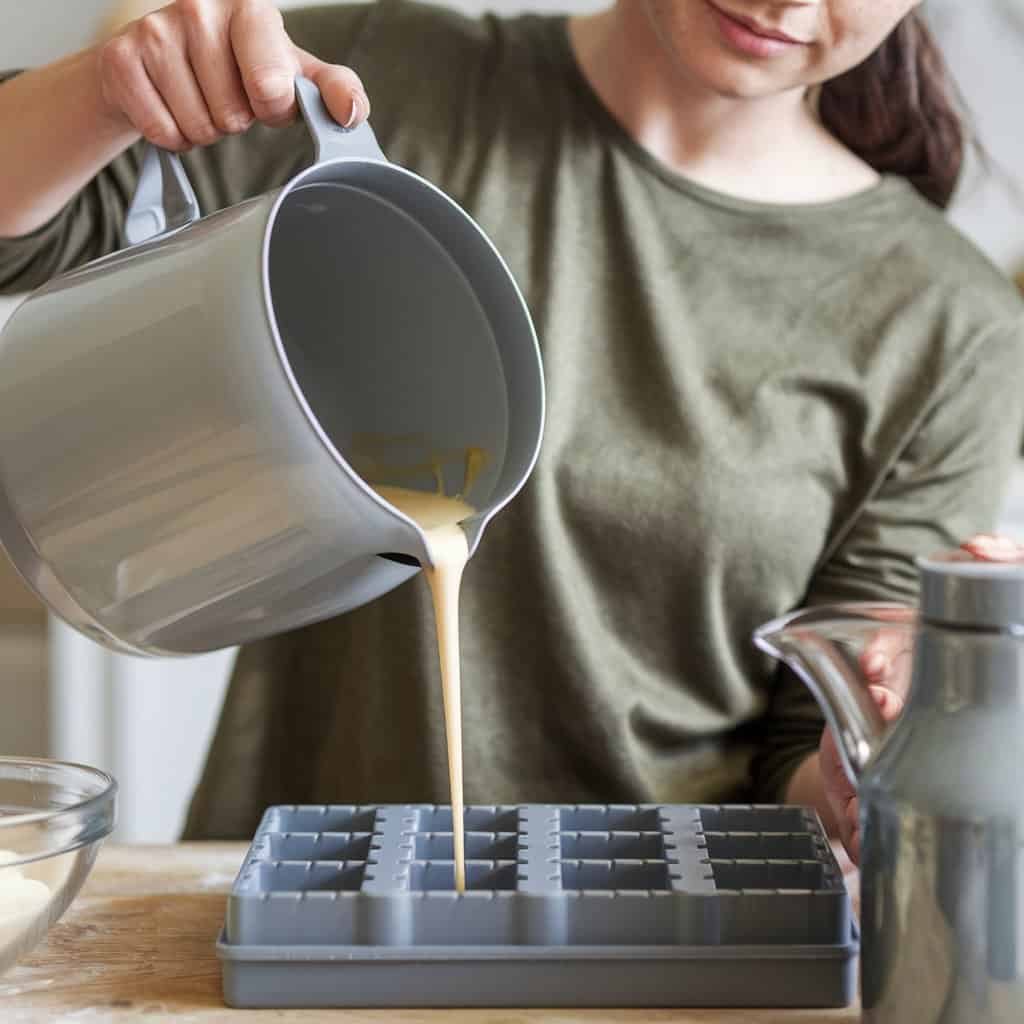
- A double boiler or a microwave-safe pitcher for melting the soap base (I prefer the pitcher method, but either works fine)
- Silicone molds (You can find some cute ones in fun shapes! I love using heart or star molds, but you can really go wild with it)
- A silicone spatula for stirring
- A spray bottle with rubbing alcohol (this helps to get rid of any bubbles that might form on the surface of your soap)
Ingredients:
- Your soap base of choice (glycerin is clear and perfect for color, goat’s milk is super nourishing, and shea butter is rich and moisturizing).
- Essential oils or fragrance oils (I love lavender, peppermint, or citrus blends, but honestly, you can mix and match to create your signature scent).
- Soap colorants (Mica powders are my go-to because they give a nice shimmer, but there are lots of color options out there).
- Optional extras: Dried flowers, herbs, or things like oatmeal or coffee grounds for texture.
Step-by-Step Guide to Making Melt-and-Pour Soap
Making soap with a melt-and-pour base is so easy. It’s one of my favorite things to do when I want a creative and relaxing project that’s not too time-consuming. Here’s how I do it:
1. Get Your Workspace Ready Before you start, make sure you have everything laid out so that you can work quickly. Having your molds, spatula, and all your ingredients within reach makes everything easier (and a lot less messy).
2. Melt Your Soap Base Cut the soap base into small cubes to make the melting process easier. You can melt it in a double boiler over low heat, stirring occasionally until it’s smooth. If you’re using the microwave, melt in 30-second intervals, stirring between each round. The key here is to be patient—don’t rush it!
3. Add Scents and Colors Once your soap is melted, it’s time for the fun part! Add your fragrance oil (a little goes a long way—about 1 ounce per pound of soap) and mix well. Then, I add my colorant. This is where you can get really creative. Whether you want a soft pastel hue or a bold pop of color, it’s all up to you! If you’re feeling fancy, you can even layer different colors for a fun effect.
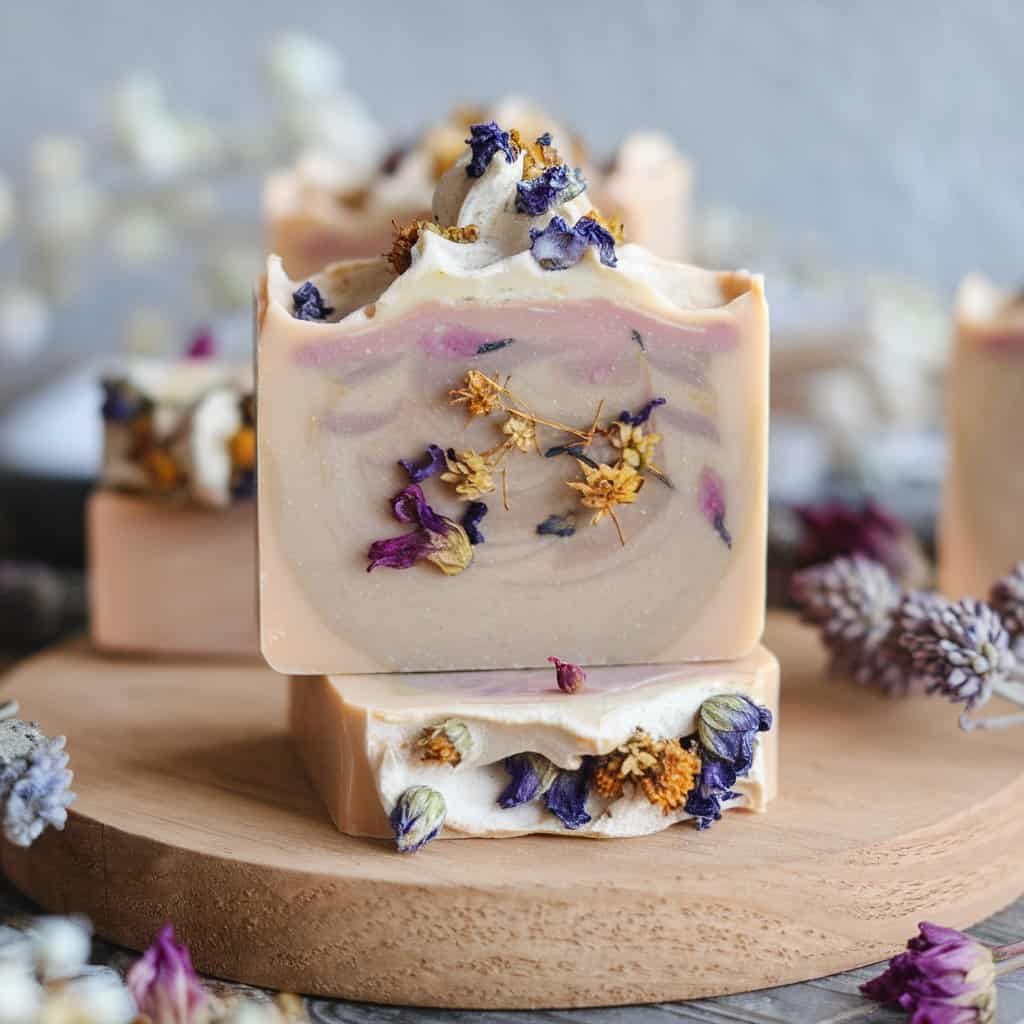
4. Pour Into Molds Carefully pour the melted soap into your molds. Here’s where you can get really creative with textures and shapes—don’t be afraid to add in dried flowers, herbs, or exfoliants like oatmeal. I love pressing a few lavender buds into the top of my soap for a cute, natural touch. If you're adding anything chunky, just press it gently into the soap.
5. Let it Set Now, just let your soap cool and harden. It’ll take about 1-2 hours at room temperature, but you can also pop it in the fridge if you’re in a hurry. Once it’s completely set, you can gently pop it out of the molds.
Additional resource: How To Make Butterfly Shaped Melt and Pour Soaps
Fun Melt and Pour Customization Ideas
The possibilities are endless with melt-and-pour soap! Here are a few ideas that I love to experiment with:
- Layered Soap: You can create a beautiful multi-colored effect by letting one layer cool before adding another. I’ve done this with different essential oils in each layer for a fun sensory experience.
- Embedded Surprises: For a unique touch, I love embedding little dried flowers or even crystals (just make sure they’re soap-safe) inside the soap. It gives each bar a little surprise when you use it.
- Seasonal Themes: You can make soaps for different seasons or holidays. I made a pumpkin spice soap last fall with a little bit of cinnamon and orange colorant, and it was a hit!
Tips and Tricks
As much as I love making soap, it doesn’t always go perfectly! Here are a few tips I’ve picked up along the way:
- Scent Not Lasting Long? If your soap’s scent fades too quickly, try using a bit more fragrance oil or check if you’re using the right kind for soap making. Some oils last longer than others!
- Bubbles in Your Soap? No worries! Just lightly spritz the surface with rubbing alcohol, and any air bubbles should disappear.
- Storage: Once your soap is ready, store it in a cool, dry place. Keep it out of direct sunlight to preserve the colors and scents.
Wrapping Up
Making melt-and-pour soap is one of my favorite ways to get creative and relax. Whether you're new to soap-making or just looking for a fun project, it’s the perfect way to add a personal touch to your self-care routine or create thoughtful gifts. And the best part? You can make it exactly how you want—whether that’s with your favorite colors, scents, or special additives.
Have you ever made melt-and-pour soap? I’d love to hear what fun combinations you’ve come up with! Drop a comment below, and don’t forget to check out my other soap recipes and DIY projects. Happy soap making!
Here are some more melt and pour soap recipes you might love!
- Buzz-Worthy Beehive Natural Honey Soap
- Home Made Essential Oils Owl Soap
- How To Make Natural Homemade DIY Lavender Soap
